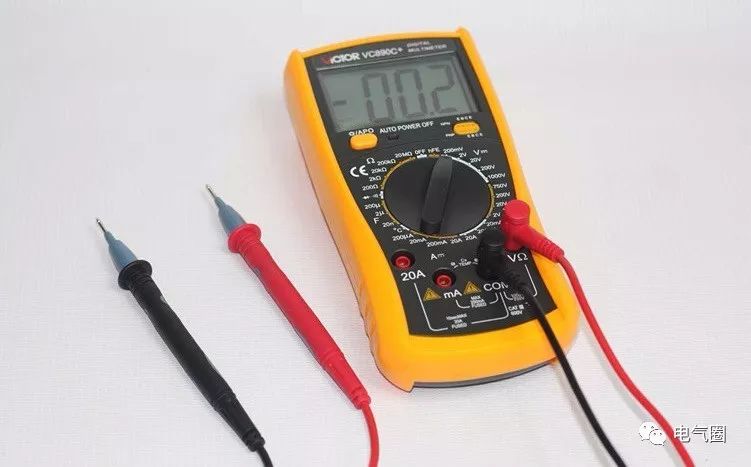
A multimeter is the preferred tool for electricians to troubleshoot faults. For many electricians, short circuit faults are easy to check with a multimeter, but finding breakpoints is not as straightforward. Today, I will share a method for using a multimeter to check for wire breakpoints. The steps are as follows:1. Connect one end of the wire with a breakpoint to the live wire of a 220V power supply, leaving the other end open.2. Set the digital multimeter to the AC 2V range. Starting from the live wire connection point, hold the black probe with one hand and slowly move the red probe along the insulation of the wire with the other hand. The voltage displayed should be approximately 0.445V (as measured by the DT890D model).3. When the red probe moves to a certain point, the displayed voltage will suddenly drop to around zero volts (approximately one-tenth of the original voltage). The breakpoint of the wire is located about 15cm towards the live wire connection point from this position.To troubleshoot a breakpoint fault, first determine which wire has the breakpoint, then energize the broken wire. Set the multimeter to the AC voltage range, hold one probe in hand, and move the other along the surface of the wire. At a certain point, the reading will change significantly, indicating the breakpoint. It is important to note that when checking shielded wires, if only the core wire is broken and the shielding layer remains intact, this method will not be effective.Correct use of a multimeter is essential. There is a case nearby that serves as a cautionary tale. A colleague electrician, while repairing a lathe, repeatedly powered on and off the machine to measure voltage and resistance with the multimeter.During the troubleshooting process, measuring voltage while the multimeter was set to the resistance range caused the multimeter to burn out at the moment of measurement. The probe caused an arc short circuit, leading to the entire workshop losing power due to the low voltage main switch tripping. The arc short circuit resulted in burns to both hands, but fortunately, there was no life-threatening danger. Therefore, when using a multimeter, it is crucial to connect the wires correctly and select the appropriate measurement range to ensure safety. Incorrect wiring and reckless testing of live circuits can not only damage the instrument but may also lead to personal safety accidents.Precautions for using a multimeter: (1) Pay attention to correctly selecting the probe sockets, ranges, and settings. It is important to emphasize that different models of multimeters have different probe sockets, ranges, and settings. When measuring an unknown quantity, first set the range to the maximum, then adjust from large to small until appropriate. If “1” is displayed, it indicates overflow, and the range should be increased. (2) It is not allowed to measure voltage with the resistance or current ranges. (3) When measuring current, avoid overload. (4) When changing the range, the probes should be disconnected from the measurement point. After measurement, be sure to turn off the power.
(Source: Reader submission, please contact for authorization to reprint)
You might also like
◆ Essential! Multimeter User Manual
◆ Usage and Mnemonics for Multimeters, worth keeping~
Share · Win-Win
The electrical community, a circle with attitude
