With the rapid development of additive manufacturing technology, 3D printing has been widely applied across various industries. In particular, the DLP (Digital Light Processing) photocuring ceramic 3D printing technology has become the mainstream process for ceramic photocuring 3D printing due to its high precision and high resolution. In recent years, a large number of manufacturers of ceramic DLP photocuring 3D printing equipment and materials have emerged both domestically and internationally, and related application research and industrial operations have entered a phase of intense competition. Today, we will take a deep dive into the entire process of DLP photocuring ceramic 3D printing.
1. What is DLP Photocuring Ceramic 3D Printing?
DLP photocuring ceramic 3D printing is an additive technology based on digital light processing, which forms complex parts by layer-by-layer curing of ceramic slurry using ultraviolet light. The ceramic slurry is composed of photosensitive resin mixed with micron-sized ceramic powders (such as alumina and zirconia). The cured green body undergoes debinding and high-temperature sintering to remove the resin and densify, resulting in high-strength ceramic parts.
This technology breaks free from the limitations of traditional molds and can efficiently manufacture fine porous, hollow, or curved structures, making it suitable for high-performance ceramic demands in aerospace, biomedical, and electronics fields. Core challenges include slurry uniformity, control of sintering shrinkage, and optimization of post-processing techniques to balance forming accuracy and material performance.
2. The Complete Process of DLP Photocuring Ceramic 3D Printing
1. Model DesignUse professional CAD software (such as SolidWorks or Rhino) to create a three-dimensional geometric model of the product. To ensure the model is suitable for DLP printing, special attention must be paid to the structural support and dimensional tolerances during the design phase.
2. Slicing ProcessImport the model into slicing software (such as CHITUBOX) for slicing, which divides the three-dimensional model into multiple two-dimensional planar layers for layer-by-layer printing. Meanwhile, we set printing parameters such as exposure time, layer thickness, and exposure intensity based on material characteristics and printing requirements.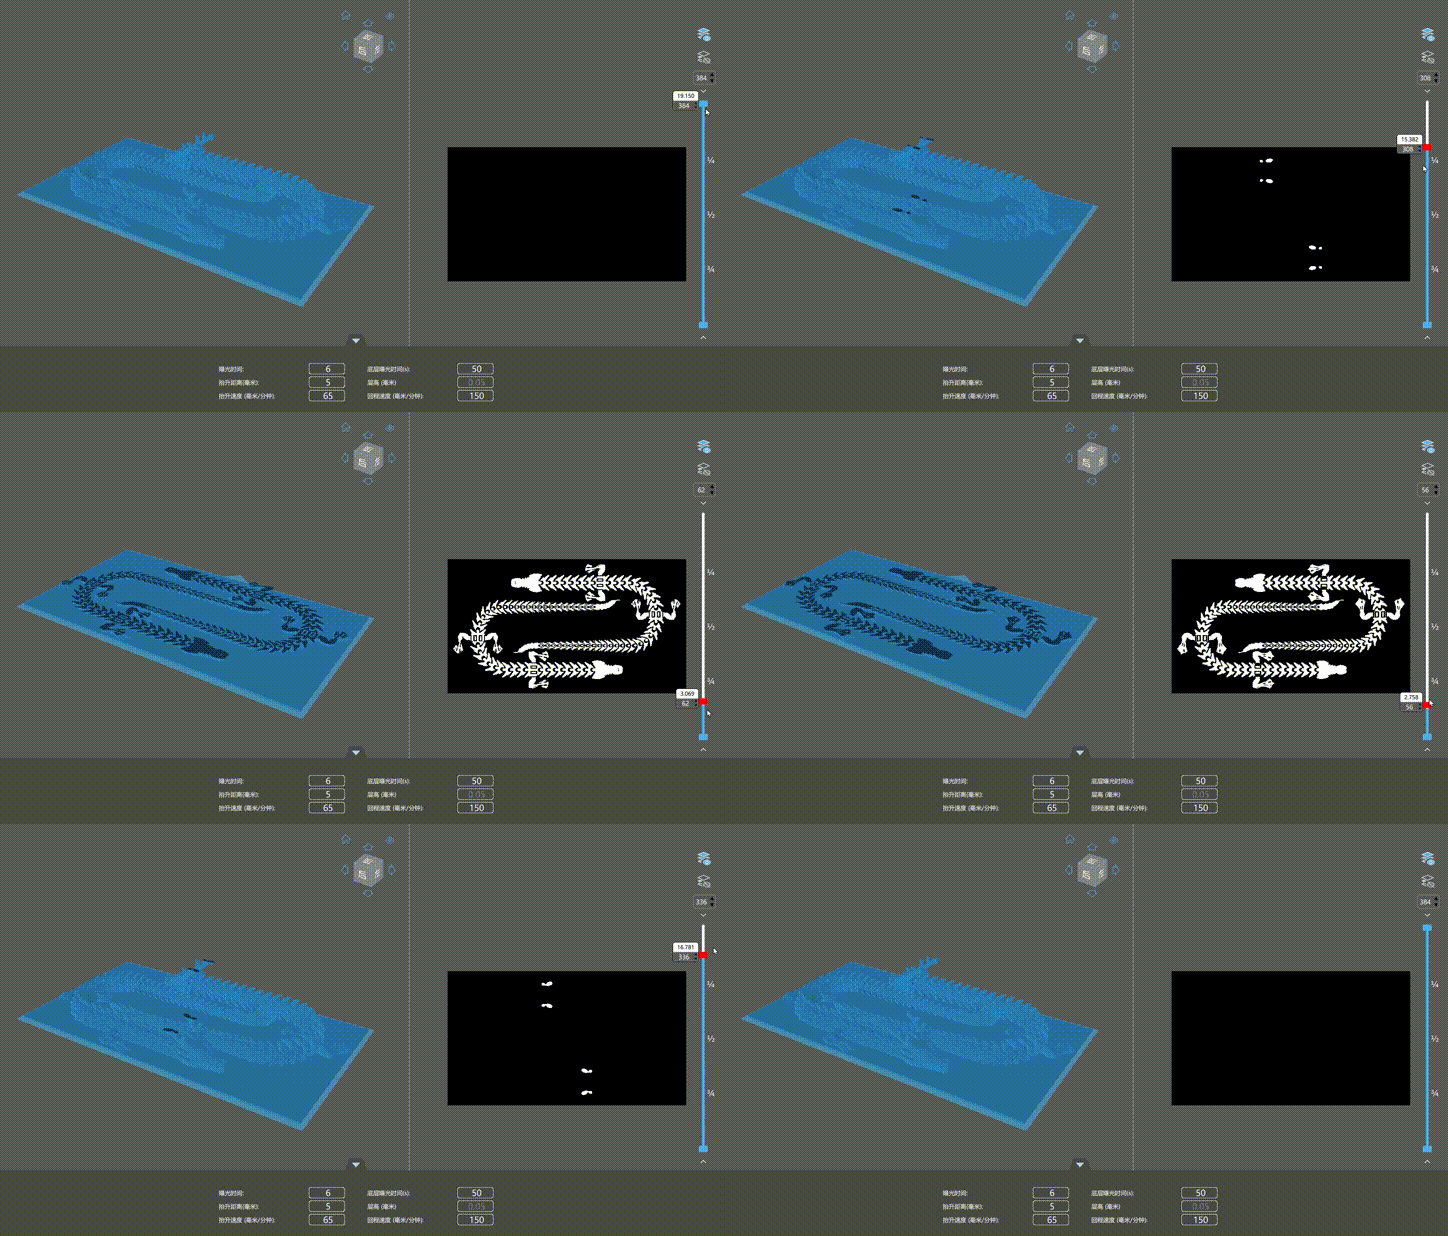 3. Slurry PreparationIn terms of formulation design, the slurry typically consists of photosensitive resin, ceramic micropowder, dispersant, and photoinitiator. The mixing process must be carried out in steps: first, pre-mix the dispersant with the ceramic powder, and then use ball milling or ultrasonic treatment to break down particle agglomeration, forming a stable suspension; subsequently, add the photosensitive resin and initiator, stirring at low speed to avoid bubble formation, ultimately resulting in a homogeneous slurry with controllable viscosity. Key control points include: the solid content must be high enough to reduce sintering shrinkage, but too high will reduce light transmittance; the amount of dispersant must be precise to prevent particle sedimentation or agglomeration; high viscosity will hinder leveling, while low viscosity will lead to weak interlayer bonding. Additionally, the shear-thinning characteristics should be tested using a rheometer, and the single-layer exposure time should be verified through UV curing experiments to ensure the accuracy and efficiency of layer-by-layer forming.
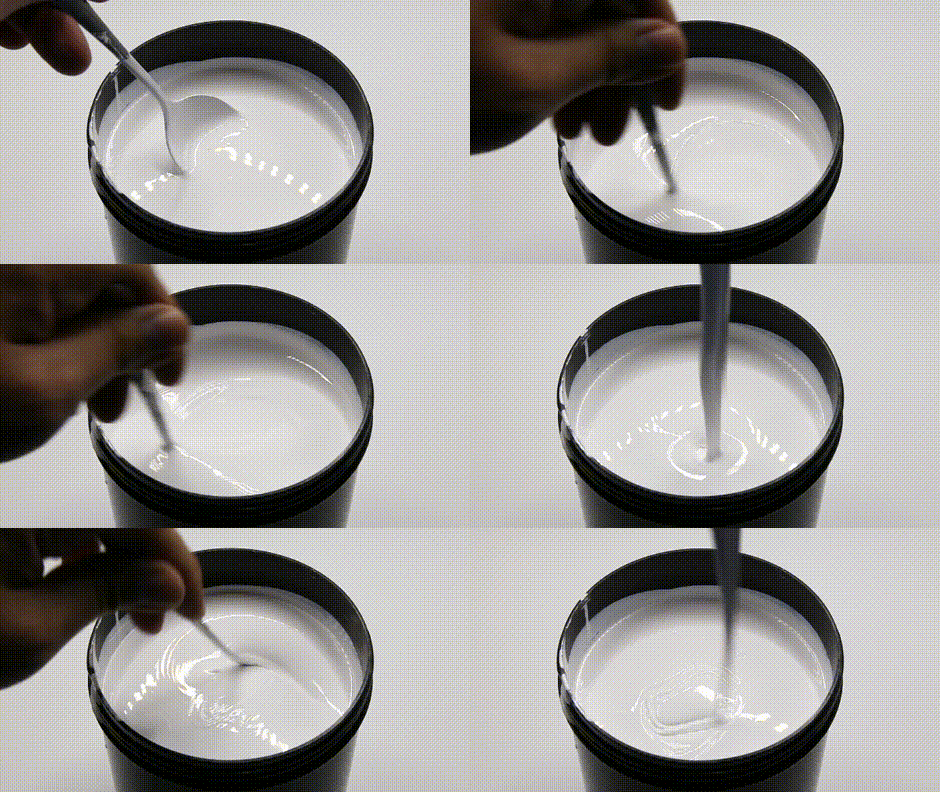 4. Start PrintingPour the prepared slurry into the device’s vat, and the DLP ceramic 3D printer cures the ceramic slurry layer by layer, with each layer cured to the set thickness through a digital light projection system. The key to this step is controlling the exposure time and intensity to ensure that each layer of ceramic slurry is accurately cured.
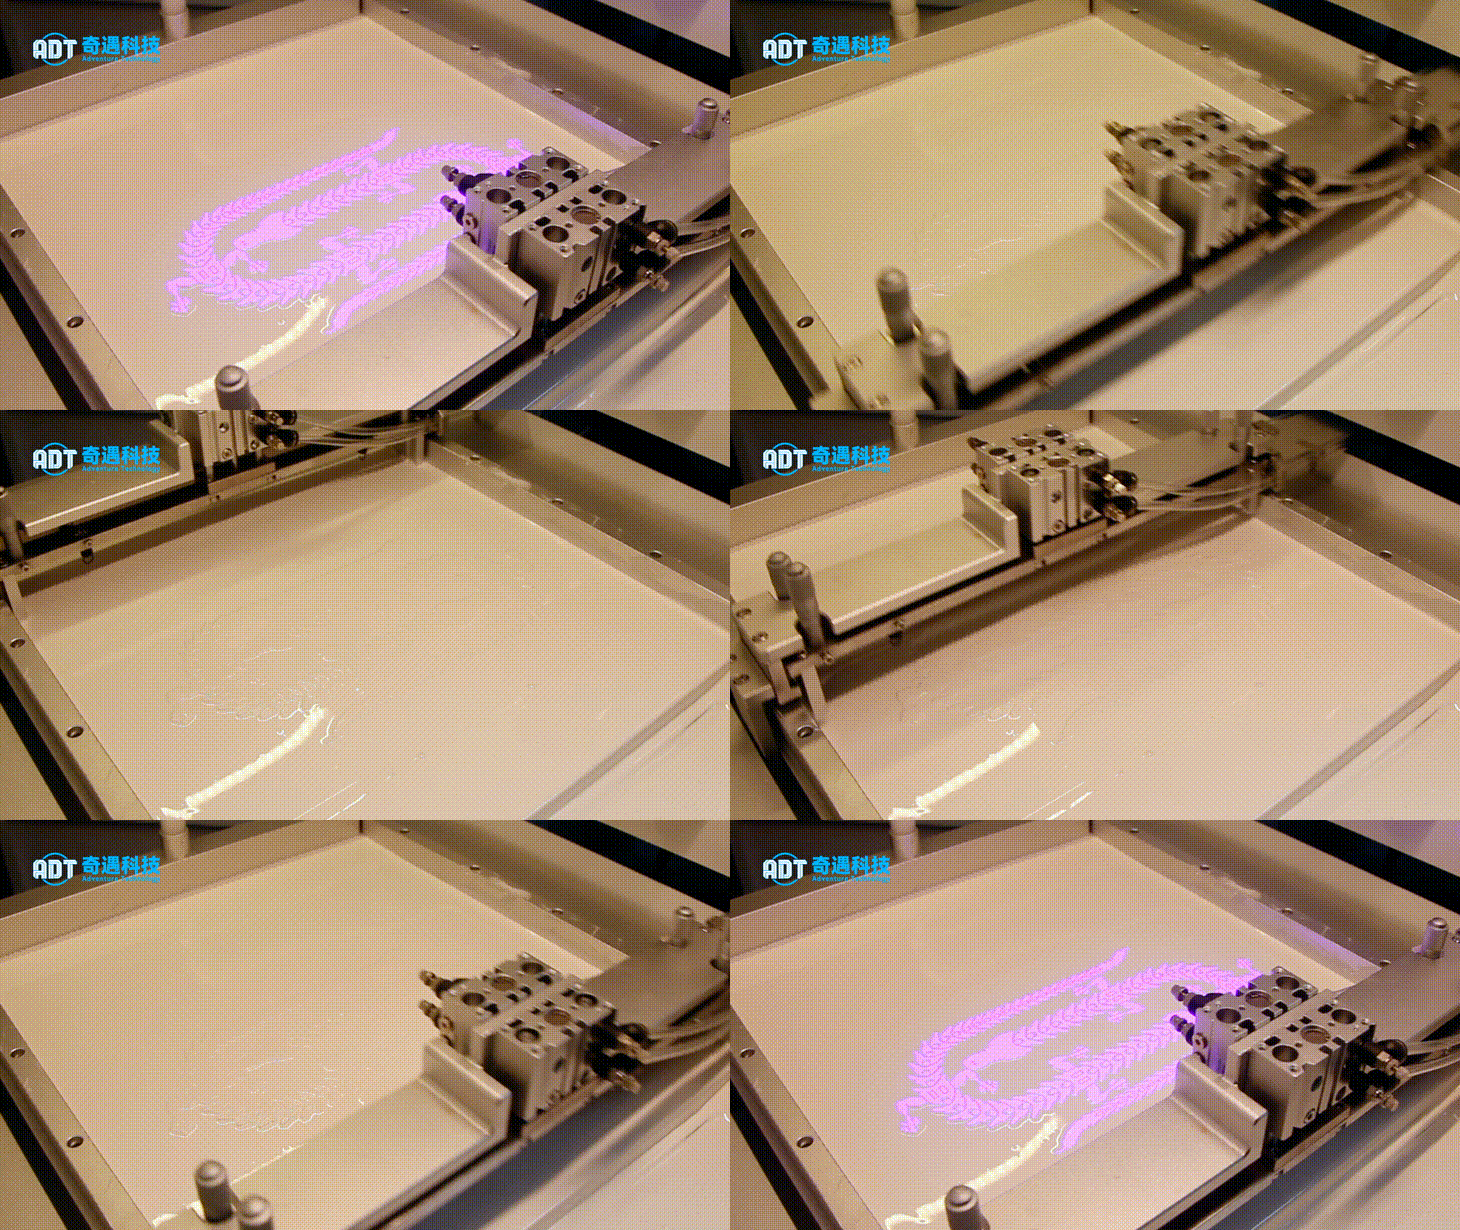 DLP ceramic 3D printers can be either top-down (with the light engine above the build platform) or bottom-up (with the light engine below the build platform); the process shown here is the top-down printing process.5. Cleaning the SamplesAfter printing is complete, remove the samples and choose an appropriate cleaning solvent to wash away the ceramic slurry adhered to the surface, resulting in the product’s green body.
 6. Debinding and SinteringDebinding and sintering are the core steps in the post-processing of DLP photocuring ceramic 3D printing, directly determining the final part’s density and mechanical properties. The debinding phase requires controlled pyrolysis to remove the photosensitive resin from the green body: typically performed in an inert gas or air atmosphere, using a gradient heating approach with segmented holding times to allow the resin to decompose slowly into small molecular gases such as CO₂ and H₂O, avoiding rapid volatilization that could lead to cracking or deformation of the green body. This phase requires precise control of the heating rate and gas flow to prevent carbon residue or structural collapse. The sintering phase densifies the ceramic particles through high temperature: in a vacuum or specific atmosphere, the temperature is raised to the target level and held, promoting grain boundary migration and pore closure, resulting in a high-density ceramic microstructure. During sintering, it is essential to manage volume shrinkage by pre-setting a shrinkage compensation model to ensure dimensional accuracy.The key challenges in this process include matching the temperature profiles for debinding and sintering, controlling residual stresses, and suppressing excessive grain growth, which requires optimizing process parameters through thermogravimetric analysis and microstructural characterization to achieve high-strength, low-defect ceramic products.
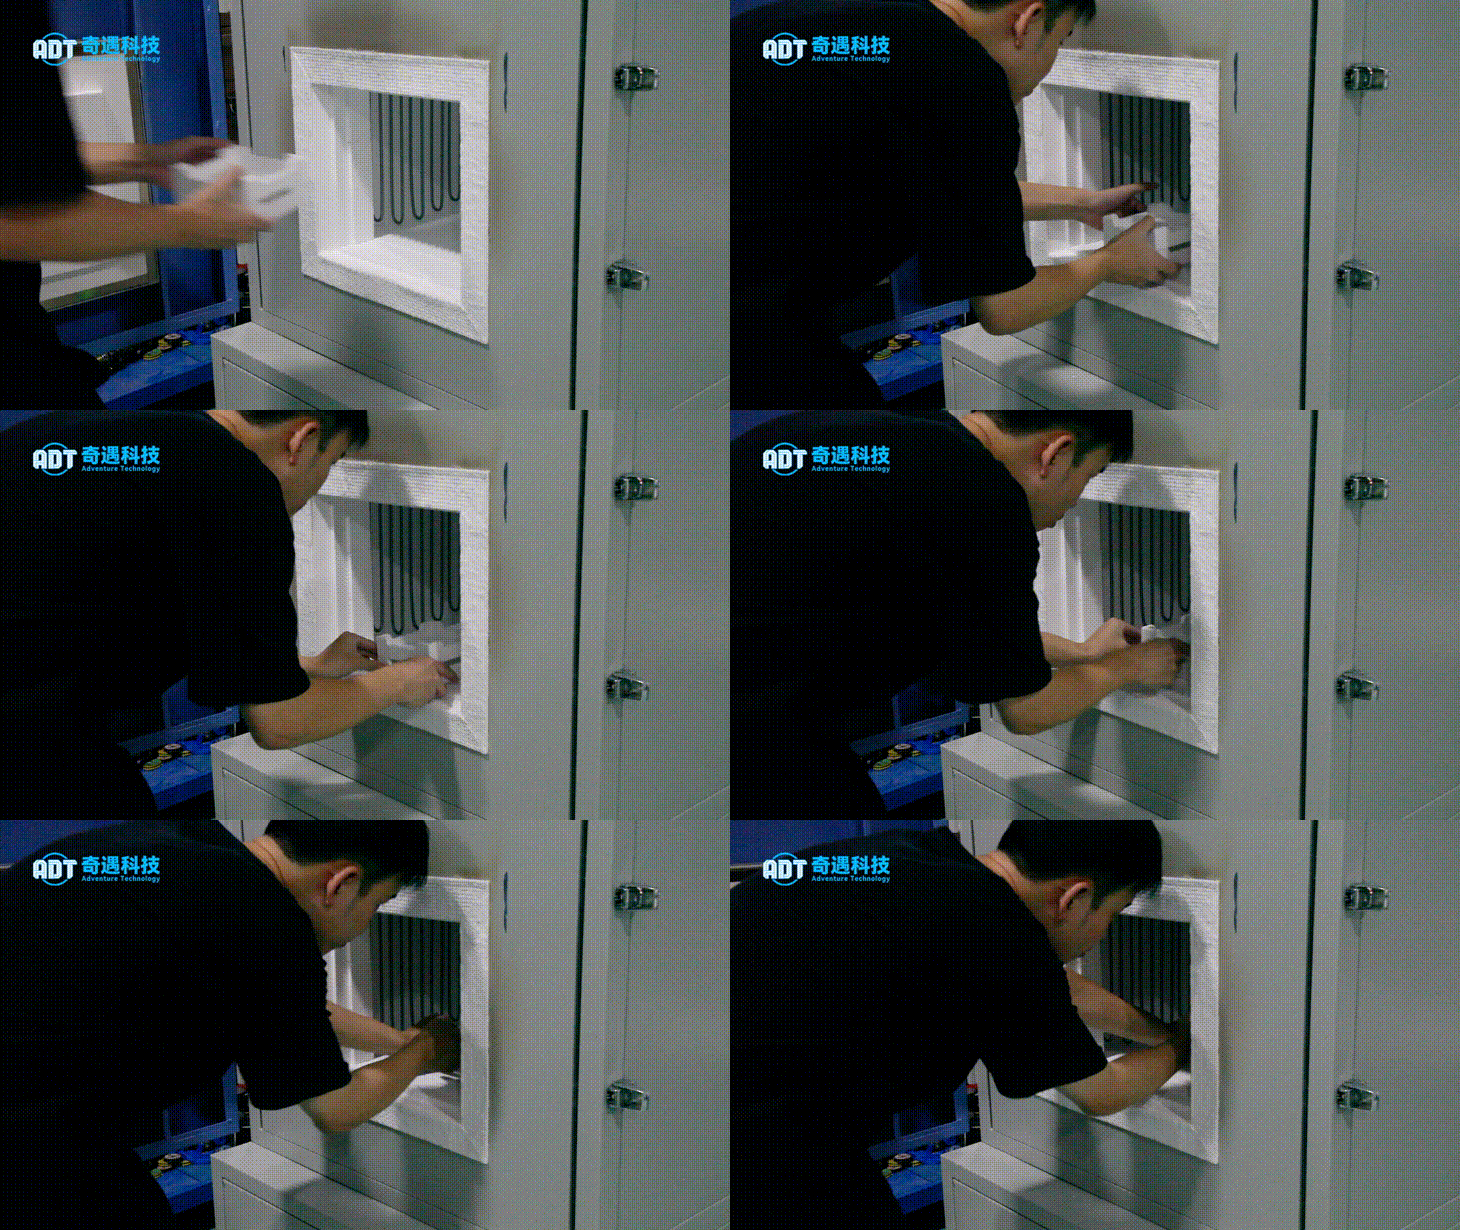
7. Post-ProcessingAfter sintering, the ceramic components may require further surface treatments, such as grinding, polishing, or glazing, to ensure their surface smoothness and aesthetics. These post-processing steps help enhance the product’s appearance and lifespan.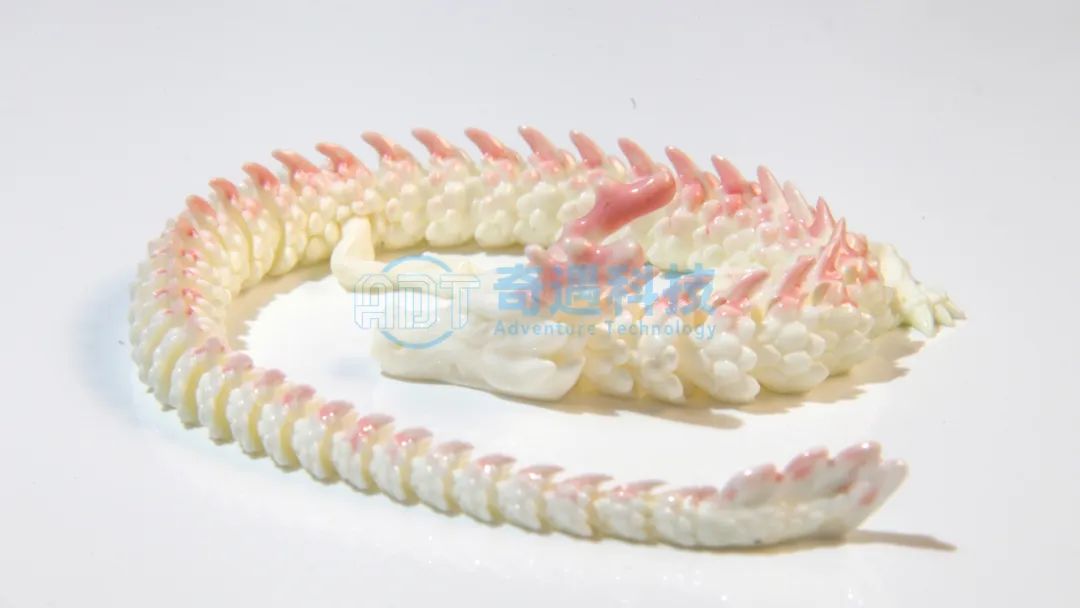
3. Conclusion
The photocuring DLP ceramic 3D printing technology demonstrates extremely high precision and the ability to form complex structures through a complete process from 3D model design, slicing and parameter setting, ceramic slurry preparation, layer-by-layer curing printing to sintering. This technology not only achieves micron-level detailed structures but also significantly enhances manufacturing speed and material compatibility, making it particularly suitable for fields such as electronic components, medical devices, and aerospace. With its precision, efficiency, and broad application prospects, photocuring DLP ceramic 3D printing is gradually becoming a core technology in advanced manufacturing..
If you like our content, feel free to like and share it.

 Click “Read the original text” to enter the official website