【Click the above「blue text」 to follow the DF Maker Community and become a tech enthusiast】

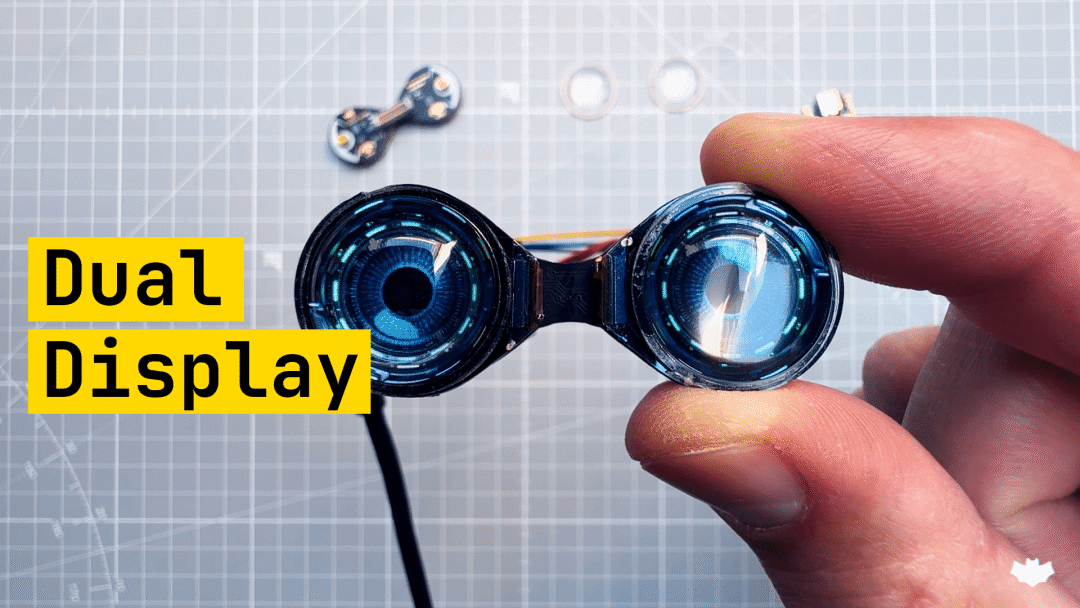
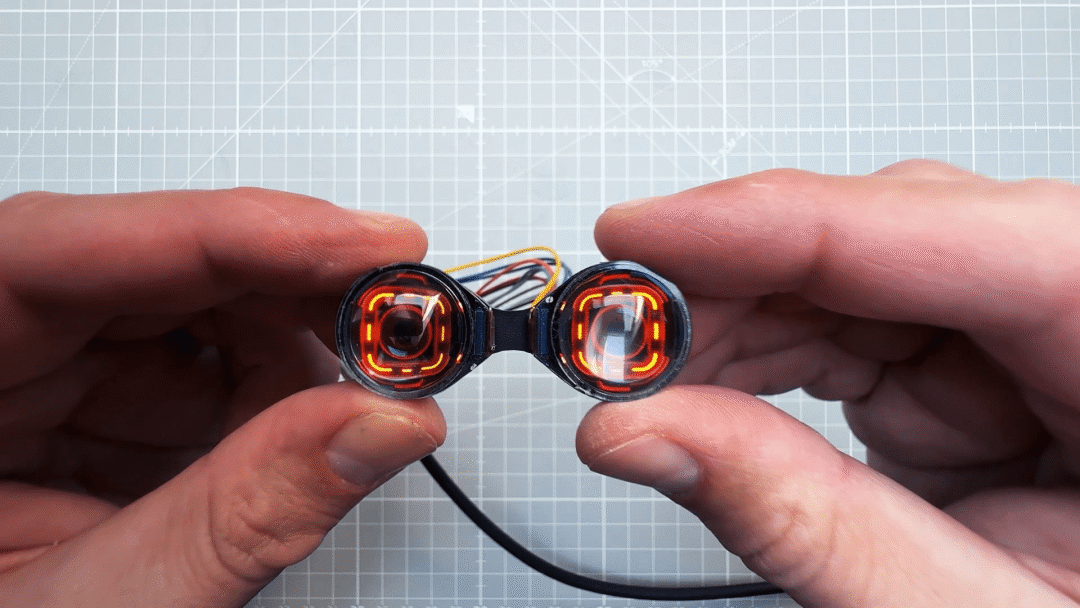
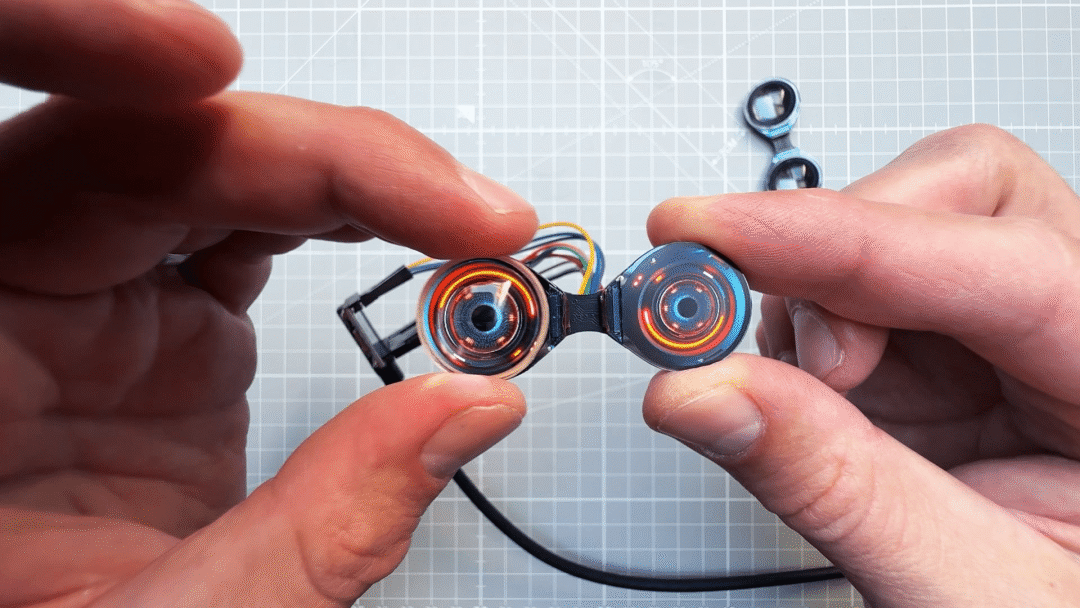
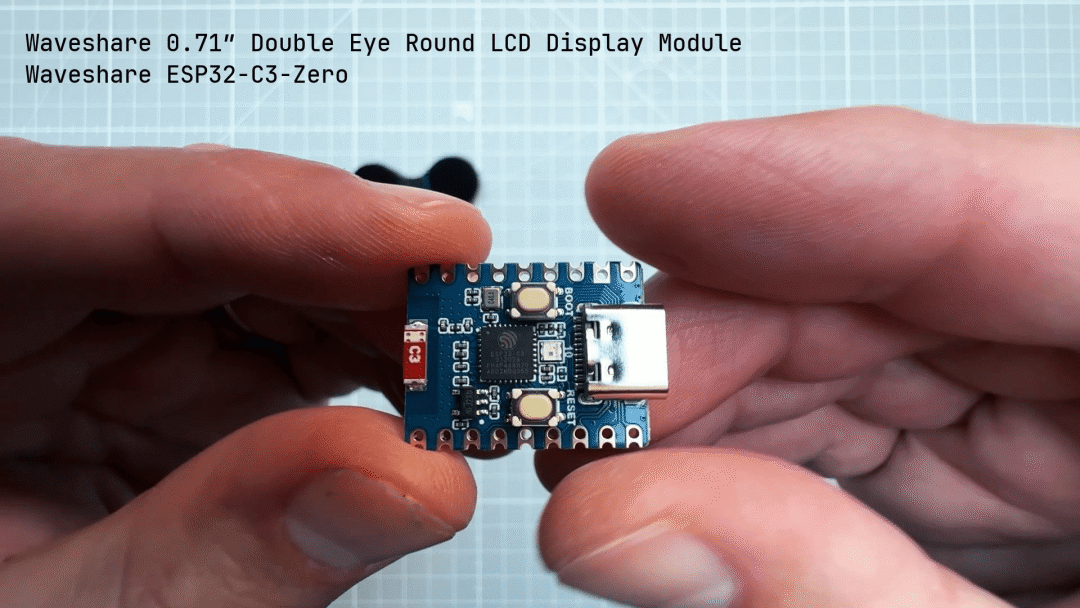
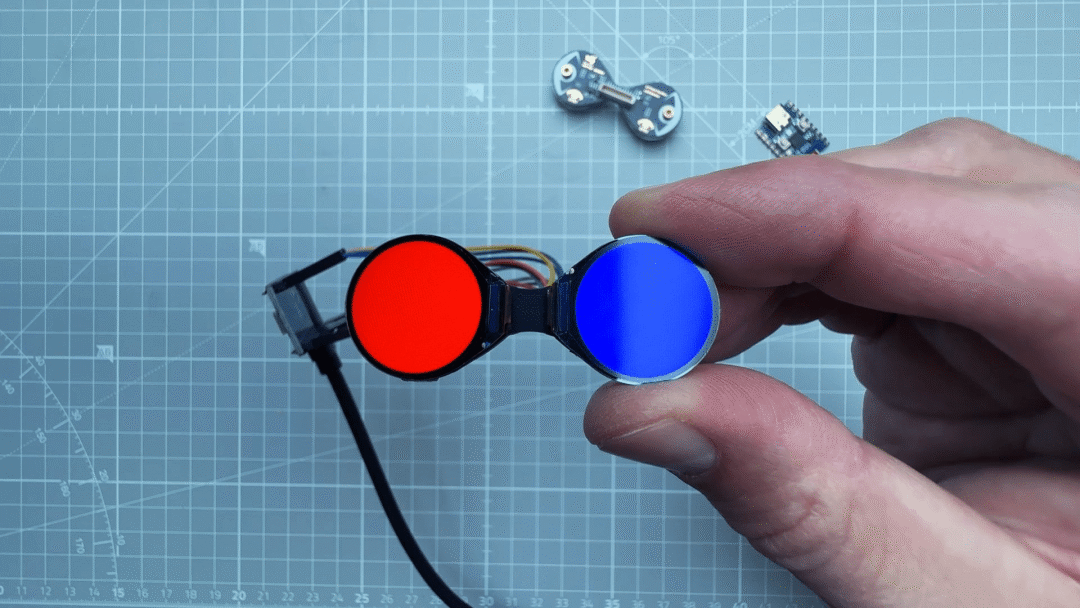
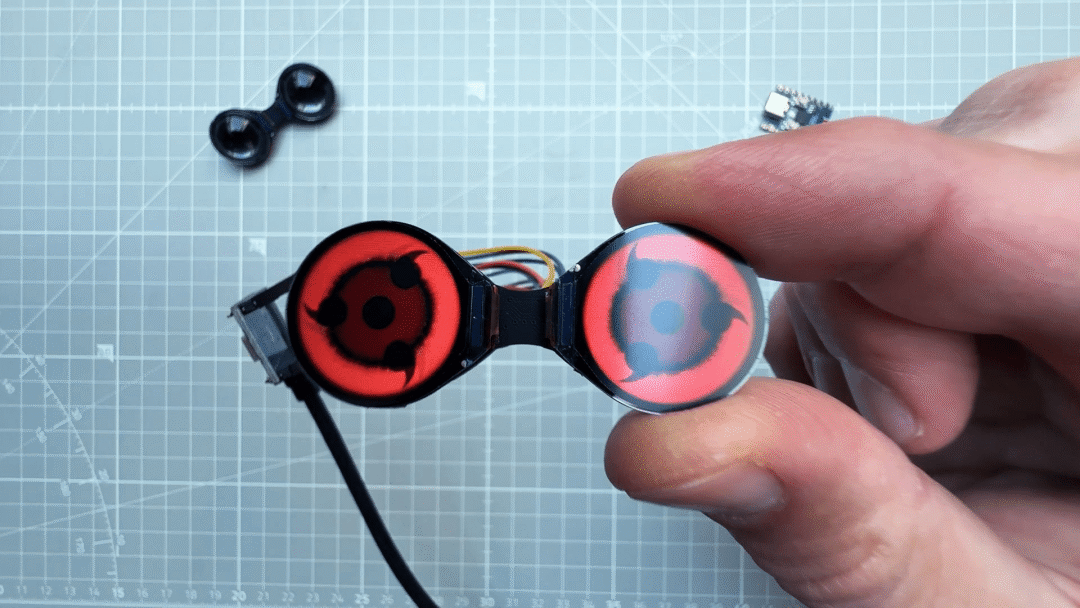
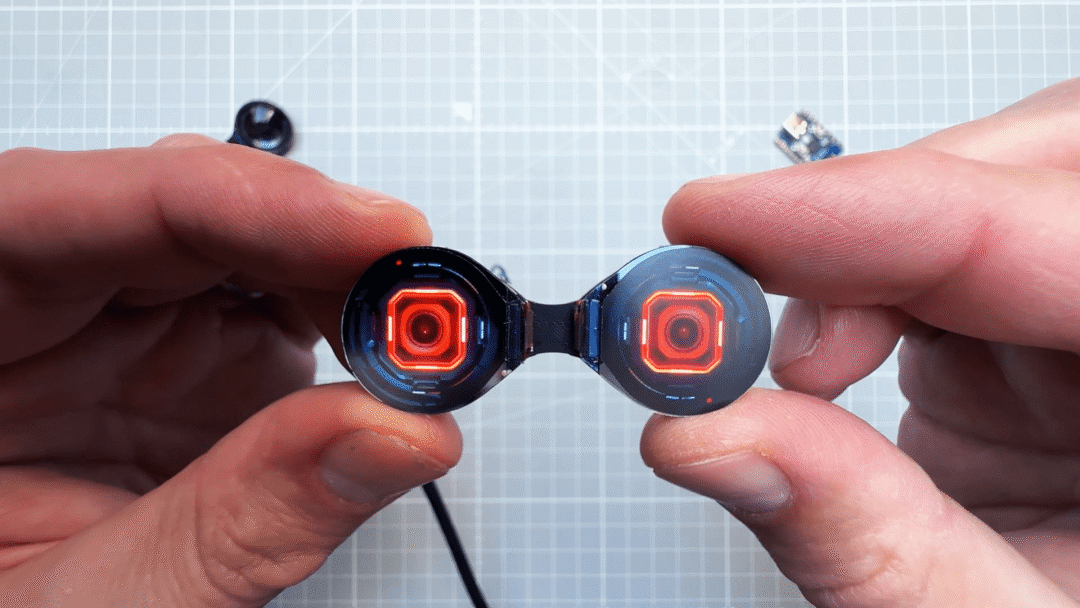
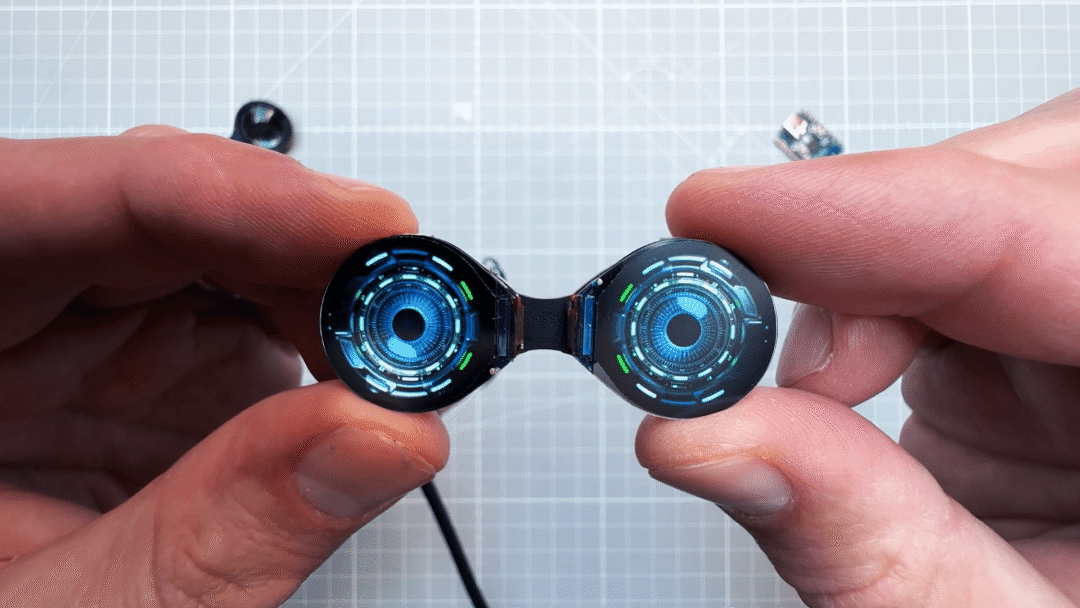
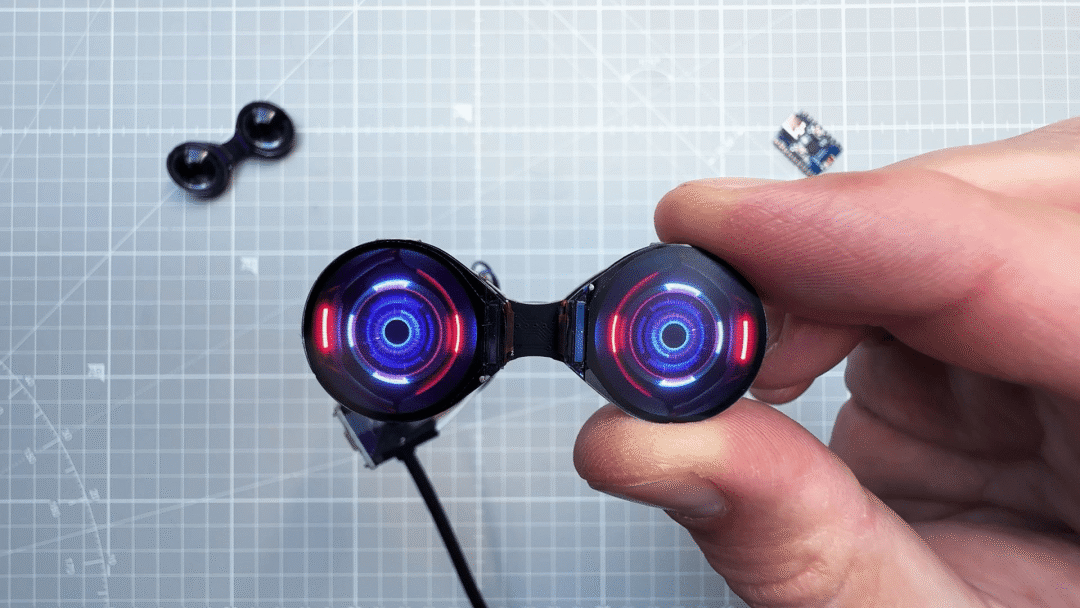
This project utilizes the Waveshare 0.71-inch dual-eye LCD module and the ESP32-C3-Zero development board. By combining hardware and programming, it achieves dynamic animations that simulate human expressions. Whether for robots, interactive devices, or artistic installations, this project can add a unique charm to your creations!
Project Highlights
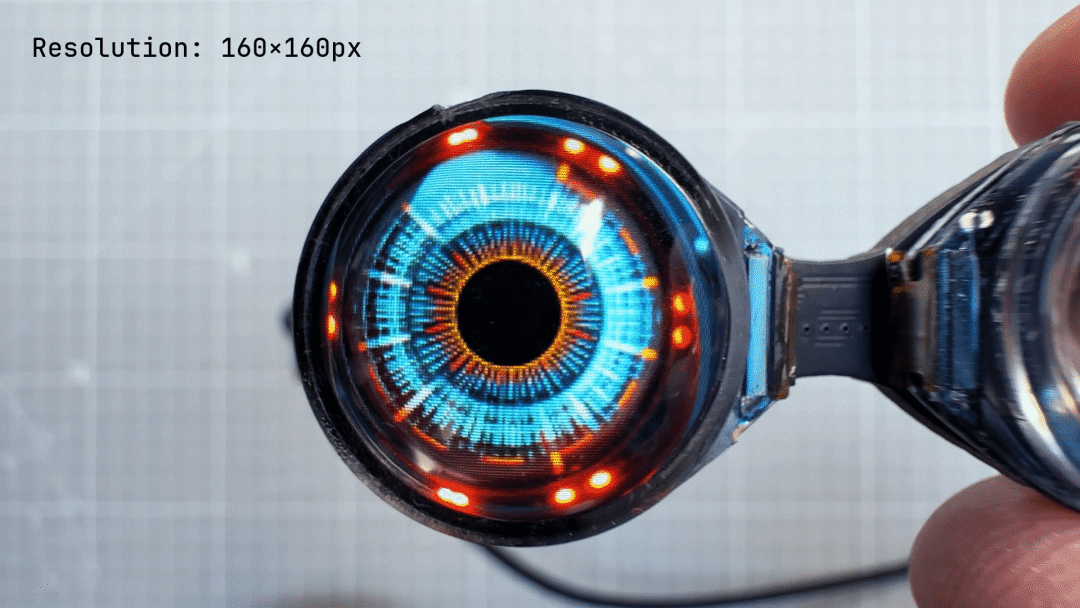
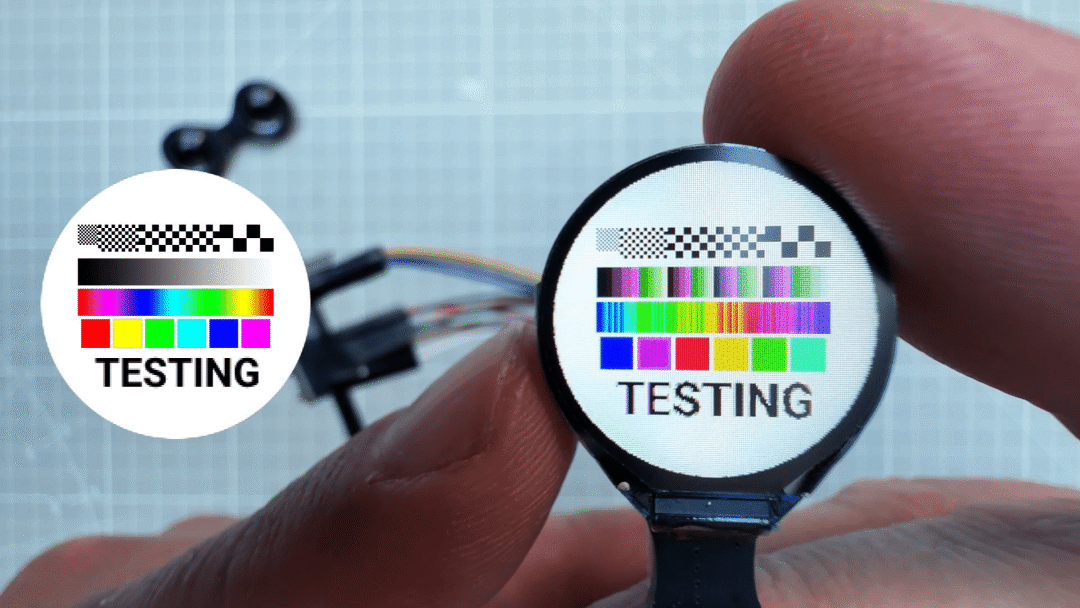
- High Resolution Display: Each “eye” is a circular IPS screen with a resolution of 160×160, supporting 65K colors for vivid and detailed visuals.
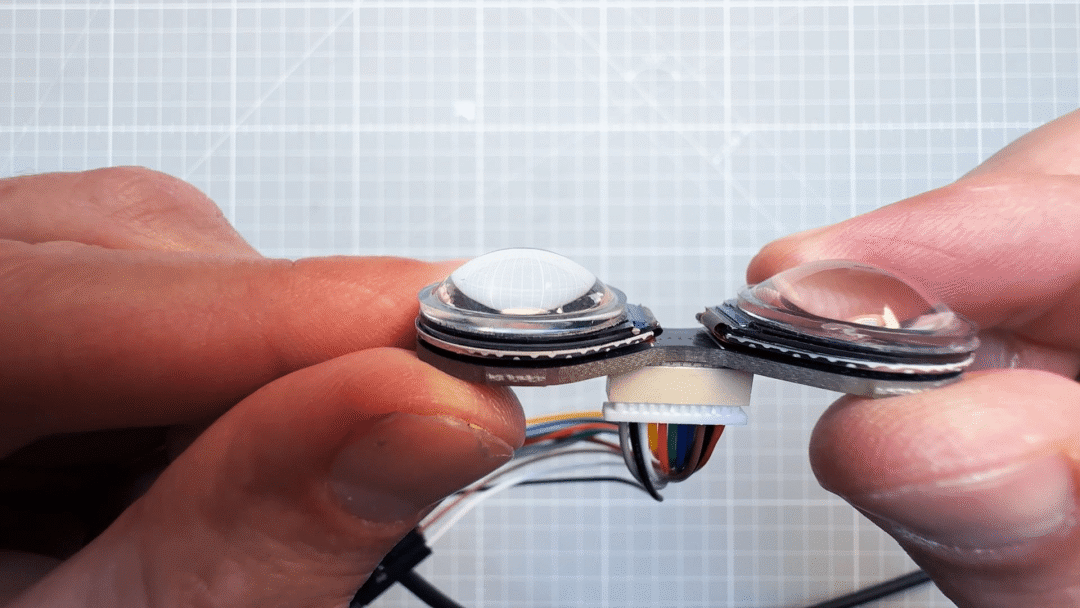
- Compact Design: The module measures only 51×20 mm, making it ideal for integration into small devices.
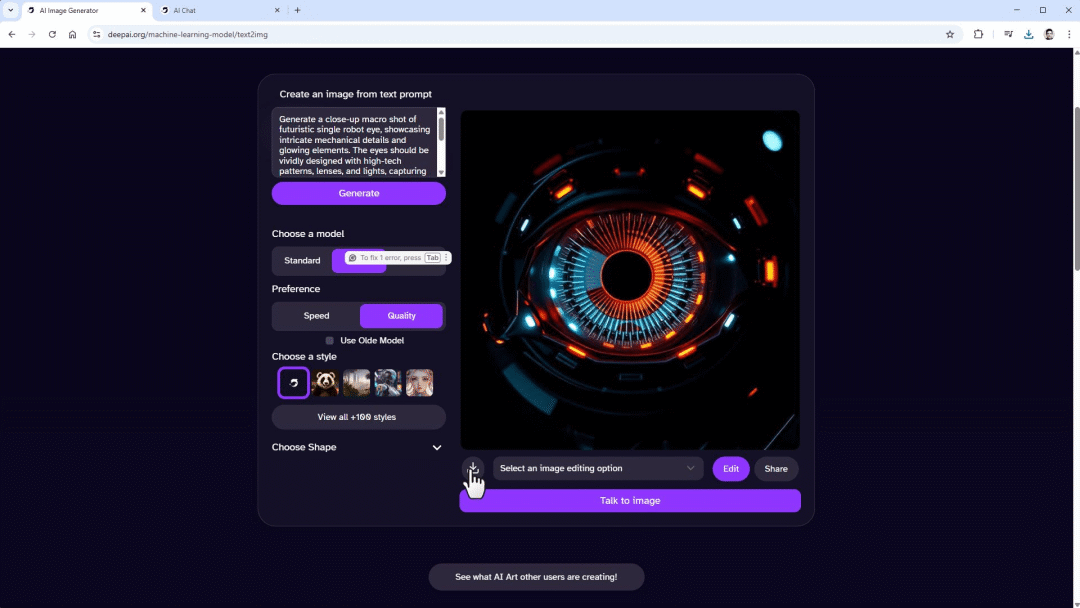
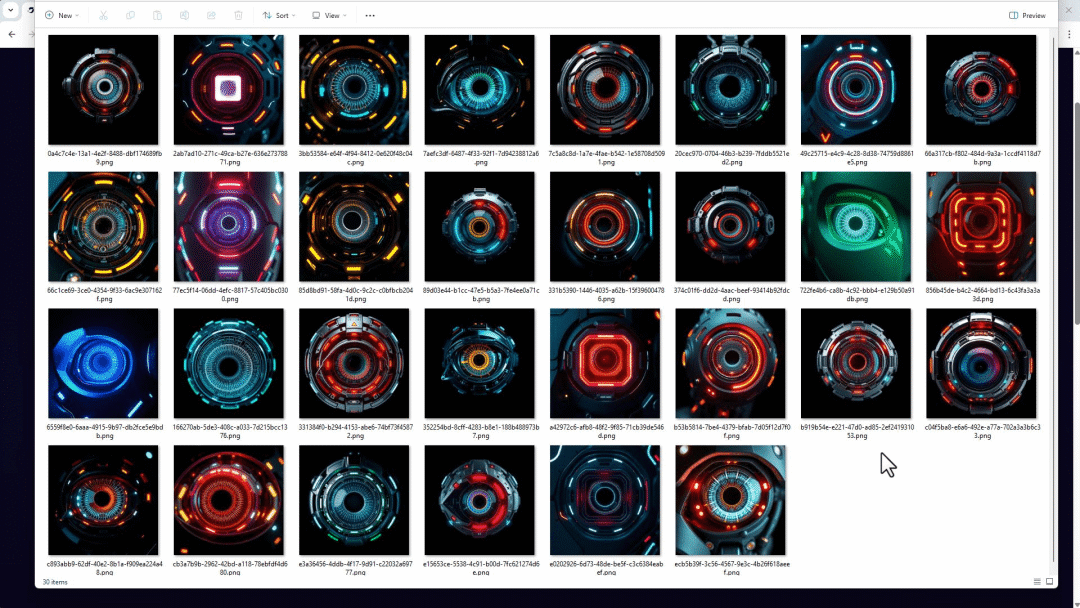
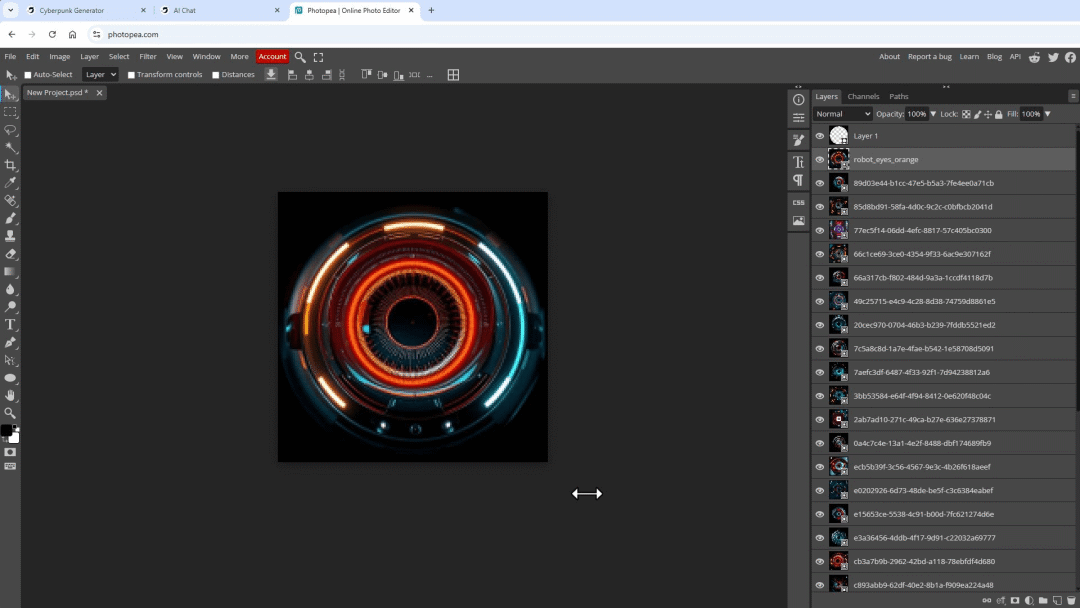
- Customizable Animations: You can design unique eye animations using AI image generation tools or graphic editing software (like Photopea).
- Multiple Applications: Suitable not only for robots but also for interactive devices, wearables, or creative art projects.
What Do You Need?
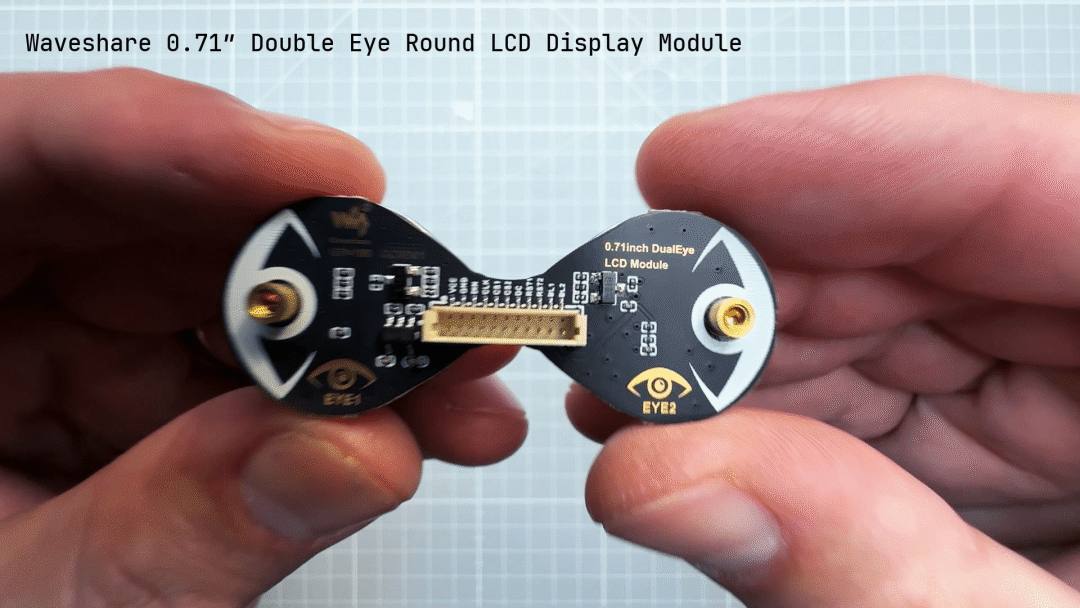
- 0.71-inch dual-eye LCD module (Waveshare)
- ESP32-C3-Zero development board
- Several jumper wires for connections
- Power supply (3.3V or 5V)
- Software tools:
- Arduino IDE
- Necessary libraries (like TFT_eSPI and LVGL)
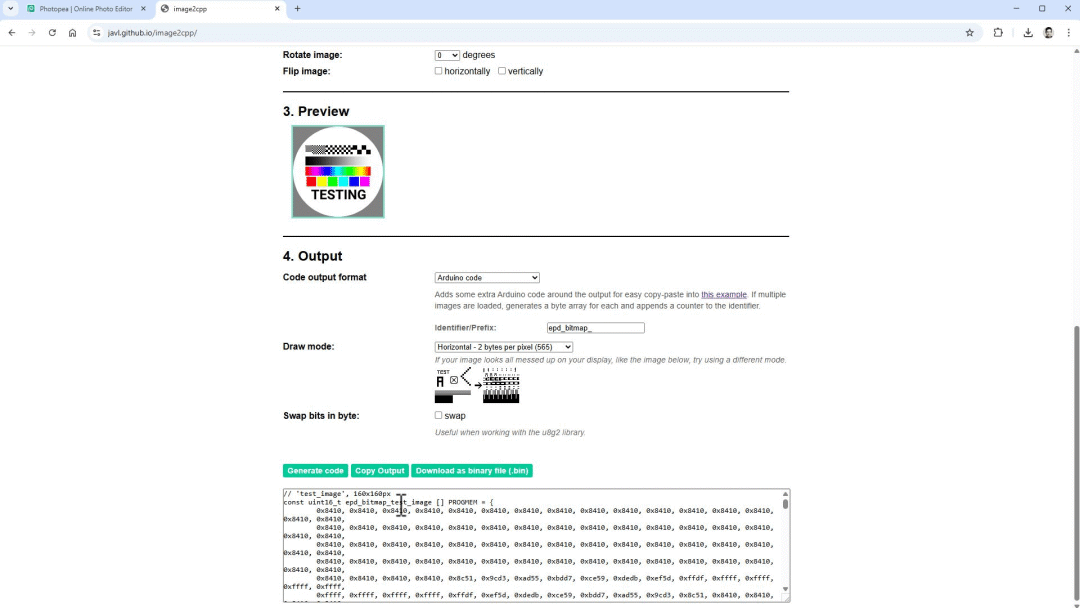
- Image conversion tools (like Image2cpp)
Production Steps
1. Hardware Connection

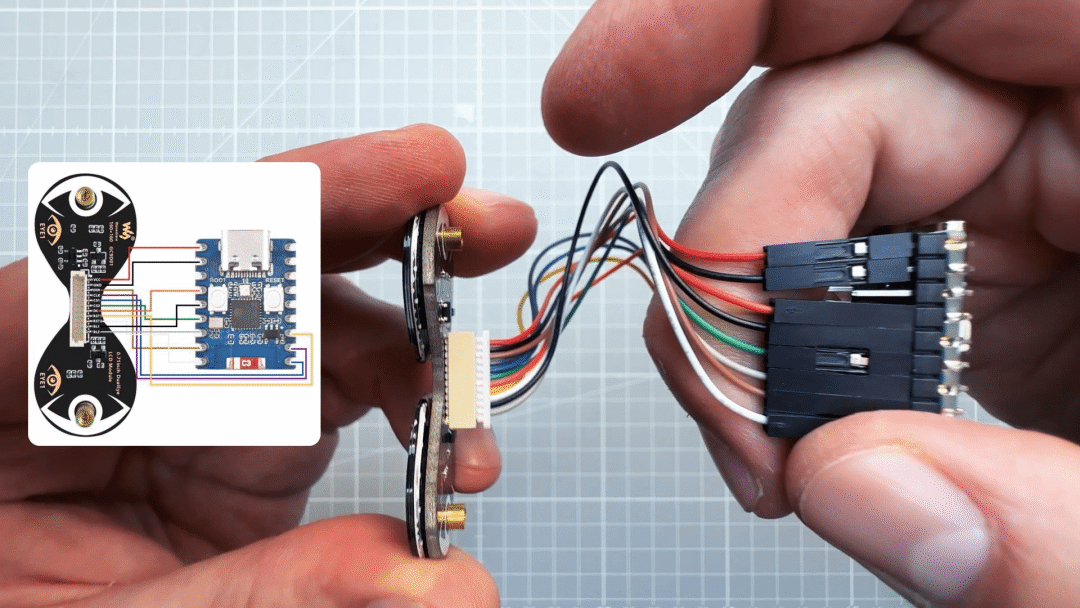
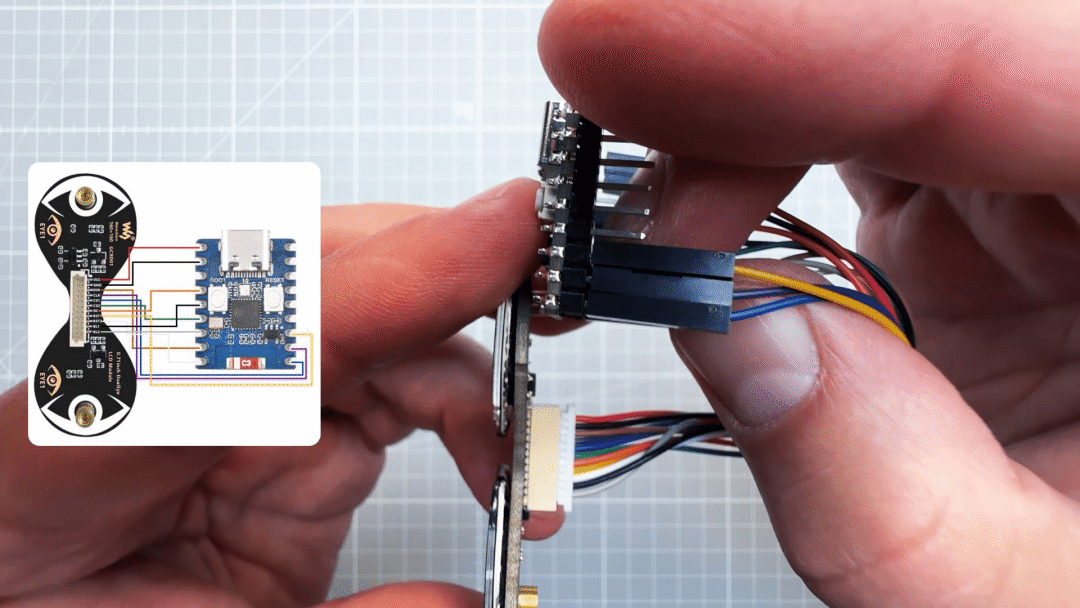
- Connect the dual-eye LCD module to the ESP32-C3-Zero development board via SPI interface. The main pins include VCC, GND, DIN, and CLK.
- Correctly map the pins according to the Waveshare official documentation to ensure circuit stability.
2. Software Configuration
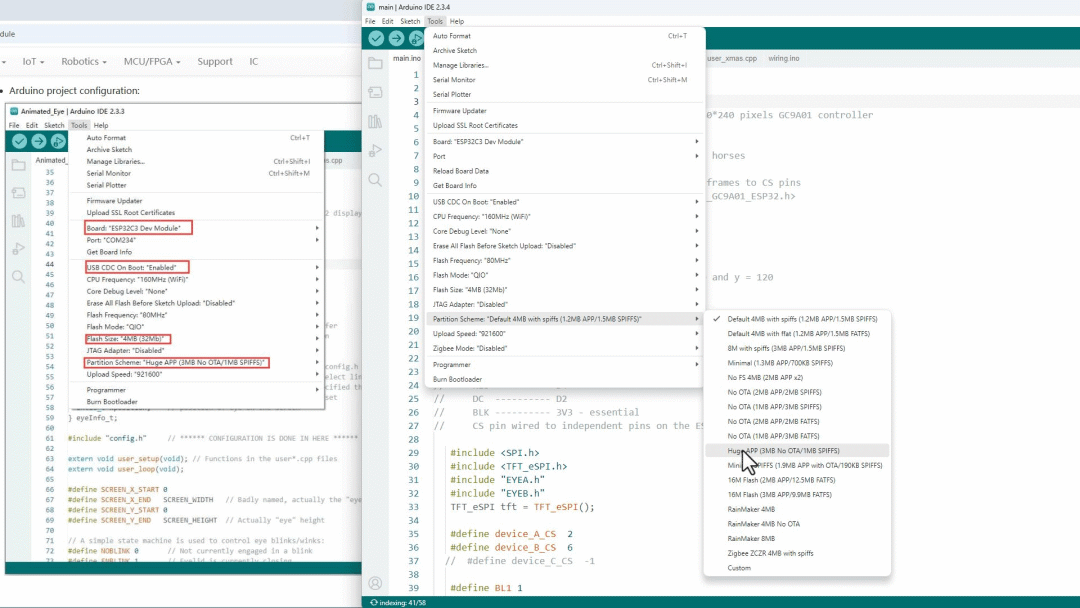

- Download and install Arduino IDE, and configure the ESP32 development environment.
- Install necessary libraries in Arduino IDE, such as TFT_eSPI, to control the LCD screen.
- Download example code from the GitHub repository, upload it to the development board, and test if the screen displays animations correctly.
3. Custom Animations
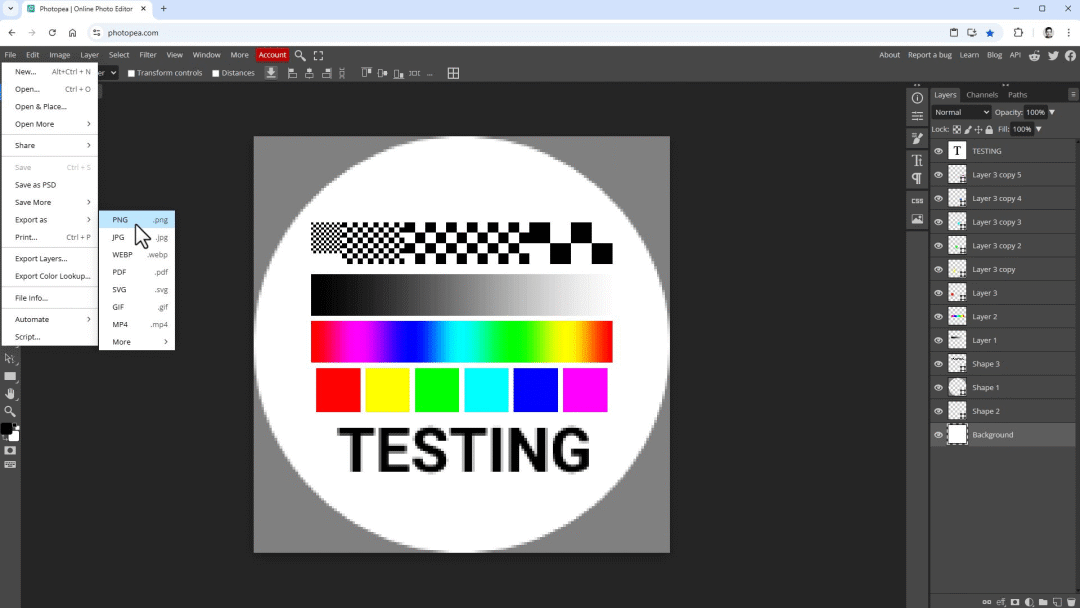

- Use Photopea or AI image generation tools to design personalized “eye” patterns.

-
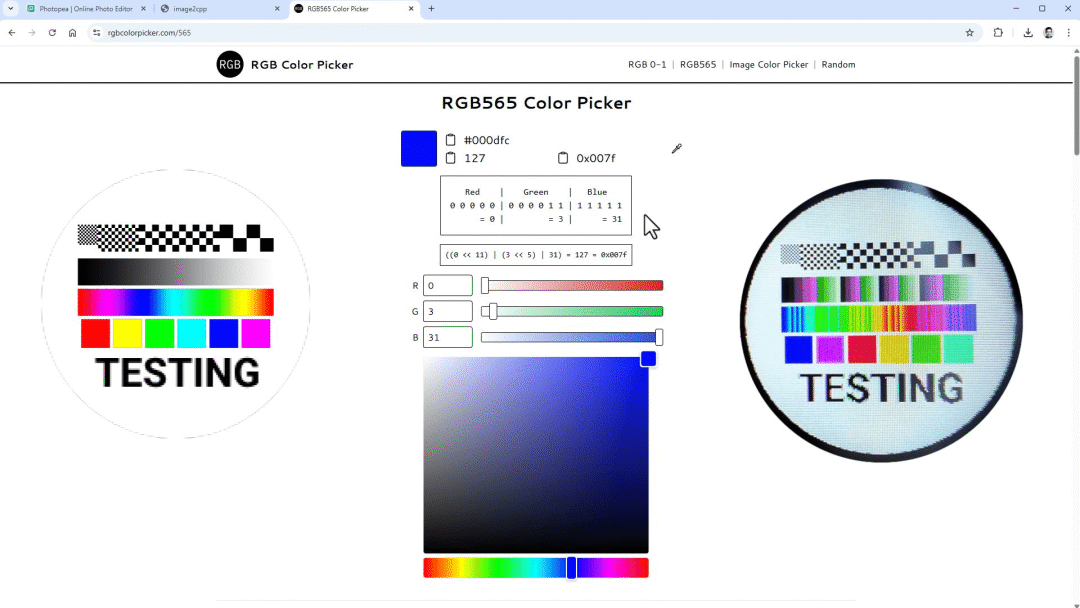
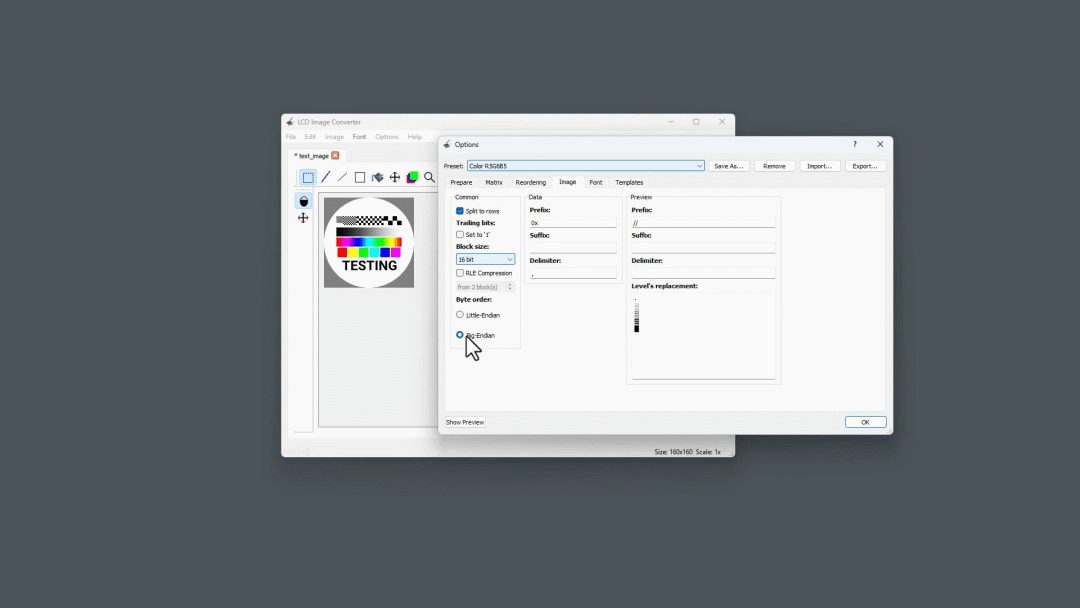
Use Image2cpp or LCD Image Converter to convert images into a format compatible with the LCD screen.
-
Upload the designed animations to the ESP32 board, giving your robot a unique expression!
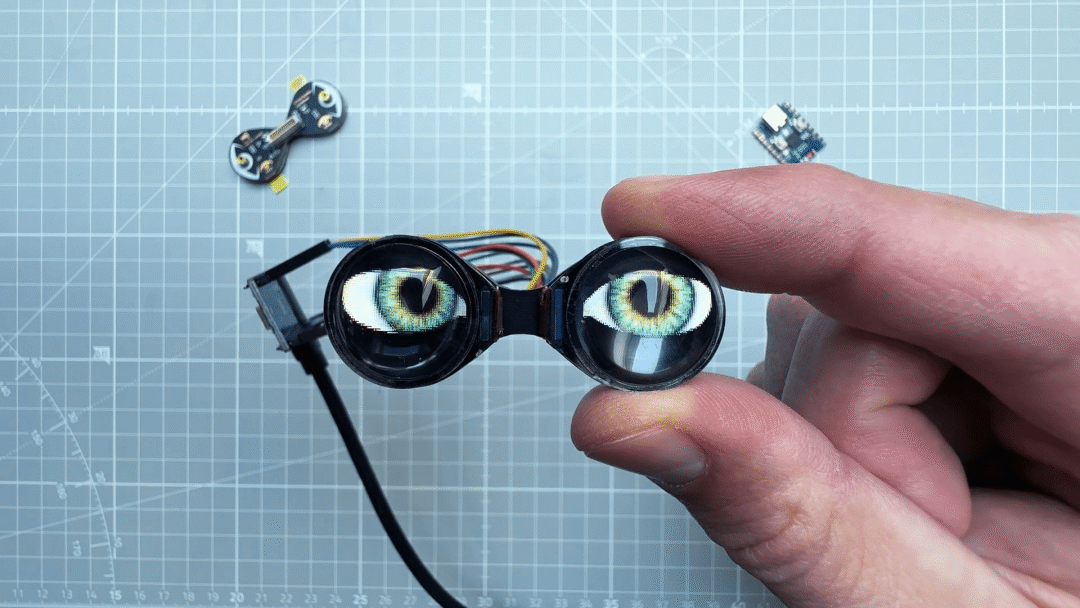
4. Run and Debug
- After uploading the code, observe the animation effects on the screen. If necessary, adjust the frame rate, colors, or pattern designs until the best effect is achieved.
Conclusion
This project is not just a technical experiment; it also opens up many possibilities, such as:
- Giving your robot lively expressions to make it more approachable.
- Creating interactive art installations that attract viewers with dynamic displays.
- Developing IoT devices with visual feedback features.
- Creating wearable devices, such as dynamic display badges or masks.
GitHub repository link: <span>https://github.com/upiir/dual_lcd_robot_eyes</span>
Waveshare official Wiki: <span>https://www.waveshare.com/wiki/0.71inch_DualEye_LCD_Module</span>
Whether you are an Arduino beginner or an experienced developer, this project offers a fun and challenging experience. Give it a try!
Original article link: https://github.com/upiir/dual_lcd_robot_eyes
Project author: upiir
Please indicate the source information when reprinting
Hardware Arsenal
Long press to scan the code for details👆
DFRobot Official Brand Store https://dfrobot.taobao.com/
DFRobot Official Flagship Store https://dfrobot.jd.com/
If anyone has something to say, feel free toleave a message!
Previous Project Review
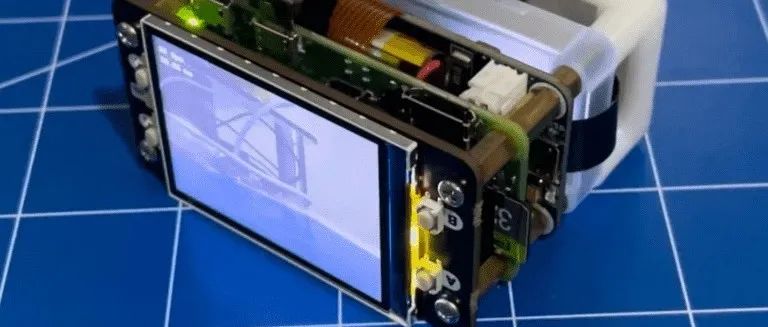
Build a mini controller with a 1.69-inch touchscreen based on ESP32-S3
Mini AI camera based on Raspberry Pi Zero 2 W (with Coral USB accelerator)
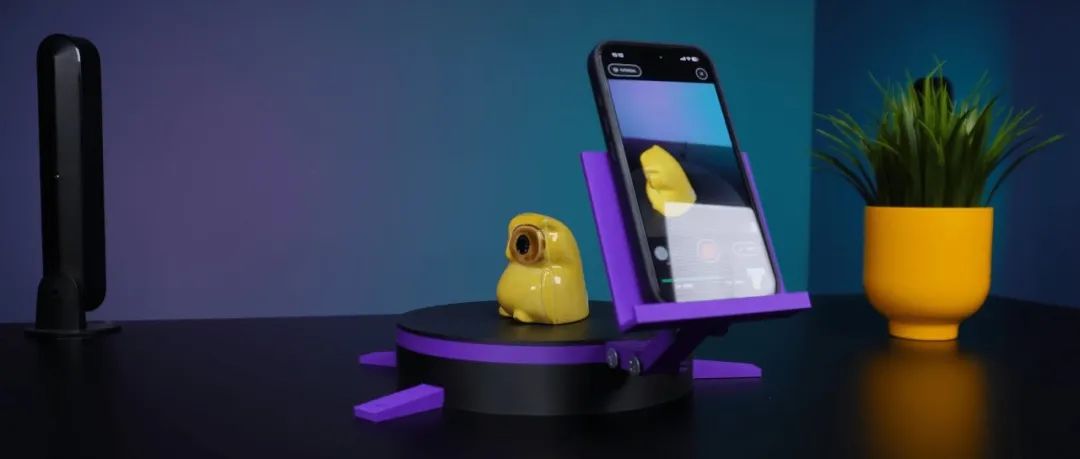
How to make a motorized 3D scanning turntable for mobile phones
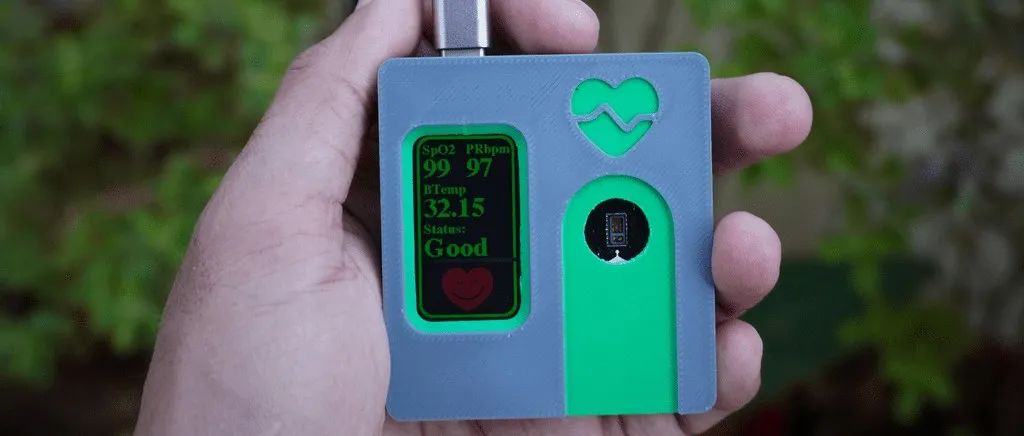
[Practical Guide] DIY AI oximeter with FireBeetle ESP32-S3, unlocking new health monitoring skills!
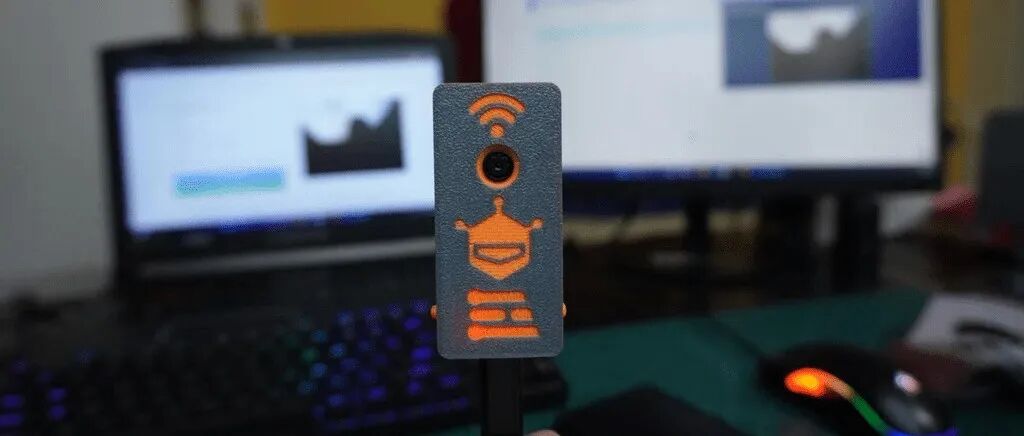
[Practical Guide] Low-cost and easy-to-use ESP32 edge AI vision camera!
Click to read👆