1 Project Background
I deployed the open-source project XiaoZhi Backend Service (replacing the official service <span>https://xiaozhi.me</span>) in a Windows + WSL2 Ubuntu 22.04 environment using Docker. The deployment success log is as follows:
Key Objective: To integrate the self-built service with the ESP32 smart voice hardware, achieving OTA (Over-The-Air) firmware updates and WebSocket communication.
2 Series of Pitfalls: From Network Penetration to Container IP
2.1 First Pitfall: The “Visibility Death” of Container Internal Network Address
The container startup log shows the OTA address as <span>http://172.21.0.5:8003/xiaozhi/ota/</span> (Docker internal IP):
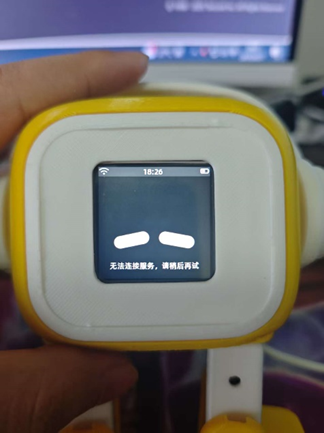
When I entered this address in the ESP32:
// ESP32 terminal error
WS: Connecting to ws://172.21.0.2:8000/xiaozhi/v1/
TcpTransport: Failed to connect to 172.21.0.2:8000
WebSocket: Failed to connect to server
At this point, I suspected the issue might be due to the internal address entered, causing external network access to fail.
So I forwarded this address to the public network through internal penetration,
resulting in the following address:
The OTA address entered in XiaoZhi was:
https://ota.dolphinai.online/xiaozhi/ota/

The result was the same, still unable to connect to the server, suspecting it was due to the OTA address.
I tested it in the browser and found the interface was normal, but the sent address might have issues.
The sent address can only be accessed locally, and the IP address 172.21.0.2 is a Docker internal IP that is prone to change. How can I fix it, or directly send a fixed non-exposed IP address like api.dolphinai.online? The debugging log of the XiaoZhi hardware terminal found the issue was the failure to access the WS address.
Core Issue:<span>172.21.0.x</span> is a dynamic IP within Docker (bridge network), which external devices cannot access!
2.2 Second Pitfall: Address Mismatch After FRP Penetration
I exposed the service to the public network using FRP internal penetration (see tutorial “Deploying frpc with Docker”):
- Public OTA Address:
<span>https://ota.dolphinai.online/xiaozhi/ota/</span> - Public WebSocket Address:
<span>ws://api.dolphinai.online/xiaozhi/v1/</span>
But the ESP32 still reported an error! Testing the OTA interface in the browser revealed a critical issue:
{
  "websocket": {
    "url": "ws://172.21.0.2:8000/xiaozhi/v1/" // Still returning internal IP!
  }
}
Root Cause: The backend service runs inside a Docker container,and the returned WebSocket address is the container’s internal IP, even though the OTA interface itself can be accessed from the public network.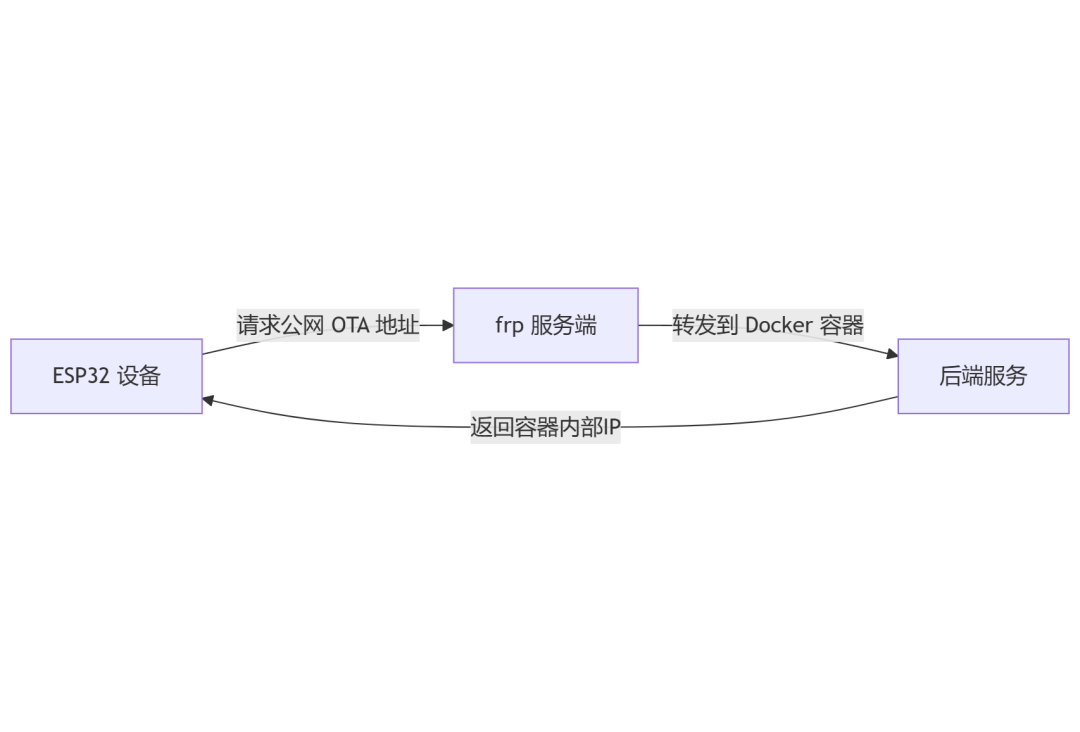 So now we need to solve two problems:1. The connection failure to the WS address caused by the changing IP address of the Docker container. Restart the container, fix the container’s IP address, modify the FRPC address, and test to see if the connection failure is due to the address change.
2. The WS address sent through OTA is a local address, which cannot be used as a connection for online remote firmware. The code needs to be modified to directly change the OTA sent address to a server IP address.
2.3 Third Pitfall: Overlooked Official Documentation
Just as I was preparing to go through these two issues, I thought to check the official website for tutorials. I found a clear statement in the official documentation regarding the OTA address: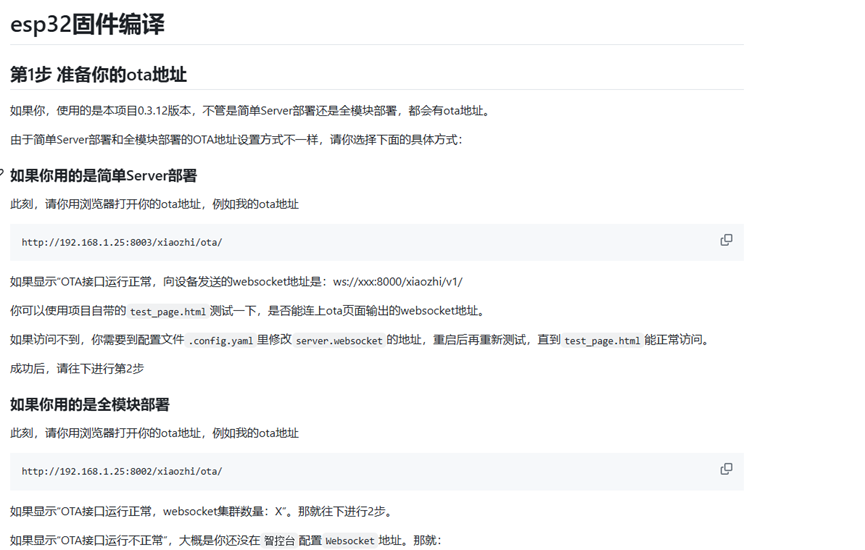
🌈
The OTA port should be 8002, not 8003 as shown in the container log!
Testing <span>http://serverIP:8002/xiaozhi/ota/</span> returns the correct response:
{
  "websocket": {
    "url": "ws://43.134.41.208:8000/xiaozhi/v1/" // Public IP!
  }
}


OTA check result: This time the public address was sent out, indicating a successful connection.

{"server_time":{"timestamp":1751193611211,"timeZone":"Asia/Shanghai","timezone_offset":480},"activation":{"code":"182071","message":"https://xiaozhi.dolphinai.online/\n182071","challenge":"34:4F:9D:CA:C4:49"},"firmware":{"version":"1.0.0","url":"http://xiaozhi.server.com:8002/xiaozhi/otaMag/download/NOT_ACTIVATED_FIRMWARE_THIS_IS_A_INVALID_URL"},"websocket":{"url":"ws://43.134.41.208:8000/xiaozhi/v1/"}}
This indicates the test was successful, and configuration can proceed again.
3 Key Steps for Successful Device Integration
3.1 Reflashing ESP32 Firmware
Use the online burning tool to update the firmware: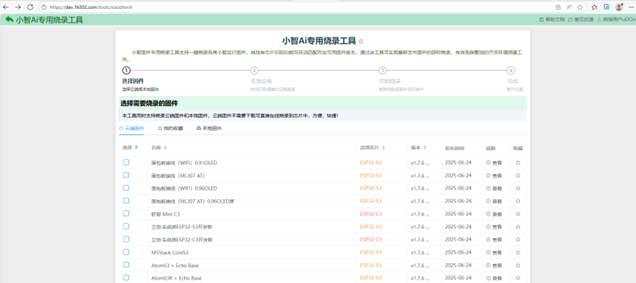
3.2 Configuring Device Network
- Connect to the ESP32 hotspot
<span>http://192.168.4.1</span> - In Advanced Configuration, enter the correct OTA address:
<span>http://yourPublicIP:8002/xiaozhi/ota/</span> - After saving, switch to home WiFi
3.3 Binding the Smart Agent
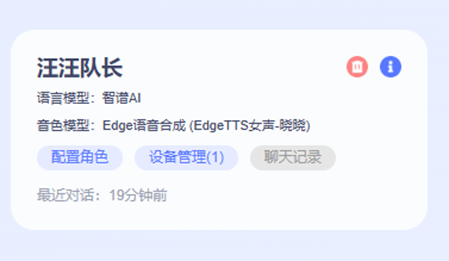
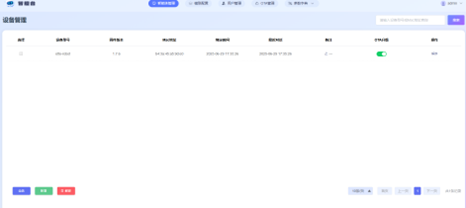
After the device connects successfully, it displays a 6-digit activation code, create a smart agent on the front end and bind it: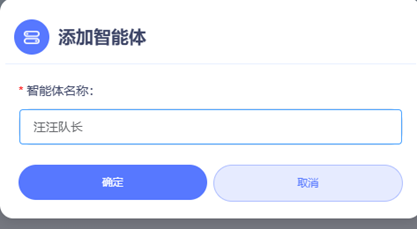
4 Summary of Lessons Learned
| Error Point | Correct Approach | Cost |
|---|---|---|
| Trusting container log ports | Follow the official documentation port | 3 hours of debugging |
| Not verifying OTA return content | Manually call the interface to verify return values | 2 firmware reflashes |
Appendix:
- 1 Windows Setup Tutorial for ESP-IDF 5.3.2
- 2 Firmware Compilation Guide