Original: How to Configure a Wireless Hotspot with Raspberry Pi
This article uses the Raspberry Pi Zero W as a hardware reference example, utilizing the built-in WiFi of the Raspberry Pi as a wireless hotspot AP. It can be connected via USB to Ethernet or an external USB WiFi to function as a firewall router, a network sniffing protocol analysis tool, or to spoof a wireless network and steal user information (Do not enter passwords or sensitive information when connected to public WiFi), or to show off skills. How to use it depends on personal quality.
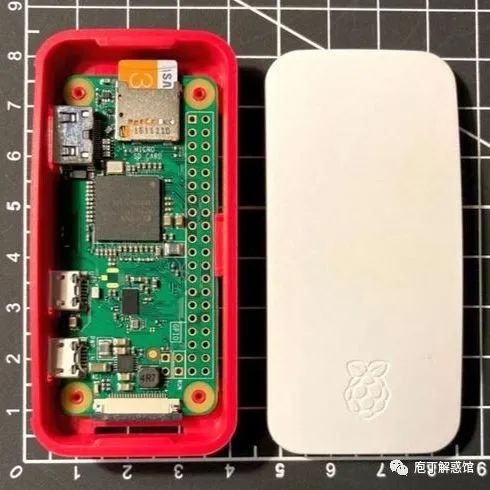
The Raspberry Pi Zero W features a single-core 1GHz processor, 512MB of RAM, a trapezoidal ceramic antenna, precision integrated circuits, Bluetooth, Wi-Fi, and two Micro-USB ports, making it one of the smallest complete standalone hardware available.
Detailed hardware information is as follows:
1GHz, single-core CPU
512MB RAM
802.11 b/g/n wireless LAN
Bluetooth 4.1
Bluetooth Low Energy (BLE)
Mini HDMI and USB On-The-Go ports
Micro USB power
HAT-compatible 40-pin header
Composite video and reset headers
CSI camera connector
Download and install the system from the Raspberry Pi official website. To save power, disable Bluetooth, connect to the internet, and switch to the command line startup interface, which will not be elaborated here.
Start installing the software packages needed to configure the wireless hotspot. Switch to root user privileges, and the installation command is as follows:
sudo su
apt-get update
apt-get full-upgrade
apt-get install hostapd dnsmasq
Since a wireless hotspot can easily affect the network, it is not allowed to start by default after installation. The command to allow default startup services is as follows:
systemctl unmask hostapd
systemctl enable hostapd
systemctl reenable dnsmasq
You also need to install the firewall configuration tool. The command is as follows:
DEBIAN_FRONTEND=noninteractive apt install -y netfilter-persistent iptables-persistentThe wireless hotspot requires a fixed IP address. Set the Raspberry Pi’s built-in wireless network card wlan0 to a static IP by editing dhcpcd.conf, with the command as follows:
vi /etc/dhcpcd.confIn this example, 192.168.0.1 is used as the IP for wlan0. Add the following configuration:
interface wlan0
static ip_address=192.168.0.1/24
nohook wpa_supplicant
The other network card can be a wireless card or USB to Ethernet, and the dynamic address does not need to be configured; refer to the static address example above. The image below shows the addition of USB to Ethernet and an external wireless card.

The wireless hotspot needs to provide dynamic IP address automatic allocation functionality, so use dnsmasq to configure DHCP. It’s a good habit to back up before modifying, so back up the dnsmasq configuration file with the following command:
mv /etc/dnsmasq.conf /etc/dnsmasq.conf.origEdit and create a new dnsmasq configuration file with the following command:
vi /etc/dnsmasq.confThe dynamic address pool ranges from 192.168.0.11 to 192.168.0.99. Set it to prohibit broadcasting on other network cards, and the default DHCP hostname is zeropi. The detailed configuration is as follows:
interface=wlan0
listen-address=192.168.0.1
no-dhcp-interface=lo,wlan1
bind-interfaces
server=8.8.8.8
domain-needed
bogus-priv
dhcp-range=192.168.0.11,192.168.0.99,24h
domain=wlan
address=/zeropi/192.168.0.1
Use hostapd for the wireless hotspot service. The command to create the configuration file is as follows:
vi /etc/hostapd/hostapd.confThis example uses CA as the country code (use CN for mainland China), the wireless hotspot name is zeroAP, WPA2 encryption is used, the password is Zer0Pi_W, the wireless channel is 7, and IEEE 802.11g (2.4 GHz) is used. The detailed configuration is as follows:
country_code=CA
interface=wlan0
ssid=zeroAP
hw_mode=g
channel=7
macaddr_acl=0
auth_algs=1
ignore_broadcast_ssid=0
wpa=2
wpa_passphrase=Zer0Pi_W
wpa_key_mgmt=WPA-PSK
wpa_pairwise=TKIP
rsn_pairwise=CCMP
Configure routing settings by editing and creating a configuration file with the following command:
vi /etc/sysctl.d/routed-ap.confAllow packet forwarding with the following detailed configuration:
net.ipv4.ip_forward=1Configure firewall packet filtering rules to allow masquerading of the wlan0 address, setting masquerade for all addresses in the 192.168.0.0 subnet, thus achieving router functionality (firewall setting rules will not be discussed in this article). The command is as follows:
iptables -t nat -A POSTROUTING -o wlan0 -j MASQUERADE
iptables -t nat -A POSTROUTING -s 192.168.0.0/24 ! -d 192.168.0.0/24 -j MASQUERADE
After running the above commands without errors, save the firewall settings to ensure they load automatically on startup with the following command:
netfilter-persistent saveDue to regulations on the use of radio frequencies in various countries, to ensure interference-free operation, the Raspberry Pi disables the 5 GHz wireless network by default. To unlock the WiFi radio on the Raspberry Pi, execute the following command:
rfkill unblock wlanTo avoid potential startup timing issues, configure rc.local to ensure the startup sequence is correct, edit with the following command:
vi /etc/rc.localStart the network card settings first, wait 5 seconds, then start the DHCP settings. Add the following content before exit 0:
service dhcpcd restart
sleep 5
service dnsmasq restart
Once the setup is complete, restart the Raspberry Pi, and you will see the new wireless hotspot zeroAP. After connecting, you can access the internet.
<The image below shows the Raspberry Pi Zero W connected to a power bank>