The author has an industrial control device, and upon booting, it was found to be using a Debian system with external ports such as 22, 80, 3306, etc. Since port 80 is open, there should be a web page available. I tried accessing the device’s IP in a browser, and it opened but required a login.Using a programmer, I read its eMMC firmware and removed redundant data to obtain the following directory structure: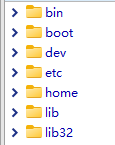 Using search techniques, I found the password required for the web page login, and discovered that most of the web pages are implemented using CGI, which is convenient for further analysis.
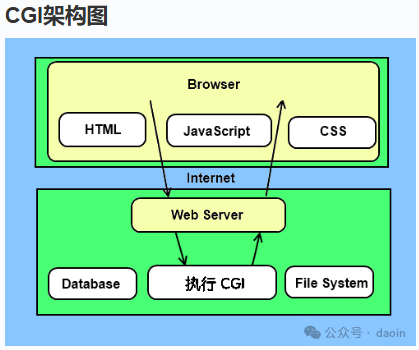 Having obtained the password required for web login
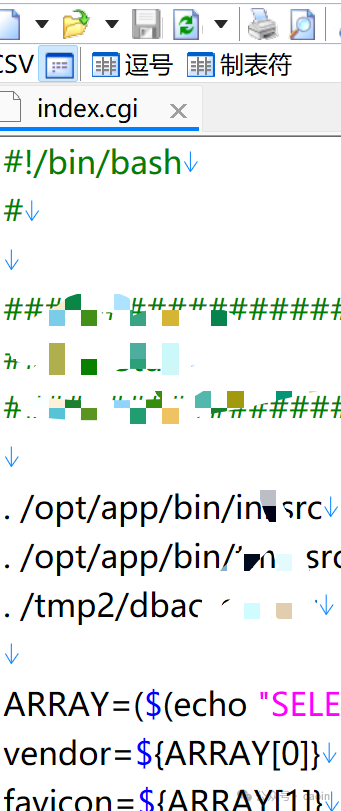 The URL for the firmware update entry on the web page: 172.72.72.xx/cgi/updfirm.cgi?chk
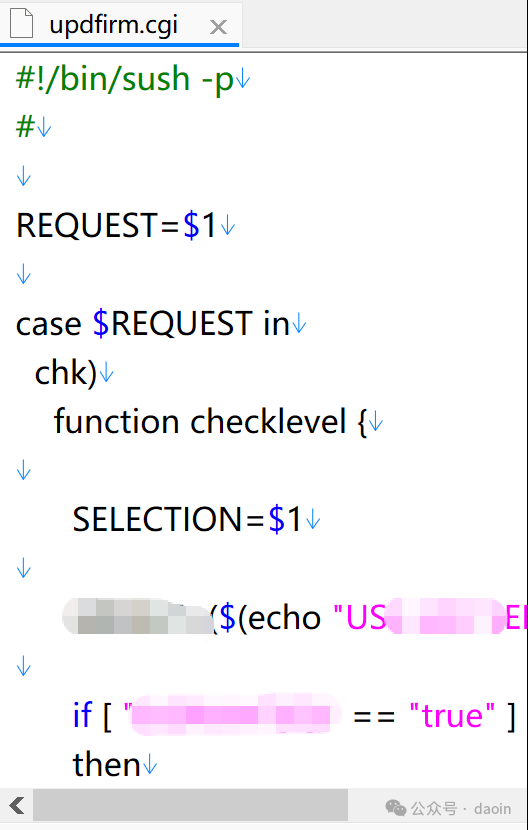 Looking atupdfirm.cgi, it only contains code related to file uploads, gradually pinpointing the key program for firmware upgrades to ‘upload’, which I dragged into IDA to obtain the firmware upgrade verification algorithm.This part is not the focus of this article, but to briefly explain, the firmware package is divided into several compressed packages, with the first few lines being verification data, followed by a zip compressed package, then more verification data, and so on, with several compressed packages merged into the firmware.
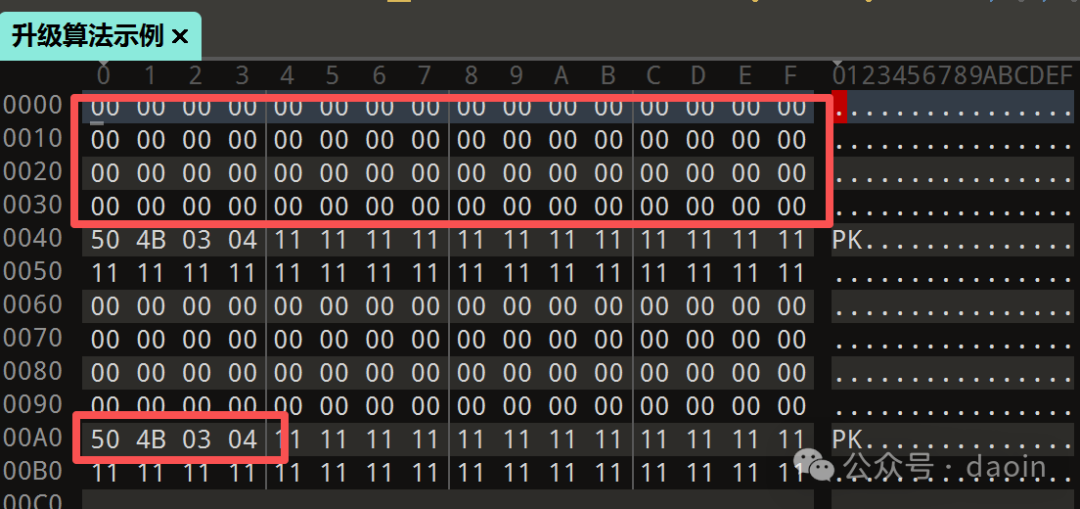 The manufacturer of this device has a public firmware download address, and after downloading the relevant firmware and removing redundant data, we obtained the corresponding compressed package.After decompressing the relevant compressed package, only directories like /opt/app and /etc were found, and the /etc directory only contained configuration files related to MySQL, which roughly seemed to have no breakthrough points.Let’s set this aside for now and test the upgrade algorithm by renaming the above upgrade example algorithm to ‘aaa’, repackaging it, and successfully upgrading through the web page, with the device also able to boot normally.Extracting the eMMC firmware again, I found the directory where ‘aaa’ is located: /opt/app/bin/aaaI backed up the second eMMC firmware to a USB drive for easier observation, mounted the USB drive to an Ubuntu computer, and used ‘ls’ to check the permissions of ‘aaa’:
-rwxr-xr-x 1 root root 6.5K Aug 26 2011 aaaChecking the permissions of ‘updfirm.cgi’:
-rwxr-xr-x 1 root root 9K Jan 4 15:53 updfirm.cgiBoth have the same permissions, indicating that during the upgrade process, automatic authorization occurs,and any user group has execution permissions!
With execution permissions, any script & program can be packaged to the device. The device has SSH port 22 open, so a script can be written to change the root password for privilege escalation.
Considering that the root password may be needed for device startup or other aspects, I ruled out the password change scheme and opted to map the terminal to the web instead.
Asking Yuanbao:
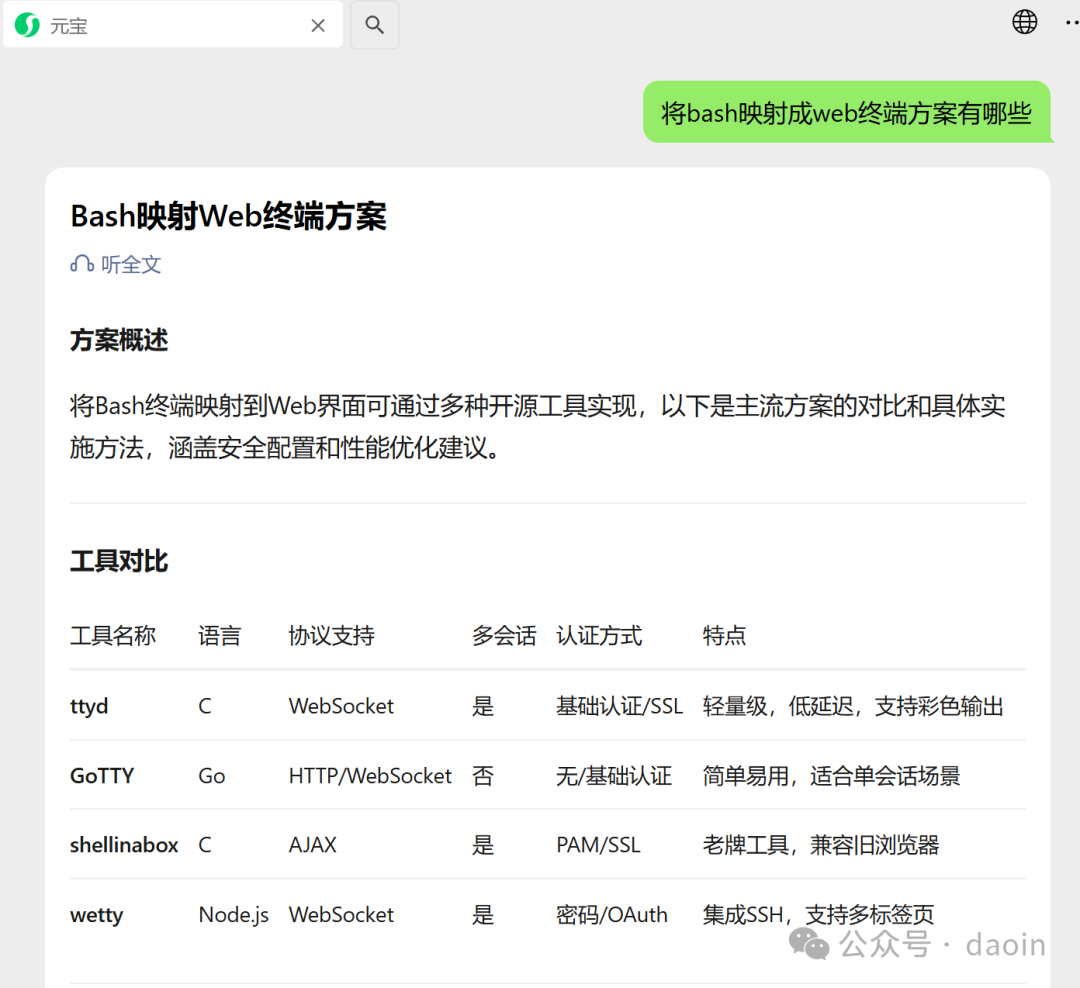
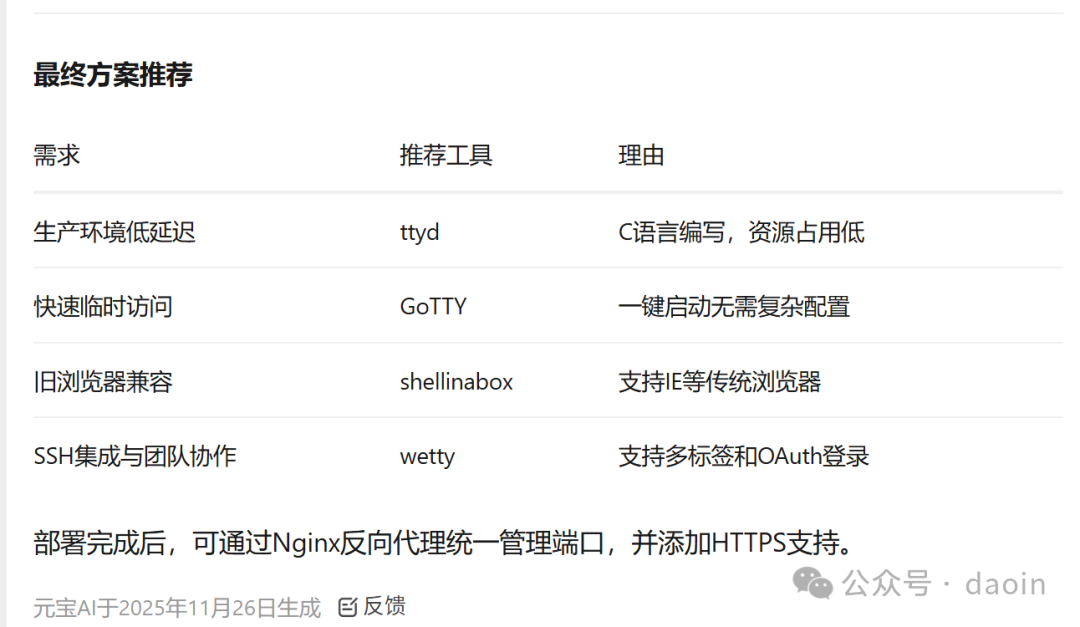
Ultimately, I decided to use the ttyd solution, as ttyd has the advantage of being a single program that can achieve mapping without complex deployment:
ttyd -p 8080 -c username:password bash
Now that we have the terminal solution, how do we add ttyd to startup?
Analyzing the eMMC firmware, the device uses SysV Init to manage services.
SysV Init startup process
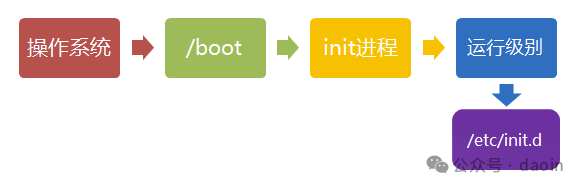
According to the above diagram, the startup service scripts are placed in the /etc/init.d folder, which is a linked folder, with the actual storage location in /etc/rc.d/init.d.
Under /etc/rc.d there are
init.d rc0.d rc1.d rc2.d rc3.d rc4.d rc5.d rc6.d rcS.dinit.d stores the configuration files required for starting services, and rc*.d determines the startup order. After writing the configuration, create the following links:
bash# ls -la /etc/rc.d/* | grep ttyd-rwxrwxrwx 1 root root 2514 Nov 15 2025 ttydcflrwxrwxrwx 1 root root 23 Nov 15 2025 K10ttydcf -> /etc/rc.d/init.d/ttydcflrwxrwxrwx 1 root root 23 Nov 15 2025 K10ttydcf -> /etc/rc.d/init.d/ttydcflrwxrwxrwx 1 root root 23 Nov 15 2025 S90ttydcf -> /etc/rc.d/init.d/ttydcflrwxrwxrwx 1 root root 23 Nov 15 2025 S90ttydcf -> /etc/rc.d/init.d/ttydcflrwxrwxrwx 1 root root 23 Nov 15 2025 S90ttydcf -> /etc/rc.d/init.d/ttydcflrwxrwxrwx 1 root root 23 Nov 15 2025 K10ttydcf -> /etc/rc.d/init.d/ttydcfAfter starting ttyd, the mapped bash does not have root permissions:
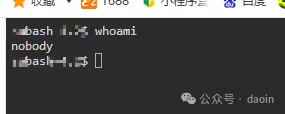
Looking back at the differences between the update code and the login code:
# Login reference#!/bin/bash# Update reference#!/bin/sush -pMD5 comparison shows that the two are not the same file. I couldn’t analyze how privilege escalation occurs in IDA, but the functions of the two are similar, leading to the guess that it might be a modified version of bash.
Mounting the eMMC firmware, I checked the permissions of the two:
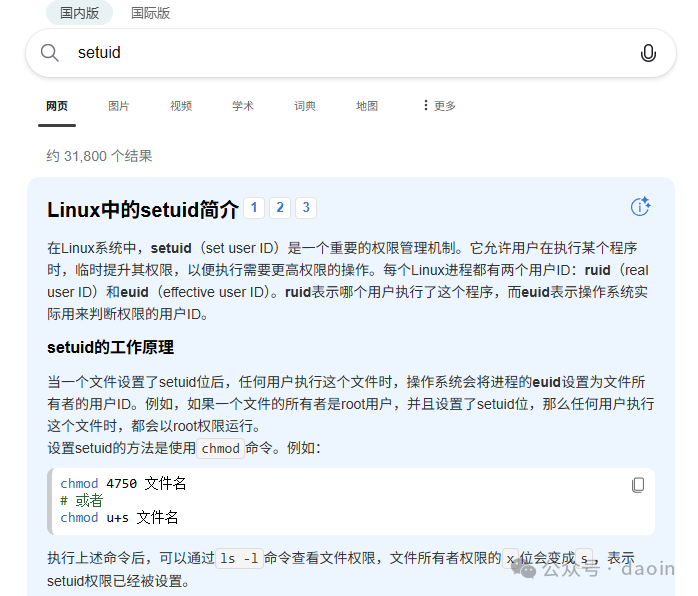
# ls -l /bin/bash /bin/sush-rwxr-xr-x 1 root root 2915235 Oct 9 2014 /bin/bash-rwsr-sr-x 1 root root 2909035 Jan 1 2016 /bin/sush‘sush’ has the additional ‘s’ permission, which is setuid, commonly used for temporarily elevating permissions:
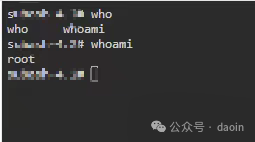
Replacing ‘bash’ with ‘sush’ in the ttydcf configuration, executing ‘whoami’ shows that the user is root:
The author acknowledges that there may be unclear expressions, omissions, or errors in this writing, which is just a casual note for everyone to read for fun.