In this article, you will learn:
1. How to remove an old laptop LCD screen to use as a standalone monitor
2. How to design and create a sturdy case using a laser cutter
If you have an old laptop that has been outdated for many years, it can be quite embarrassing to open a webpage or Word document as slow as a snail. Giving it to the elderly or children is not as good as an iPad. Although the memory has recently increased, those two 1GB sticks are not worth selling for a bigger house. Should you just throw it away? Not so fast! There is still a component on the computer that can be repurposed—the LCD screen. Today, we will take it apart and transform it into a cool little TV, which is definitely more enjoyable than watching videos on a phone or iPad!
Materials and Tools List
-
LCD screen removed from an old laptop
-
3x13mm cup head hex screws, 3mm nuts
-
Laser cutter and 2-3mm board material
-
2D design tools like CorelDRAW
Production Process
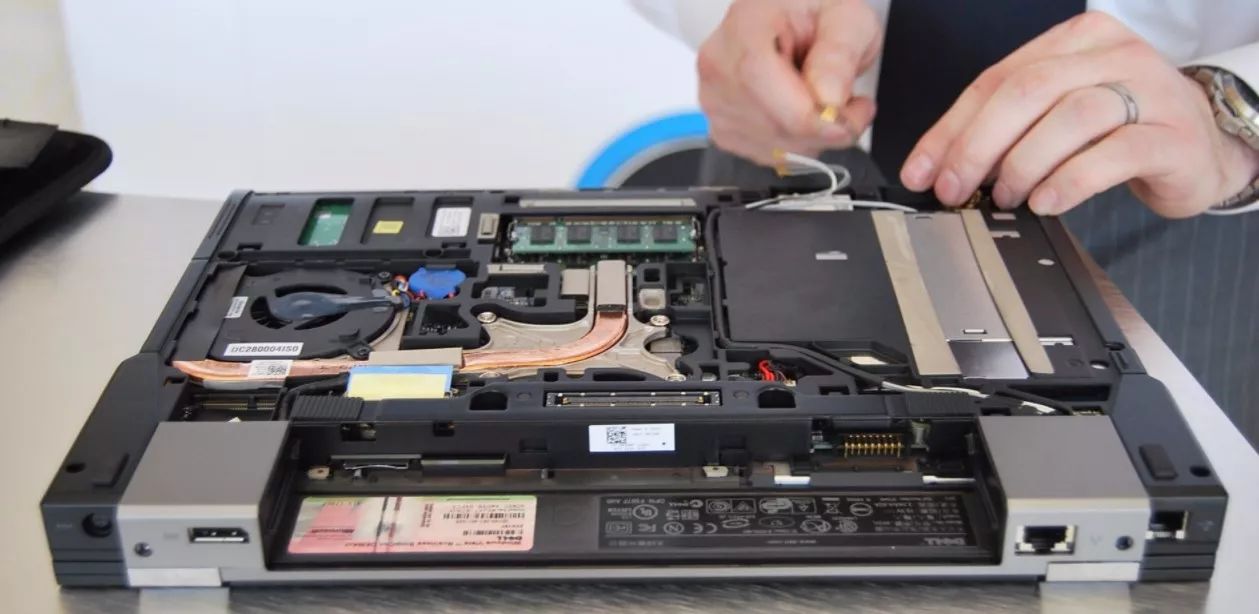
Step 1: Remove the LCD panel from the old computer. Although it’s an outdated laptop, you shouldn’t just smash it with a hammer. Typically, to disassemble a laptop, you need to start from the bottom, remove the keyboard section to expose the motherboard, find the display cable, and carefully take it off. The screen may have a clip design, so be careful not to damage the delicate screen while prying it open. If you can’t figure out where to start, you can search online for your laptop model followed by the keyword ‘disassembly,’ and you will usually find disassembly images.
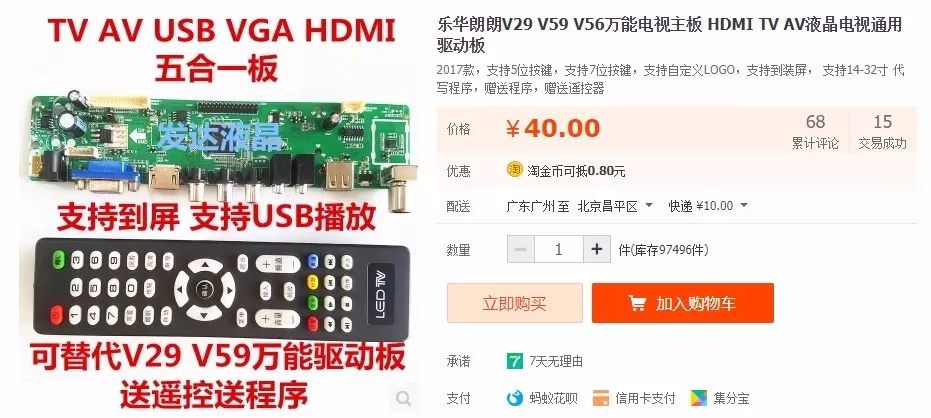
Step 2: Power on the removed LCD panel. If your original laptop screen is intact, it can generally be removed and converted into a standalone monitor or small TV. Most laptop screens use a flat ribbon cable to connect to the motherboard; this type of connection is called an LVDS interface, which can have 40-pin, 30-pin, or 25-pin types. Now, you need to find a suitable LCD driver board on a versatile shopping platform that has the appropriate input interface, connect it with the LVDS cable to the LCD panel, and you can light up the LCD panel to function as a monitor. Common LCD driver boards include Lehua V59, V56, etc., which are ‘universal’ LCD driver boards that support TV reception, VGA, HDMI, AV interfaces, and can even support USB file playback at incredibly low prices! They support almost all LCD panels; just use a USB drive to upload the corresponding LCD panel parameter file to the driver board.
Important parameters for matching the LCD driver board: Resolution:
Taking the Lehua V56 universal LCD driver board as an example, to light up the LCD panel, it is crucial to understand the resolution of the screen. For instance, the resolution of the LCD screen I am using is 1920*1080. Common LCD screen resolutions are shown in the image below:

If the resolution is incorrect, the driver board will display a garbled screen after powering on. However, don’t panic; just find the appropriate resolution upgrade file, copy it onto a USB drive, plug it into the driver board’s USB interface, and it will automatically upgrade after powering on. Of course, if you don’t know how to upgrade, a more convenient method is to tell the seller your LCD panel model and have them write the correct resolution file before shipping, so you can use it directly once you receive it. The LCD panel model is usually printed near the interface on the back of the LCD panel, along with a barcode and a series of numbers; this is the LCD panel model, and you can search for it on the ‘Screen Library’ (http://www.panelook.cn) website to get all the information about this LCD board.
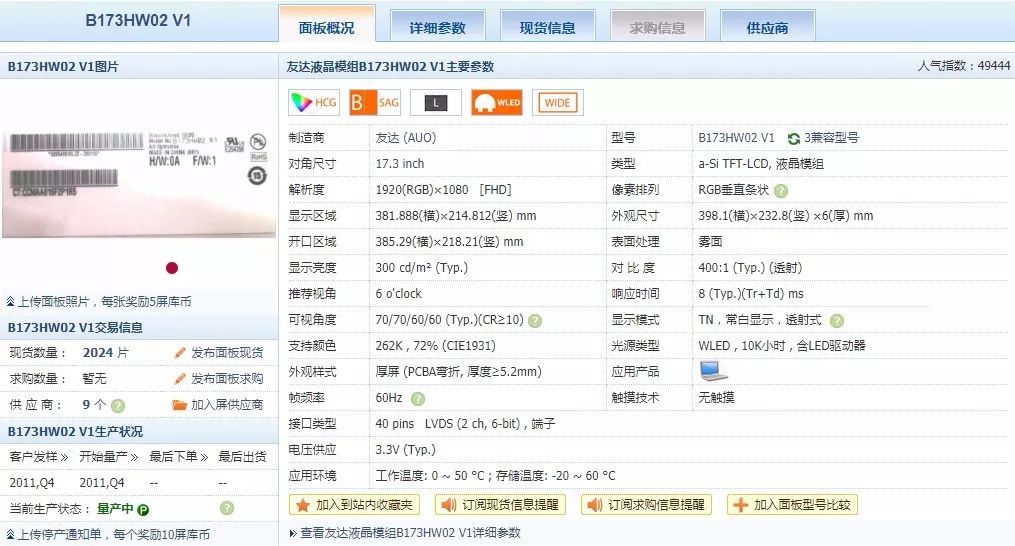
Besides the resolution, there is also the screen size information; make sure to note it down, as we will also need to create a beautiful case later.
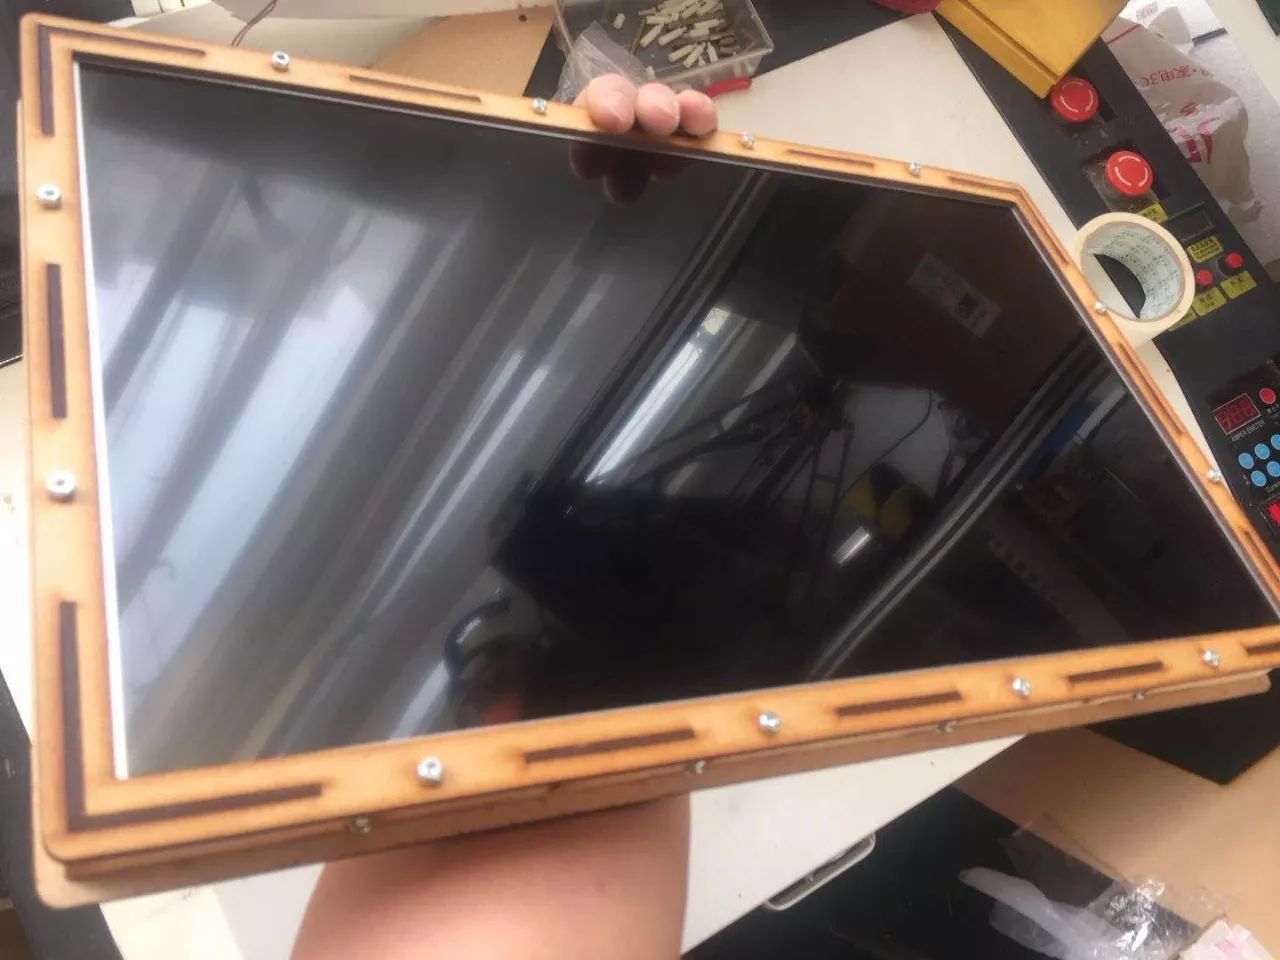
Step 3: Create a case for your LCD TV. In principle, the LCD panel paired with the driver board can be used. However, it shouldn’t be left exposed. We will again use the laser cutter to create a beautiful case for it.
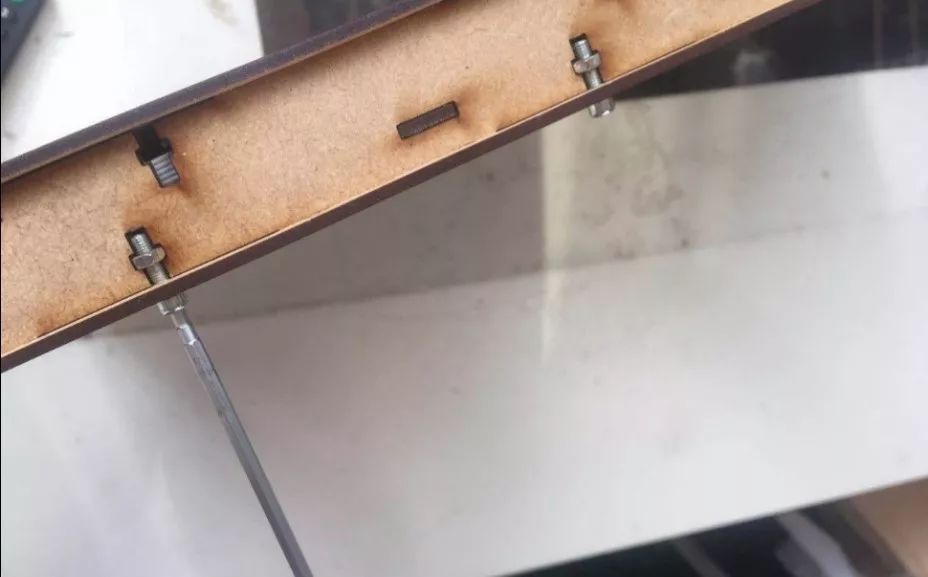
We have previously made boxes for chess pieces, coin sorting machines, etc., all using tenon and mortise structures, glued together with hot melt adhesive. Today, we will try a sturdier structure. In each tenon and mortise, we will add a screw hole and screw slot, so that after inserting and connecting, we can tighten a 3mm screw, allowing it to be securely fixed together without glue, and making it easier to disassemble in the future.
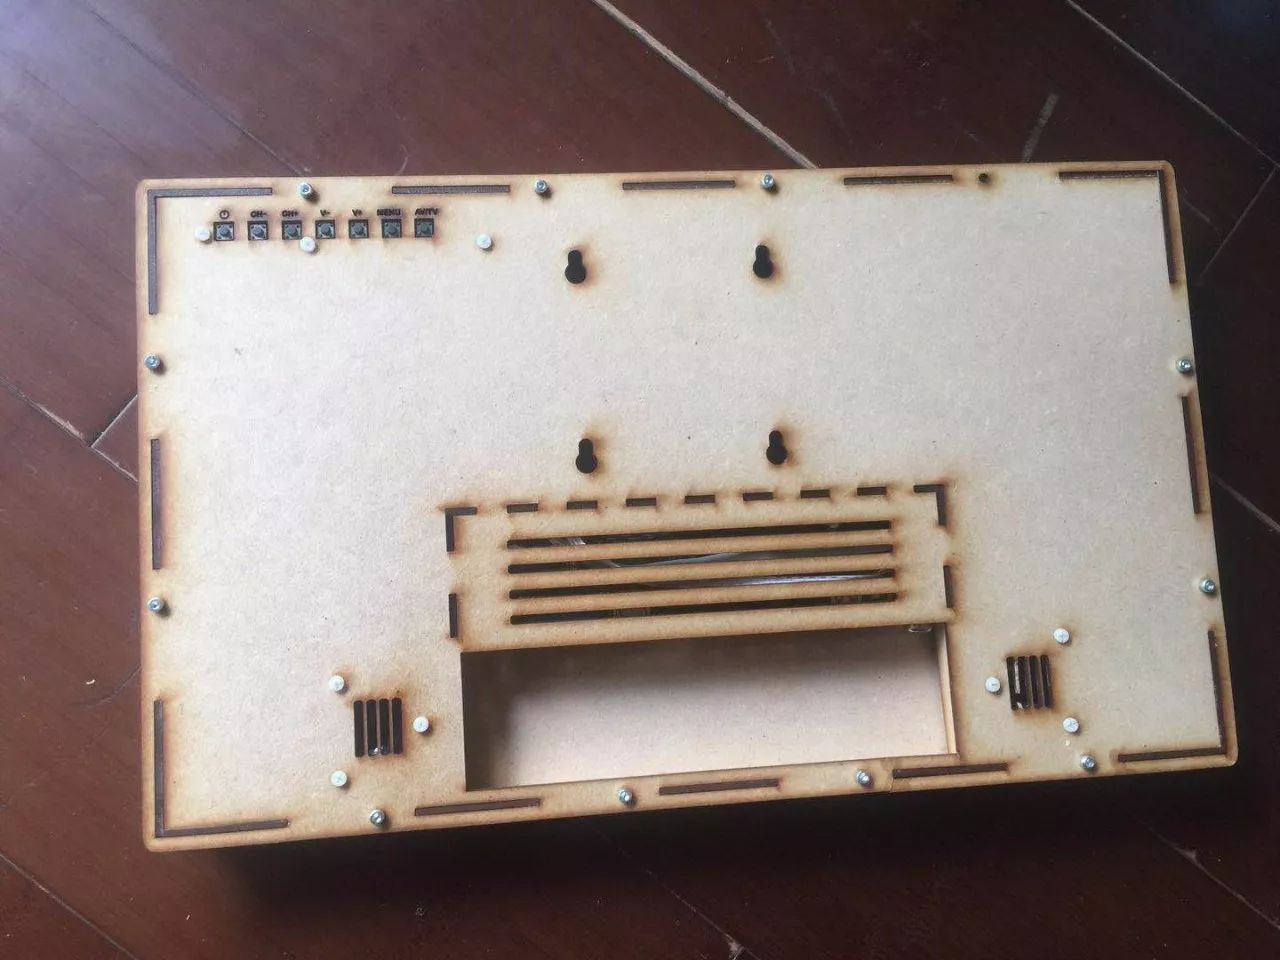
For the case design, we will still use CorelDRAW software. Referencing the precise dimensions found on the Screen Library website, remember to add the thickness of the board. On the back of the case, we will design a small box to hold the LCD driver board.
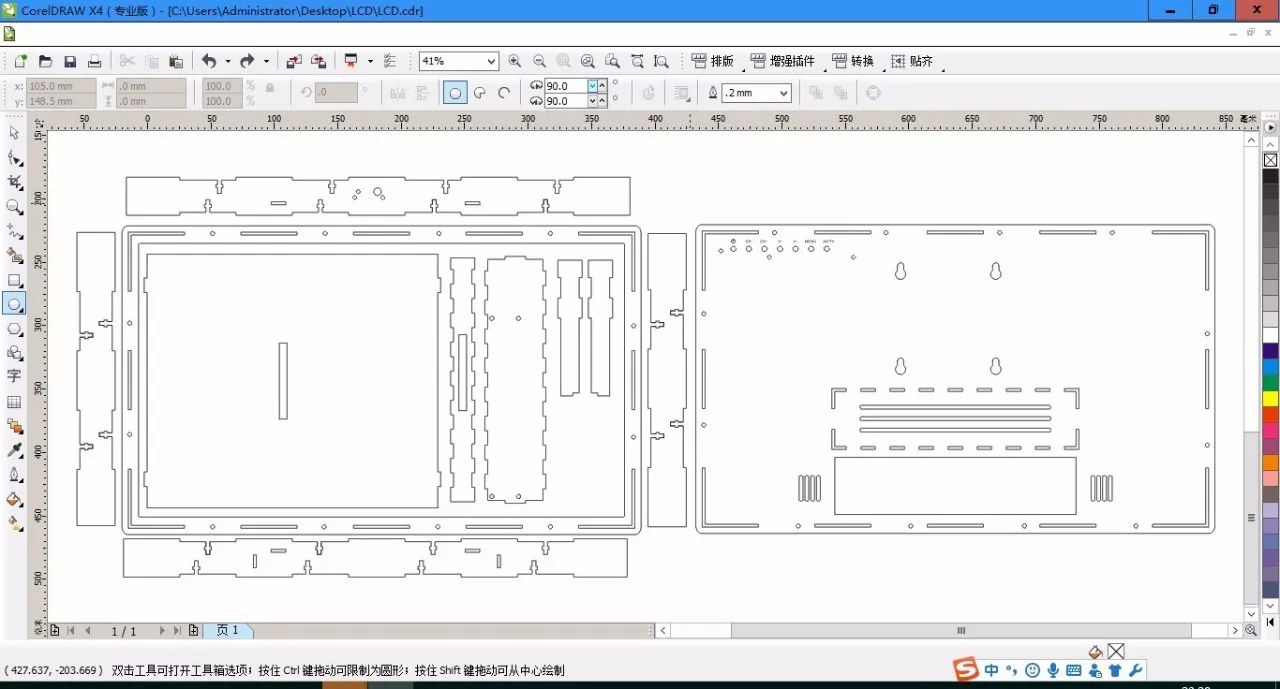
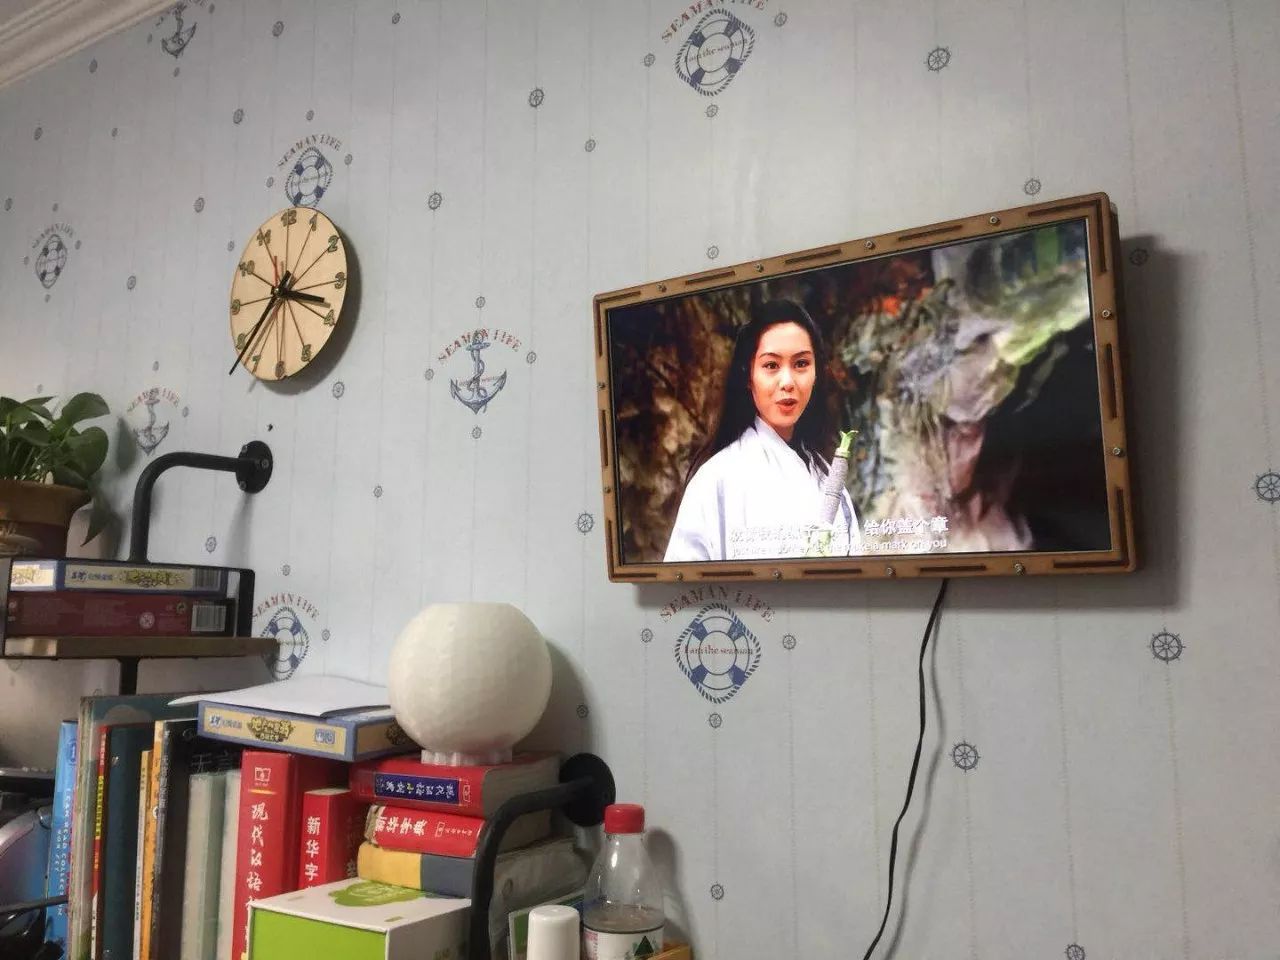
We also designed standard 100mm mounting holes for this little TV, allowing it to be mounted on the wall with various wall brackets. Isn’t that impressive?
Future Improvements
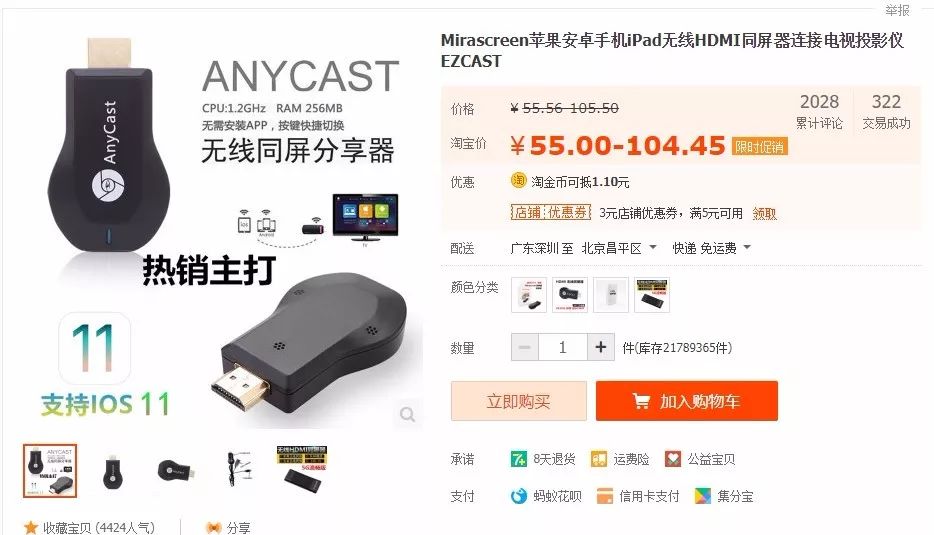
If you want to make your LCD TV look even better, you need to design the case based on your LCD panel’s specifications. Additionally, who still watches analog TV? Everyone watches online TV now. Although the Lehua V56 driver board we are using does not have network functionality, we can use a wireless HDMI transmitter to achieve this, which allows you to conveniently project content from your phone or computer to the HDMI interface, so you no longer have to hold your phone while binge-watching. A perfect online TV is born!
Click on the original article link at the end to download the author’s designed ‘LCD TV Case’ file, LCD screen model B173WH02 V1, using Lehua V56 driver board.

Handaxe Maker
A handaxe may be one of the earliest tools made by humans. From stone tools to 3D printing, let’s joyfully create things like our ancestors.