Debugging with Segger Ozone
If our firmware is stuck somewhere and printf debugging is not working, what should we do? What if even the startup code does not work? We need a debugger. There are many options, but I recommend using Segger’s Ozone debugger. Why? Because it is standalone and does not rely on any IDE. We can directly provide the firmware.elf to Ozone, and it will automatically pick up the source files.
Ozone can be downloaded from the Segger website. Before debugging our Nucleo development board with it, we need to change the onboard ST-LINK firmware to jlink firmware so that Ozone can recognize it. Follow the instructions on the Segger website to complete the firmware modification.
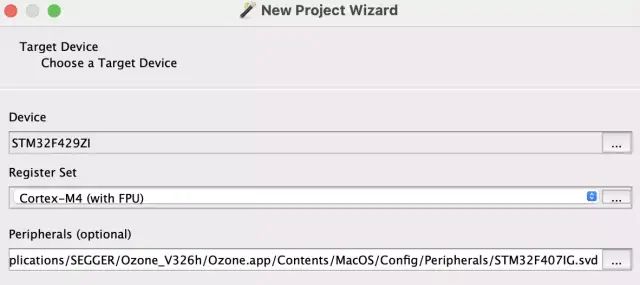
Now, run Ozone and select the device in the wizard:
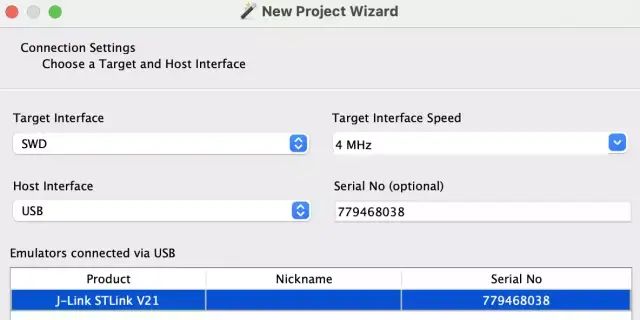
Select the hardware debugger we want to use:
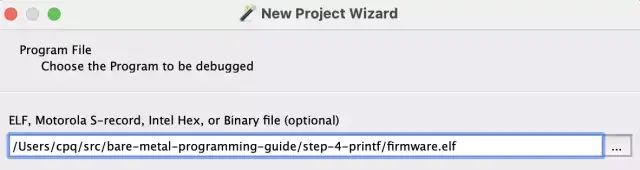
Then select the firmware.elf firmware file:
Keep the default settings for the next steps and click “Finish”; the debugger is loaded (you can see the mcu.h source code has been picked up):
Click the green button in the upper left corner to download and run the firmware, then it will stop here:
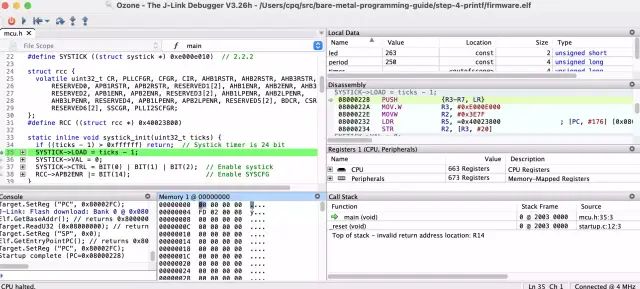
Now we can step through the code, set breakpoints, and perform other debugging tasks. One thing to note is the convenient peripheral view in Ozone:
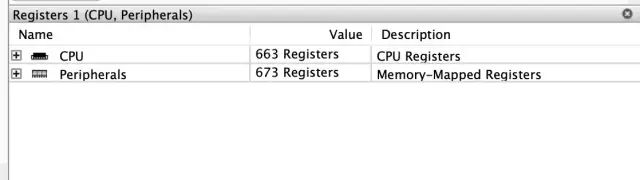
We can directly check or set the status of peripherals with it, for example, to light up the green LED on the board (PB0):
-
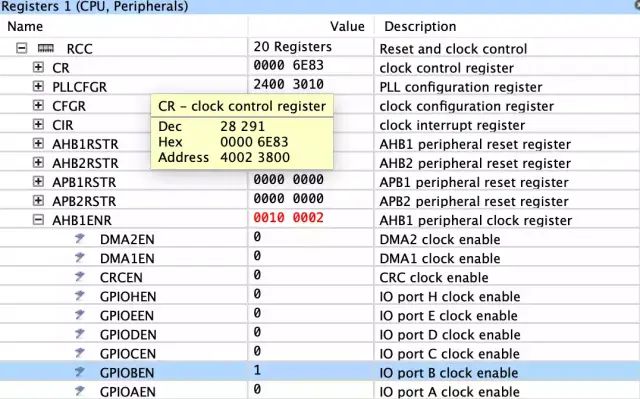
First, enable the GPIOB clock by finding Peripherals -> RCC -> AHB1ENR, then set the GPIOBEN bit to 1:
-
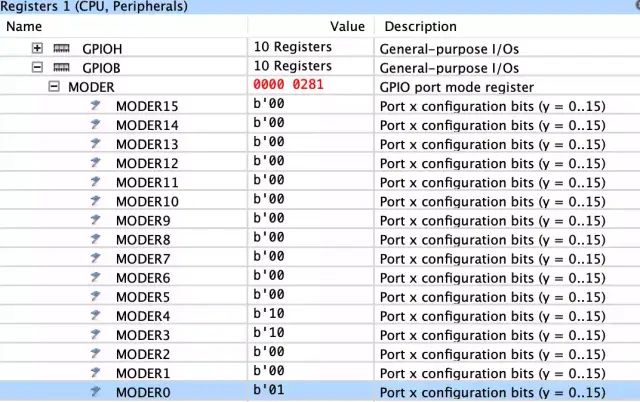
Find Peripherals -> GPIO -> GPIOB -> MODER, and set MODER0 to 1 (output):
-
Find Peripherals -> GPIO -> GPIOB -> ODR, and set ODR0 to 1 (high level):
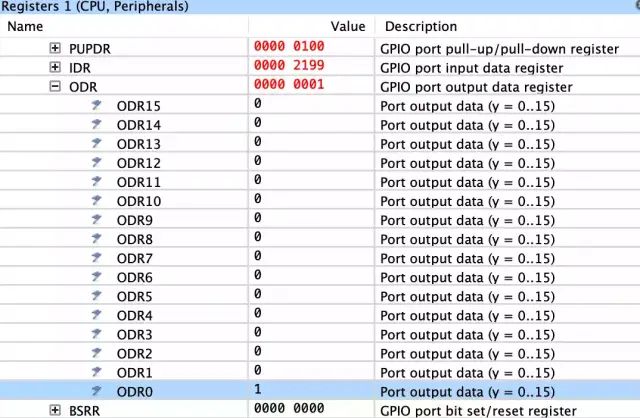
Now the green LED is lit up. Happy debugging!