This article demonstrates how to implement recording and playback functionality using Python scripts on the IDO-SBC3968 Ubuntu system.
The IDO-SBC3968 features the RK3399, a high-performance six-core 64-bit CPU, supporting 4K HDMI2.0 display, with rich interfaces, including Gigabit Ethernet, full-protocol Type-C, USB3.0, eDP, and dual-channel LVDS screen interfaces. It supports 4G/5G modules and Wi-Fi/Bluetooth, 6-axis G-Sensor, and operates on Linux/Android systems, making it suitable for various industries such as high-end commercial displays, bank self-service terminals, industrial computers, and robotics.
Product specifications: IDO-SBC3968 Product Manual
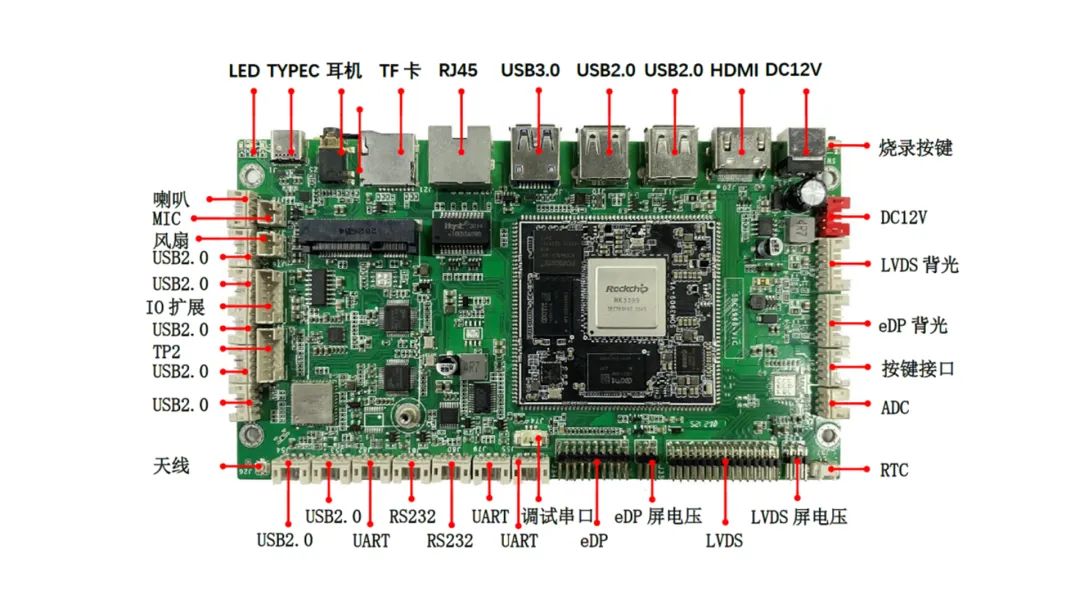
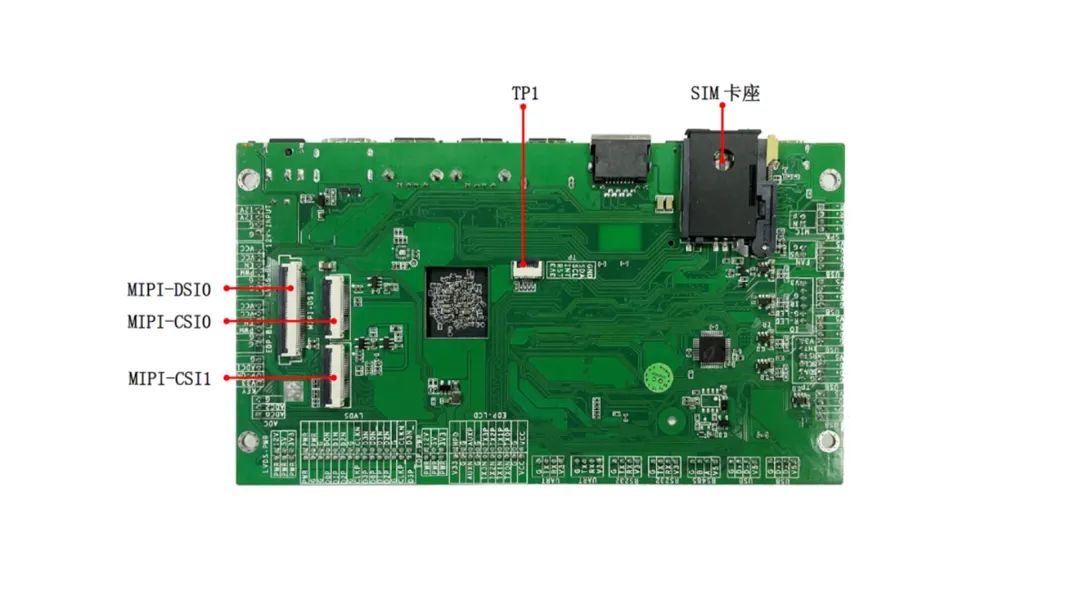
Install Dependencies
Before configuration, make sure to install the necessary dependencies.
#apt-get update
#apt-get install python3
#apt-get install portaudio19-dev python-all-dev python3-all-dev
#apt-get install libasound-dev libportaudio2 libportaudiocpp0
#apt-get install python3-pip
#pip3 install pyaudio
Recording Script
Before editing the script, you need to know which sound card you are using.
You can find this out by using “aplay -l”.
#aplay -l
**** List of PLAYBACK Hardware Devices ****
card 0: rockchipes8316c [rockchip,es8316-codec], device 0: ff880000.i2s-ES8316 HiFi ES8316 HiFi-0 []
  Subdevices: 1/1
  Subdevice #0: subdevice #0
card 1: Audio [USB Audio], device 0: USB Audio [USB Audio]
  Subdevices: 1/1
  Subdevice #0: subdevice #0
From the output above, we can see that the USB sound card is Card 1.
Edit the Python recording script.
#vi record.pyimport pyaudio
import wave
import os
CHUNK = 44100 # Sampling frequency
FORMAT = pyaudio.paInt16
CHANNELS = 1 # Sound card channels
RATE = 44100
RECORD_SECONDS = 5 # Duration
WAVE_OUTPUT_FILENAME = "output.wav" # Exported audio file
audio = pyaudio.PyAudio()
# start Recording
stream = audio.open(format=FORMAT, channels=CHANNELS,
rate=RATE, input=True,
input_device_index = 1,
frames_per_buffer=CHUNK)
print("recording...")
frames = []
count=0
for i in range(0, int(RATE / CHUNK * RECORD_SECONDS)):
#for i in range(0, 5):
#while count < 5:
data = stream.read(CHUNK)
frames.append(data)
# count += 1
print("finished recording")
# stop Recording
stream.stop_stream()
stream.close()
audio.terminate()
wavFile = wave.open(WAVE_OUTPUT_FILENAME, 'wb')
wavFile.setnchannels(CHANNELS)
wavFile.setsampwidth(audio.get_sample_size(FORMAT))
wavFile.setframerate(RATE)
wavFile.writeframes(b''.join(frames))
wavFile.close()Recording
#python3 ./record.pyAfter the recording is finished, we will have the output.wav recording file.
Playback Script
Edit the Python playback script.
#vi play.pyimport pyaudio
import wave
CHUNK = 44100
FILENAME = './output.wav'
def play(filename = FILENAME):
wf = wave.open(filename, 'rb')
p = pyaudio.PyAudio()
stream = p.open(format=p.get_format_from_width(wf.getsampwidth()),
channels=wf.getnchannels(),
rate=wf.getframerate(),
output_device_index=0,
output=True)
data = wf.readframes(CHUNK)
while data != b'':
stream.write(data)
data = wf.readframes(CHUNK)
stream.stop_stream()
stream.close()
p.terminate()
play()Playback
#python3 ./play.pyUsing the above commands, you can play back the recorded audio file.
 Everyone is looking at this, likes and views are right here!