Electricity
Electricity has become an indispensable energy source in our lives. As temperatures rise this season, the occurrence of rainy and humid weather has also increased, leading to more reports of electrical leakage issues at home. For those with no basic knowledge of electrical work, discovering leakage in the home can be a big headache!!! If you want to avoid the hassle of repeatedly searching for the cause of the leakage without success, let’s take a look at several quick detection methods for electrical leakage at home as taught in this article!

“Electrical Leakage” refers to the potential difference that occurs between the shell of an electrical appliance and the live wire due to some reason, creating a connection to the ground.
First, clarify the fault phenomena and any obvious characteristics. Next, observe the surface for any visible fault points before proceeding to the next step. (The best method for detecting leakage is to use a voltage tester to contact the live component. If the neon bulb lights up briefly and then goes out, it indicates that the live component is carrying static electricity; if it stays lit, it definitely indicates leakage.) Below are detailed methods for quickly detecting electrical leakage:
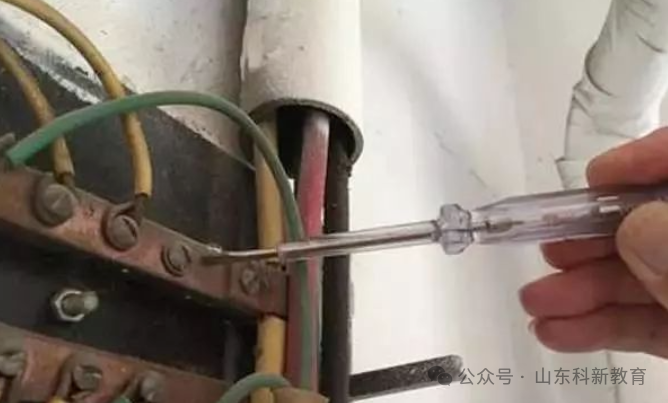
Common Methods for Electrical Leakage Detection
(1) Use a leakage fire alarm system to provide alerts before reaching a threshold or to cut off the circuit power promptly when the threshold is reached. The leakage fire alarm system can be set up independently or connected into an independent system based on the scale of the building, and can also be integrated into the “fire automatic alarm system design specifications” for centralized display and control.
(2) Regularly use a clamp-type leakage current meter to detect the leakage current size of the target circuit in low voltage distribution.
(3) In areas where wires and cables are concentrated, implement monitoring of the gas composition and concentration changes around the wires and cables through suction-type alarms to determine whether the insulating material is overloaded and thermally decomposing; use the thermal decomposition products of the insulating material to intermittently judge whether the cables are leaking.
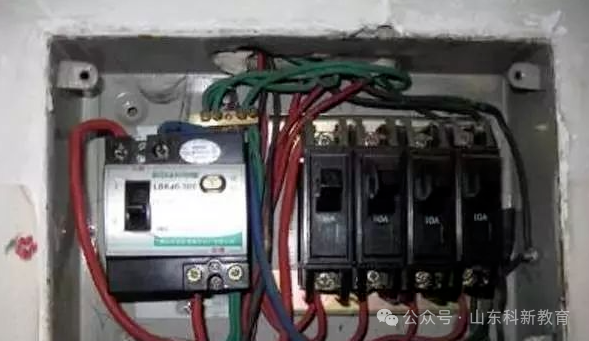
For general household wiring, leakage is categorized by strength and also differentiated between live wire and neutral wire leakage. The method depends on the specific situation:
Electrical lines can experience leakage due to prolonged use, leading to insulation aging, damage to insulators, moisture in the insulating layer, or wear and tear. At this point, connect an ammeter to the main switch, remove the load, and turn on the load switch.
If the ammeter pointer swings, it indicates leakage in the circuit. Disconnect the neutral wire; if the ammeter pointer does not change, it indicates leakage between the live wire and the ground; if the ammeter pointer returns to zero, it indicates leakage between the live wire and the neutral wire;
If the ammeter reading decreases but is not zero, it indicates leakage between both the live wire and neutral wire, and between the live wire and ground.
If removing the branch fuse or opening the main switch does not change the ammeter reading, it indicates leakage in the main line;
If the ammeter reading is zero, it indicates leakage in the branch; if the ammeter reading decreases but is not zero, it indicates leakage in both the main and branch lines.
Once the leakage branch is identified, sequentially open the switches of that circuit. When a certain switch is opened and the ammeter reading returns to zero, it indicates that this circuit has leakage; if the reading decreases, it indicates that there is leakage in this circuit and elsewhere; if all switches are opened and the ammeter reading remains unchanged, it indicates leakage in the main line of the circuit.
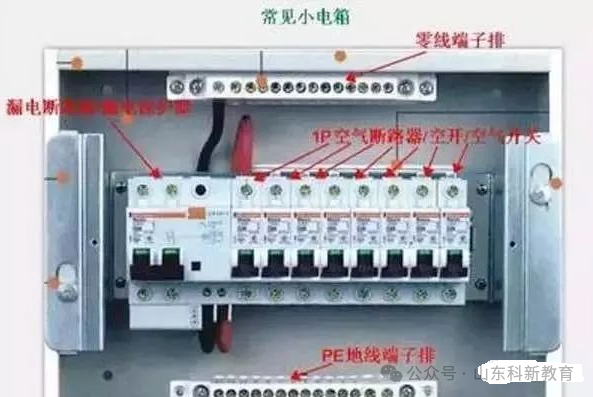
If the circuit breaker trips immediately upon closing, this indicates leakage in the live wire. The inspection methods are as follows:
1. Method to Determine if the Circuit is Leaking
First, turn off all the branch switches, then close the main switch, and subsequently close each branch switch one by one. If any circuit has an issue, the leakage switch will trip.
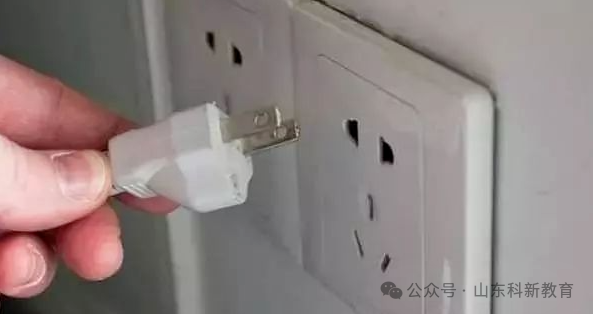
2. Method to Determine if the Appliance is Leaking
First, unplug all appliance plugs, then sequentially plug each into the outlet. The appliance that causes the breaker to trip is the faulty one.
3. Method to Determine if the Neutral Wire is Leaking
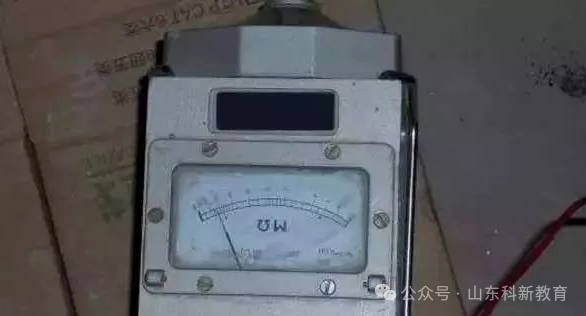
Turn off all lights, then sequentially turn on each light. The light that causes the breaker to trip indicates that there is a problem with that light (or circuit). If the breaker does not trip immediately upon closing, but does so after some time, this indicates a neutral wire leakage, which is a more professional check that requires a megohmmeter (if all appliances are unplugged and the breaker still trips, the issue lies within the circuit).
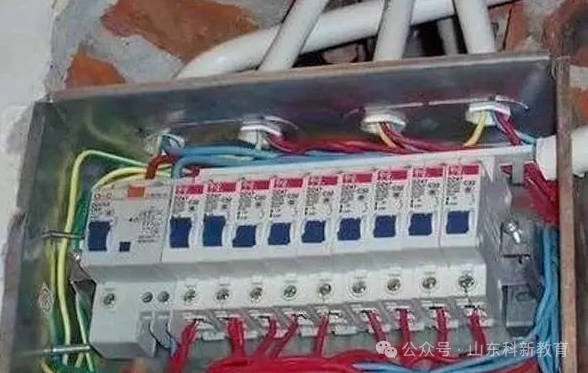
Method: First disconnect the main neutral wire, turn off all branch switches, and use a megohmmeter to check the insulation between each branch’s neutral wire and the ground, identifying the problematic circuit. Then check which appliances are directly connected to that dedicated line (such as lights or certain air conditioning units) and test them separately. If the issue is not with the appliances, the problem lies within the circuit, and the wiring must be replaced.
4. Ammeter Discrimination Method
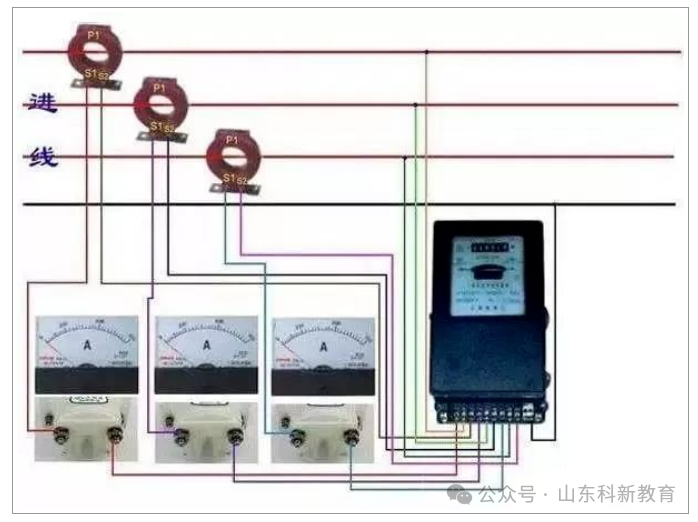
With prolonged use, circuits in a damp and worn environment can lead to insulation layer aging, damage to insulators, etc., resulting in leakage. To determine such situations, connect an ammeter to the main switch without any load and turn on the load switch. If the ammeter pointer swings, it indicates leakage. When the neutral wire is disconnected; if the ammeter pointer remains unchanged, it indicates that leakage occurs between the live wire and the ground; if the ammeter reading returns to zero, it indicates leakage between the live wire and neutral wire.
5. Magnetic Needle Discrimination Method
Due to electromagnetic induction, to test whether a wire is leaking, place a magnetic pointer at the tested location. If the pointer’s direction shifts, it indicates leakage at the tested location.
6. If the ammeter reading decreases but still shows a value, it indicates leakage between the live and neutral wires, and between the live wire and ground. Removing the branch fuse or opening the main switch without changing the ammeter reading proves leakage in the main line; if the ammeter reading is zero, it indicates leakage in the branch; if the ammeter reading decreases but remains above zero, it indicates leakage in both the main and branch lines.
When the leakage branch is identified, sequentially open that branch’s switches. When a certain switch is opened and the ammeter reading becomes zero, it indicates that this circuit has leakage; if only the reading decreases, it indicates leakage in this circuit as well as elsewhere; if all switches are opened and the ammeter reading remains unchanged, it indicates leakage in the main line.
7. Method to Determine if the Lighting Circuit is Leaking
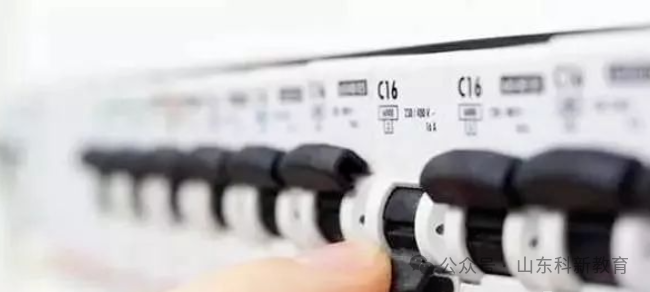
First, turn off all light fixtures, then sequentially turn them on. If a particular fixture causes the breaker to trip, it is likely that the fixture or its wiring is faulty. If the main switch trips, using one empty switch for the outlet and lighting, and then turning off the lighting switch causes the main switch not to trip, it suggests that the fault lies in the lighting circuit.
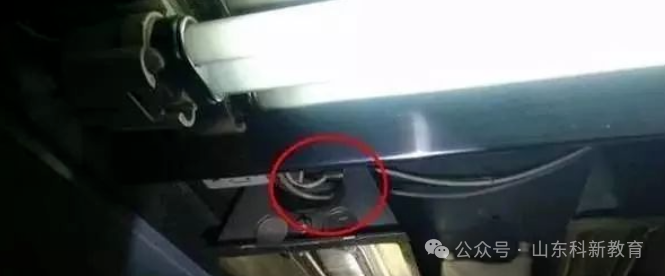
When the lighting circuit switch is turned off and other circuits (outlets) are running, if the main switch does not trip, it indicates that the fault is in the lighting circuit. At this point, the following steps can be taken:
(1) Disconnect the lighting circuit switch and remove the two lead wires below it.
(2) Use a multimeter to measure the insulation resistance of the two lead wires against the ground, confirming the fault range and determining which wire has poor insulation to ground.
(3) Based on the on-site situation, conduct a thorough investigation of the entire lighting circuit from simple to complex.
(4) Pay attention to using professional theories and work skills, and it can be helpful to disconnect “convenient, necessary, and reasonable” points in the circuit, then measure the insulation resistance against the ground in segments to progressively narrow down the fault range until the fault point is located and resolved.
(5) For newly constructed buildings, there are generally no issues with the main lighting circuit, so focus should be on the switch boxes and ceiling light connections. Additionally, consider whether there are any issues with the walls or floors due to drilling or additional wiring.
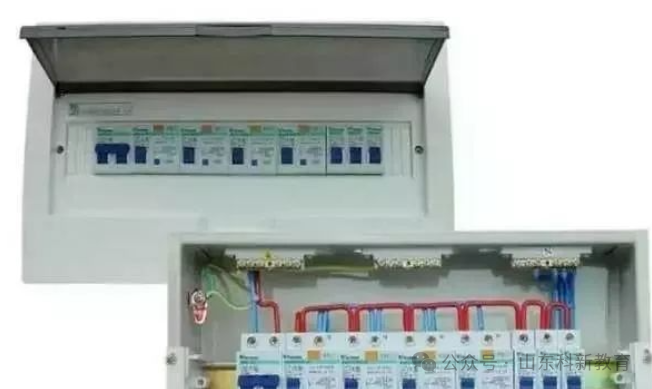
8. Quickly Check for Leakage with a Multimeter
(1) First, disconnect the main isolation switch for the user’s power supply and turn off all electrical loads, such as unplugging the refrigerator and disconnecting the water pump switch.
(2) Set the digital multimeter to the 200M ohm range. Place one probe on one of the two outgoing lines on the load side, and the other probe against the wall, preferably touching the ground wire or a temporary grounding wire. Once the number displayed on the multimeter stabilizes, read the insulation resistance value of the main line. If the insulation resistance is less than 0.5 megohms, there is a problem with the main line; if the insulation resistance is above 0.5 megohms, it can be ruled out as a problem with the main line. Use the same method to measure the other wire and check the values to see if there is an issue with the main line.
(3) Check the insulation resistance values of the branch circuits and each electrical appliance using the same method until the fault point is found.
(4) If the leakage switch trips immediately upon closing, it generally indicates a leakage situation in the “live wire”; if it trips after a period of time with varying trip times, it typically indicates a leakage situation in the “neutral wire”.
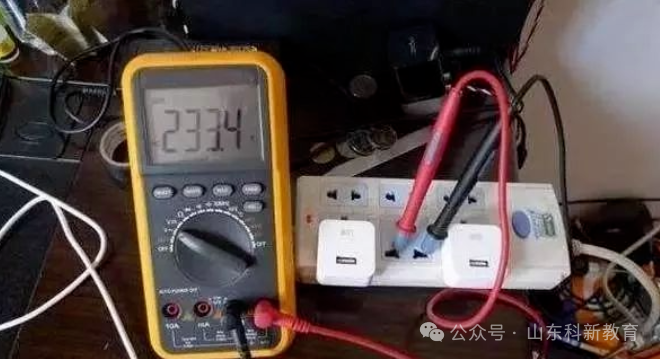
Operational Precautions:
1. When using the 200M ohm range on the multimeter, be careful not to touch the metal parts of the probes while measuring, as this may result in inaccurate readings.
2. When measuring various electrical devices, be sure to discharge them first to prevent capacitive current from causing harm.
This method is a relatively safe way to locate fault points without power. It is also applicable for detecting leakage in industrial users and factories, but when searching for leakage, not only should the power supply be disconnected, but the neutral wire should also be disconnected to avoid electric shock accidents.
Source: This article is adapted from the internet, and copyright belongs to the original author. If there are any copyright issues, please contact us promptly for deletion. Thank you!

Scan to Follow
WeChat ID|13615417996
Follow the left QR code for free access
【Siemens Data Collection】