Multisim 10 is a Windows-based simulation tool suitable for the design of board-level analog/digital circuits. It includes graphical input for circuit schematics and hardware description language input methods, with rich simulation analysis capabilities. In daily use, it can simulate various types of electronic circuits, including analog circuits, digital circuits, and mixed-signal circuits. For example, when designing an electronic system that includes analog signal processing and digital signal control, Multisim 10 can accurately simulate the operation of the entire system. First, here is the download link:
Software link: https://pan.baidu.com/s/1tai-95ysiHmNP_l_vc-FZg
Extraction code: xftx
Installation Guide
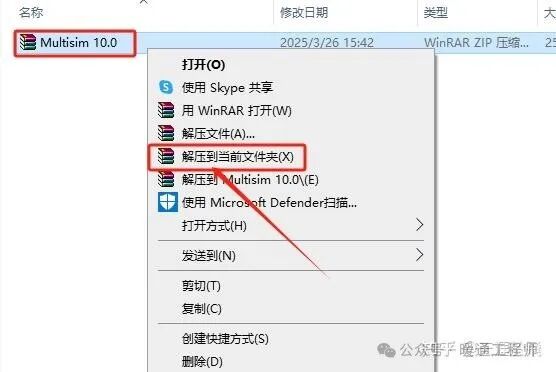
1. Open the downloaded Multisim software installation package, right-click the compressed package and select 【Extract to Current Folder】.
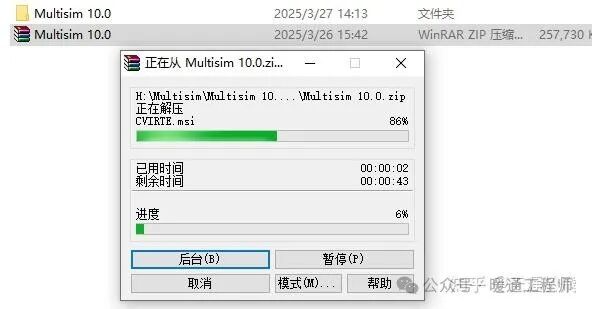
2. Please wait while the compressed package is being extracted.
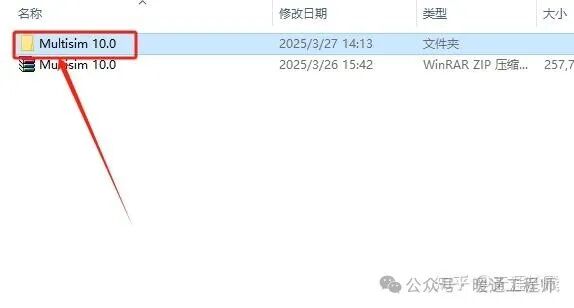
3. Open the extracted 【Multisim 10.0】 folder.
 4. Open the 【Setup】 folder.
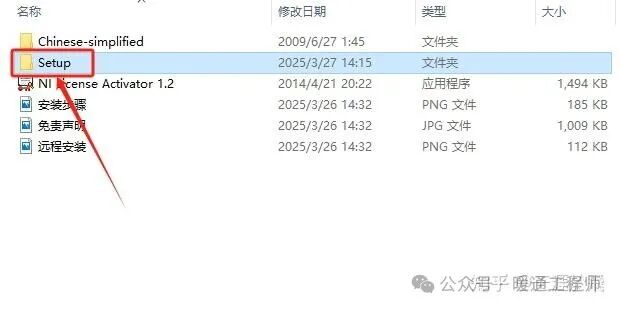 5. Right-click the 【setup】 installation program and select 【Run as Administrator】.
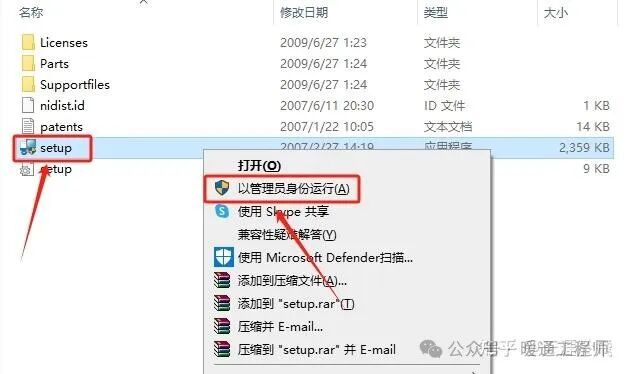 6. You can fill in any name in the 【FullName】 and 【Organization】 fields, then click 【Next】.
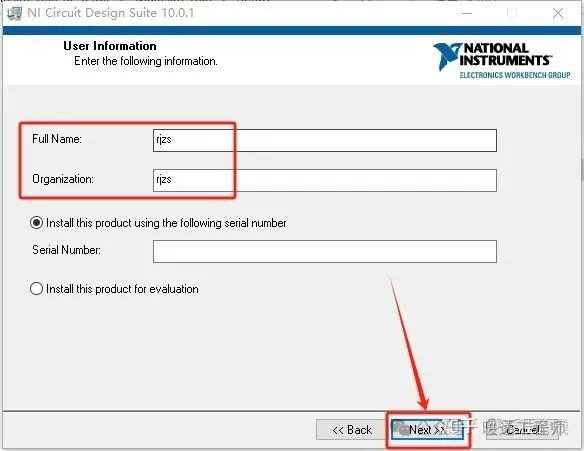 7. Click 【No】.
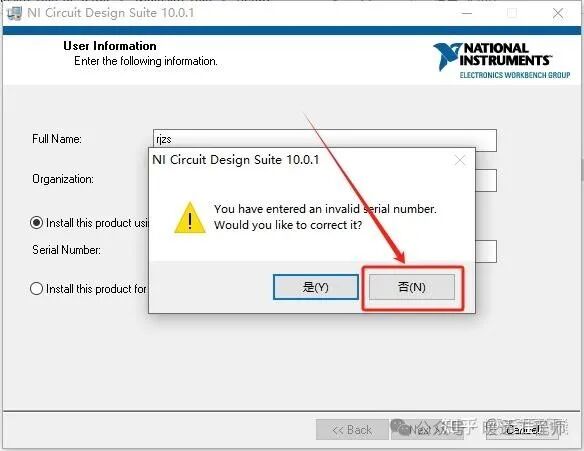
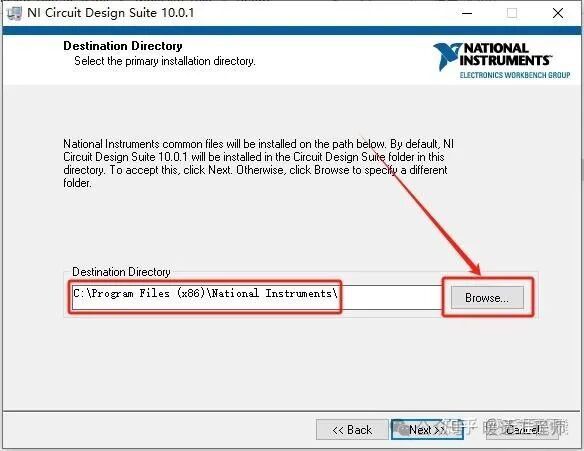
8. The default installation path for the software is the system C drive. Click 【Browse】 to set the installation path.
Note: Be sure to remember the installation path you set, as it will be needed for activation later.
 9. After setting the installation path, click 【Next】.
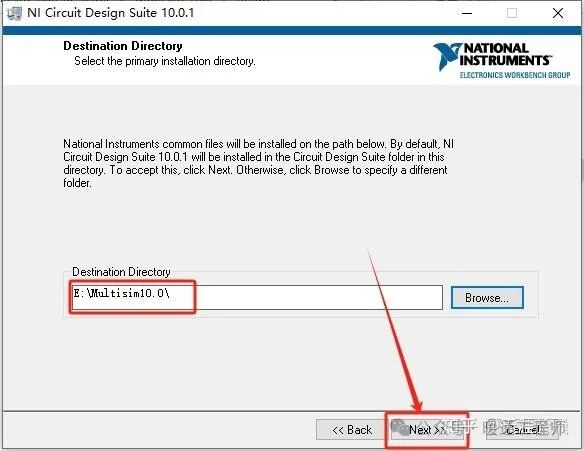 10. Click 【Next】.
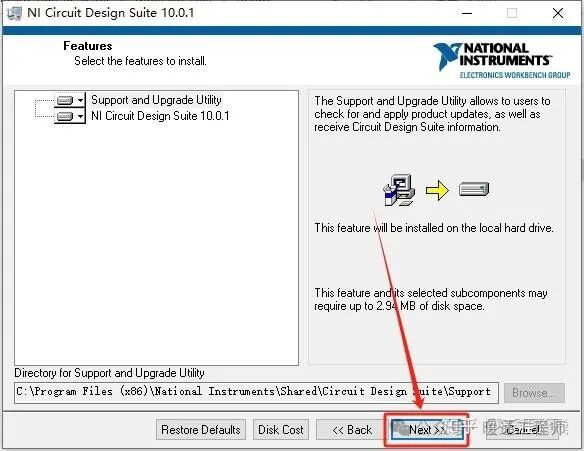 11. Select 【I accept the above License Agreement】, then click 【Next】.
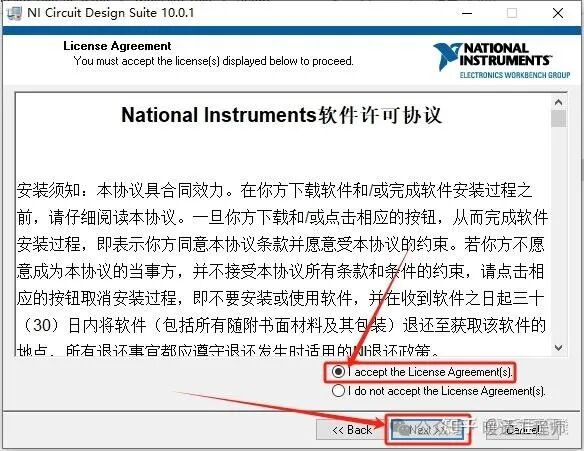
12. Select 【I accept the above 2 License Agreement】, then click 【Next】.
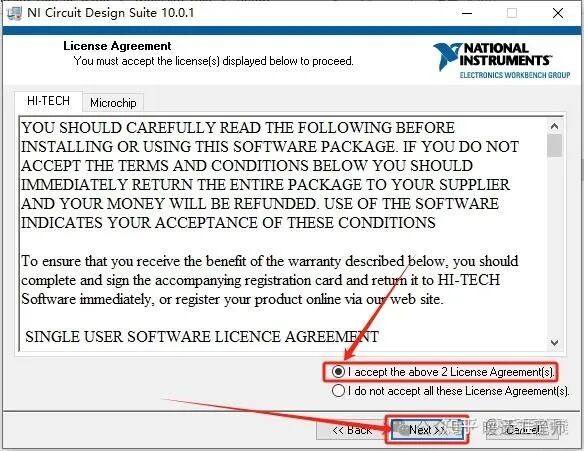 13. Click 【Next】.
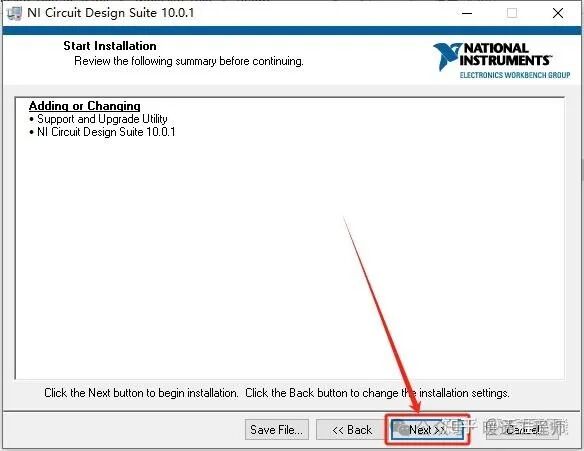 14. Please wait during the software installation process.
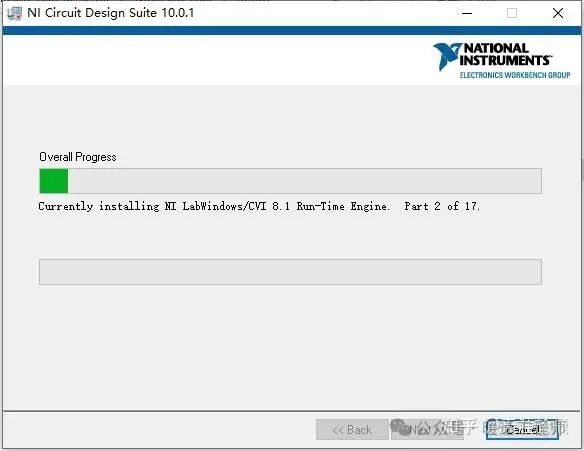
15. After installation is complete, click 【Next】.
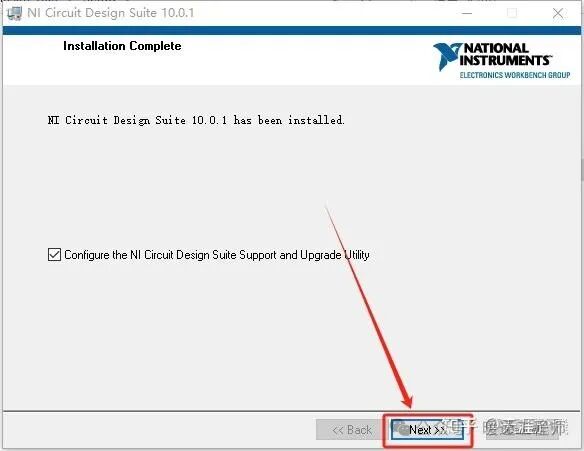 16. Click 【Restart Later】.
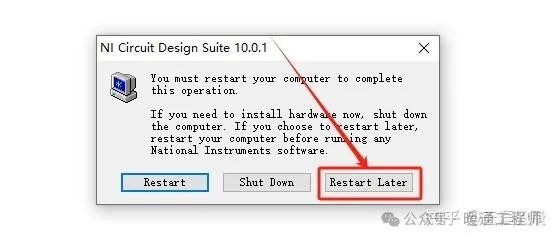
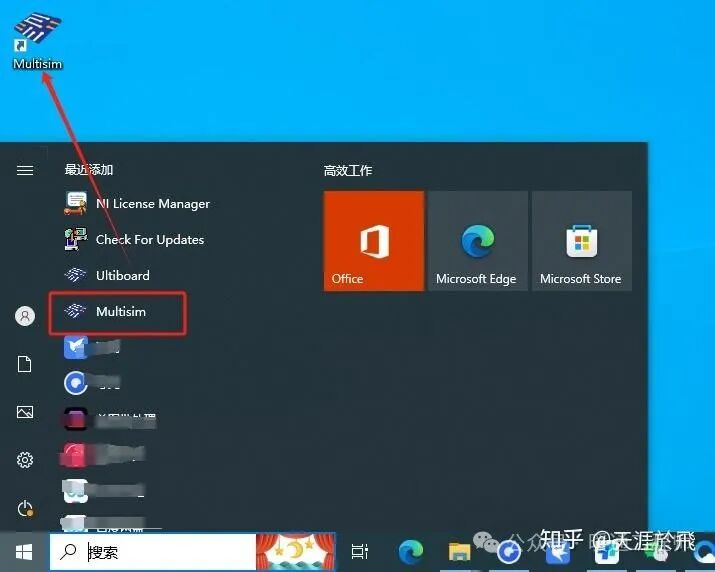
17. The software will not create a desktop shortcut. Click the 【Start】 menu, find and drag the 【Multisim】 icon to the desktop.
 18. Return to the extracted 【Multisim 10.0】 folder, right-click the 【NI License Activator 1.2】 keygen, and select 【Run as Administrator】.
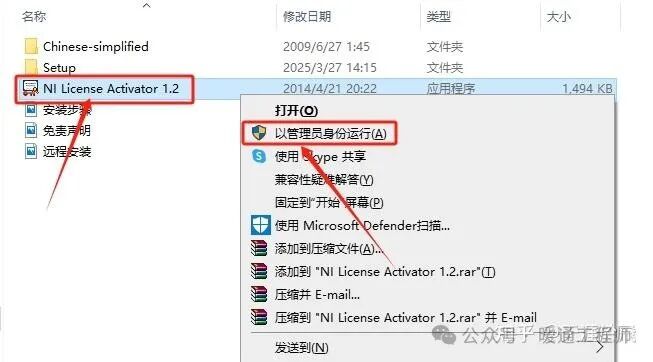 19. Right-click 【Base Edition】, then click 【Activate】.
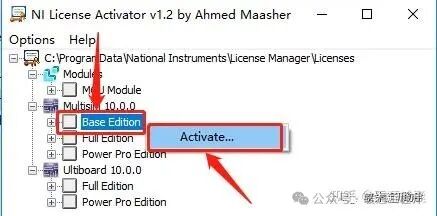 20. Right-click 【Full Edition】, then click 【Activate】.
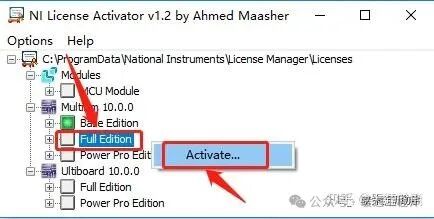 21. Right-click 【Power Pro Edition】, then click 【Activate】.
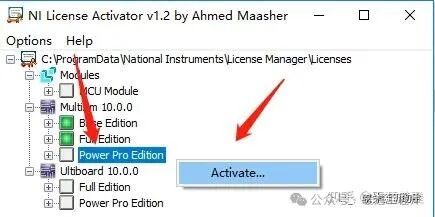 22. Right-click 【Full Edition】, then click 【Activate】.
 23. Right-click 【Power Pro Edition】, then click 【Activate】.
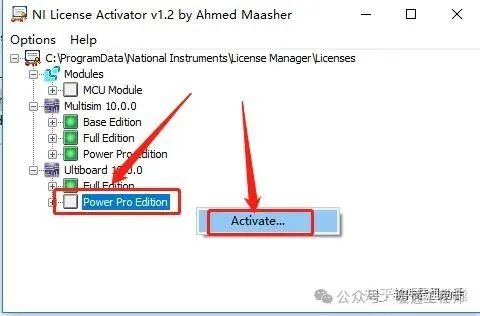 24. Wait until all options show a green light, then close the window in the upper right corner.
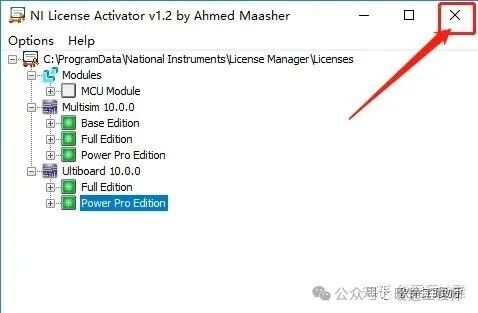 25. Continue to return to the extracted 【Multisim 10.0】 folder, right-click the 【Chinese-simplified】 folder, select 【Copy】, and then find the installation directory set in step 8.
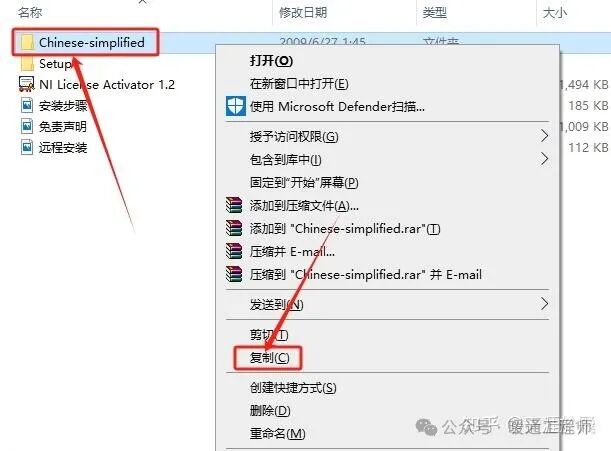 26. Open the 【Multisim 10.0】 folder.
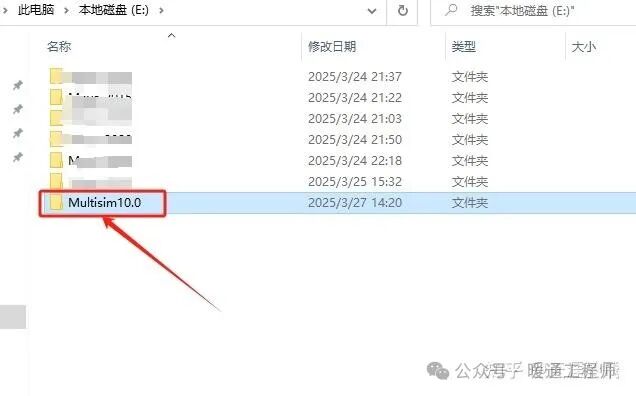
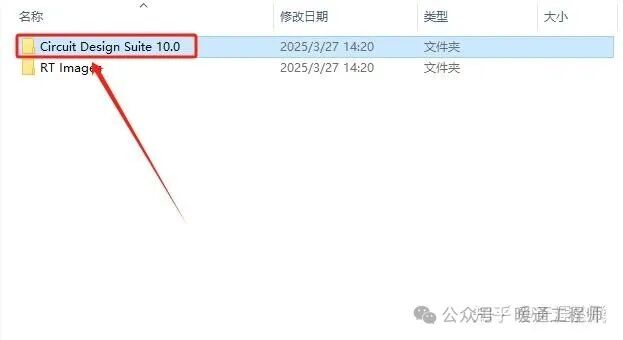
27. Open the 【Circuit Design Suite 10.0】 folder.
 28. Open the 【stringfiles】 folder.
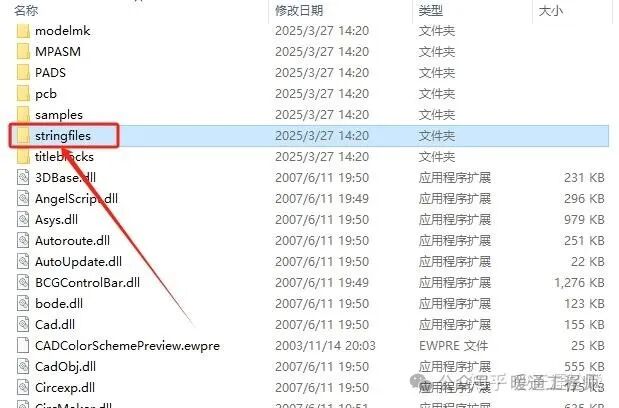 29. In the opened folder, right-click in the blank space and 【Paste】 the copied Chinese-simplified folder.
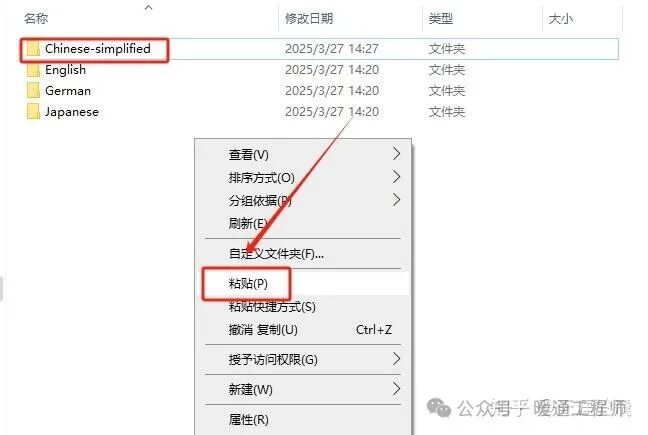 30. Open the installed Multisim software on the desktop.
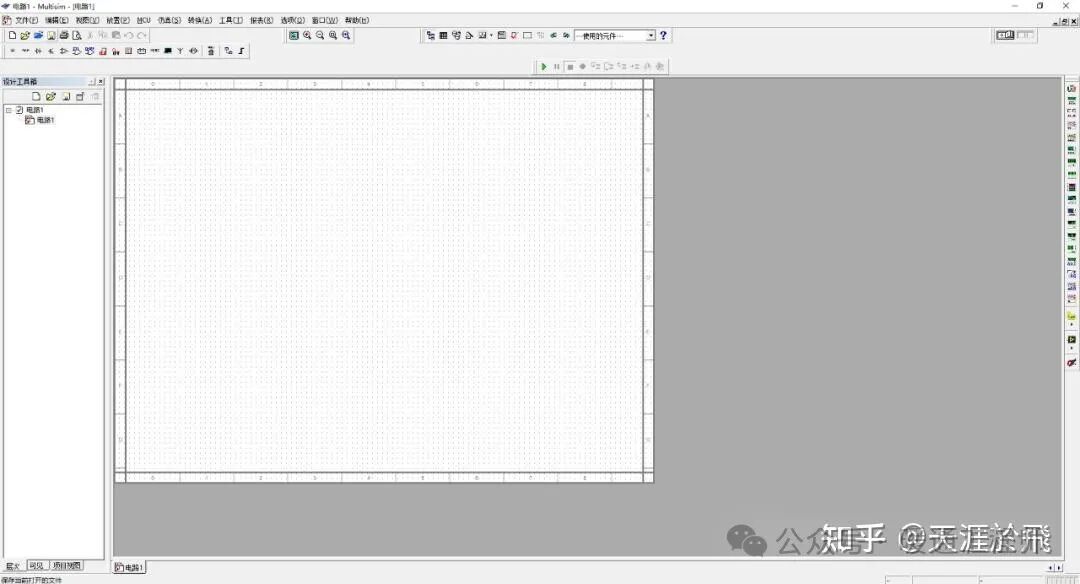
 31. Installation is complete, and the software interface is shown below (activated and can be used indefinitely).