Methods to Prevent Workpiece Adhesion to the Platform in 3D Printing
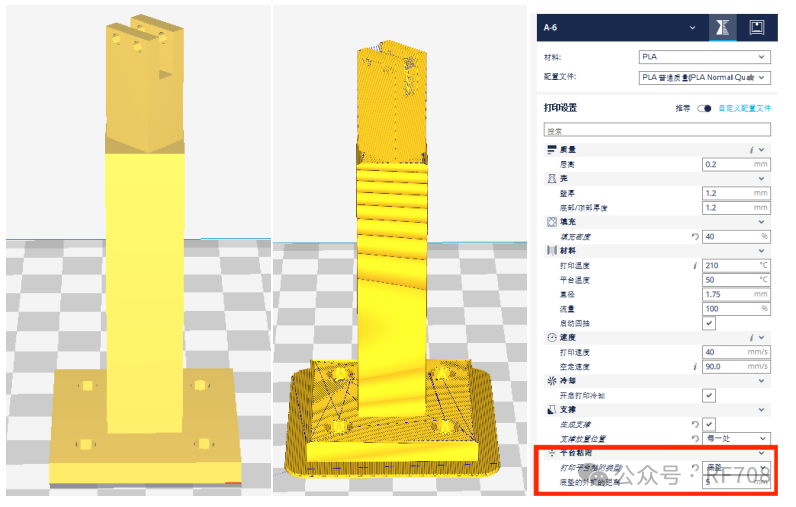 Figure 1: Printing a solid model Figure 2: Printing layers (slicing results) Figure 3: Setting up the base pad
When using the Aurora Evolve 3D printer and other mainstream 3D printers for model printing tasks, optimizing the platform adhesion scheme can significantly enhance the convenience of post-processing and the integrity of the model. Specifically, during the slicing setup phase before printing, a “pad-style platform adhesion structure” can be established for the model—this means creating an auxiliary adhesion area that extends outward from the base area of the model (for example, as shown in the image above, with an extension distance of 5mm), so that the model does not adhere tightly to the platform surface during printing, but is instead stably fixed through this pad structure, as shown in Figure 4.
From a technical principle perspective, traditional 3D printing often suffers from excessive adhesion between the model and the platform, requiring significant external force to remove the model after printing, which can easily lead to edge damage and deformation of details, especially for thin-walled components and delicate patterns, which are at a higher risk of damage. The pad-style adhesion structure allows for “adhesion force transfer”: during the printing process, the pad area forms stable adhesion with the platform, ensuring that the model does not shift due to printing stress; during the removal phase, the operator only needs to apply force to the pad area (such as gently peeling the edge of the pad) to separate the model from the platform, avoiding direct force on the model itself, thus minimizing the risk of damage due to excessive force.
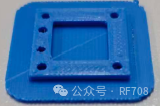
Figure 4: Finished product example