Introduction:
Previously, we discussed how to use Docker Compose to batch deploy multiple container services, which is suitable for building small to medium-sized services. However, for larger applications, cluster deployment becomes very important. This time, I will explain how to deploy container applications using Docker Swarm clusters.
1. What is Docker Swarm
Docker Swarm is an official container orchestration tool provided by Docker, designed to simplify the deployment, management, and scaling of containerized applications. It allows multiple Docker hosts to form a cluster, managing the containers running on these hosts uniformly. Swarm adopts a master-slave architecture, which includes manager nodes and worker nodes. Manager nodes are responsible for cluster management and task scheduling, while worker nodes are responsible for running containers. Swarm uses the Raft consensus algorithm to ensure high availability and consistency of the cluster. With Swarm, users can easily define, deploy, and scale distributed applications while providing features such as automatic load balancing, service discovery, and fault recovery, making the deployment and management of containerized applications simpler and more reliable. In simple terms, it requires multiple servers to form a Docker cluster environment, which can have multiple manager nodes and multiple worker nodes. Each container will run on a worker node, while the manager nodes will be responsible for scheduling and managing services and providing external access. When a request enters the manager node, Docker Swarm will automatically allocate the distribution of requests based on its load balancer, which means you typically do not need to configure or worry about the load balancer settings directly, making it very convenient. Of course, you can also define it yourself.
2. Concepts of Docker Swarm
A Swarm cluster is a collection of multiple Docker hosts, aimed at managing and running containerized applications in a unified manner. In a Swarm cluster, there are two types of nodes: manager nodes and worker nodes.
- Manager Nodes: Manager nodes are the core of the Swarm cluster, responsible for management, scheduling, and control of the cluster. Manager nodes maintain the state of the entire cluster and decide on which worker nodes to run containers and how to allocate resources. Typically, a Swarm cluster will have multiple manager nodes to ensure high availability and fault tolerance.
- Worker Nodes: Worker nodes are the nodes that actually run the containers. They receive instructions from the manager nodes and are responsible for executing these instructions to run containers. Worker nodes monitor and maintain the containers running on them and adjust resource allocation as needed.
The Swarm cluster uses a distributed consensus algorithm to ensure the reliability and consistency of the cluster. The various nodes in the cluster communicate with each other to synchronize state information, maintaining stable operation of the cluster. Manager nodes use the Raft protocol to maintain consistency in the cluster, ensuring that changes to the cluster state are correctly replicated and propagated across all nodes. With the Swarm cluster, users can easily deploy containerized applications across multiple nodes and leverage the cluster’s automatic load balancing, fault recovery, and scaling capabilities to achieve highly reliable and scalable application deployment and management.
3. Setting Up and Deploying in a Linux Environment
First, we need at least two servers, ensuring that all nodes (servers) have Docker installed.
| Operating System | IP Address | Memory Size |
|---|---|---|
| CentOS 7 | 192.168.186.129 | 4 GB |
| CentOS 7 | 192.168.186.130 | 4 GB |
1. Change to Aliyun Source (Execute on both machines)
By default, CentOS servers download packages from the official overseas repository. Due to network latency and bandwidth limitations, this may lead to slow or unstable download speeds.
Command: Backup old file mv /etc/yum.repos.d/CentOS-Base.repo /etc/yum.repos.d/CentOS-Base.repo.backup Download Aliyun source curl -o /etc/yum.repos.d/CentOS-Base.repo https://mirrors.aliyun.com/repo/Centos-7.repo Refresh cache yum clean all yum makecache2. Disable the firewall (Execute on both machines) or open its port 2377
Command: systemctl stop firewalld systemctl status firewalld
3. Install Docker (Execute on both machines)
# Add Docker repository yum install -y yum-utils yum-config-manager --add-repo https://download.docker.com/linux/centos/docker-ce.repo # Install Docker yum install docker-ce docker-ce-cli containerd.io # Verify if Docker is installed successfully docker --version # Start Docker systemctl start docker systemctl status docker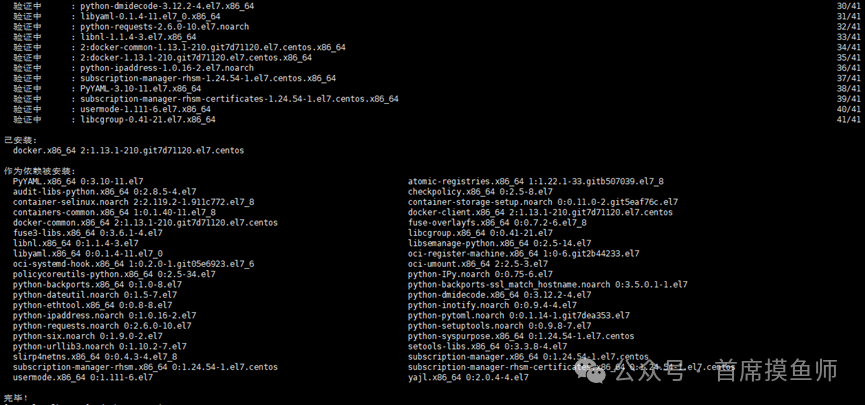


4. Initialize the Swarm Cluster (Execute on the manager node)
Select one node as the Manager and initialize the Swarm.
# Run the following command on the Manager node docker swarm init --advertise-addr <MANAGER_IP> For example: docker swarm init --advertise-addr 192.168.186.129• <MANAGER_IP> is the IP address of the Manager node. • After successful initialization, a docker swarm join command will be output to add other nodes to the cluster.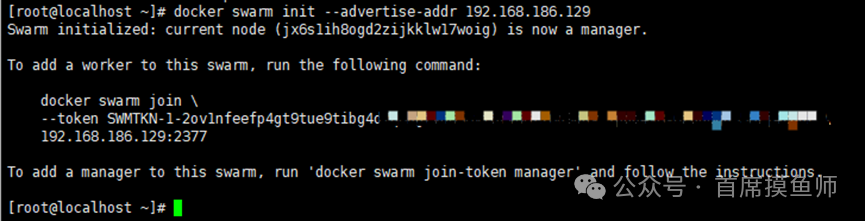
5. Add Worker Nodes to the Cluster (Execute on worker nodes)
Run the docker swarm join command on other nodes to add them to the Swarm cluster.
# Run the following command on the Worker node docker swarm join --token <TOKEN> <MANAGER_IP>:2377 For example: docker swarm join --token SWMTKN-1-2ov1nfeefp4gt9tue9tibg4d7q8bgtvn6 192.168.186.129:2377• <TOKEN> is the token generated during Swarm initialization. • <MANAGER_IP> is the IP address of the Manager node.
6. Check Cluster Status (Execute on the manager node)
On the Manager node, you can check the status of the cluster nodes.
docker node ls
At this point, the Docker Swarm cluster has been set up. Next, let's deploy services together!If you want to leave the cluster, you can execute the following commands:
# Leave docker swarm leave # Force leave docker swarm leave --force7. Modify Docker Image Source
Since Docker is currently not open to the public, many image addresses have become invalid. Currently, you can find usable ones online.
Modify /etc/docker/daemon.json, set registry mirror: vim /etc/docker/daemon.json { "registry-mirrors": [ "https://docker.1ms.run", "https://docker.xuanyuan.me" ] }Restart Docker: systemctl daemon-reload systemctl restart docker8. Deploy Services (Execute on the manager node)
In the Swarm cluster, you can deploy services using the docker service create command. For example, using nginx!
docker service create --replicas 3 -p 80:80 --name my_nginx library/nginx# This docker service create command creates a service. # The --name flag names the service my_nginx. # The --replicas flag specifies the desired state of 3 running instances. # The parameter library/nginx is the image used to create the service. You can also refer to our previous articles to load images.Using a browser, enter any node IP to see the default nginx page.
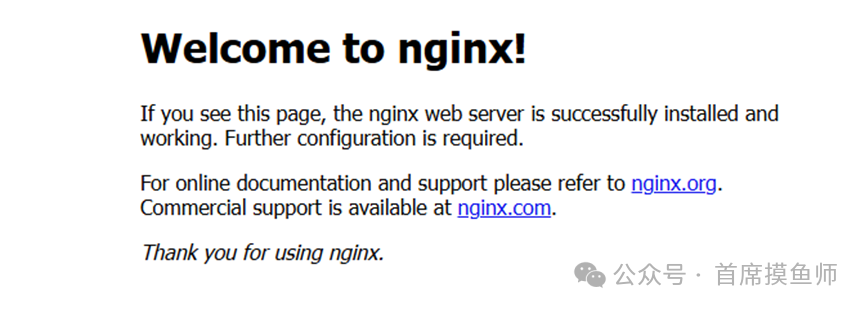
Other commands:
# View all services docker service ls # View service information docker service inspect my_nginx # View which nodes are running the service docker service ps my_nginx # You can also see the containers on your local machine docker ps # View service standard output logs docker service logs my_nginx # Delete service docker service rm my_nginx9. Service Scaling
We can use docker service scale to scale the number of containers running a service. When the business is at peak times, we need to expand the number of containers running the service. When the business is stable, we need to reduce the number of containers running the service.
# Specify scaling number docker service scale my_nginx=5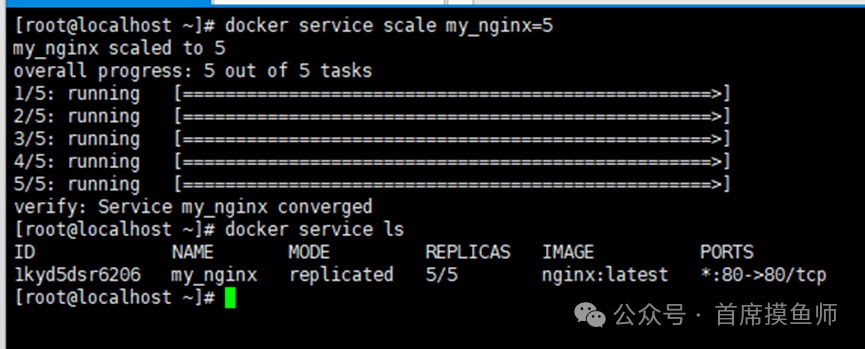
10. Update Service (Rolling Update)
If you need to update your service (for example, update the image), you can use a rolling update to achieve this:
docker service update --image library/nginx my_nginx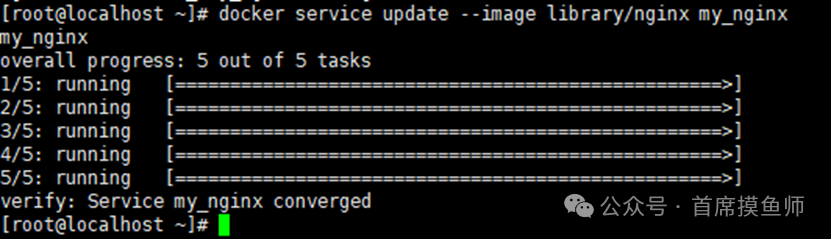
11. Use docker-compose.yml to Batch Start Services
Previously, when explaining Docker Compose, we could use a yml file to batch run services, which is very convenient. So can Docker Swarm batch deploy? Of course, but you need to use the docker stack deploy command to deploy the Compose file.
Write the docker-compose.yml file:
version: '3.8' # Specify the version of the Compose file format, here using version 3.8 services: # Define the service section web: # Define a service named "web" image: nginx:latest # Use the latest Nginx image as the base image deploy: # Deployment configuration for Swarm mode replicas: 3 # Set the service to run 3 replicas resources: # Resource limits and reservations limits: # Define resource limits cpus: '0.5' # Each container can use up to 0.5 CPU cores memory: 512M # Each container can use up to 512 MB memory reservations: # Define minimum resource requirements cpus: '0.25' # Each container needs at least 0.25 CPU cores memory: 256M # Each container needs at least 256 MB memory ports: # Define port mapping - "80:80" # Map the host's port 80 to the container's port 80 networks: # Define network configuration - webnet # Connect this service to a network named "webnet" redis: # Define a service named "redis" image: redis:alpine # Use the Alpine version of Redis image as the base image deploy: # Deployment configuration for Swarm mode resources: # Resource limits and reservations limits: # Define resource limits cpus: '0.50' # Each container can use up to 0.5 CPU cores memory: 50M # Each container can use up to 50 MB memory reservations: # Define minimum resource requirements cpus: '0.25' # Each container needs at least 0.25 CPU cores memory: 20M # Each container needs at least 20 MB memory networks: # Define network configuration - webnet # Connect this service to a network named "webnet" networks: # Define network section webnet: # Define a custom network named "webnet" for service communicationDeployment command:
docker stack deploy -c docker-compose.yml mystackdocker-compose.yml: indicates the specified Compose file. mystack: is the name you give to this stack.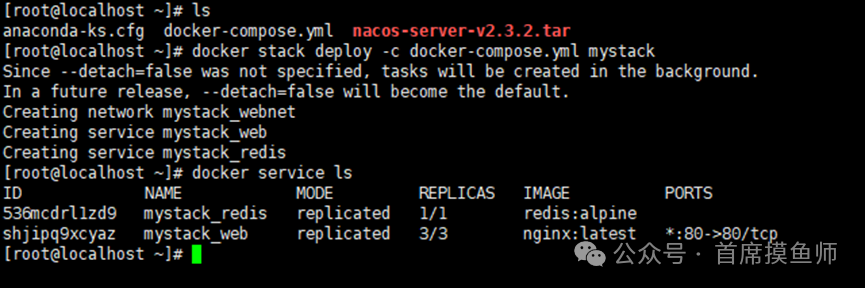 Verify if the service is running successfully:
docker stack services mystack You can see that both the nginx and redis services are running normally.
Note: The Compose file needs to be compatible with Docker Swarm features. Ensure the file version is version: ‘3.x’ or higher to support Swarm mode features.
The syntax and supported features of the docker-compose.yml file are also very extensive. Interested readers can research it themselves.This tutorial ends here. I hope everyone will pay more attention and support (Chief Fish Master WeChat same number), and continue to follow the latest articles!