1.Download Keil5
① Quark Cloud Disk download link:
https://pan.quark.cn/s/f04fab904da2
② Baidu Cloud Disk download link:
https://pan.baidu.com/s/1nQq_sNxAPmjrxuD4XaBPXg?pwd=x66c
2.Introduction to Keil5 Software
Keil MDK-ARM 5.40 is a professional development environment for ARM Cortex-M/R/A series microcontrollers. It integrates the uVision5 IDE, C/C++ compiler, and debugging tools, supporting over 3750 MCUs. It provides CMSIS standard libraries and Device Family Packs for quick peripheral configuration. The built-in advanced code optimizer improves code generation efficiency by 20%. It supports JTAG/SWD debugging and is compatible with various emulators. It is suitable for embedded application development in industrial control, IoT, automotive electronics, etc., and is the preferred tool for embedded engineers worldwide.
3.Keil5 Installation Tutorial
1. Launch the Keil5 Installer: Locate the Keil installer file, right-click and select “Run as administrator”.

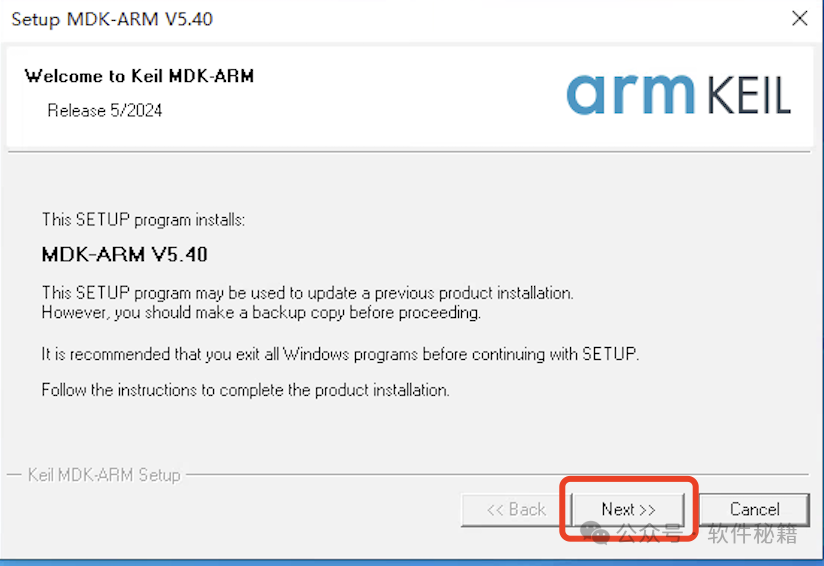
2. Start Installation of Keil5: In the pop-up installation interface, click “Next” to continue.
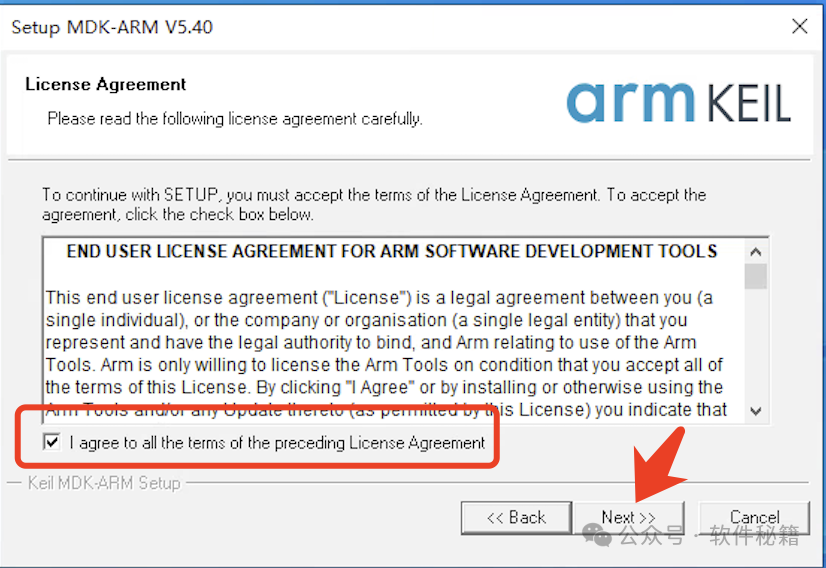
3. Agree to the Agreement: Check the “I agree…” checkbox to indicate agreement with the software usage agreement, then click “Next”.
4. Modify the Keil5 Installation Path: The default installation is on drive C. If you want to install it on another drive, modify it and then click “Next”.

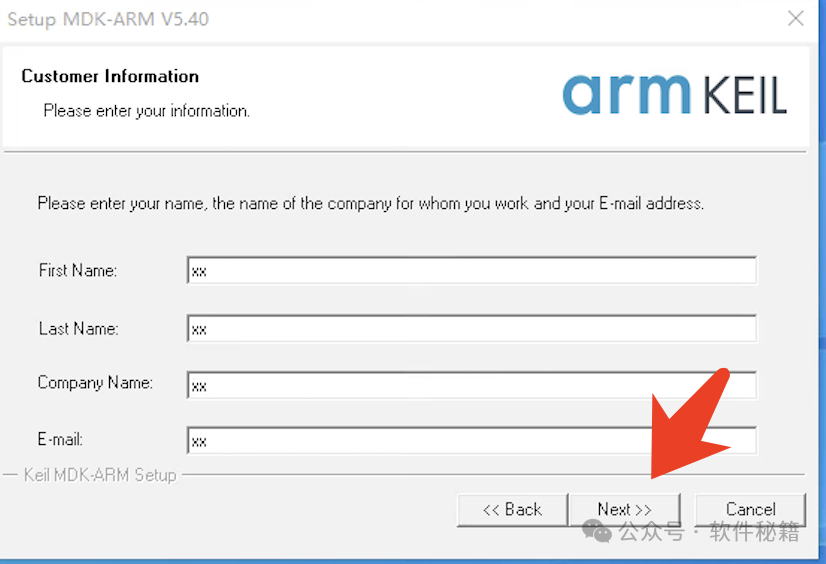
5. Fill in User Information: This information can be filled in freely. After filling it out, click “Next” to continue.
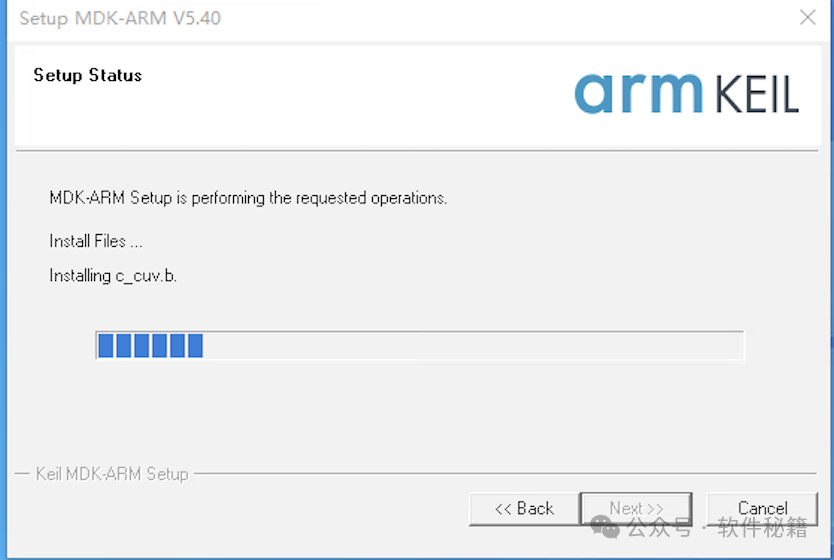
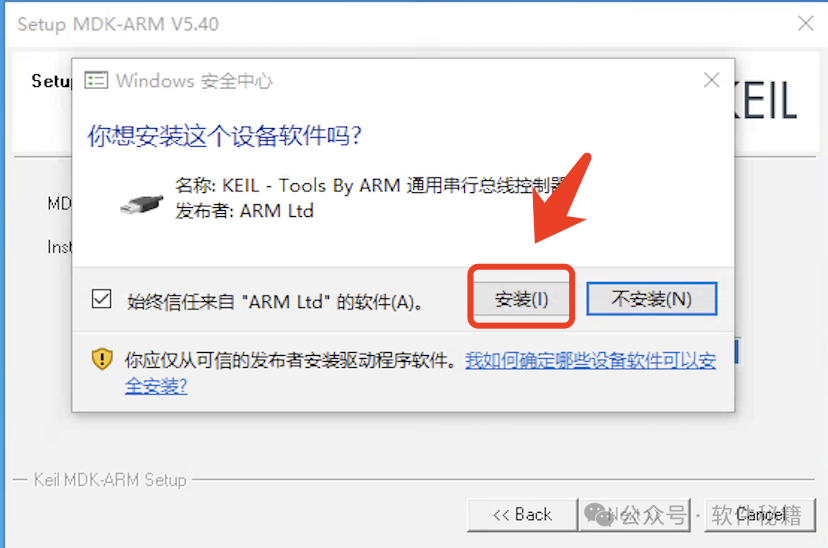
6. Wait for Installation: The software will start installing automatically. This process will take some time, please be patient until the progress bar completes.
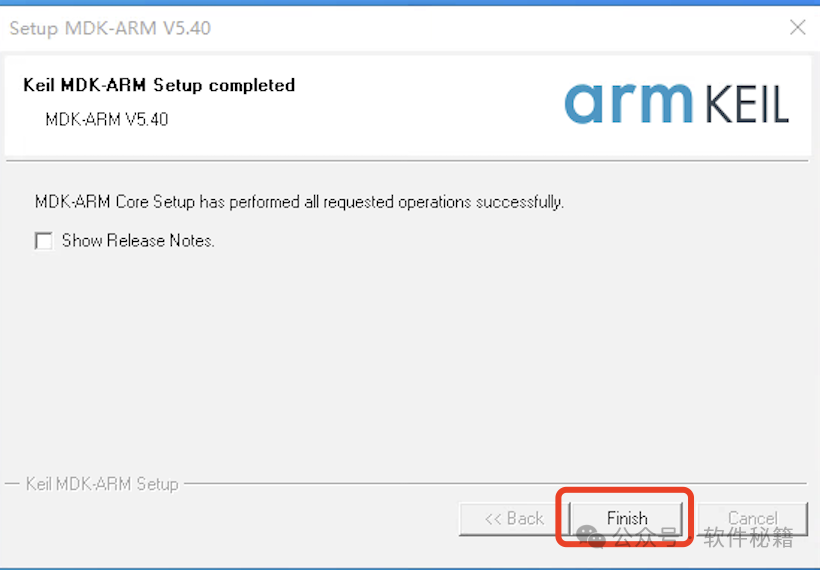
7. Complete the Keil5 Installation: After the progress bar ends, click the “Install” button, then uncheck all checkboxes and click “Finish”.
8. Close the Prompt Window: In the new pop-up window, also uncheck all checkboxes, click “OK”, then click the “X” in the upper right corner to close the window. When prompted to confirm exit, click “Yes”.

4.Activate Keil5 Software
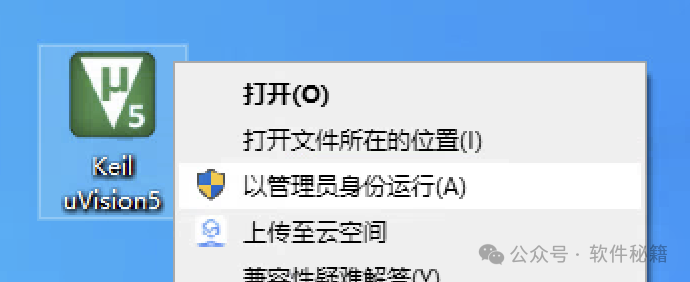
1. Open the Software: Find the Keil icon on the desktop, right-click and select “Run as administrator” to open the software.
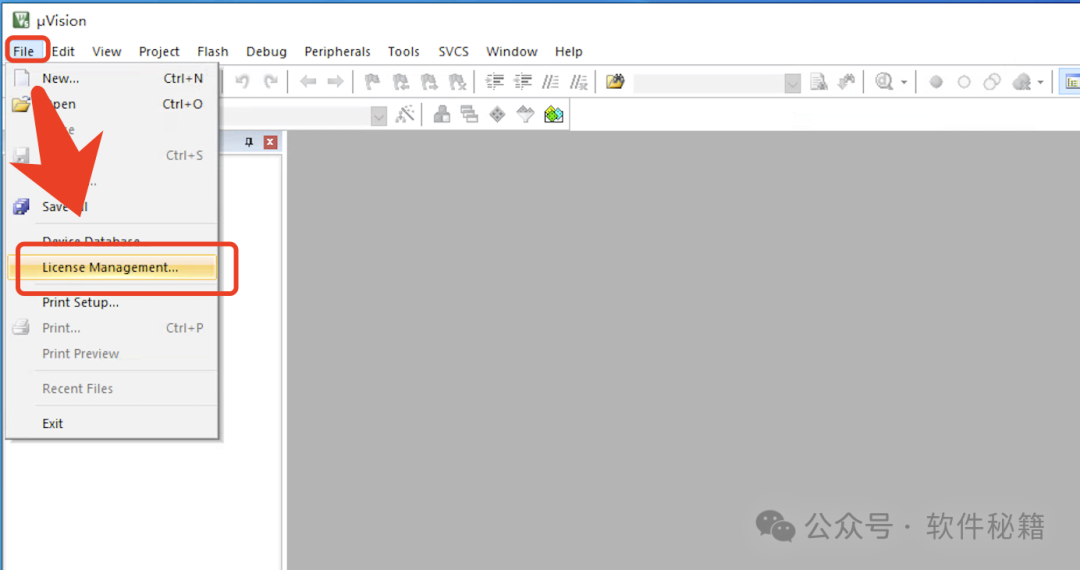
2. Open License Management: In the software menu bar, click “File” and select “License Management”.
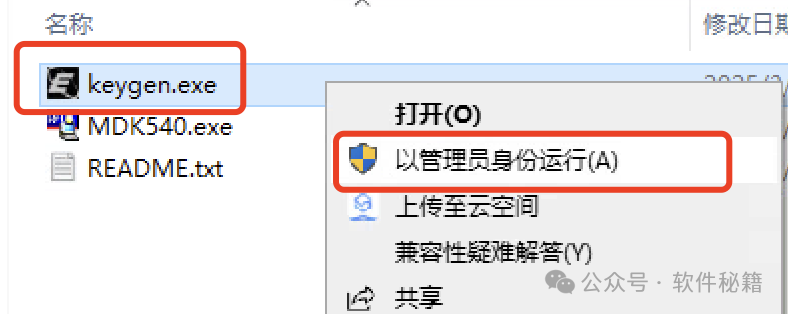
3. Run the Activation Tool: Go back to the extracted installation package folder, find the “Keygen” program, and right-click to run as administrator. If you cannot find or open it, make sure your antivirus software is turned off!
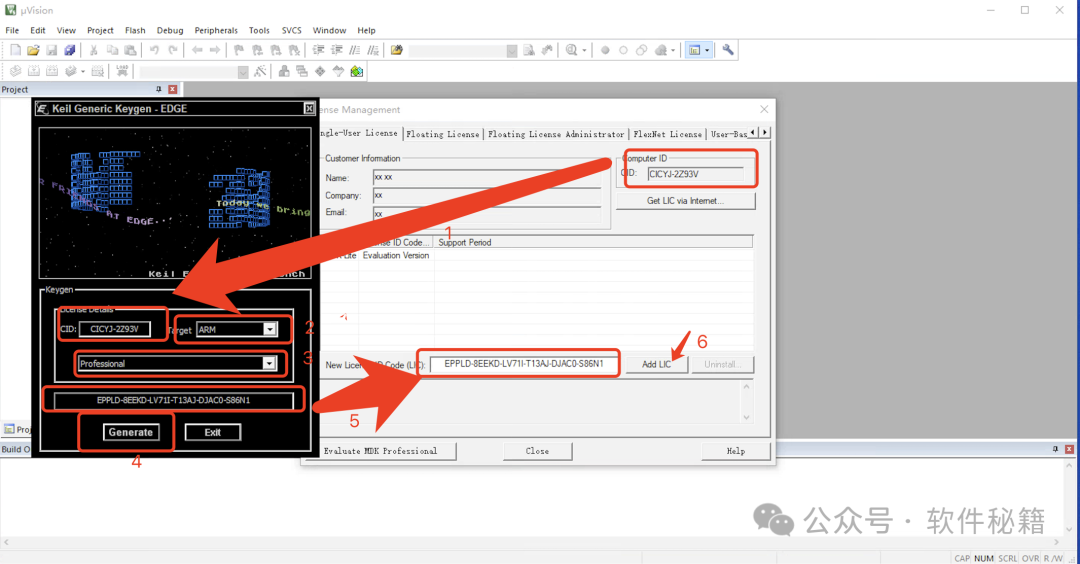
4. Generate Activation Code:
- 1. Copy the “CID” code from the Keil software window and paste it into the Keygen window.
- 2. In Keygen, select “ARM”.
- 3. In Keygen, select “Professional”.
- 4. Click “Generate” to create the activation code.
- 5. Copy the generated activation code back to the Keil software window.
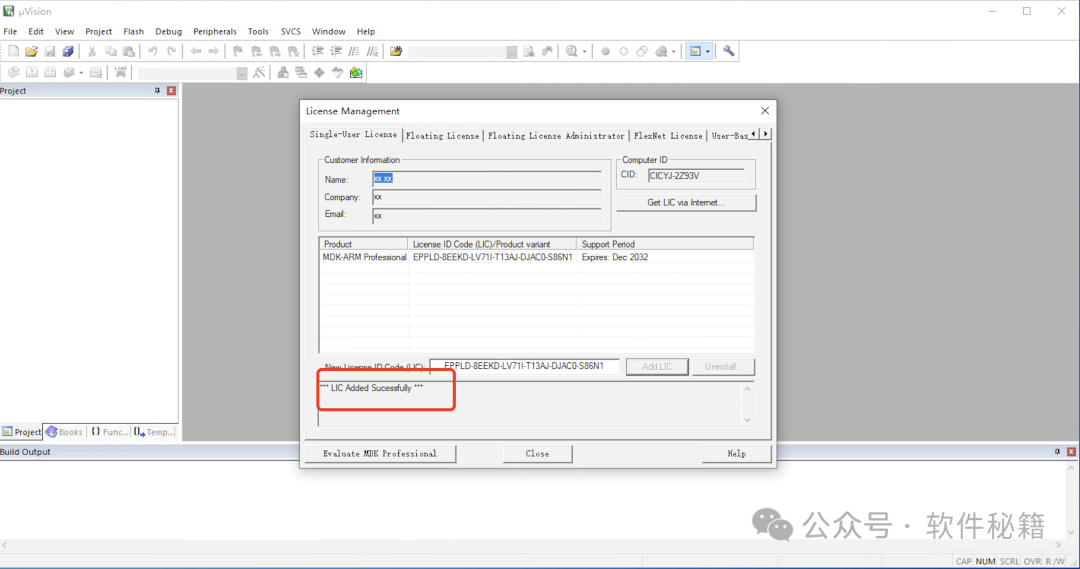
- 6. Click “Add LIC” to activate the software.
 5. If you see the “License Added Successfully” message, it means activation was successful! Click “Close” to close the window.