The LCD secondary screen I developed earlier was based on the Arduino UNO. I wanted to fit it into a 3D printed case, but the UNO board is a bit too large and not suitable. 😅
A year ago, I created a development board based on the ATmega8, which supports the MiniCore hardware package:
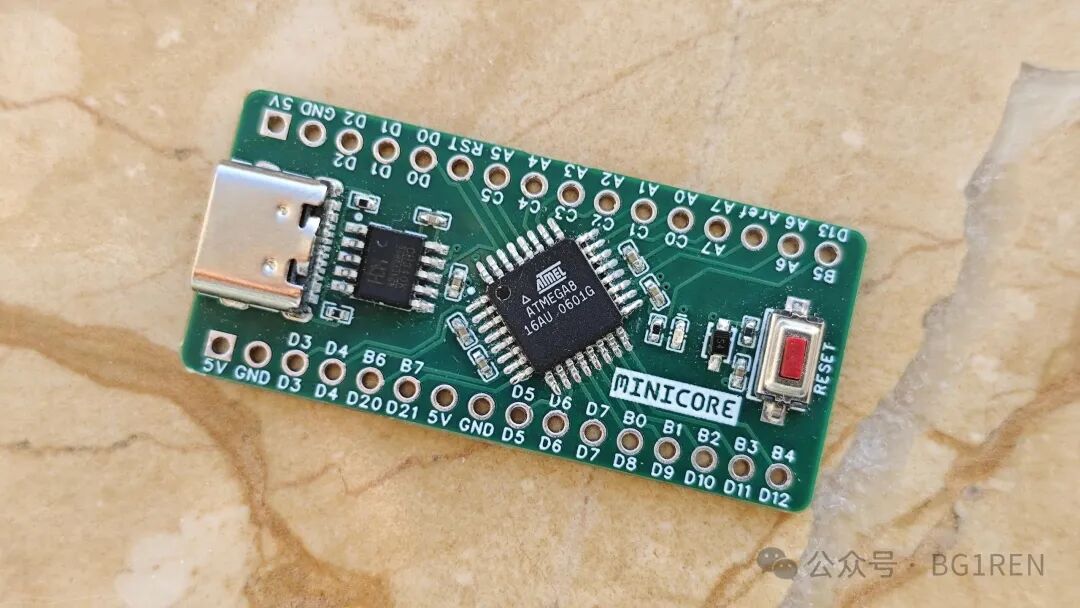
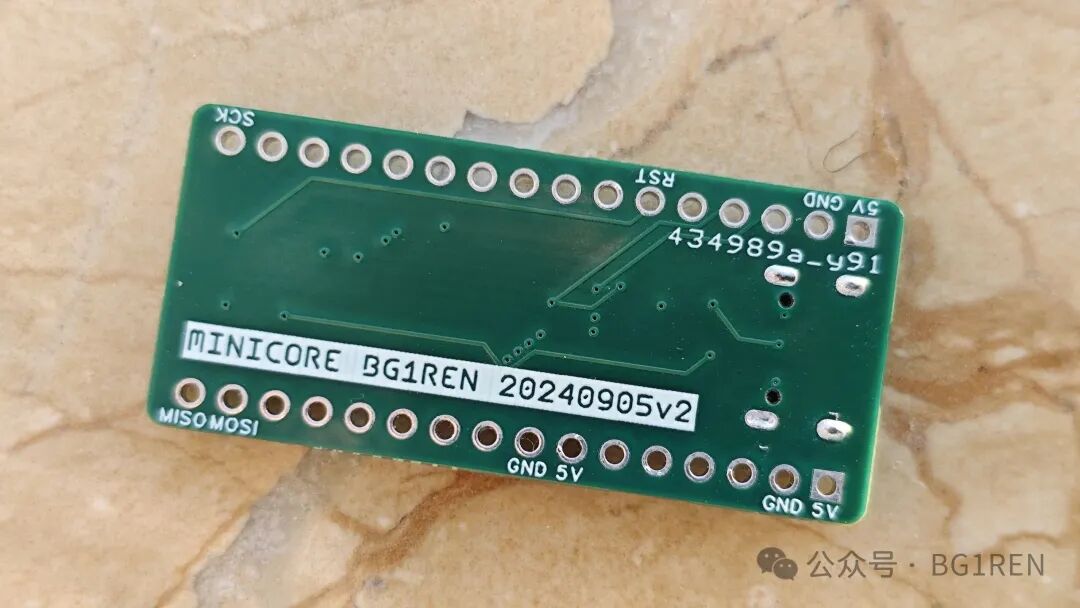
This development board is much smaller than the UNO, so I started trying to port the previous LCD secondary screen firmware to the ATmega8.
The porting process was actually very simple:
- Install MiniCore in the Arduino IDE’s Boards Manager according to the MiniCore documentation;
- Select the ATmega8 development board in the IDE, set the serial port, choose the built-in 8MHz clock, and keep the rest as default;
- Compile, upload, and run! 🚀
The entire process went smoothly without any obstacles. The compiled firmware only occupied 3072 bytes of Flash space, and it ran very smoothly after wiring. 👍
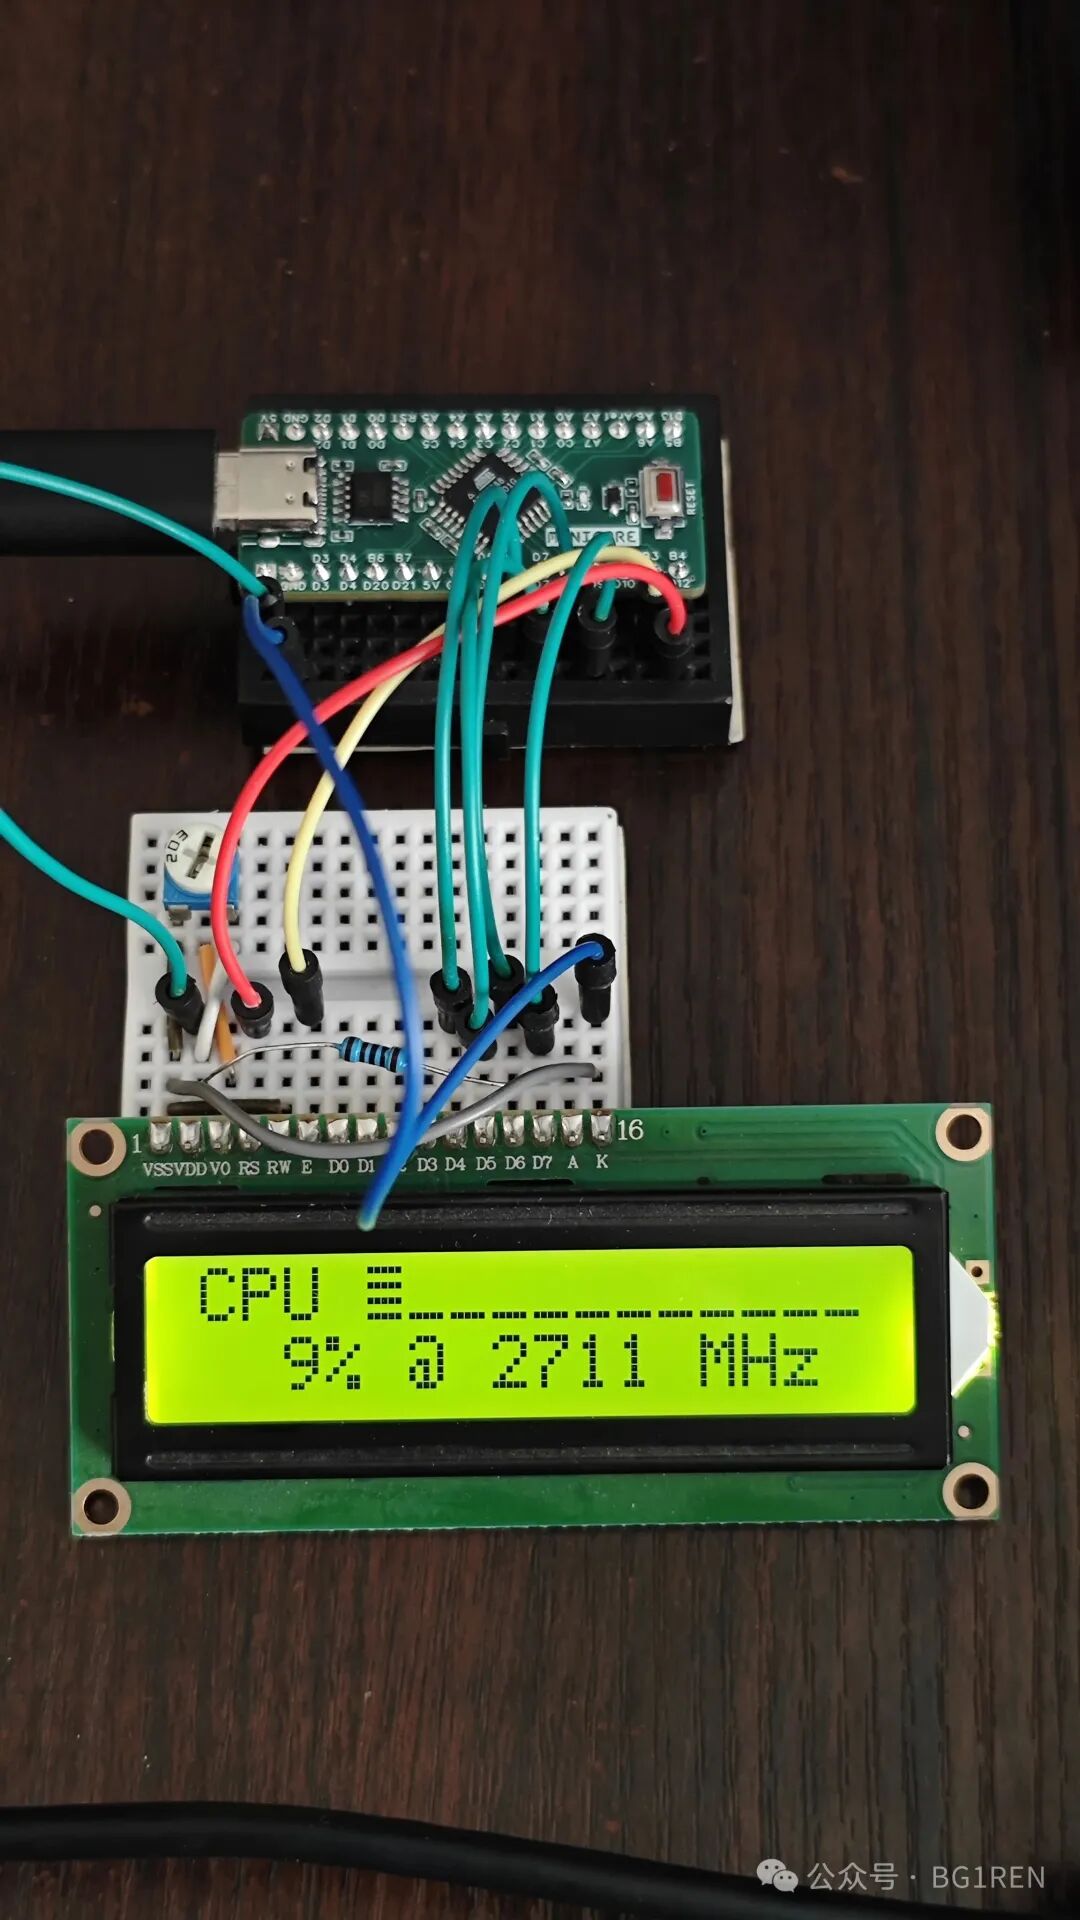
After slightly adjusting the display information configuration of LCD Smartie, the effect is quite good:
(End)
Related Resources:
- MiniCore:
<span>https://github.com/MCUdude/MiniCore</span> - LCD Secondary Screen Cross-Platform Evolution: From Linux to Windows
- DIY Experiment: Create an LCD Computer Secondary Screen in 15 Minutes