For beginners looking to enter the field of embedded development, the 51 microcontroller is the most classic starting point. Its simple architecture, rich resources, and quick learning curve make it the best choice for understanding the principles of microcontroller operation and mastering embedded development thinking.
This article will systematically introduce a complete learning path for the 51 microcontroller, covering the two core modules of hardware design and software programming, helping you develop projects independently from scratch.
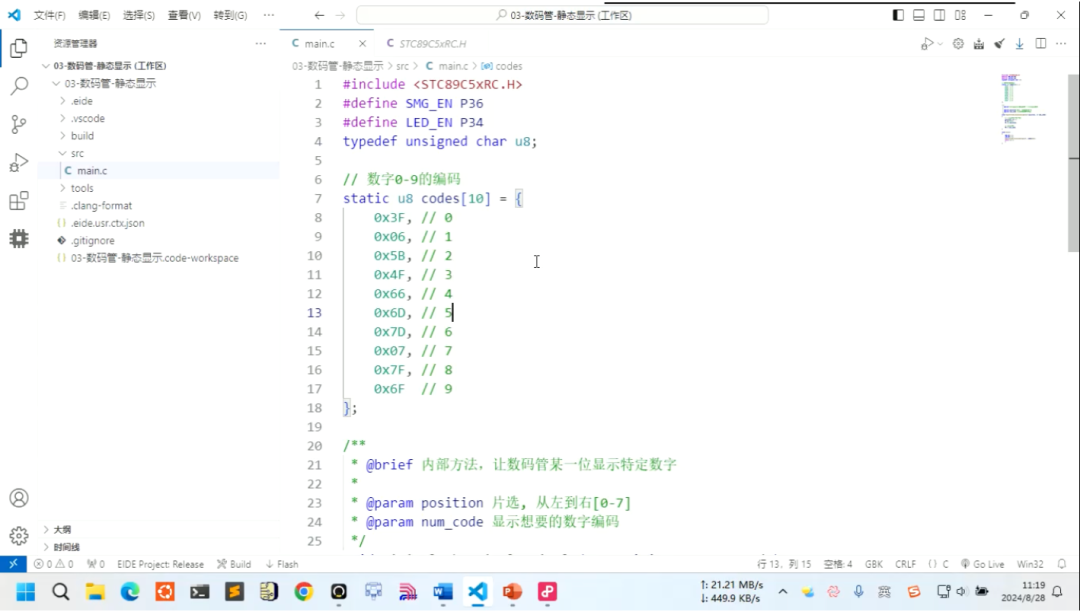
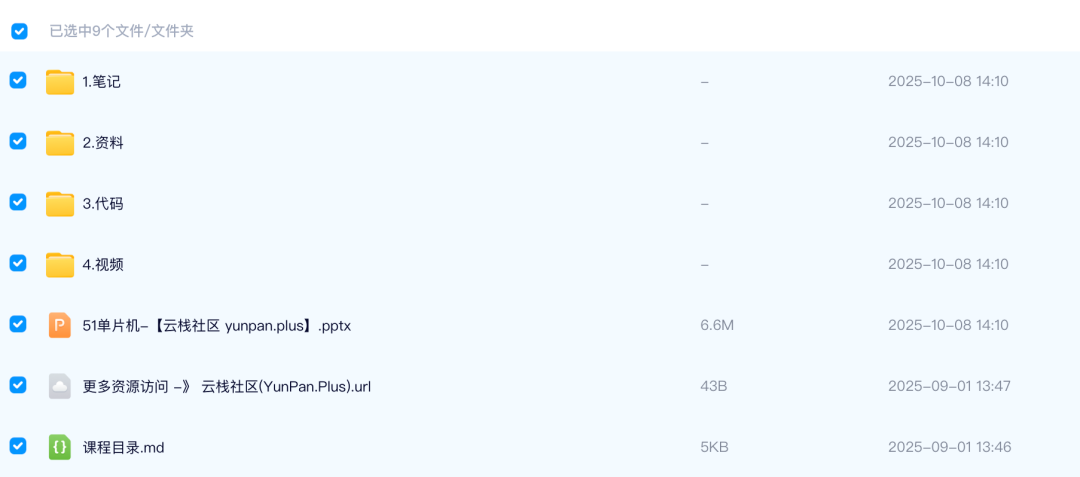
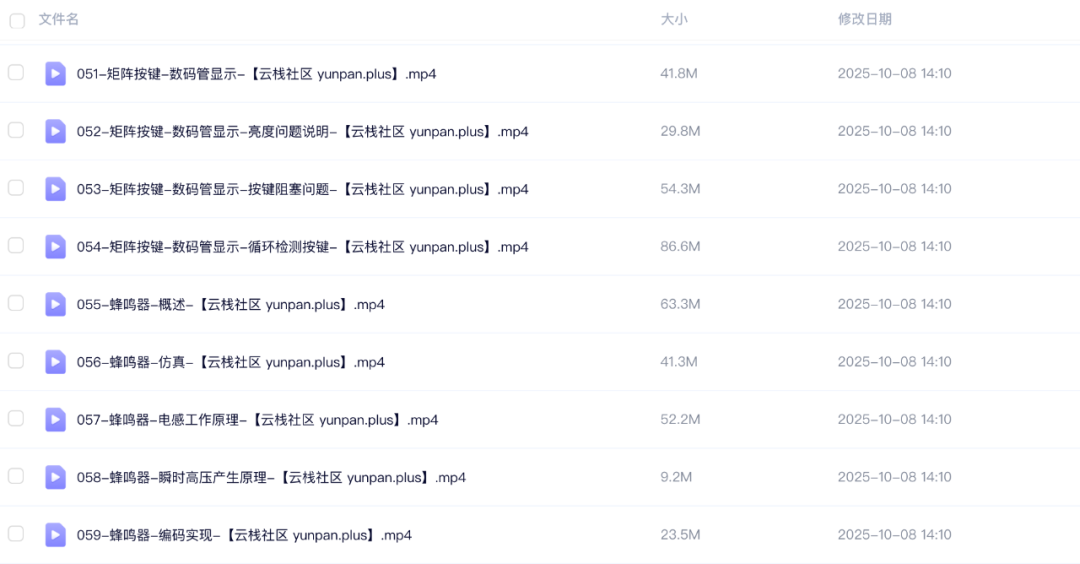
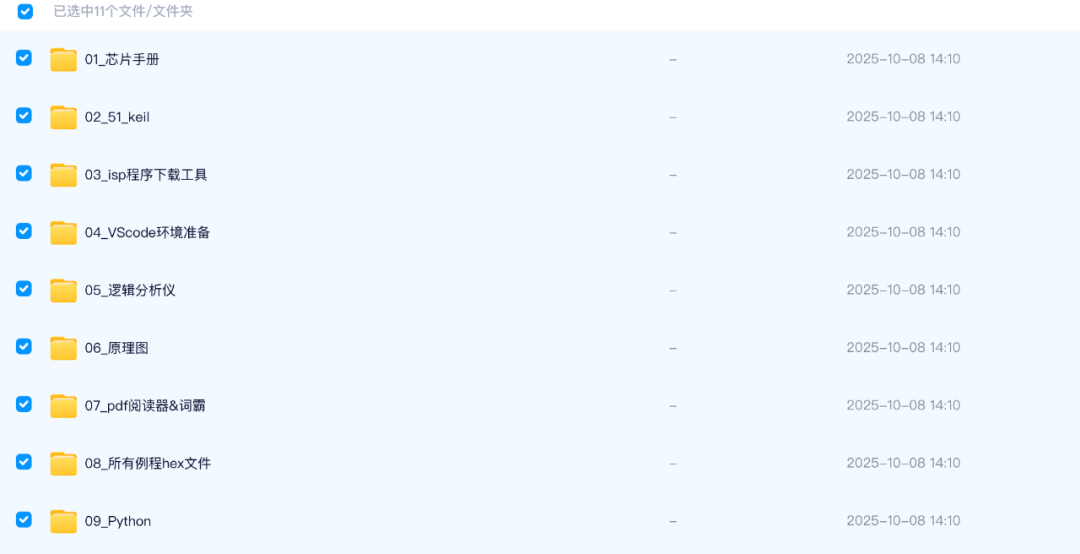
Course Download: 🔗 <span>https://yunpan.plus/t/24</span>
1. Why Choose the 51 Microcontroller as a Beginner?
Since its inception, the 51 microcontroller has become the preferred choice for beginners in embedded development due to its simple architecture and abundant learning resources. Compared to platforms like STM32 and Arduino, the 51 microcontroller is more suitable for understanding low-level principles:
- Clear Architecture: 8-bit CPU, 128 bytes of RAM, 4KB ROM, with a simple and understandable structure.
- Rich Resources: Mature development tools and comprehensive community resources.
- Low Cost: Inexpensive hardware, suitable for repeated experimentation.
- Wide Application: Still widely used in scenarios such as smart homes, industrial control, and educational experiments.
After mastering the 51 microcontroller, learning advanced platforms like ARM and STM32 will be much easier.
2. Learning Path: Parallel Progress in Hardware Design + Software Programming
PART 1: Basics of Hardware Design
Hardware is the foundation of the microcontroller system. This section will guide you through:
1. Minimum System of the Microcontroller
- Power circuit design (5V/3.3V voltage regulation scheme)
- Clock circuit (crystal selection and matching capacitor calculation)
- Reset circuit (power-on reset and manual reset)
2. Core Pin Functions
- Characteristics and application scenarios of the four groups of I/O ports P0-P3
- Special function pins (UART, timers, interrupts)
- Pin multiplexing and level conversion
3. Peripheral Circuit Design
- LED driver circuit (current limiting resistor calculation)
- Button input circuit (pull-up/pull-down resistors, debouncing)
- Seven-segment display driving (static display vs dynamic scanning)
Through practical circuit schematics and PCB designs, you will understand the logic of hardware selection and the norms of circuit design.
PART 2: Practical Software Programming
Software is the soul of the microcontroller. This section will systematically cover:
1. Basics of C Language Programming
- Setting up the Keil development environment and project configuration
- Register operations and bit manipulation techniques
- Principles of delay function implementation
2. Modular Programming Standards A good code structure is key to project maintainability. The course will teach you:
- Separation of header files and source files
- Function encapsulation and interface design
- Code reuse and portability
3. Core Peripheral Driver Development
GPIO Control
- LED chaser and breathing light effects
- Independent button and matrix keyboard scanning
- Button debouncing algorithms (software debouncing vs hardware debouncing)
Seven-Segment Display
- Principles of static display and dynamic scanning
- Design and optimization of segment code tables
- Time division multiplexing of multi-digit displays
Interrupt System
- Triggering methods for external interrupts (edge/level)
- Interrupt priority and nesting
- Precise timing of timer interrupts
Timer Applications
- Detailed explanation of timer working modes
- Calculation and configuration of timing intervals
- PWM waveform generation (breathing light, motor speed control)
Communication Protocols
- UART serial communication (baud rate configuration, data transmission and reception)
- I2C protocol driver (EEPROM data read/write)
- Basics of SPI protocol (OLED screen driving)
4. Practical Project Cases
Temperature Monitoring System
- DS18B20 temperature sensor driver
- Software implementation of the one-wire protocol
- Collection and display of temperature data
Clock System
- Communication with DS1302 clock module
- Reading and setting time data
- Implementation of calendar functions
OLED Display System
- Hardware principles of OLED screens
- Usage and optimization of graphics libraries
- Chinese character display solutions
3. Development Environment and Toolchain
To do a good job, one must first sharpen their tools. The course provides two development solutions:
Solution 1: Keil μVision
- Classic development environment for the 51 microcontroller
- Comprehensive debugging features
- Program download using STC-ISP
Solution 2: VS Code + EIDE
- Modern editor experience
- Rich plugin ecosystem
- Supports multi-platform development
Additionally, logic analyzer software (Logic) will be used for signal debugging, helping you intuitively understand the timing of communication protocols.
4. Course Resources and Learning Support
The complete learning materials include:
- 184 systematic video tutorials
- Accompanying hardware schematics and PCB files
- Complete project source code
- Chip datasheets and development kits
Download Link: The Yunstack community provides a complete course resource package, including development tools, source code, circuit design files, etc., to help you quickly set up a learning environment.
5. Learning Suggestions and Advanced Paths
Recommended Learning Sequence:
- First, build the minimum system and light up the first LED
- Master GPIO and basic peripherals (buttons, seven-segment displays)
- Understand interrupt and timer mechanisms
- Learn communication protocols (UART, I2C)
- Complete a comprehensive project (temperature clock system)
Common Questions:
-
Q: Can I learn without an electronics background?A: Yes. The course starts from scratch and will explain the necessary circuit knowledge.
-
Q: What hardware do I need to purchase?A: A 51 development board (about 50 yuan) + USB downloader is sufficient.
-
Q: What can I do after completing the course?A: You will be able to independently design simple smart hardware and lay the foundation for learning STM32 and IoT development.
Advanced Directions:
- Development of STM32 series microcontrollers
- FreeRTOS real-time operating system
- IoT project development
- Embedded Linux systems
6. Final Thoughts
Although the 51 microcontroller is “old,” it embodies the core ideas of embedded development. Through this course, you will not only master a technology but also establish a complete embedded development mindset.
Starting from lighting up an LED to completing a full temperature monitoring system, every step is a growth experience. When you see your code controlling hardware, the sense of achievement will make you fall in love with embedded development.
Cloud Disk 🔗 <span>https://yunpan.plus/t/24</span> Visit the Yunstack community to download the complete course resources and start your embedded development journey.
This article systematically introduces the learning path for the 51 microcontroller, covering core technology stacks such as hardware design, software programming, peripheral drivers, and communication protocols, suitable for beginners with no background in embedded development.