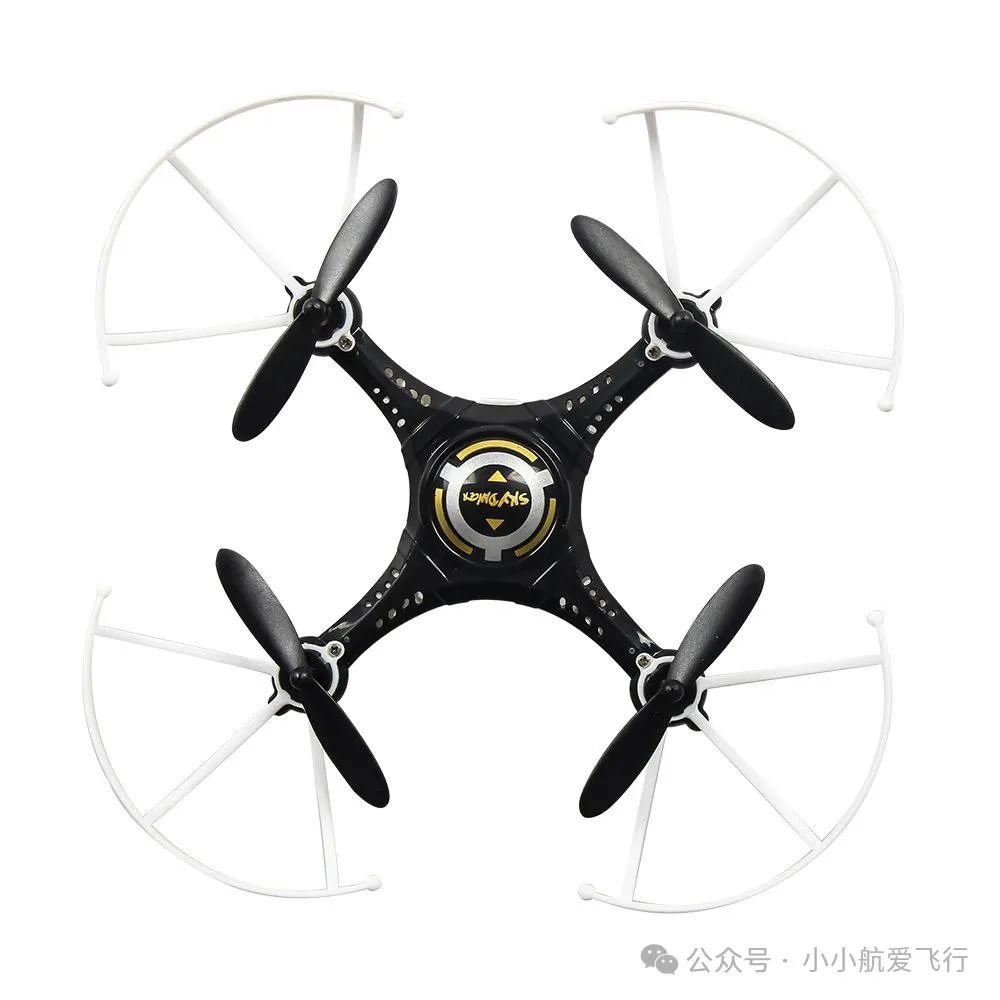
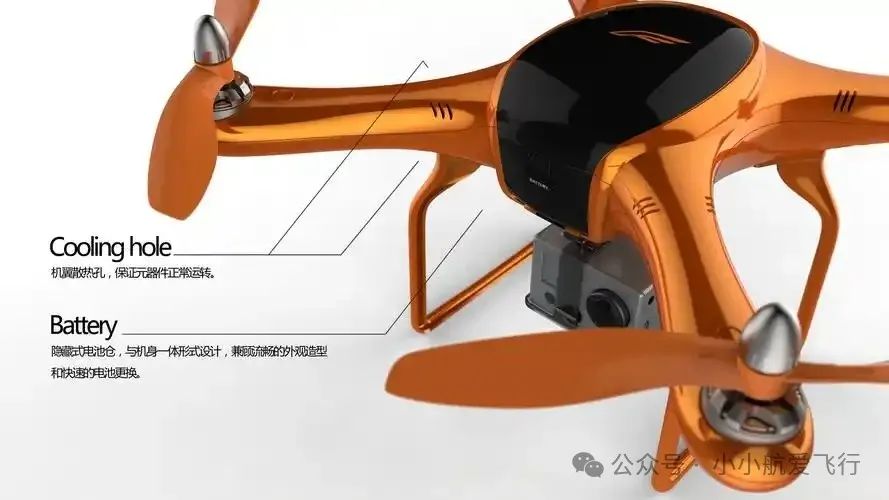
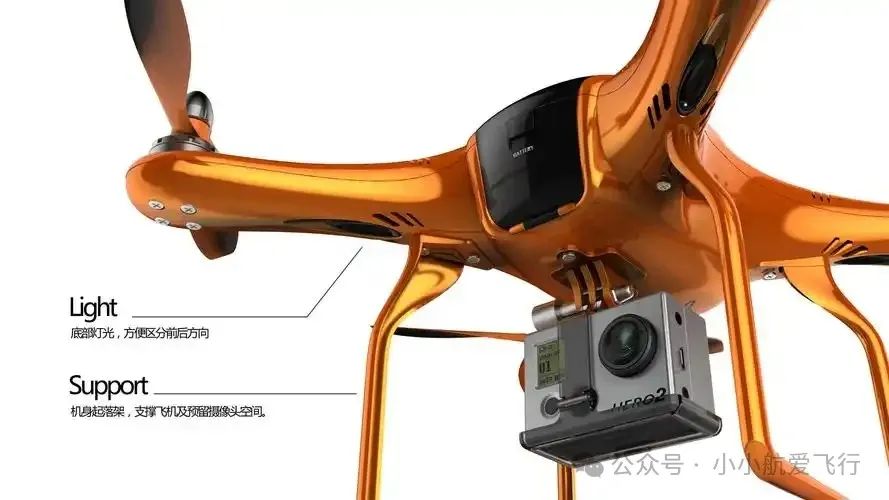
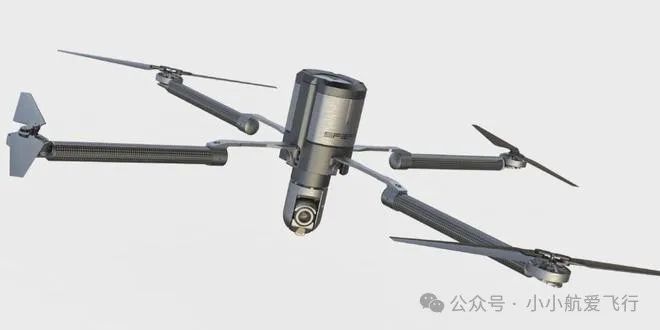
A quadrotor UAV belongs to the non-coaxial disc rotor category in rotor layout, with four rotors symmetrically distributed in a cross pattern. Compared to traditional single-rotor aircraft, quadrotors have many advantages. The four rotors counteract each other’s torque effects, eliminating the need for a tail rotor found in single-rotor helicopters, making them more energy-efficient while also reducing the size of the aircraft.
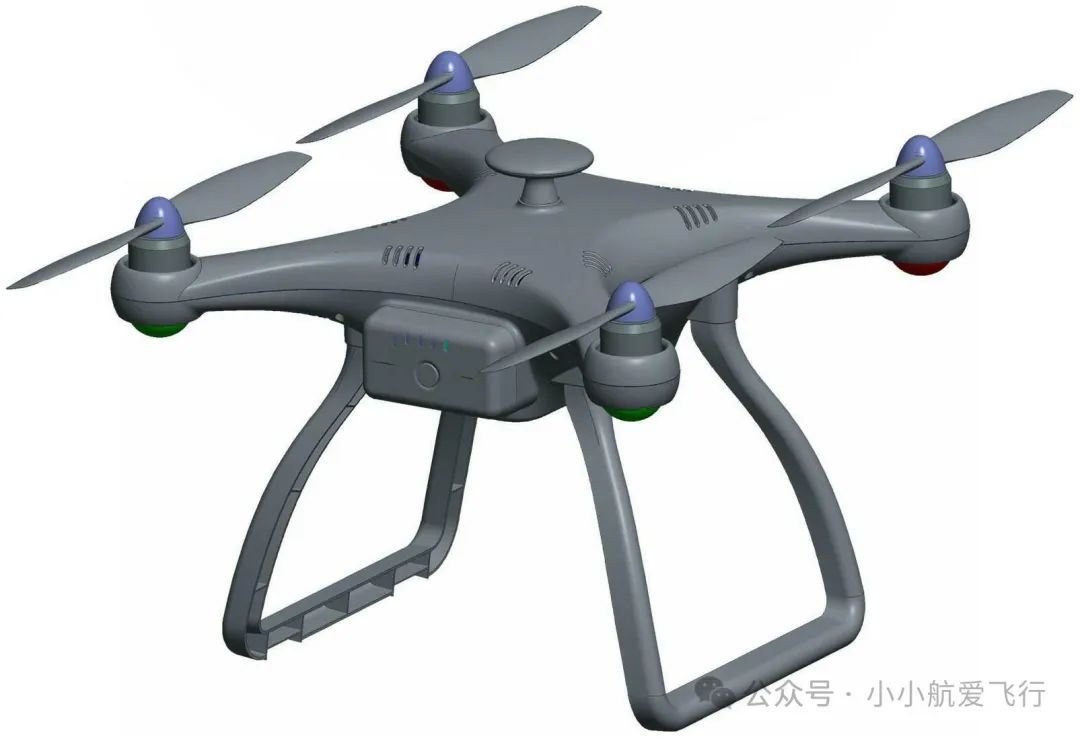
The quadrotor adjusts its flight attitude by varying the speed of the four rotors, without the need for the pitch adjustment mechanisms required by single-rotor helicopters, resulting in a simpler mechanical design. Due to having multiple rotors, quadrotors can carry heavier loads, and the blades can be made smaller, facilitating miniaturization. The numerous advantages of quadrotors give them a wide range of applications and research value.
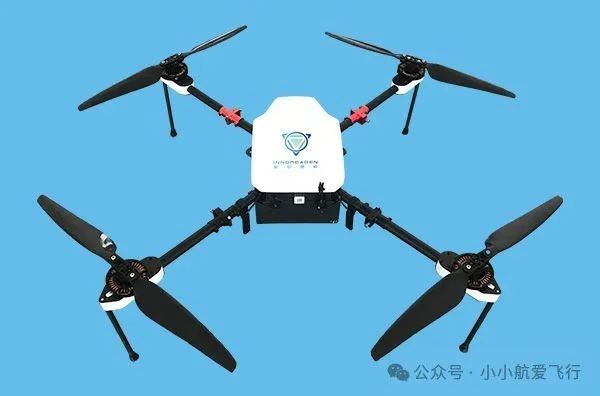
Steps to Build a Quadrotor Aircraft
Building a quadrotor aircraft involves multiple steps. Here is a detailed guide based on search results:
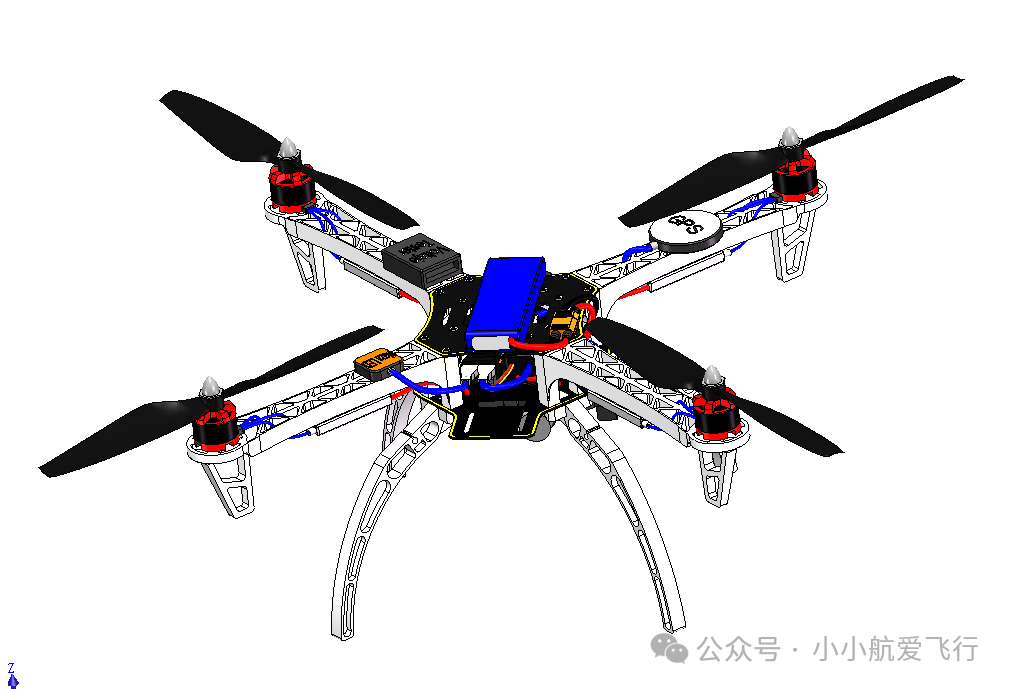
Prepare Tools and Materials: First, you need to gather a range of tools and materials. These include but are not limited to: the quadrotor’s frame, four brushless motors, four electronic speed controllers (ESCs), a flight control board (such as APM2.6 or KK), a GPS module (like M8N), two pairs of propellers, a lithium battery, a remote control and receiver, and other necessary accessories such as Dupont wires, zip ties, etc.
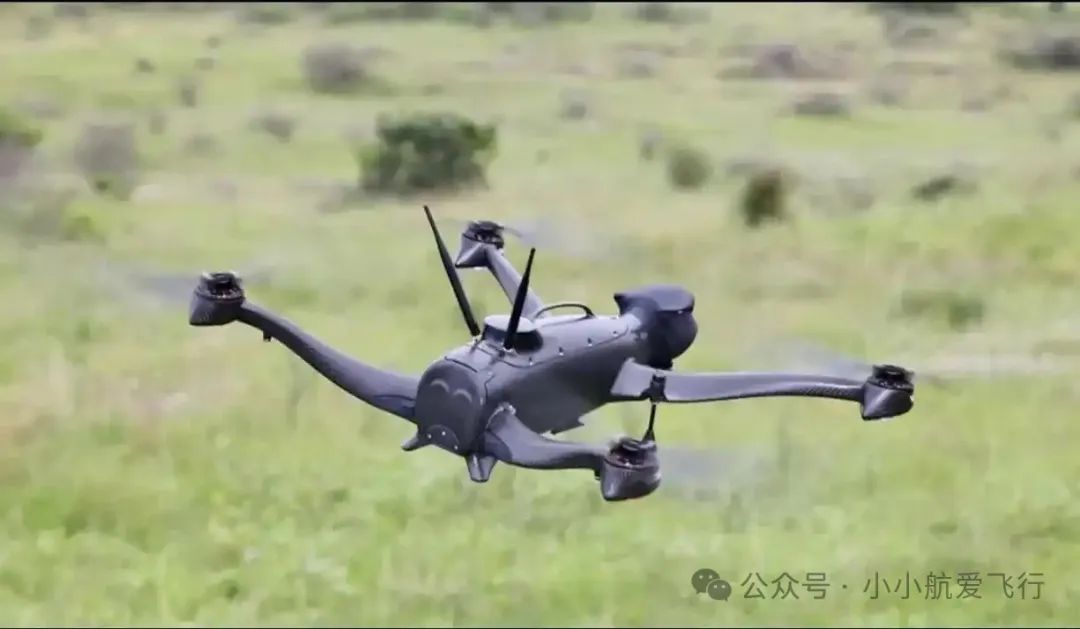
Assemble the Quadrotor: Next, you will begin assembling the quadrotor. This typically involves the following steps:
Solder the four electronic speed controllers onto the frame and connect them to the battery and motors.
Install the four brushless motors and propellers, ensuring they are correctly connected to the corresponding electronic speed controllers.
Install the flight control board, GPS module, and other necessary electronic components onto the frame.
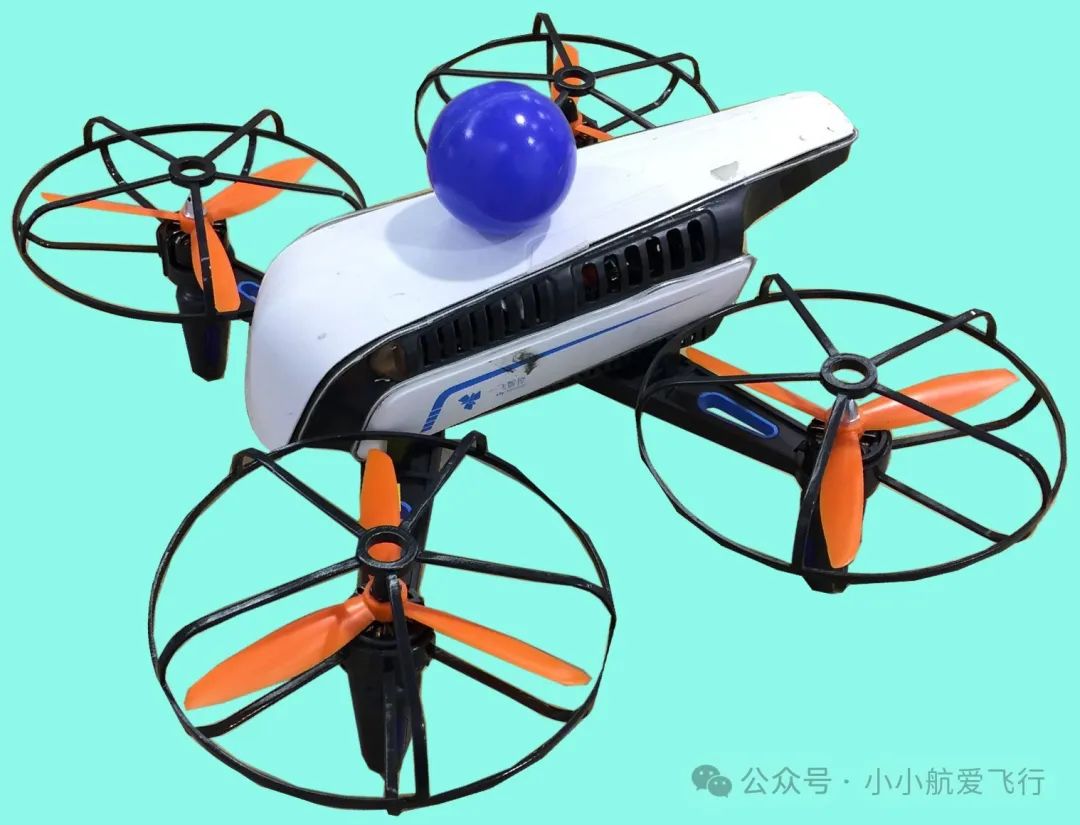
Tuning and Calibration: After assembly, you need to tune and calibrate the quadrotor. This includes:
Using specialized software (such as MP Ground Station) to connect the flight control board to a computer for initialization and necessary settings, such as tuning the accelerometer.
Connecting the GPS module to the flight control board for GPS tuning, including compass calibration.
Calibrating the current meter to ensure all electronic components function properly.
Programming and Testing: Finally, you need to write control programs for the quadrotor and test it to ensure stable flight. This may involve:
Learning relevant programming knowledge, such as automatic control principles, digital signal processing, etc.
Using MATLAB or other programming tools to write control algorithms, such as attitude estimation, altitude estimation, PID control, etc.
Conducting field tests and continuously adjusting and refining the control program until the quadrotor can fly stably.
Basic Testing
After powering on, check if the motor directions are correct and if the remote control is paired with the receiver;
Use tuning software (like Betaflight Configurator) to test the PID parameter response.
Flight Precautions
Choose an open area for the first flight, turn on “stabilization mode,” and slowly increase the throttle;
Observe yaw phenomena and correct them by adjusting the ESC travel or flight control yaw compensation parameters.
Safety Regulations
Batteries should be stored in explosion-proof bags to avoid overcharging/over-discharging;
Flight altitude should not exceed 120 meters, and keep away from crowds and no-fly zones.
Performance Upgrade Directions
Install a GPS module for point hovering and return-to-home functions;
Use carbon fiber propellers to improve efficiency or add a video transmission system to expand FPV functionality.
Common Problem Solutions
Problem Phenomenon Possible Cause Solution
Motors start unsynchronized ESC not calibrated for throttle travel Recalibrate the ESC
Body shakes during flight PID parameters too aggressive or insufficient damping Lower P value, reinforce flight control damping
Yaw cannot stabilize Propellers installed incorrectly or motor direction wrong Check propeller markings and motor directions
By following the above steps, you can complete the basics of DIY quadrotors. It is recommended that beginners first choose mature kits (such as F450 + flight controller kits) to reduce complexity, and then gradually attempt to design independently. Advanced development can refer to open-source flight control codes and Kalman filter algorithms to optimize attitude estimation.
Please open in the WeChat client
Please open in the WeChat client