Last time, Qiu Qiu successfully achieved the effect of a flowing light according to the tutorial. After playing for a while, it felt a bit monotonous, as the lights could only light up one by one in order.
Can more lights be added to the circuit? Can the flowing lights present some different effects? And how can this be achieved?
With these questions, Qiu Qiu’s exploration journey of the flowing lights began.
Can more lights be added to the circuit while still achieving the above effect?
Qiu Qiu followed the same building method, increasing the number of lights to 8, modified parameters, debugged, and uploaded to the Arduino Uno R3 board, and the 8 lights lit up one by one in order. The first small exploration was successful.
Can even more lights be added? Qiu Qiu increased the number of lights to 10, and the 10 lights also presented the same effect.
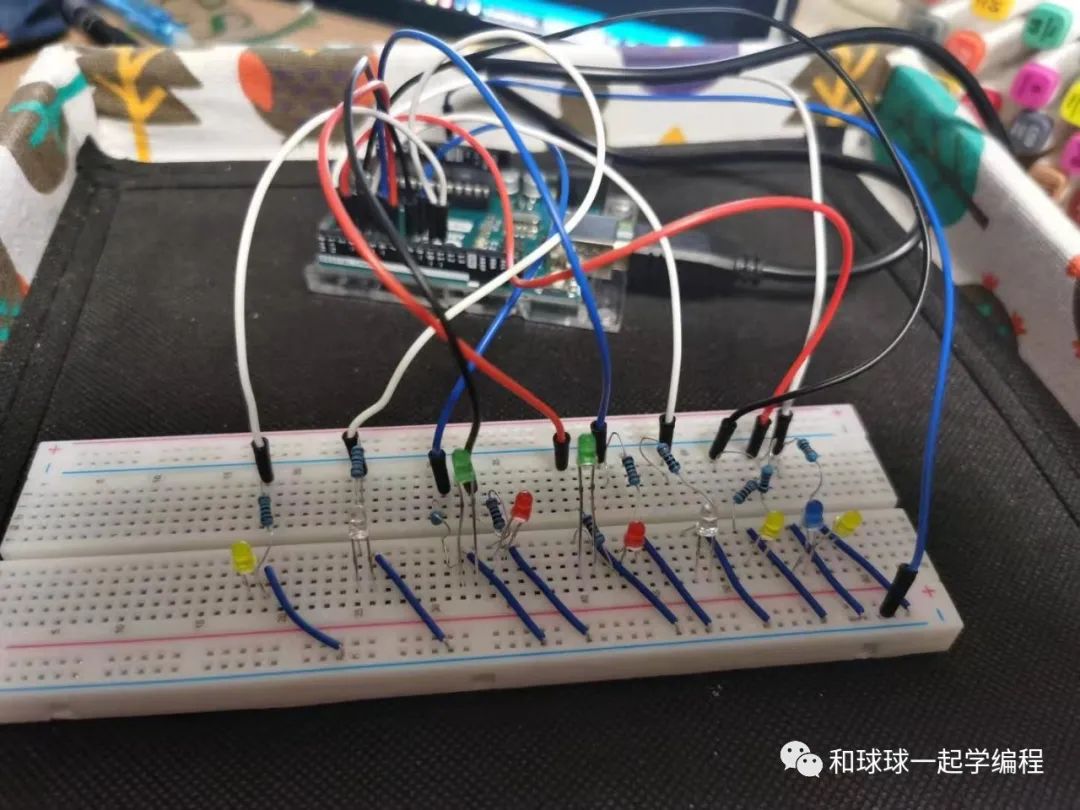
So, what is the maximum number of lights that can be added? The answer is 12, because there are only 12 digital input/output ports available on the Arduino Uno R3 board.
As the number of lights increases, the main program remains unchanged; only a few parameters need to be modified.
The detailed program can be found in the article on flowing lights with Arduino.
Can flowing lights achieve other effects?
1. Can all the lights light up at the same time and then extinguish at the same time?
2. The flowing lights light up one by one, but not one after another; first, the lights in odd positions (1, 3, 5, 7, 9) light up, and then the lights in even positions (10, 8, 6, 4, 2) light up. Can such an effect be achieved?
3. Can the flowing lights light up in groups? For example, two at a time.
With these questions, Qiu Qiu researched each one.
1. Can all the lights light up at the same time and then extinguish at the same time?
This effect is very easy to achieve.
The previous article has already described the basic effect of flowing lights, so in this article, only the code for achieving the effect of 10 lights fully lighting and extinguishing is provided:
digitalWrite(2,HIGH);digitalWrite(3,HIGH);digitalWrite(4,HIGH);digitalWrite(5,HIGH);digitalWrite(6,HIGH);digitalWrite(7,HIGH);digitalWrite(8,HIGH);digitalWrite(9,HIGH);digitalWrite(10,HIGH);digitalWrite(11,HIGH);delay(2000);digitalWrite(2,LOW);digitalWrite(3,LOW);digitalWrite(4,LOW);digitalWrite(5,LOW);digitalWrite(6,LOW);digitalWrite(7,LOW);digitalWrite(8,LOW);digitalWrite(9,LOW);digitalWrite(10,LOW);digitalWrite(11,LOW);delay(2000);2. How to achieve lighting up odd position lights first, then even position lights?
This involves algorithms. Qiu Qiu thought of the algorithm for determining odd and even numbers that was often used when writing Scratch and C++ programs. By adding the program for determining odd and even numbers to the flowing lights program, this can be achieved.
The code for lighting up lights based on odd and even positions is as follows:
for(int i=2;i<12;i++) { if(i%2==0){ digitalWrite(i,HIGH); delay(1000); digitalWrite(i,LOW); } }// Light up odd position LED lights, since the pins start from pin 2, pin 2 corresponds to light 1 // so when the pin number is even, the corresponding LED light is in an odd positionfor(int i=11;i>2;i--){ if(i%2==1){ digitalWrite(i,HIGH); delay(1000); digitalWrite(i,LOW); } }// Light up even position LED lights, since pin 11 is the last pin, pin 11 corresponds to light 10 // so when the pin number is odd, the corresponding LED light is in an even position3. Can flowing lights light up in groups?
This can also be easily achieved:
The code is as follows:
for(int i=2;i<12;i+=2) { digitalWrite(i,HIGH); digitalWrite(i+1,HIGH); delay(1000); digitalWrite(i,LOW); digitalWrite(i+1,LOW); }// Light up two at a time from front to back delay(2000); for(int i=11;i>1;i-=2 ) { digitalWrite(i,HIGH); digitalWrite(i-1,HIGH); delay(1000); digitalWrite(i,LOW); digitalWrite(i-1,LOW); }}// Light up two at a time from back to frontBy modifying the source program of the basic effect and adding one’s own judgment methods, the flowing lights present different effects.
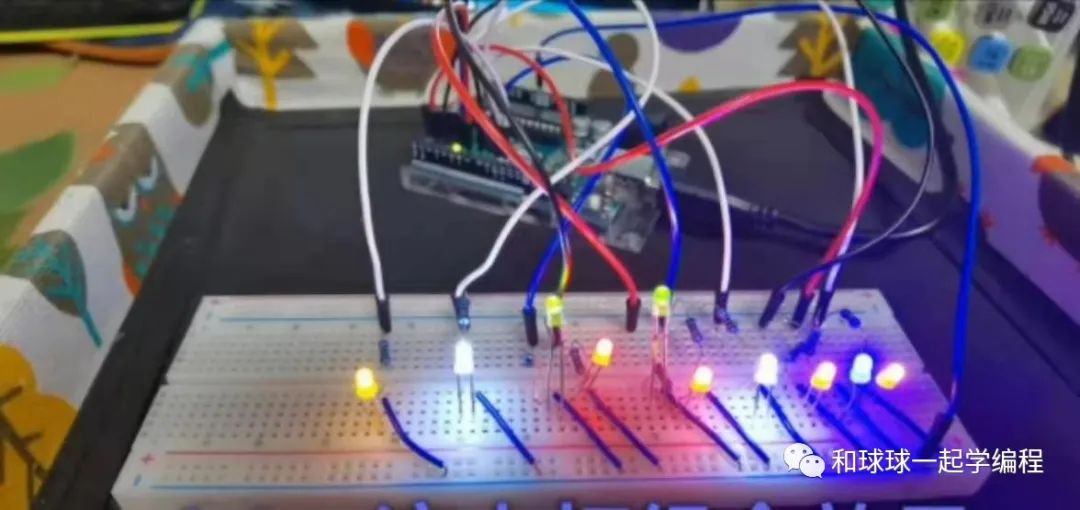
Qiu Qiu’s exploration this time was successful, and it also understood the basic principles of how the colorful neon lights we see outside work.
Based on the above exploration and research, Qiu Qiu arranged and combined the program to present a dazzling effect of flowing lights. Let’s enjoy it together!
What other transformation methods can flowing lights have? Qiu Qiu will continue to explore and study.
Flowing lights can also have different transformation methods?
Click at the end of the article: Read the Original Text to view the complete source code for the flowing light combination effect
Welcome to join the knowledge circle: Qiu Qiu’s Classroom
(A knowledge circle managed by Qiu Qiu, where learning results are shared irregularly)

Join the knowledge circle: Learn Programming with Qiu Qiu, obtain the source code of this public account and more programming consulting

Follow the video account: Teacher Yang’s Programming Classroom, enjoy more Arduino small projects

Follow the public account: Learn Programming with Qiu Qiu, learn together and make progress together.