 1 Introduction
For electronics enthusiasts developing with microcontrollers, there are many software options available, generally including:
● Development environments (such as Keil, Arduino IDE, Eclipse, etc.);
● Circuit design software (such as JLCPCB EDA, Altium Designer, Protel 99 SE, etc.);
● Debugging tools (such as serial debugging SSCOM, simulation software Secure CRT, Bluetooth debugging nRF Connect, etc.).
Each category has multiple tools, and developers can choose different software based on their needs. The installation of various software is also crucial. This article mainly introduces the installation tutorial for the software development tool Keil5 and the hardware development tool JLCPCB EDA.


2 Installation of Development Tool Keil501 Preparation
Download link for the development tool:
https://pan.baidu.com/s/1oPuEn6ejNJrR2e7BwqSMLw?pwd=ja7a
Open the link and download the installation file. Be sure to note that the installation should be in an English path! This can avoid many strange issues! Also, disable antivirus software!
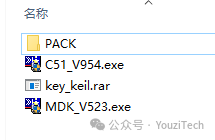 02 Installation of C51
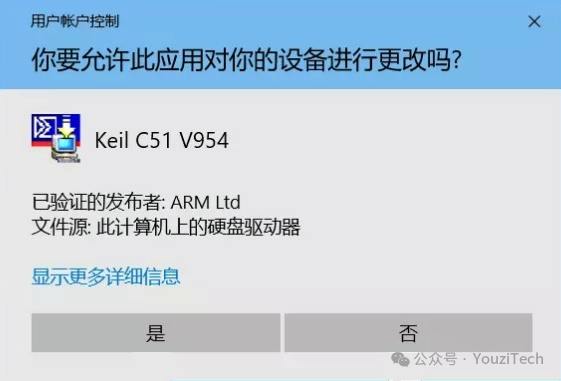
Double-click C51_V954.exe, and if a warning window pops up, select “Yes”.
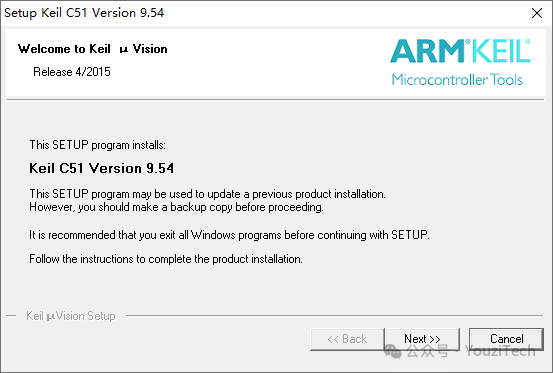
Then click “Next”.
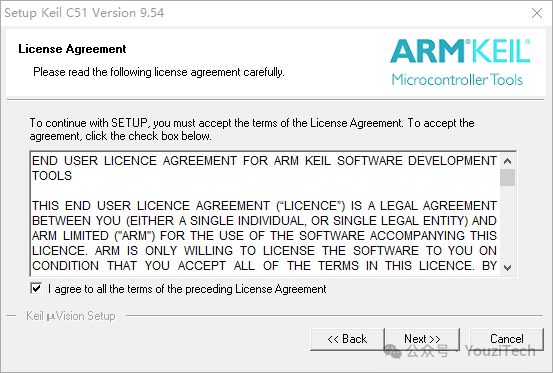
Check “I agree to …”, then click “Next”.
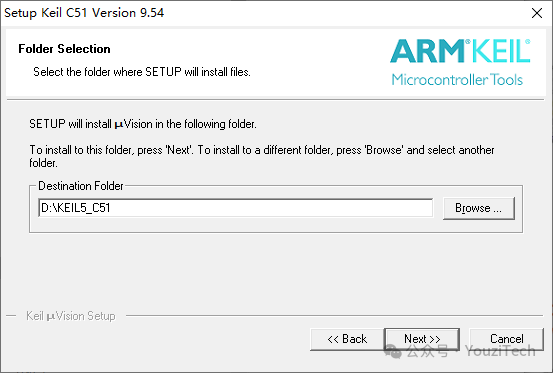
Select the installation folder address; you need to know the installation address as it will be used later.
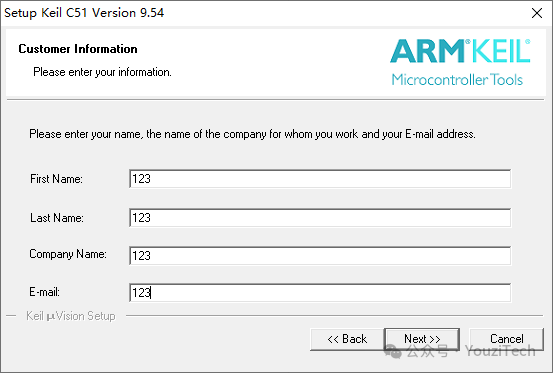
You can fill in any name and email, then click “Next”.
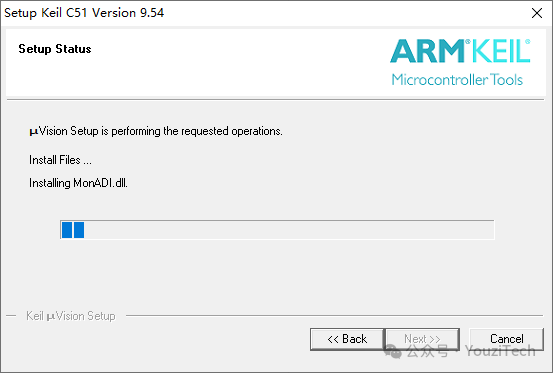
Then just wait for the installation to complete. After installation, uncheck the box and click “Finish”.
At this point, C51 has been successfully installed, and now we will start the installation of MDK.
03
Installation of MDK
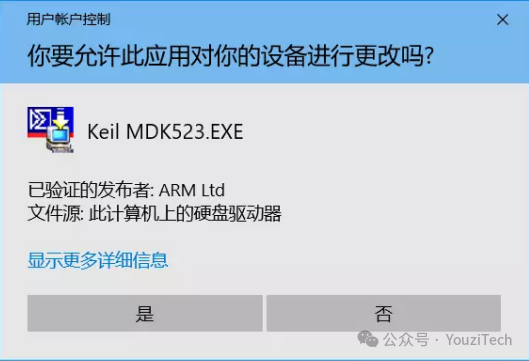
Double-click MDK_V523.exe, and if a warning window pops up, select “Yes”.
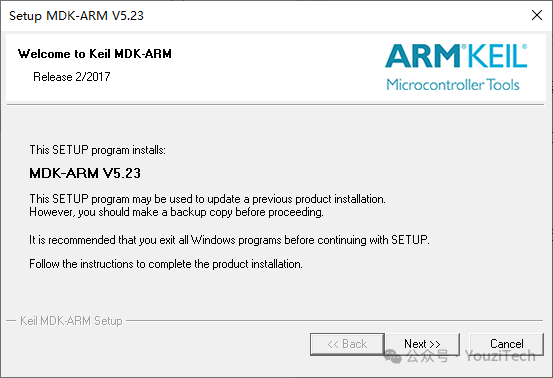
Then click “Next”.
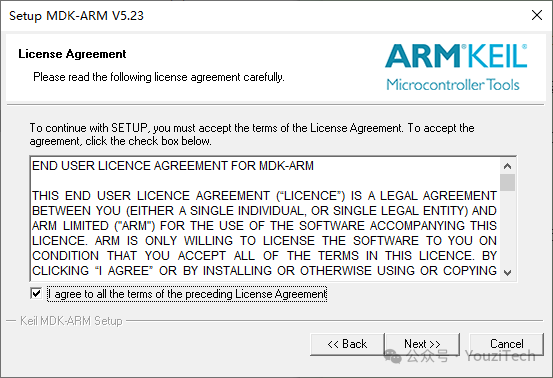
Check “I agree to …”, then click “Next”.
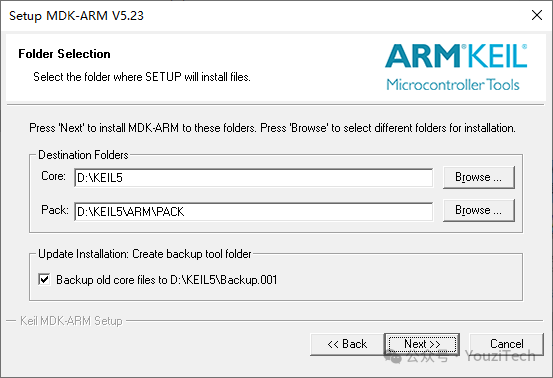
Just select the installation folder address for Core, and do not install it in the same folder as C51. Pack will automatically modify based on the Core folder path, no need to select it separately. Then click “Next”.
You can fill in any name and email, then click “Next”.
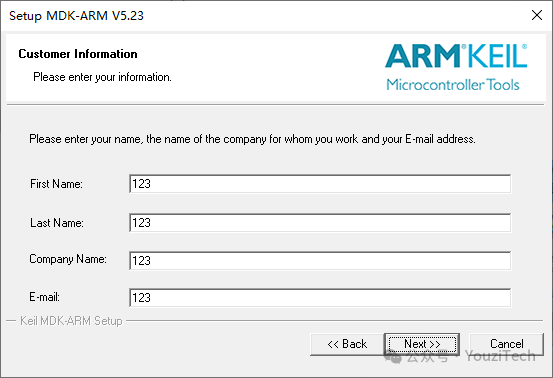
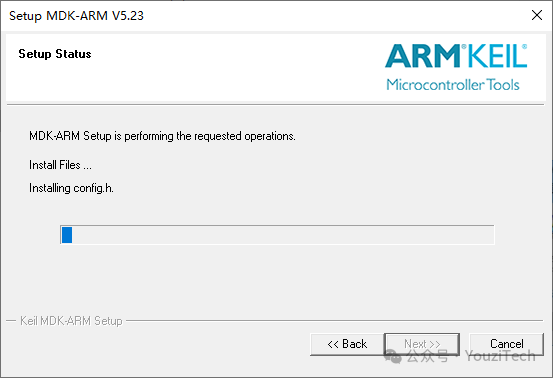
Then just wait for the installation to complete. If prompted to install drivers during the installation, select “Yes”. After installation, uncheck the box and click “Finish”.
 04 Keil5 is Compatible with Both C51 and MDK
Please pay attention to the installation details! Avoid mistakes! If you are unsure, read through it once before proceeding!
Open the installation directory of C51 and the installation directory of MDK. Copy the entire C51 folder from the C51 installation directory to the MDK installation directory.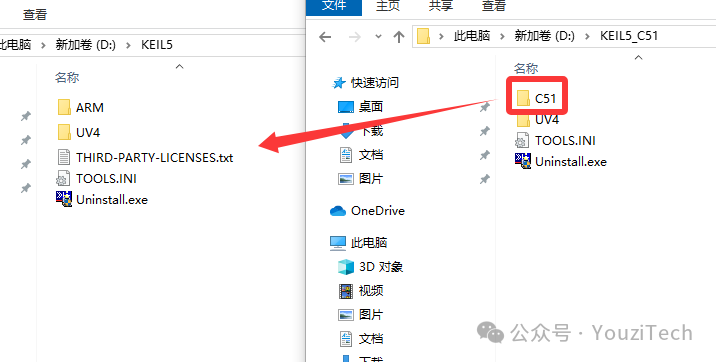 Open the UV4 folder in the C51 installation directory and the UV4 folder in the MDK installation directory. Copy all files from the UV4 folder in the C51 installation directory to the UV4 folder in the MDK installation directory.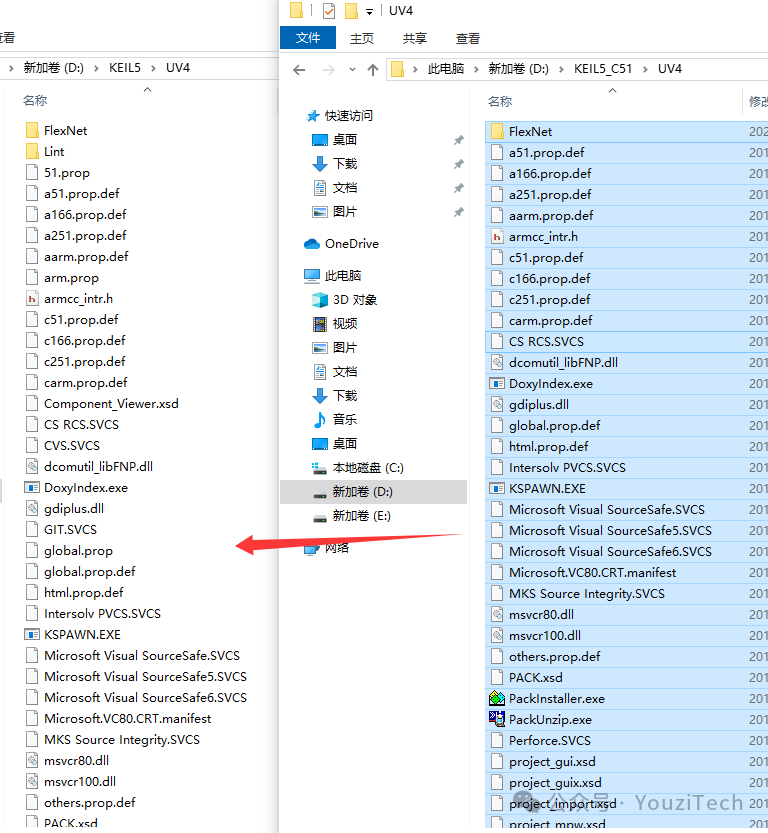
If prompted to overwrite files with the same name during the copying process, choose to skip those files.

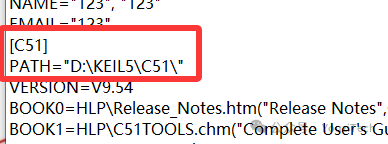
Open the TOOLS.INI file in the C51 installation directory with Notepad, copy all the contents of the file. Open the TOOLS.INI file in the MDK installation directory with Notepad, and paste the copied content at the end of the last line.
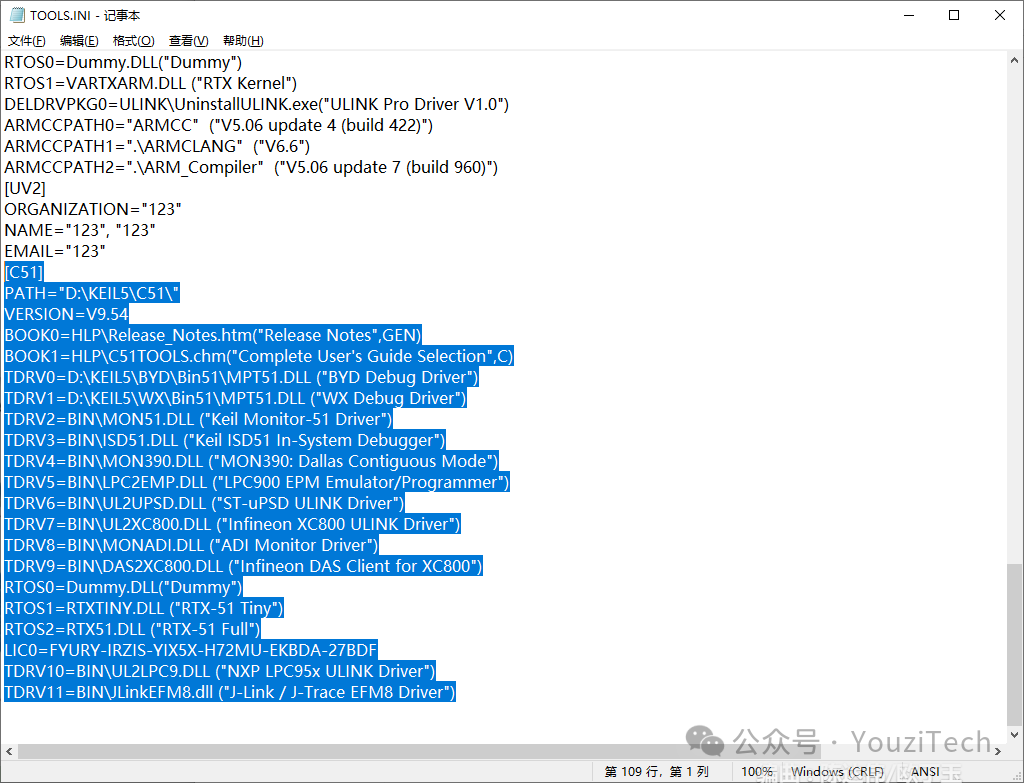
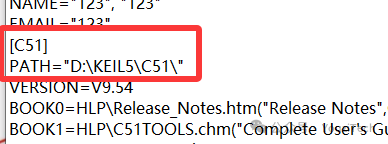
The most critical step is to modify the PATH content copied from C51 to the current MDK directory. Note that it should be modified according to your personal installation directory, and it must end with:
[ARM]PATH=”*
**
ARM” and [C51] PATH=”*
**
C51″. The final modification is shown in the image below, which is located in the MDK directory selected during installation.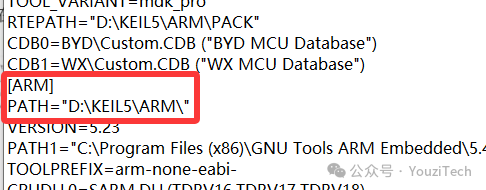
 05 Cracking
Run UV4.exe in the MDK directory as an administrator, click on the “File” menu in the upper left corner, and select “License Management…” from the dropdown menu.
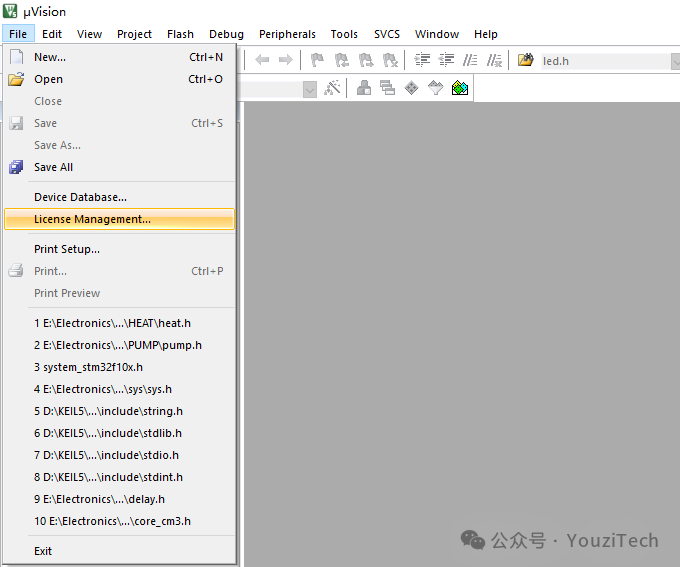
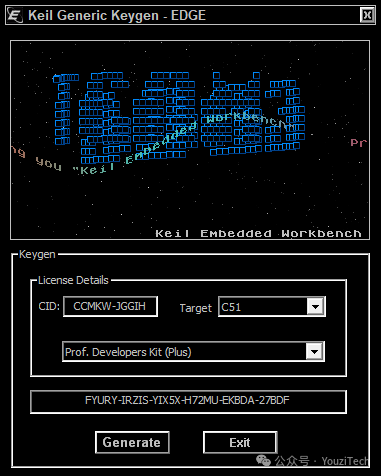
At the same time, run the downloaded cracking software keygen_new2032.exe as an administrator. Copy the CID content from the Keil5 software, paste it into the cracking software’s “CID” field, select C51 for “Target”, click “Generate”, and copy the generated license code.
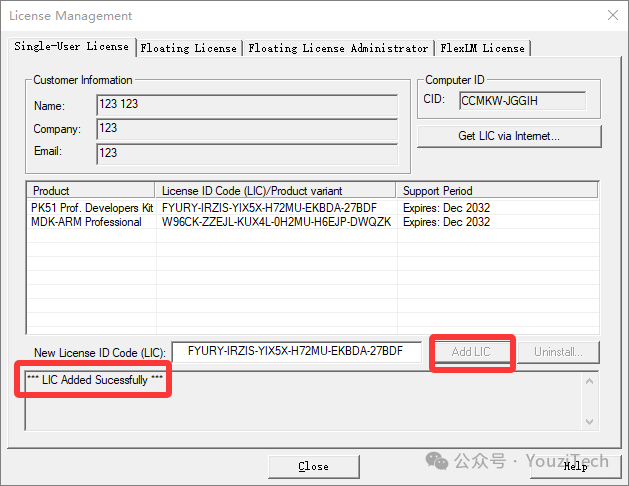
Paste the copied license code into the Keil5 software, click “Add LIC”, and a prompt indicating successful addition should appear.
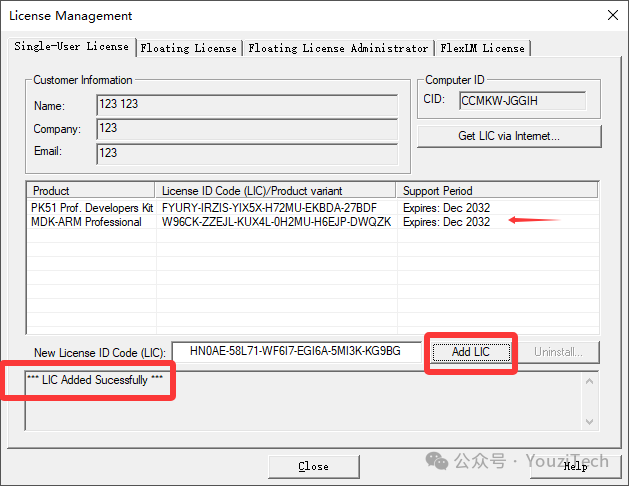
Then select ARM for “Target” in the cracking software, click “Generate”, copy the generated license code, paste it into the Keil5 software, click “Add LIC”, and if a prompt indicating successful addition appears, the cracking is complete.
 06 Installing STM32 PACK Files
This section only introduces how to install the STM32 microcontroller PACK files. For other microcontrollers, please download the required files from their respective official websites. Here are a few installation methods:
(1) You can download the required pack from the official website:
https://www.keil.arm.com/packs
Double-click the downloaded development package to install.
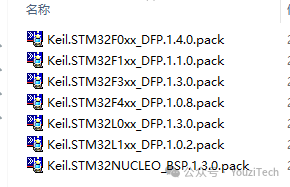
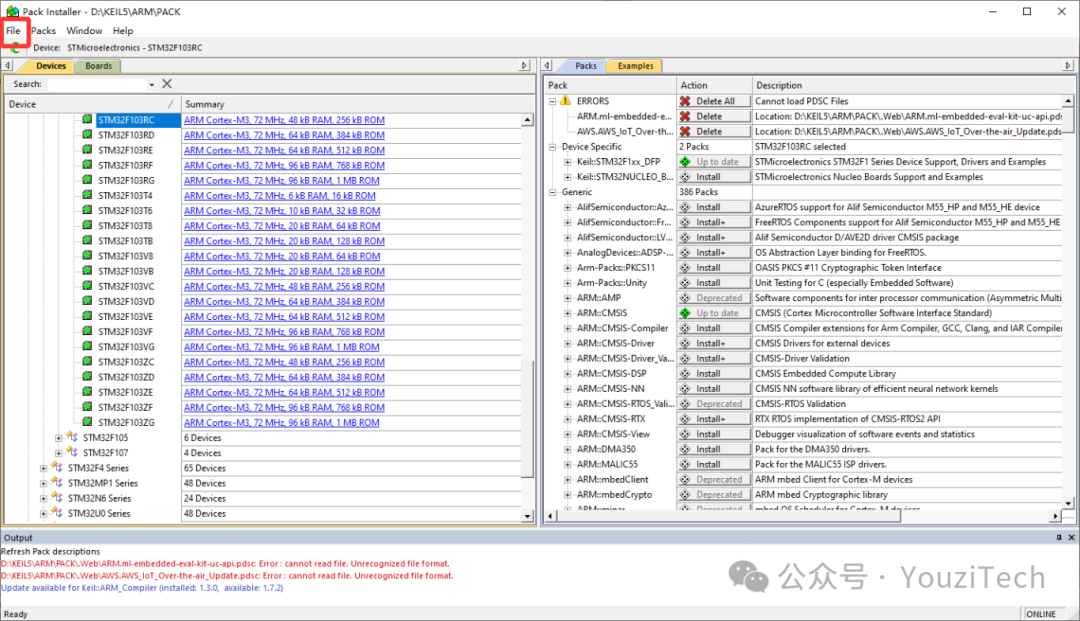
(2) Open the Keil5 software, click on the “Pack Installer” icon in the menu bar, and the following interface will appear. Click “File”, then click “Import…”, find the downloaded PACK file, and it will automatically install.
 07 Usage Instructions
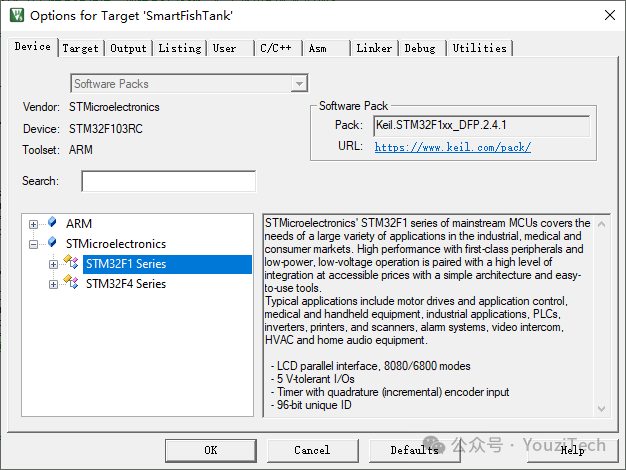
Delete all files in the C51 installation directory, then open the Keil5 software. At this point, you can create a project and select the corresponding microcontroller model from the device list. If you have an existing project file, open the file with the extension “uvprojx” to compile.
 3 Introduction to JLCPCB EDA
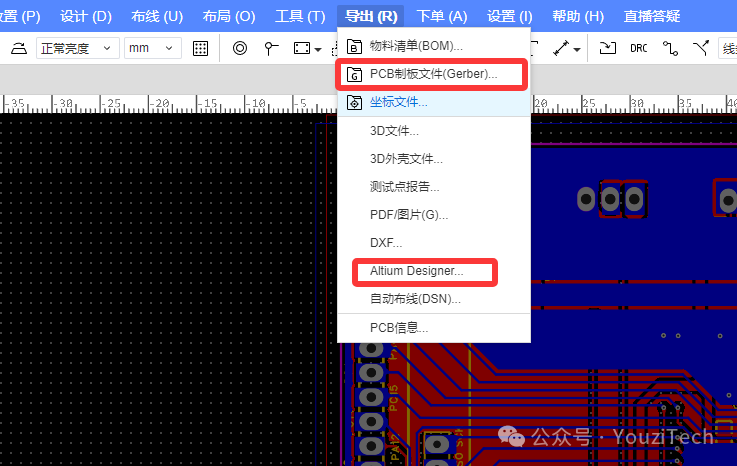
There are various software options for circuit design, with AD software being the most commonly used. However, JLCPCB EDA is particularly suitable for beginners. JLCPCB EDA is a free circuit design software in China, and its operation is generally similar to other software. It can also export AD files and Gerber files, allowing for production at different PCB manufacturers. JLCPCB offers one-stop services, and most importantly, each registered account can receive two free PCB prototypes every month.
For specific usage instructions, please visit the JLCPCB EDA official website:
https://lceda.cn
JLCPCB also has several other websites where you can view multiple service contents:
● Open-source hardware platform:
https://oshwhub.com
● One-stop component procurement self-operated mall:
https://www.szlcsc.com