This article introduces a smart security project based on the ESP32-CAM module, developed using Arduino IDE, which transforms a low-cost camera module into a smart security device that supports motion detection. It triggers alarms by analyzing changes in consecutive frames and supports storing or remotely sending images.
Applicable Scenarios
Home Security: Monitoring entrances, balconies, and other areas.
Small Office Spaces: Low-cost deployment for temporary surveillance.
Not Recommended Scenarios: High-resolution monitoring, professional security needs.
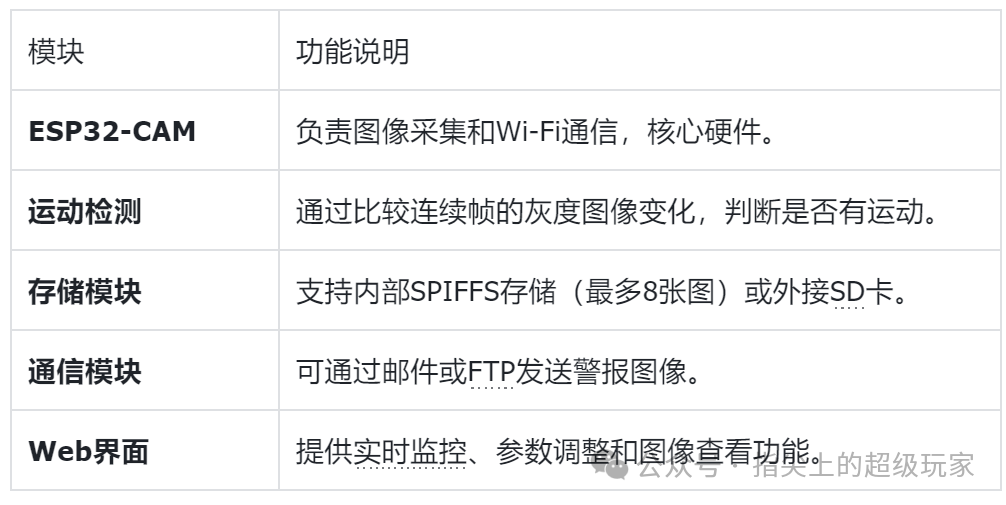
Core Components
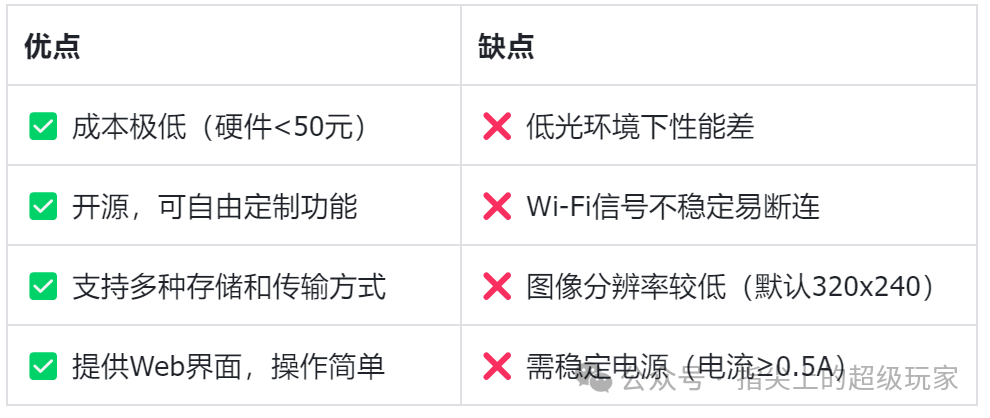
Advantages and Disadvantages Analysis
Hardware Dependencies
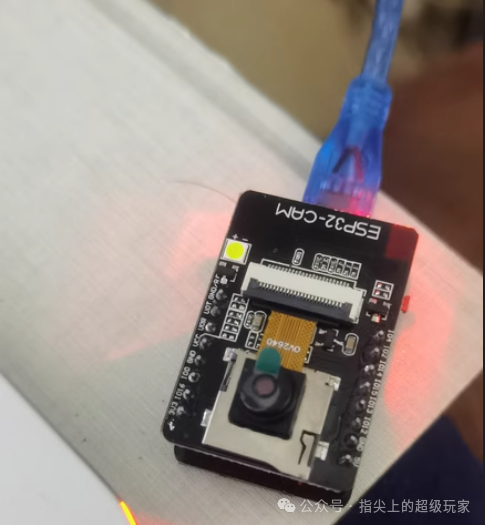
Essential Hardware: ESP32-CAM module, 5V/0.5A power supply.
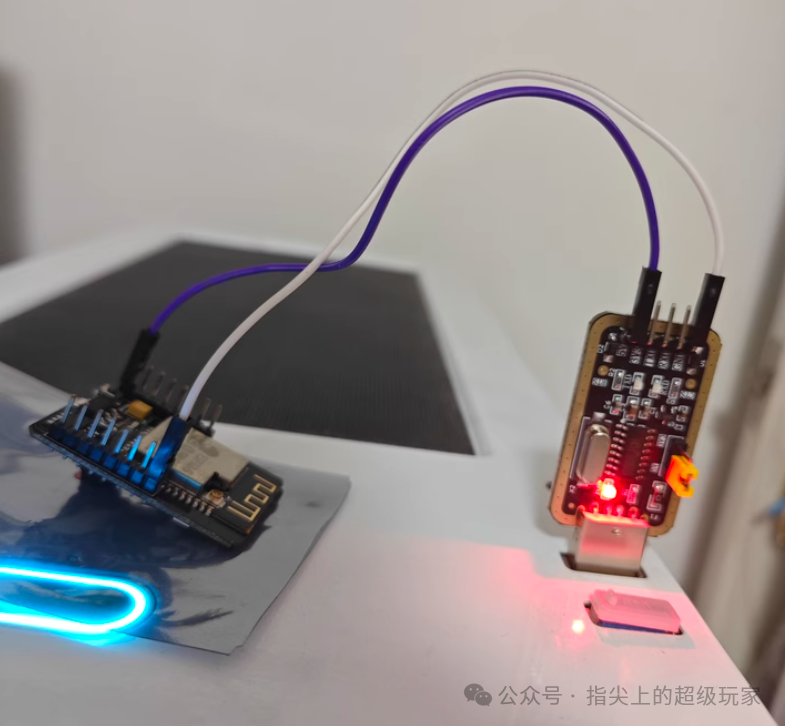
Optional Accessories: SD card (for expanded storage), external antenna (to enhance signal), programmer.
Software Environment: Arduino IDE + ESP32 development library.
Core Functions
1. Motion Detection
Technical Principle: The image is divided into blocks (default 20×20 pixels), and the brightness change of each block is calculated. If it exceeds a threshold, an alarm is triggered.
Sensitivity Adjustment: The detection threshold can be adjusted via a web interface to adapt to different environments.
2. Image Storage and Transmission
Local Storage: Supports SPIFFS (internal storage) or SD card for saving images.
Remote Transmission: Sends images to a specified address via SMTP (email) or FTP protocol.
3. Web Control Interface
Functions:
Real-time viewing of the camera feed.
Adjust motion detection parameters (such as sensitivity, trigger interval).
Manually take photos or download historical images.
Example Code for Motion Detection Core Logic
// Get the current frame and detect motion
void detectMotion() {
    camera_fb_t *fb = esp_camera_fb_get(); // Get image frame
    if (!fb) return;
    // Compare the current frame with the previous frame
    for (int i = 0; i < fb->len; i++) {
        if (abs(fb->buf[i] - prevFrame[i]) > threshold) {
            triggerAlarm(); // Trigger alarm
            break;
        }
    }
    esp_camera_fb_return(fb); // Release memory
}
Conclusion
This is the “Lego version of a surveillance camera,” achieving core functions at the lowest cost, especially suitable for tinkering enthusiasts and budget-conscious users.
LinkDirect access
https://github.com/alanesq/CameraWifiMotionHardware Purchase: Search for “ESP32-CAM module” on Taobao.
Click the blue text
Follow us
▼▼▼
If this tutorial was helpful, please give us a thumbs up.
For more information on Home Assistant low-cost modifications, hardware DIY and software tutorials, feel free to follow our public account.
Previous Highlights:
Transforming an air purifier to integrate with Home Assistant for formaldehyde quality monitoring.
Upgrading a bathroom heater controller for remote control during the hot summer days! Starting from scratch to integrate the heater with Home Assistant using an ESP module.
For just 5 yuan! Upgrading a clothes drying rack with an 8266 and a regular remote control! A step-by-step guide to integrating it with Home Assistant!