For those who are not accustomed to developing with e2studio, you can use RASC to generate Keil projects and happily complete development tasks in the Keil environment.
This article describes the method of generating Keil software projects based on RASC.
1
Preparation Work
This tutorial takes the e2studio V5.8.0 on Windows and the Renesas RA8D1 microcontroller as examples.
01
Download and Install RASC Development Tools and Keil Software Package
The previous article “Renesas RA8 Series Tutorial | Setting Up the Renesas RA8 Development Environment and Lighting Up an LED” mentioned the specific download and installation methods.
RASC and Keil Software Support Package GitHub Download Address
https://github.com/renesas/fsp/releases


02
Prepare Development Board and Download Debugger
-
Download Debugger: J-Link
-
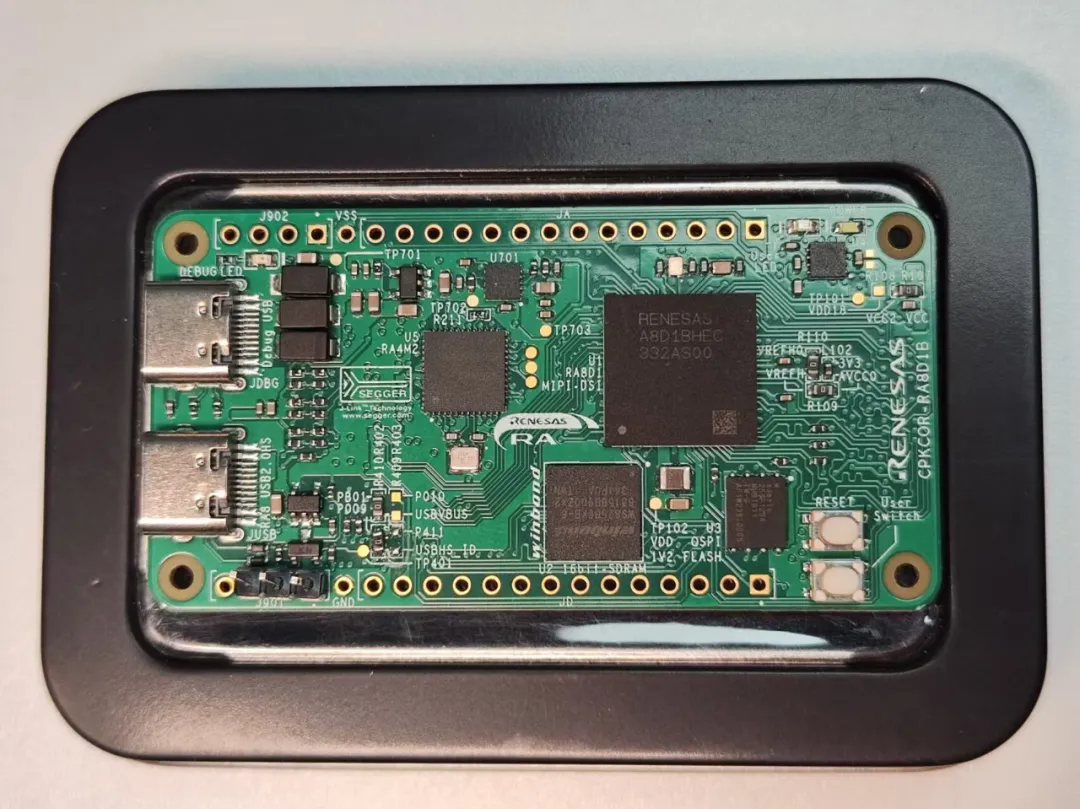
Renesas RA8 Development Board
The development boards launched by Renesas often come with a J-Link debugger. For example, the Renesas CPKCOR-RA8D1B development board used in this article comes with a J-Link debugger.
03
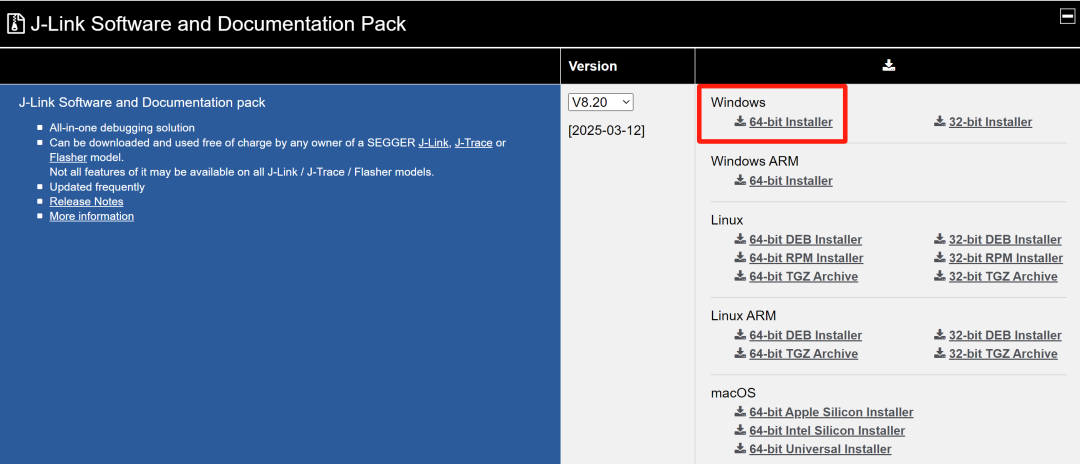
Download and Install J-Link Companion Software
If you want to use some features of J-Link, such as downloading/writing code, J-Link RTT, etc., it is recommended to download and install the J-Link companion software.
Download Address
https://www.segger.com/downloads/jlink/

2
Generating Keil Project Based on RASC
01
Create New Project
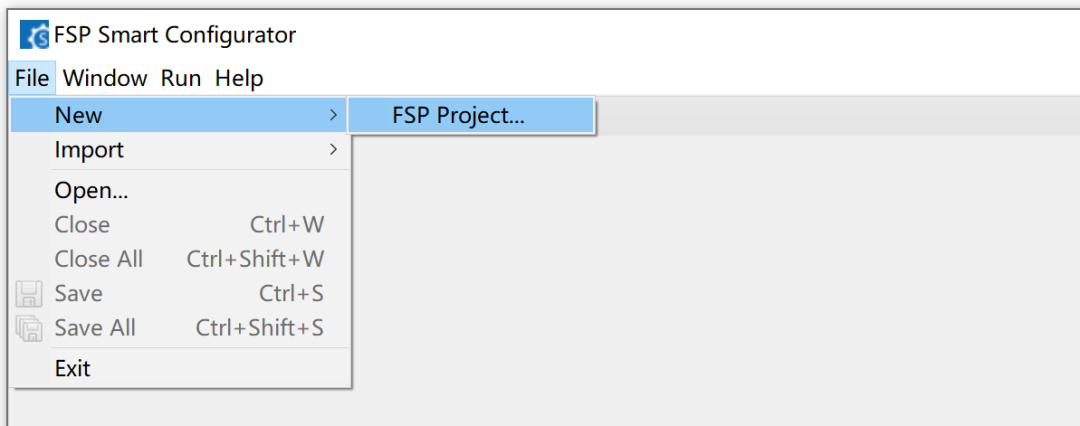
Double-click RASC to open the software, set the project name and save location (you can use the default location):
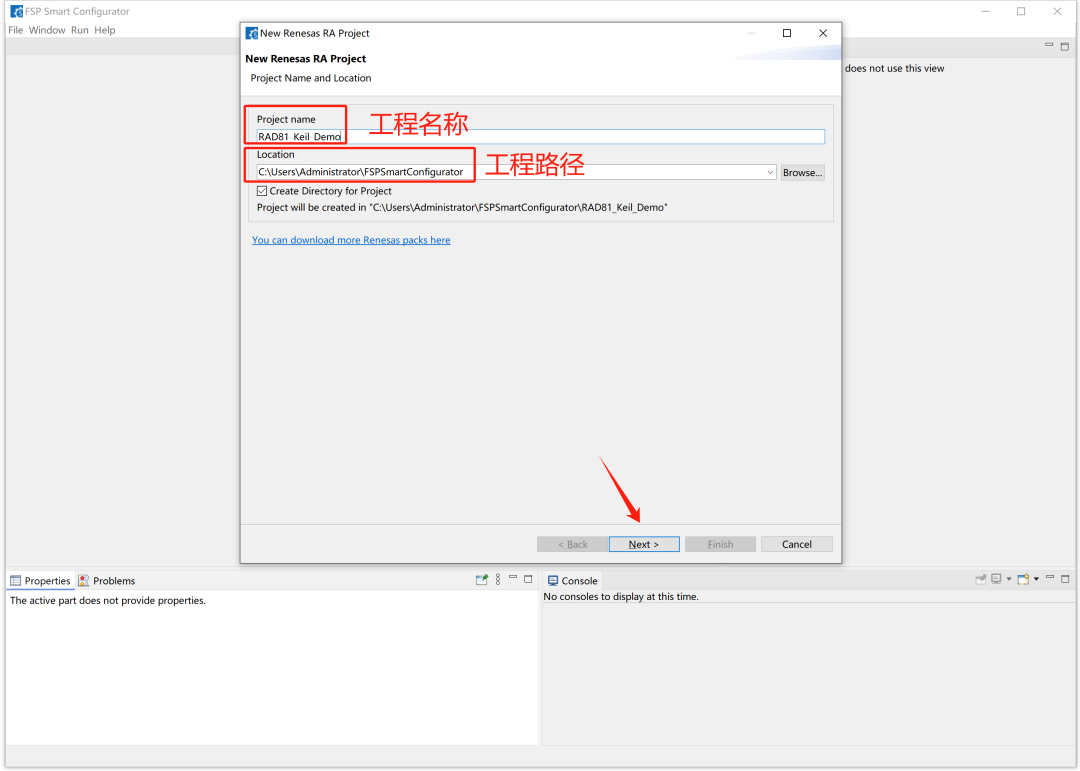
If you accidentally closed the “New Renesas RA Project” interface, you can also directly open the “Create New Project” interface from the menu: File->New->FSP Project.
Then set the project: MCU model, IDE type, compiler, etc.
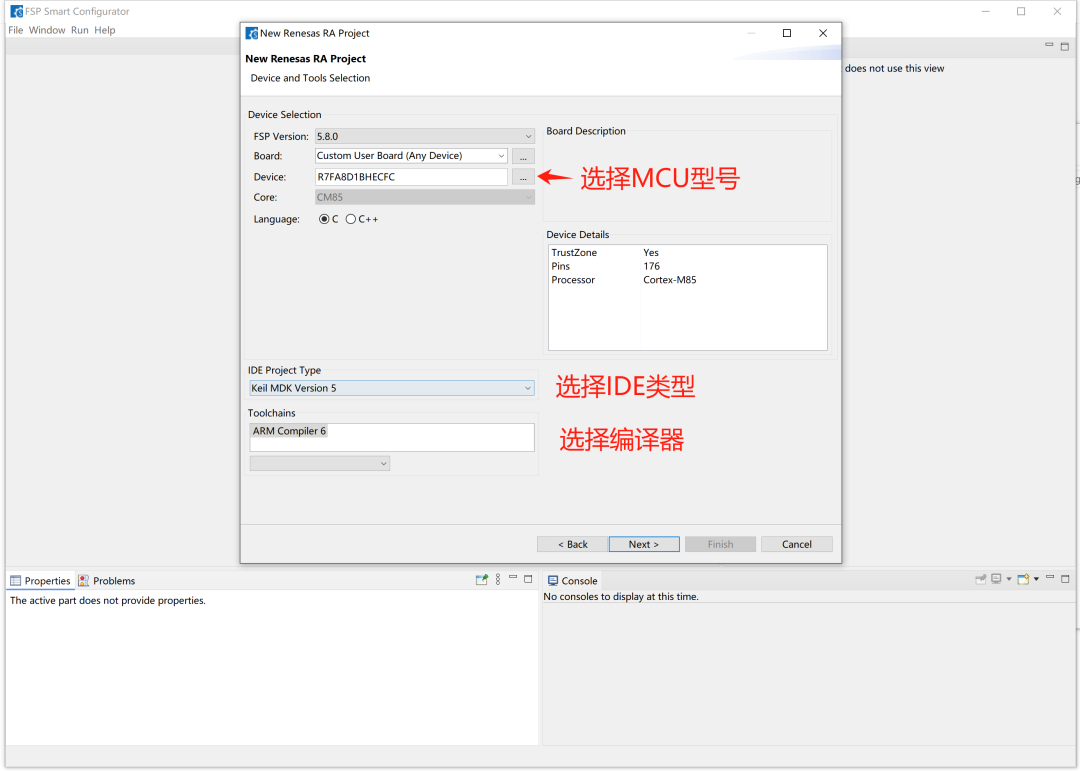
Then, keep clicking “next” (for the demo project, we will keep it simple).

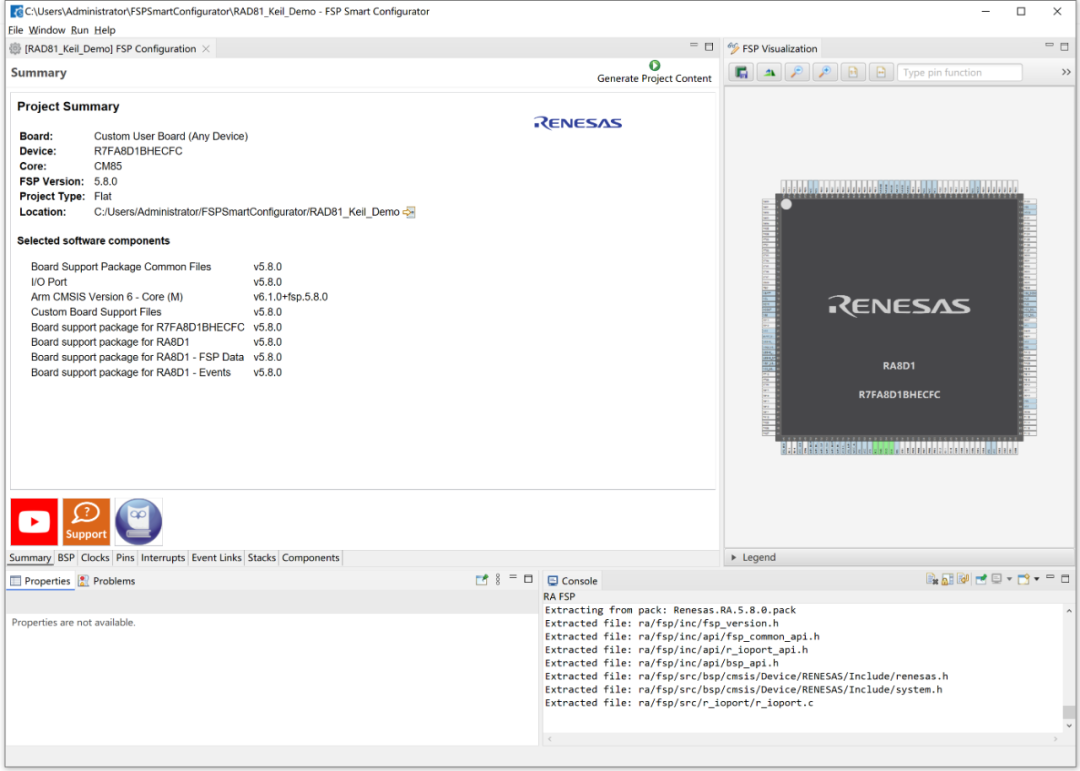
After completing the above steps, you will enter the following configuration interface:
02
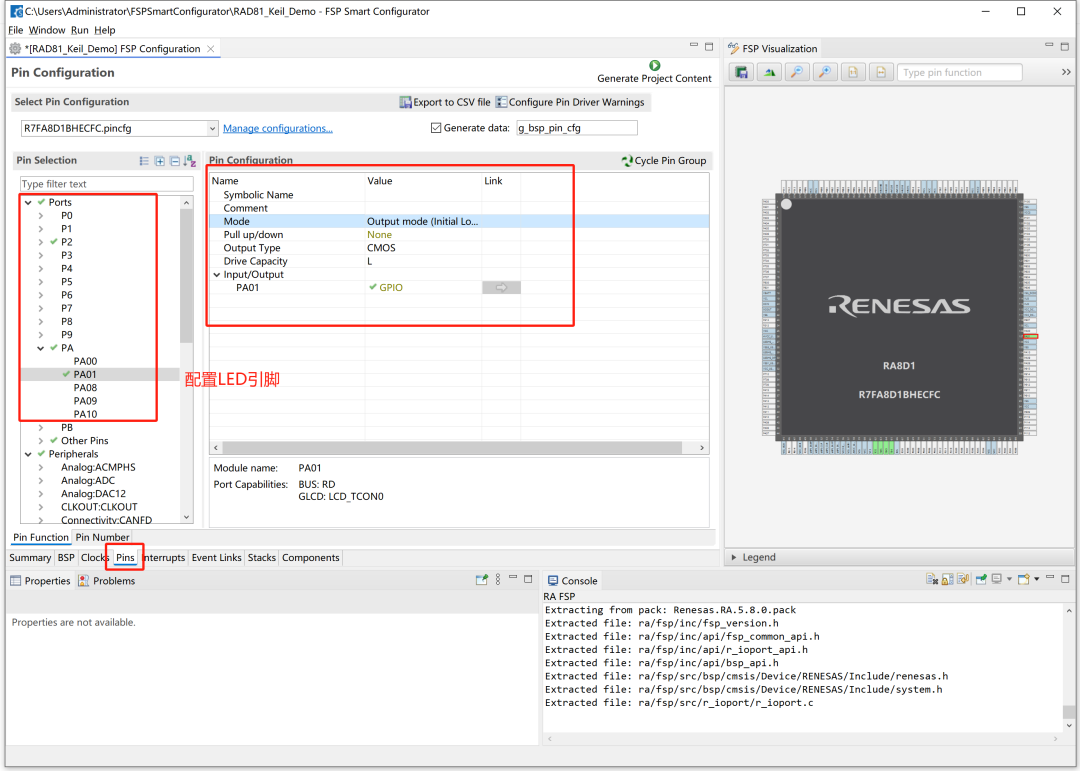
Configure Project
The above steps are the basic steps for creating a new project. Once you enter the configuration interface, it will be similar to the e2studio environment. Below, we will configure two parameters simply.
Modify the crystal oscillator clock: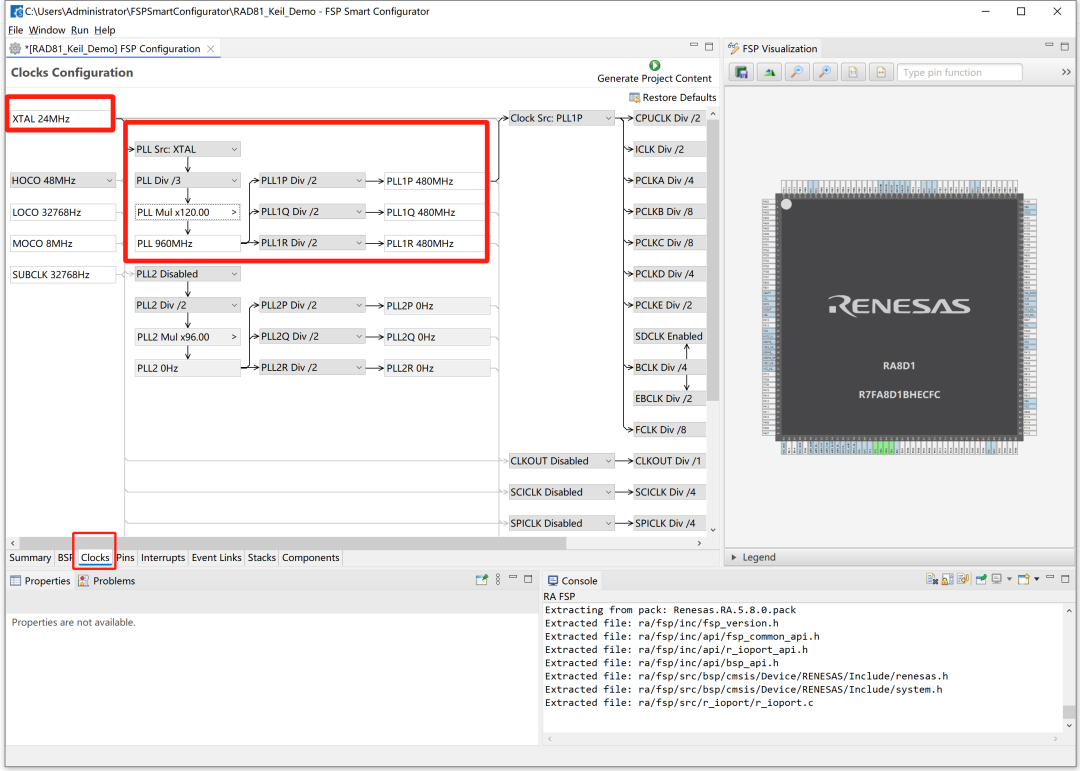
Configure LED pin:
Once all configurations are complete, click on 【Generate Project Content】 to generate the Keil project.
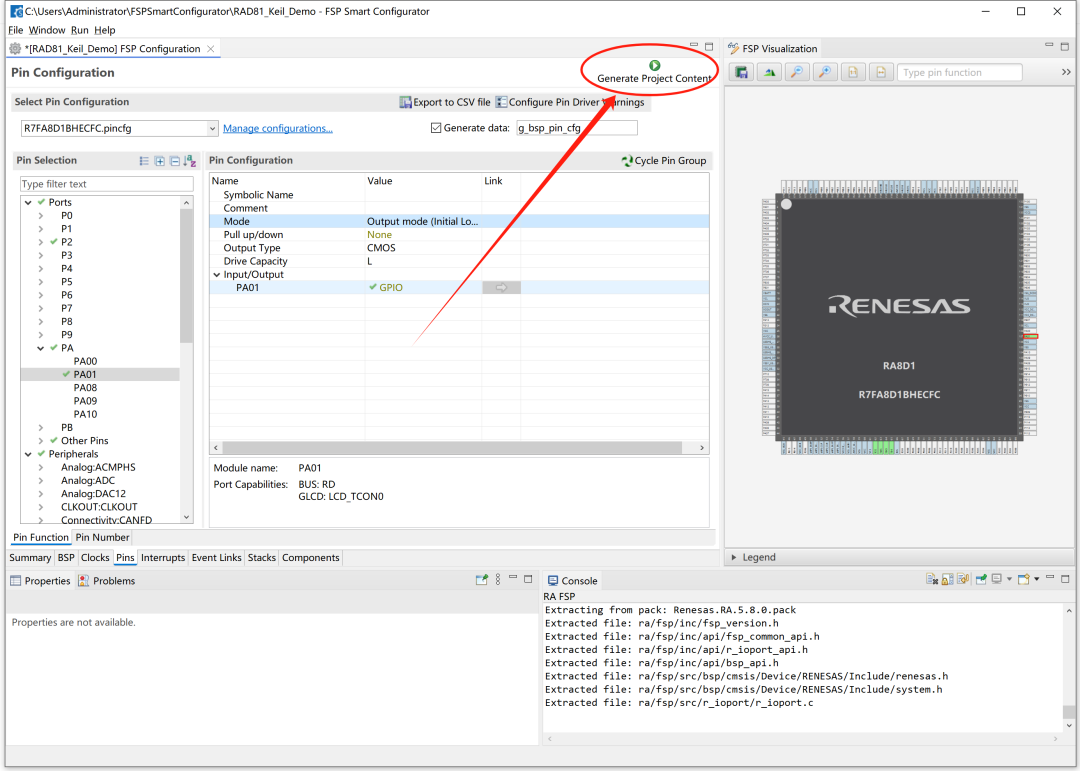
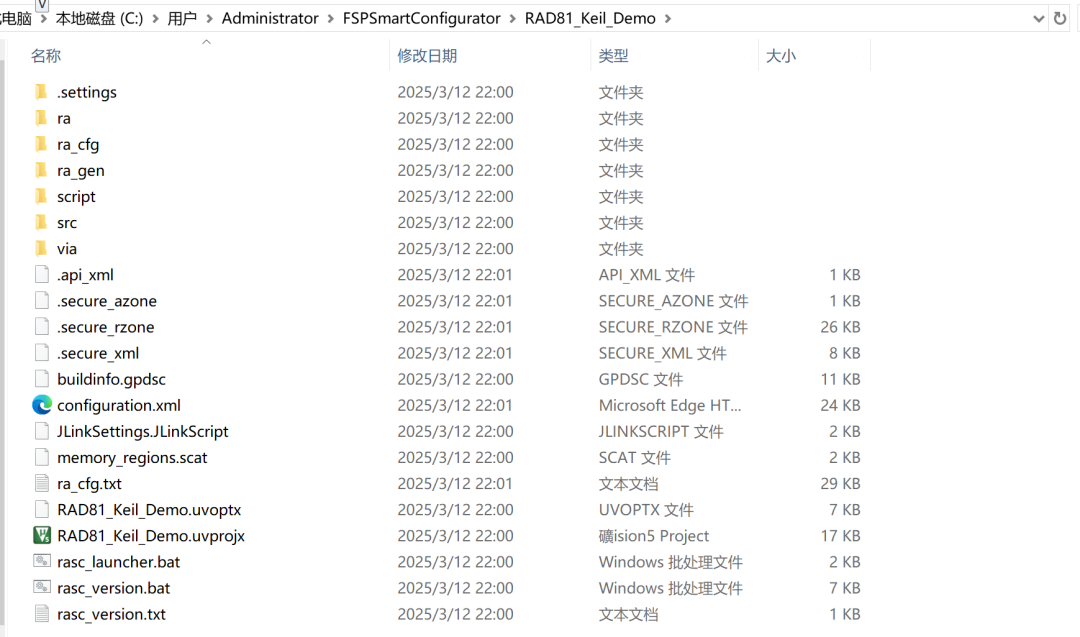
At this point, you will see the entire generated Keil project in the save path.
3
Editing and Compiling the Project in Keil Environment
The above steps generated the Keil software project, and we can happily work on the project (writing code, compiling, debugging) in the Keil environment.
Taking a simple LED blinking example, open the generated Keil software project and add a piece of LED blinking code.
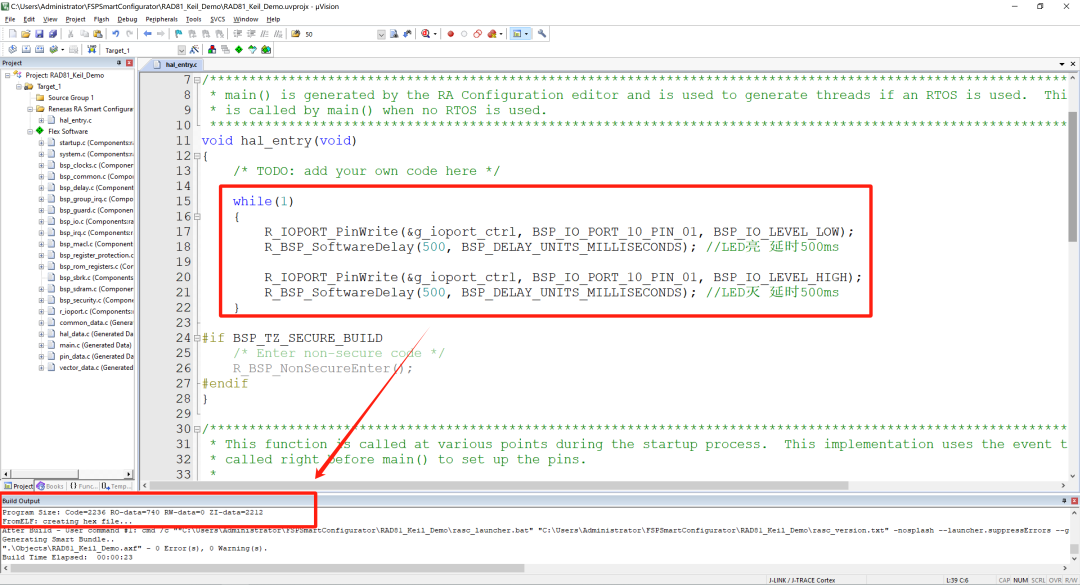
If the compilation is successful, you can download it to the RA8D1 microcontroller. If everything is normal, you will see the LED blinking.


Need Technical Support?
If you have any questions while using Renesas MCU/MPU products, you can scan the QR code below or copy the URL into your browser to access the Renesas Technical Forum to find answers or get online technical support.

https://community-ja.renesas.com/zh/forums-groups/mcu-mpu/
1
END
1
Recommended Reading

Renesas RA8 Series Tutorial | Method for Implementing PWM Output on RA8

Renesas RA8 Series Tutorial | Implementing RTC Real-Time Clock Function Based on e2s

Renesas RA8 Series Tutorial | Developing RA8 Microcontroller Based on Keil