1. Introduction
Hello everyone, I am ZhengN.
Recently, I needed to migrate the embedded Linux platform code of my project to Windows for simulation purposes, which involved solving three problems:
- Setting up the project.
- Replacing some platform-specific code.
- Preparing some dynamic libraries.
This note shares the practical steps for setting up the project:
2. Overview
CMake is a cross-platform installation (compilation) tool that can describe the installation (compilation process) for all platforms using simple statements.
On Linux, we use CMake to manage our projects. When switching to Windows, we need to set up the project, such as creating a Visual Studio-based project.
Note: CMake does not directly build the final software; instead, it generates standard build files (such as Unix Makefiles or Windows Visual C++ projects/workspaces), which are then used with the usual build methods.
Here we are using Visual Studio. For our project, there are many modules and a lot of source code, adding each file to the VS project one by one would be slow, so we choose to use CMake to quickly generate our VS project.
3. CMake Installation
First, download and install the Windows version of the CMake tool:
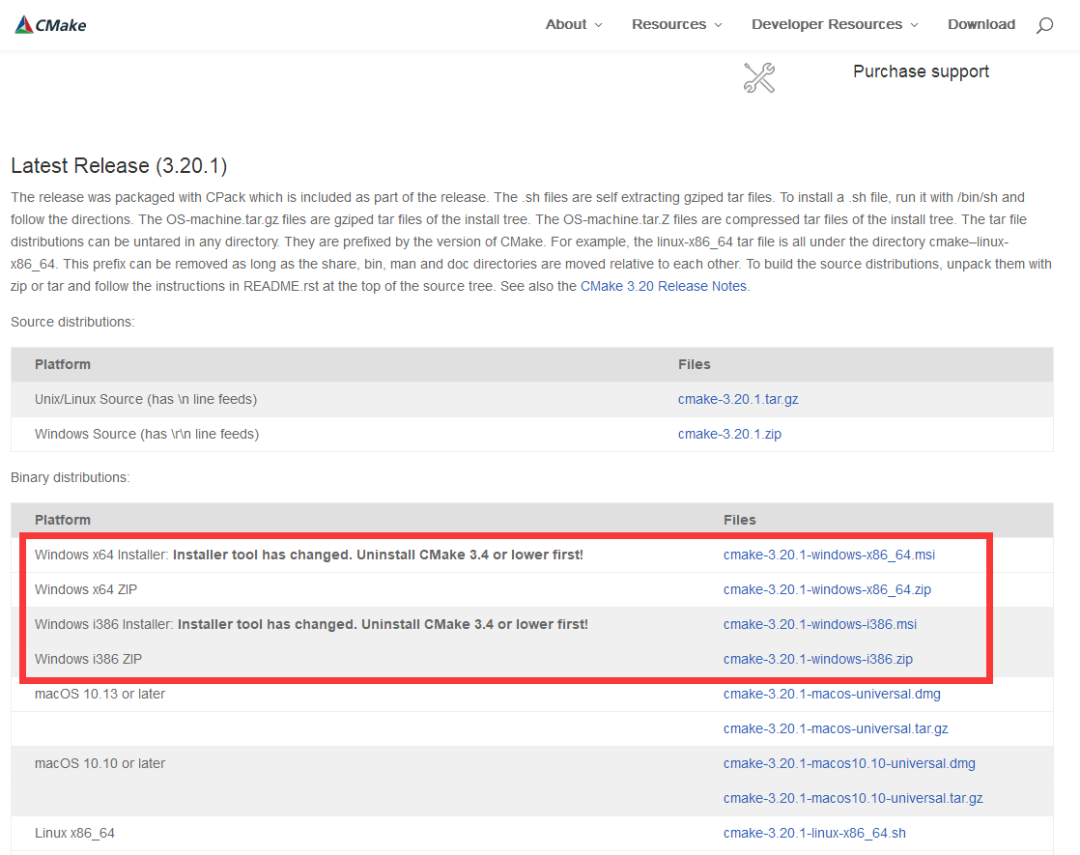
Official download link:
https://cmake.org/download/
The official download may be slow; you can reply with the keyword: CMake Installation in the backend of this public account to get it.
Next, install CMake 3.18:
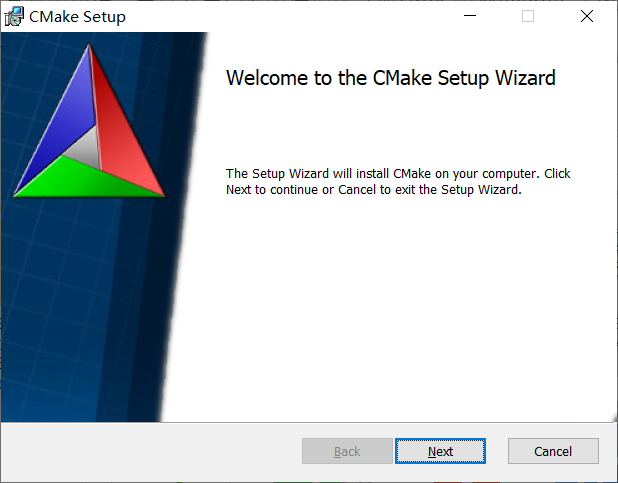
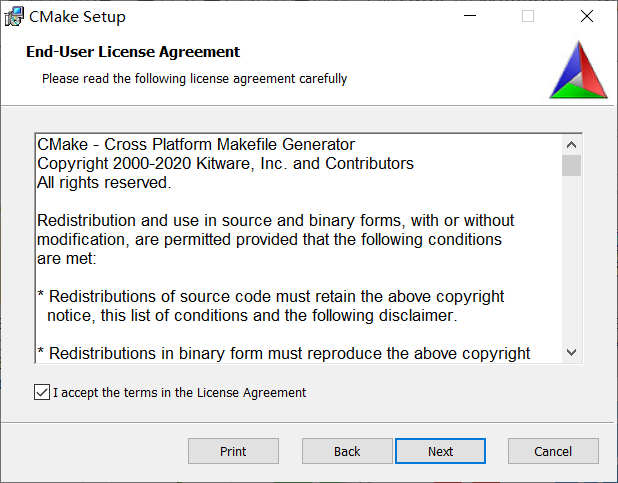
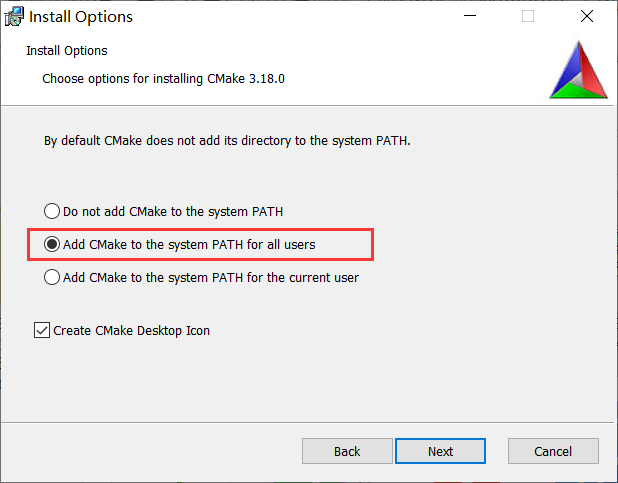
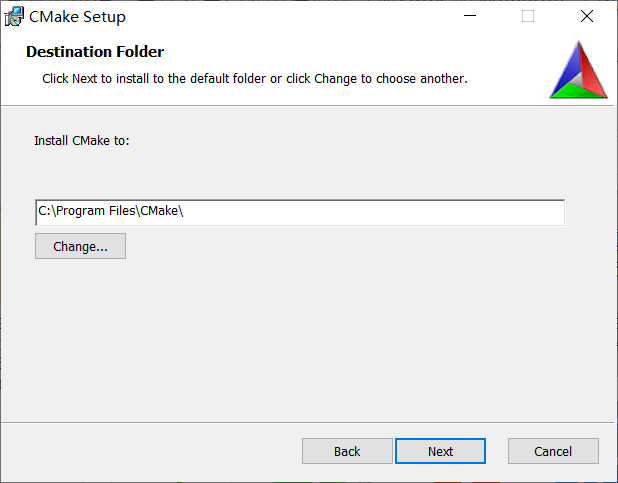
Installing CMake is straightforward, but note that during the Install Options step, you should select Add CMake to the system PATH for all users:
Add CMake to system PATH for all users.
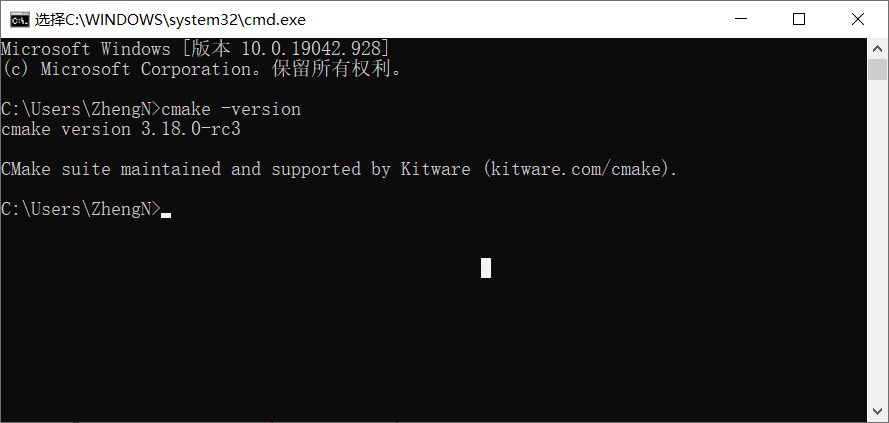
After installation, press Win+r to open the Run window, type cmd, and press Enter to access the command line. Enter the command cmake -version to verify if the installation was successful. If you see the following interface, the installation was successful:
4. Using CMake to Generate VS Projects
Before performing the following operations, make sure you have installed CMake and Visual Studio.
1. Prepare a hello.c file:
#include <stdio.h>

int main(void)
{
    printf("hello world\n");
    return 0;
}
2. Prepare a CMakeLists.txt:
# Minimum required version of CMake
cmake_minimum_required (VERSION 3.18)

# Project information
project (hello)

# Specify the build target
add_executable(hello hello.c)
3. Generate the VS Project
Open the command line and navigate to the directory where hello.c and CMakeLists.txt are located:
cd /d xxx # xxx represents the directory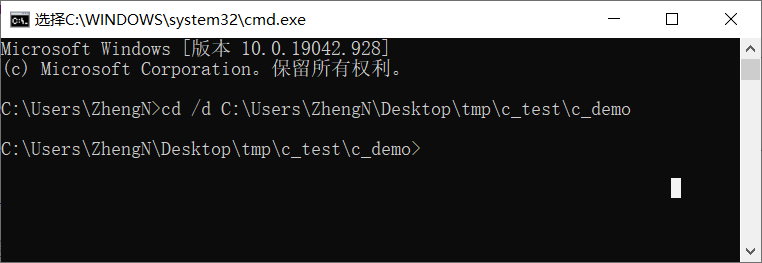
Then enter Cmake . to generate the VS project:
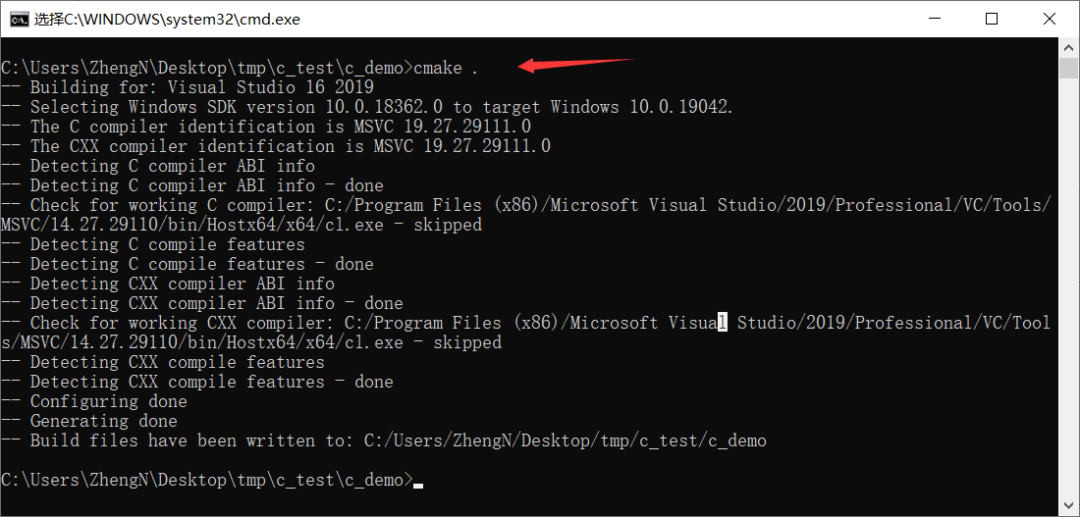
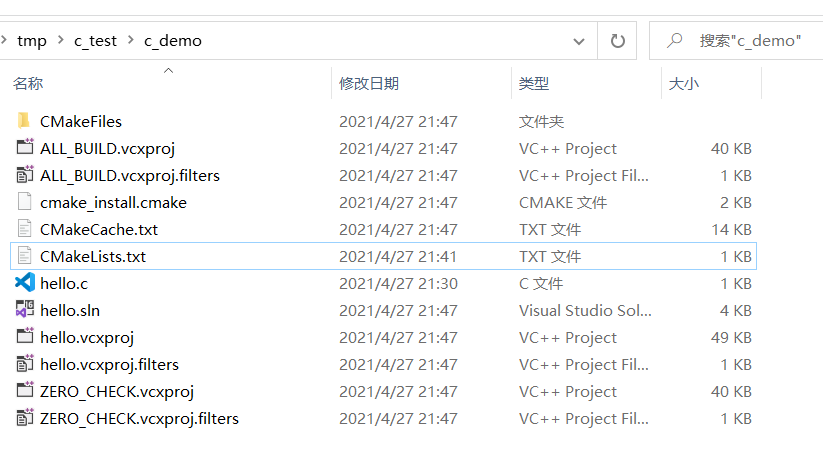
hello.sln is the generated project file, double-click to open it in VS:
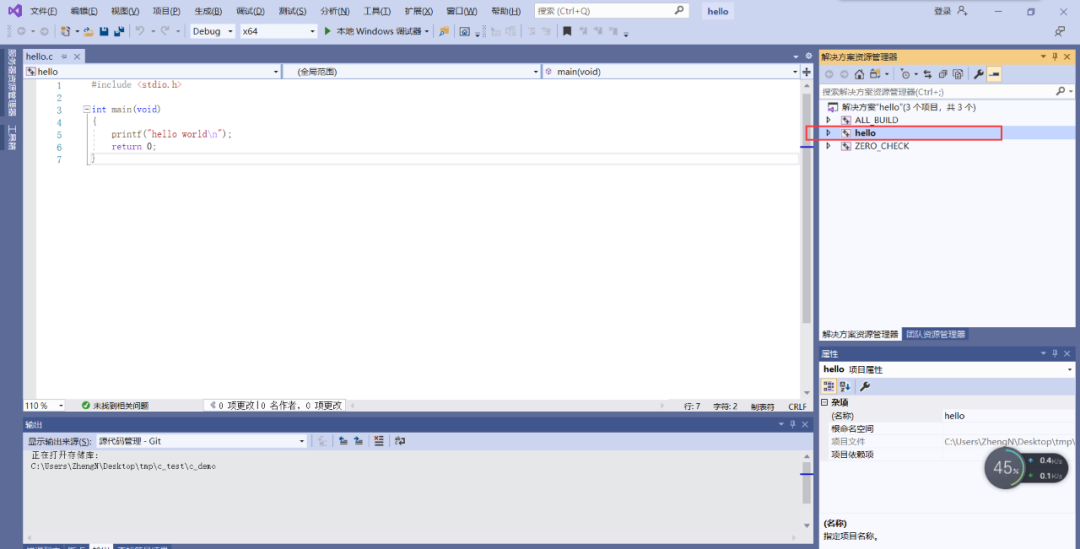
In the Solution Explorer, besides the hello project, there are also ALL_BUILD and ZERO_CHECK. Here, ALL_BUILD is selected by default, and you need to set the hello project as the startup project.
ZERO_CHECK:
This target checks whether the CMake configuration file (CMakeLists.txt) for the generated project has been updated. If updated, it will run CMake to regenerate the project files.
If you are sure that CMakeLists.txt will not be updated, or you wish to manually run CMake to regenerate the project files, you can add the following command to the CMakeLists.txt configuration file:
set(CMAKE_SUPPRESS_REGENERATION FALSE)The ZERO_CHECK target will not be generated.
ALL_BUILD:
This target causes all projects in the solution to be built, similar to Visual Studio’s Build All or the make all command in make.
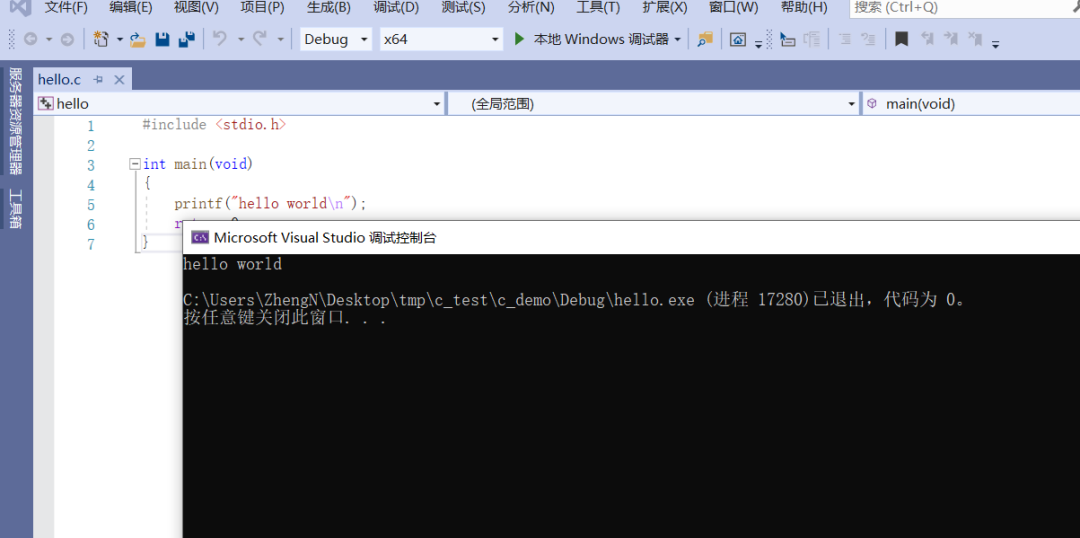
The above is a simple example of using the CMake tool to quickly generate a VS project on Windows. In actual projects, there will be more than just hello.c; there will be multiple folders and more source files, but the steps are the same.
If the project structure is complex, the requirements for writing CMakeLists.txt will also be higher. For more in-depth articles on CMake and CMakeLists.txt, see: Here’s a great introductory article on CMake worth saving and reading!
5. Resource Download
The CMake installation files can be obtained by replying with the keyword: CMake Installation in the backend of this public account.
6. Friendly Reminder
Due to recent changes in the push rules of the public account, if you want to see our articles regularly, you can click “Like” or “Looking” at the bottom of the page after reading each time, so that the articles pushed each time will appear in your subscription list immediately.
You might also like:
Sharing some tutorials that can quickly get you started with embedded systems
Practical | A Simple Sharing of a High-Performance Communication Library
Reply with 1024 in the chat interface of the public account to get embedded resources; reply with m to view the article summary.