Server
docker run -d \ --name=wg-easy \ -e WG_HOST=123.123.123.123 (🚨Enter the public IP of the server here) \ -e PASSWORD=passwd123 (🚨Enter your password here) \ -e WG_DEFAULT_ADDRESS=10.0.8.x (🚨Default IP address) \ -e WG_DEFAULT_DNS=114.114.114.114 (🚨Default DNS) \ -e WG_ALLOWED_IPS=10.0.8.0/24 (🚨Allowed IP range) \ -e WG_PERSISTENT_KEEPALIVE=25 (🚨Reconnect interval) \ -v ~/.wg-easy:/etc/wireguard \ -p 51820:51820/udp \ -p 51821:51821/tcp \ --cap-add=NET_ADMIN \ --cap-add=SYS_MODULE \ --sysctl="net.ipv4.conf.all.src_valid_mark=1" \ --sysctl="net.ipv4.ip_forward=1" \ --restart unless-stopped \ weejewel/wg-easyClient
Official Website
Link: https://www.wireguard.com/
Installation Package
Link: https://www.wireguard.com/install/
Usage Instructions
- 1. Click “Create Tunnel”;
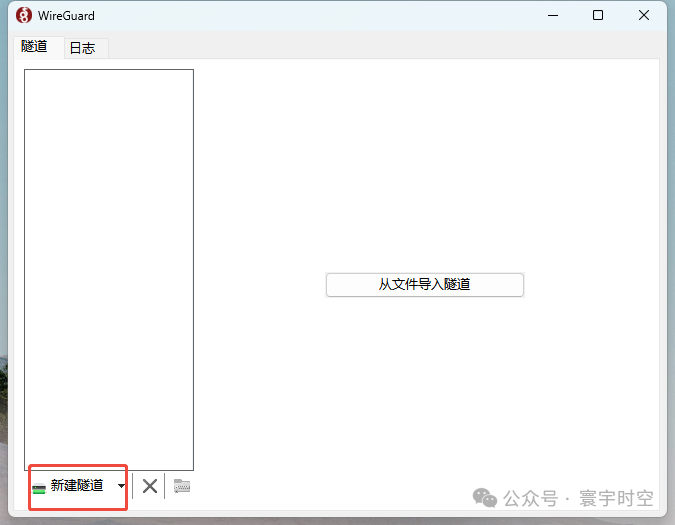
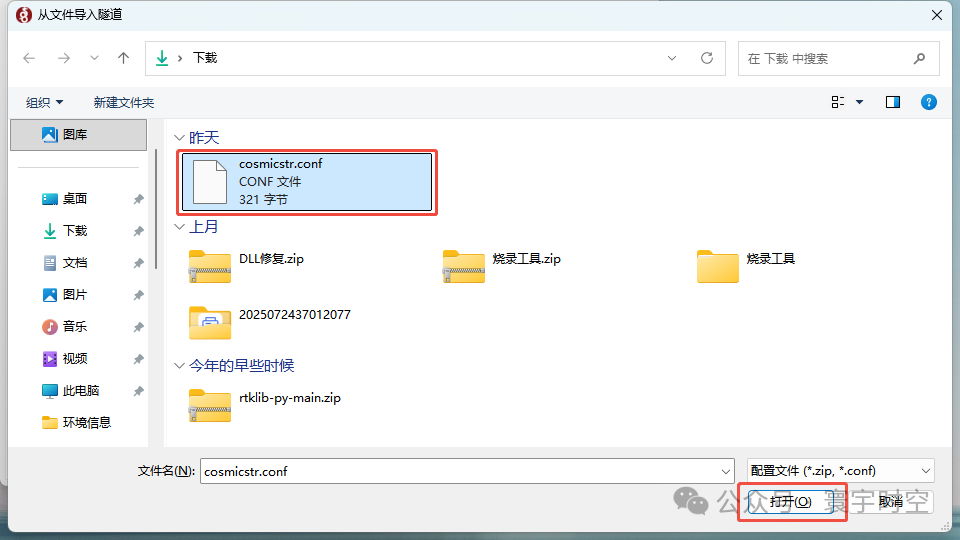
- 2. Select the configuration file (needs to be requested), click “Open”;
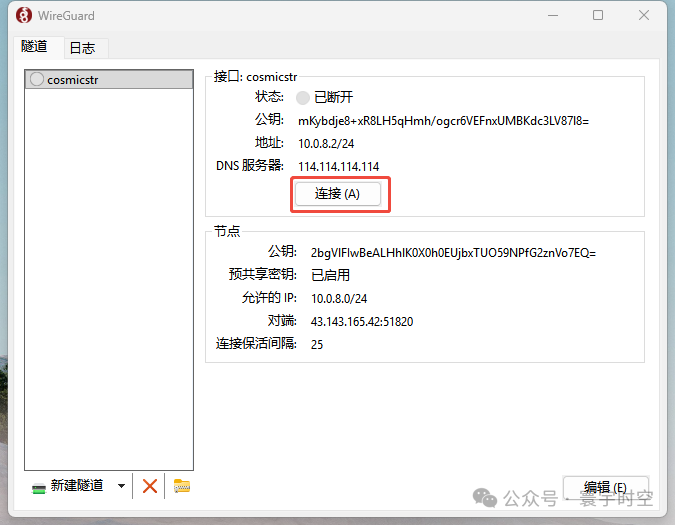
- 3. Click “Connect”;
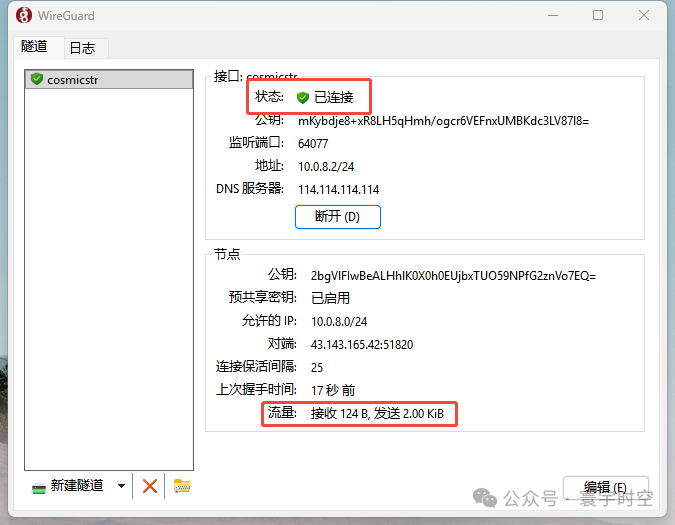
- 4. Check the status, as shown in the image below.