Previously, a colleague privately messaged me to create a tutorial on Siemens OPC UA. Recently, I have been quite busy and did not have time to set up the system for testing and verification. Today, I happen to have some free time, so I will create an article about Siemens OPC UA, covering both the OPC UA server and OPC UA client in two parts. This article focuses on the server aspect. If there are any descriptive issues, please feel free to provide feedback!Overview of OPC UAOPC UA is an open standard suitable for horizontal communication between machines and vertical communication from machines to the cloud. It supports a wide range of security mechanisms.Advantages of OPC UA Communication
- Standardized interfaces and wide availability
- Secure communication according to the protocol without additional hardware
- Direct connection and communication across all automation layers
- Clear and straightforward data interpretation
- Simple Ethernet-based network using existing industrial Ethernet infrastructure
- International standardized interfaces for easy machine integration
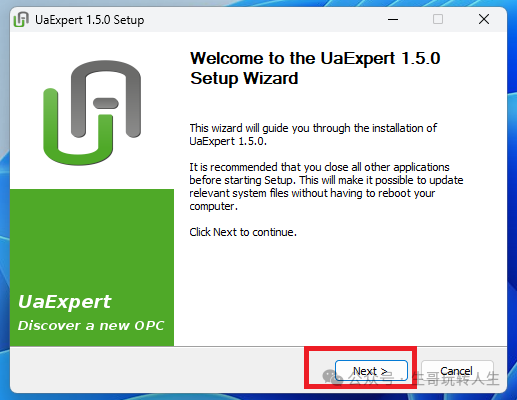
Experimental Environment for This Example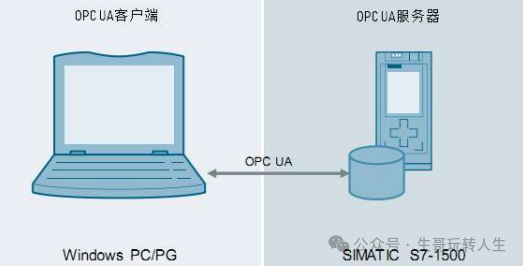 SoftwareTIA V18UA Expert (third-party OPC client)HardwareCPU 1511-1PN V2.9 (The original firmware version of the CPU was relatively low and did not support OPC. It was later upgraded to V2.9. The firmware upgrade files can be downloaded from the official website, but you need a permissioned account to download export-controlled files. Generally, regular accounts cannot download it; I had to ask a colleague abroad for help with the download.)Installing UA ExpertThe installation package can be downloaded from the official website or from the comment section where I have organized it in a cloud drive. Feel free to download it if needed.Double-click the installation package to install, and click the Next button.
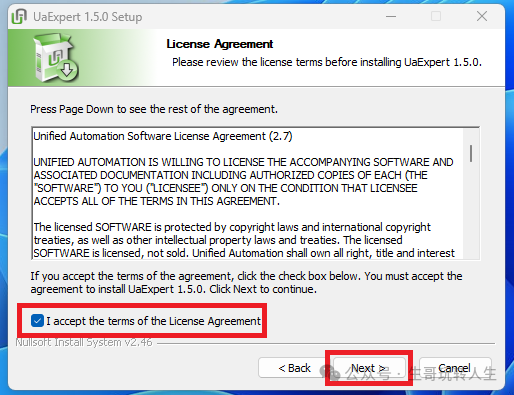
 Check to agree and click Next.
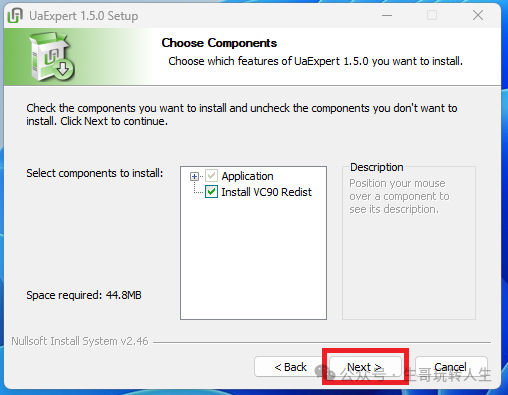
 Click Next.
 Select the installation path; I used the default and clicked Install.
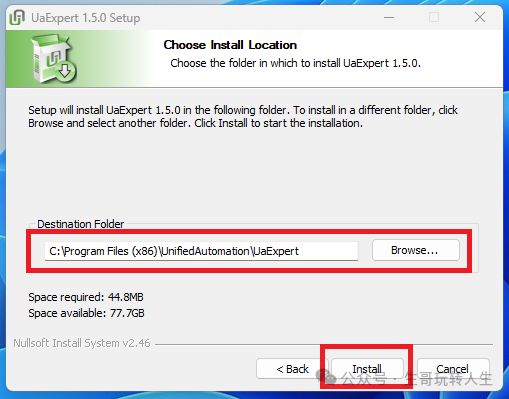 Wait for the installation to complete… After installation, click Finish.
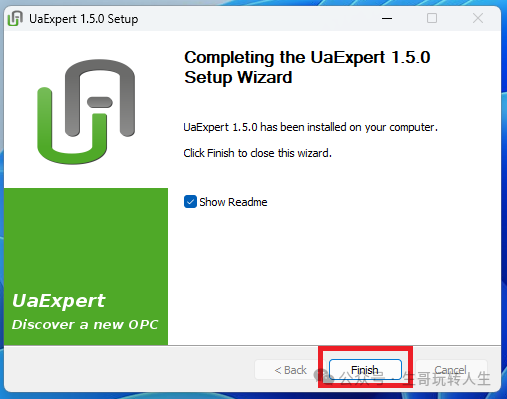 The software installation is now complete and quite simple.After installation, the desktop shortcut is as follows:
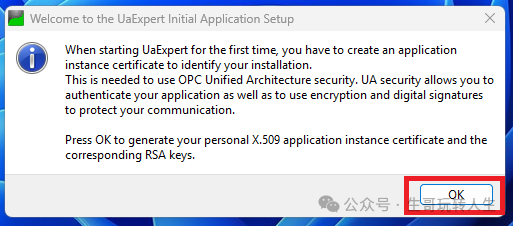
 Open UAExpert, and the following interface appears. Click OK.
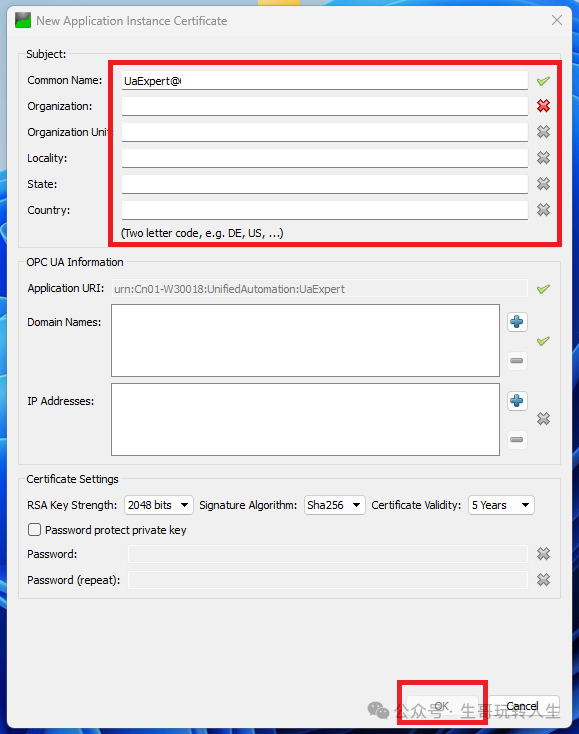
 Fill in the relevant information; you can fill it in arbitrarily, then click OK.
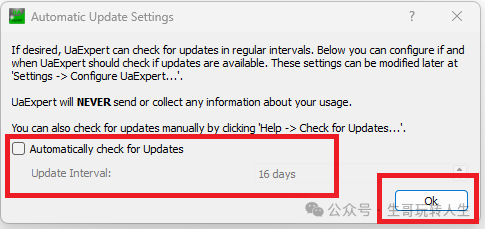
 Select the update interval or choose not to update, then click OK.
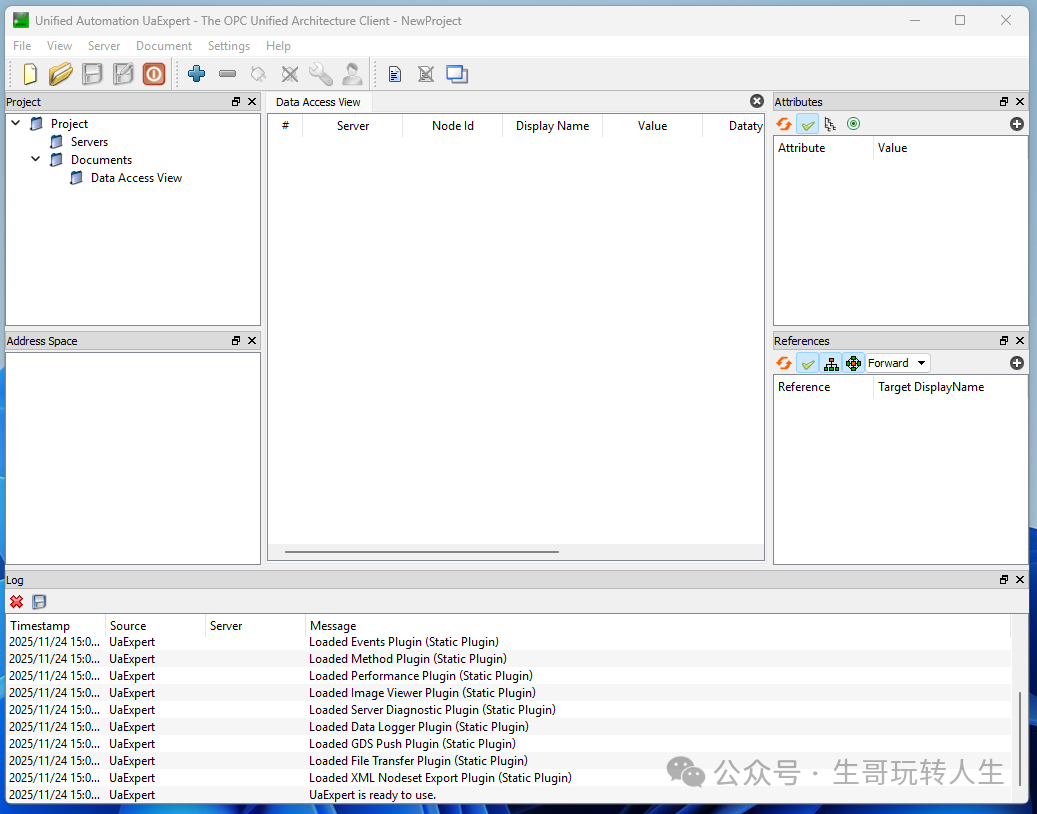
 The interface after opening is shown in the following image, which will be used to monitor the Siemens PLC OPC server.
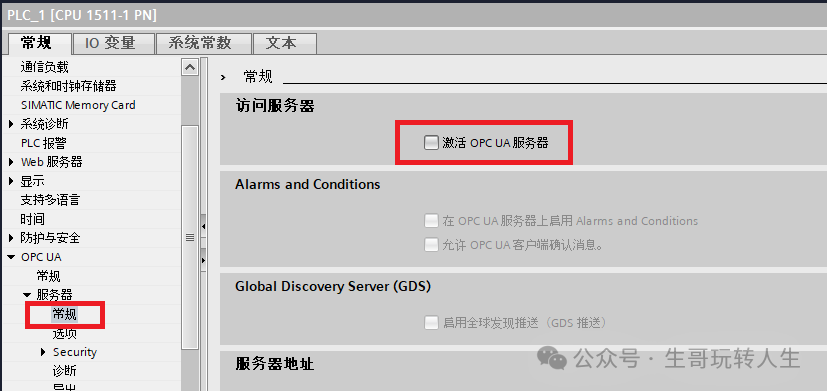
 Siemens 1500 OPC UA Server ConfigurationThe OPC UA server mode of the S7-1500 is disabled. Switch to the CPU properties interface and select the general options for the OPC UA server to activate the OPC UA server.
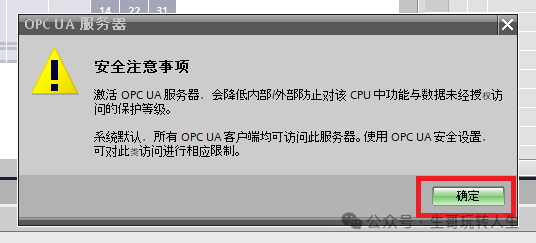
 After checking to activate the OPC UA server, the following image appears. Click OK.
 Switch to CPU properties – Runtime System License – OPC UA, and select the appropriate license type.Running the OPC UA server on the S7-1500 CPU requires a license, which is mainly divided into three categories:SIMATIC OPC UA S7-1500 SmallSIMATIC OPC UA S7-1500 MediumSIMATIC OPC UA S7-1500 Large
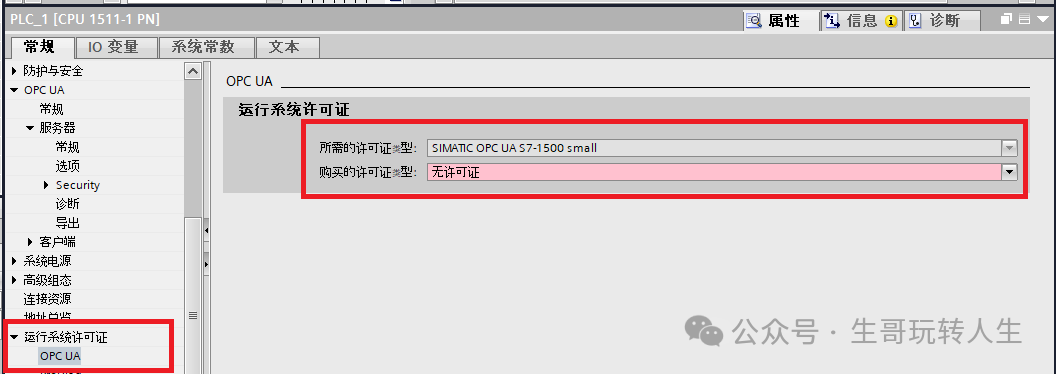 Switch to CPU properties – OPC UA – General to set the OPC UA application name; the default name can be used. Note that the application name must be entered on the certificate, and if the application name is changed, the existing certificate must be regenerated.
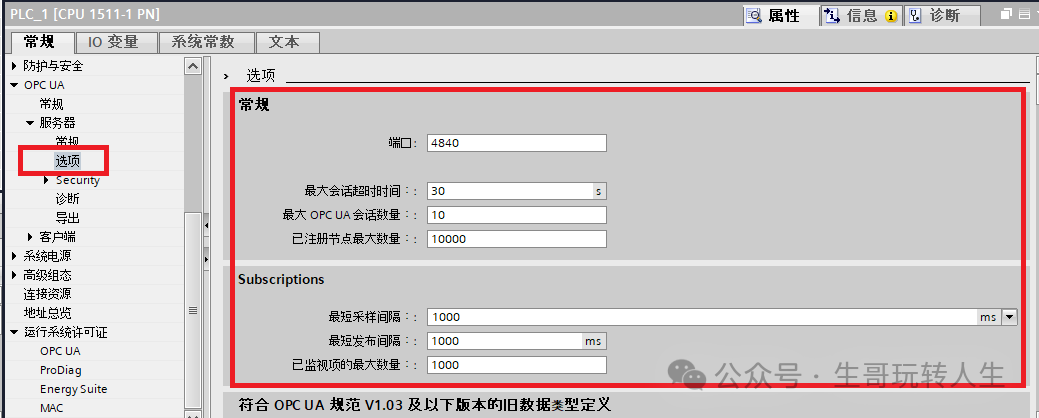
 Switch to CPU properties – OPC UA – Server options to set the server session count, port number, and other related parameters. The default values can be used if there are no special requirements.
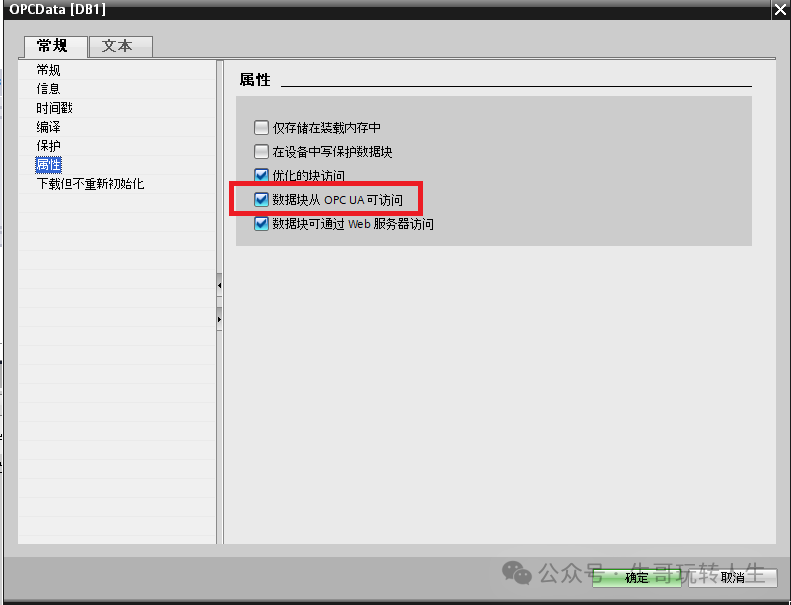
 Create a DB in the program and create some variables for testing. The DB needs to be checked to allow access from OPC UA.
 No certificate is set here; the no-certificate mode is used.Compile the program and download it to the PLC.Open UAExpert, click Add Server, and the Add Server window will pop up, select Custom Discovery.
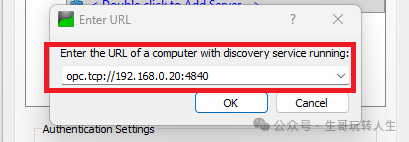
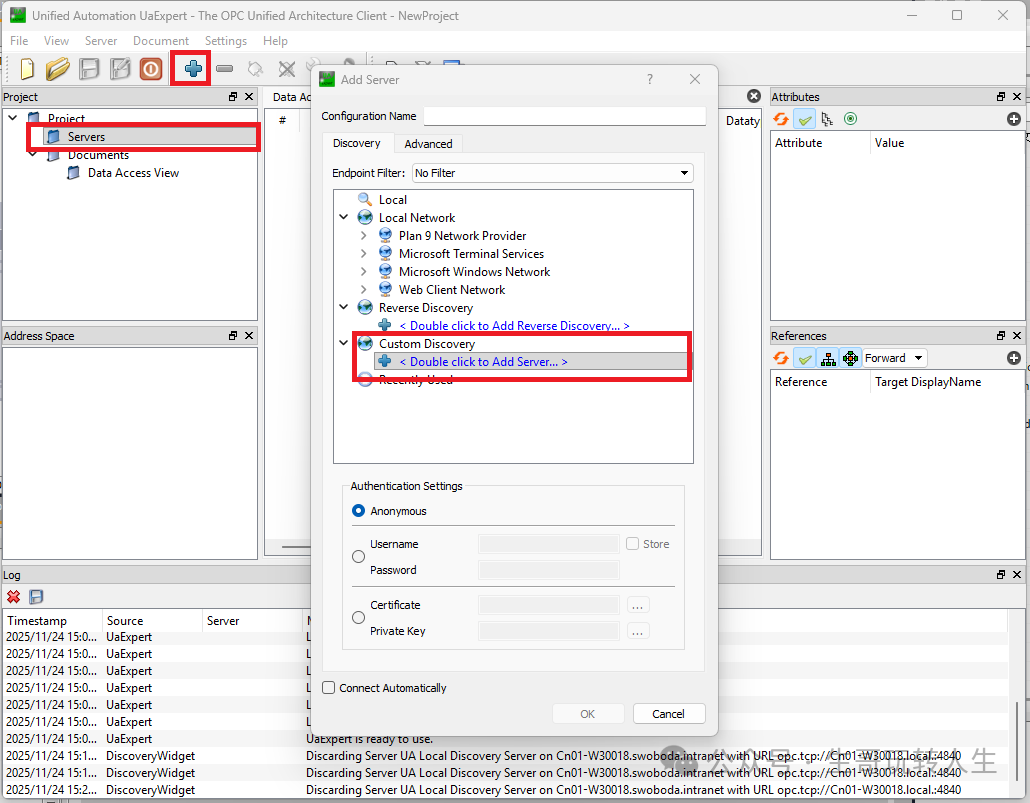 Double-click to add the server….. A new window will appear. Enter the IP address of the Siemens PLC and the previously mentioned port number. The following image shows the test PLC IP address. Click OK.
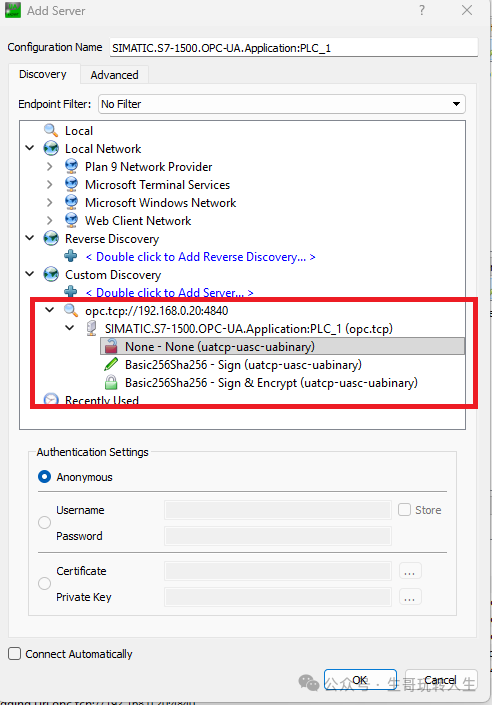
 The following image shows the added server. In this example, select None-None.
 After clicking OK, the added server appears in the area shown in the following image.
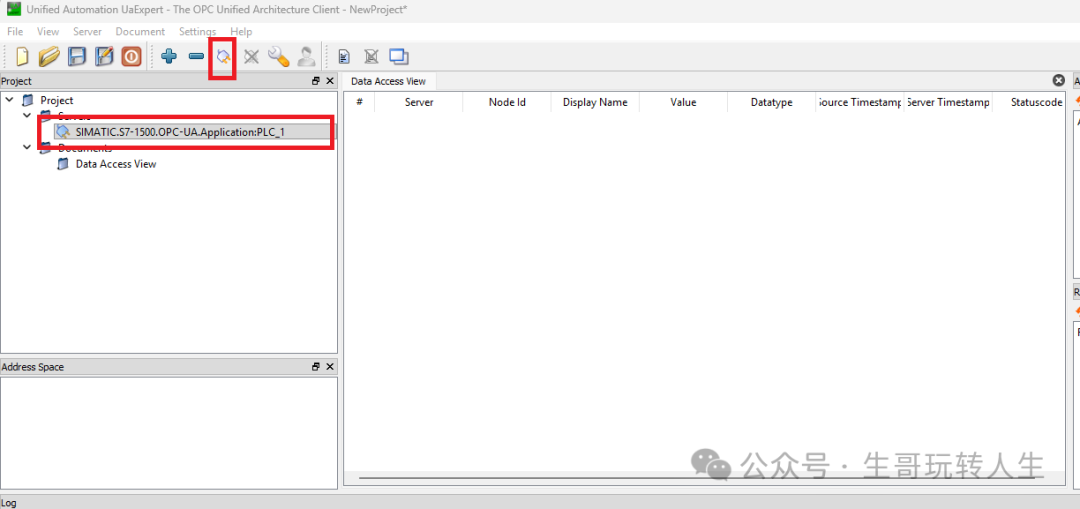 Click the connect icon, and a pop-up window will appear. Click Trust server certificate.
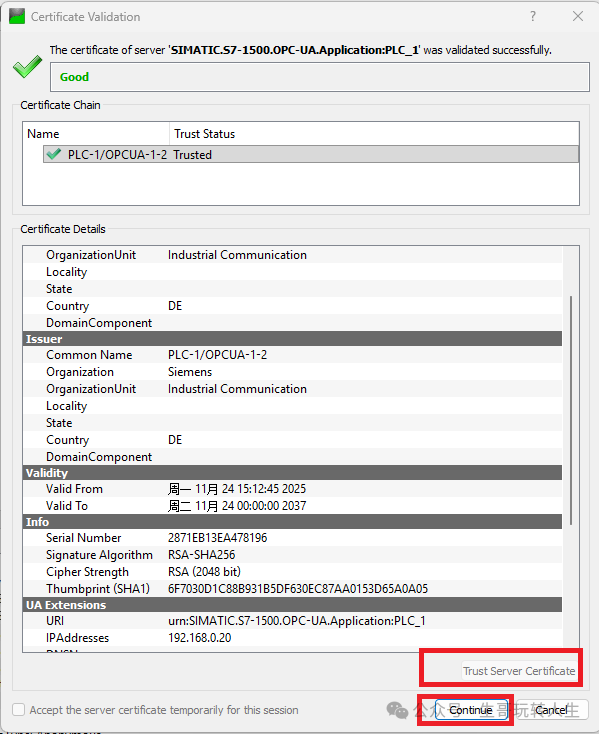 Click continue, and you will see that the configured PLC has been added to the project.
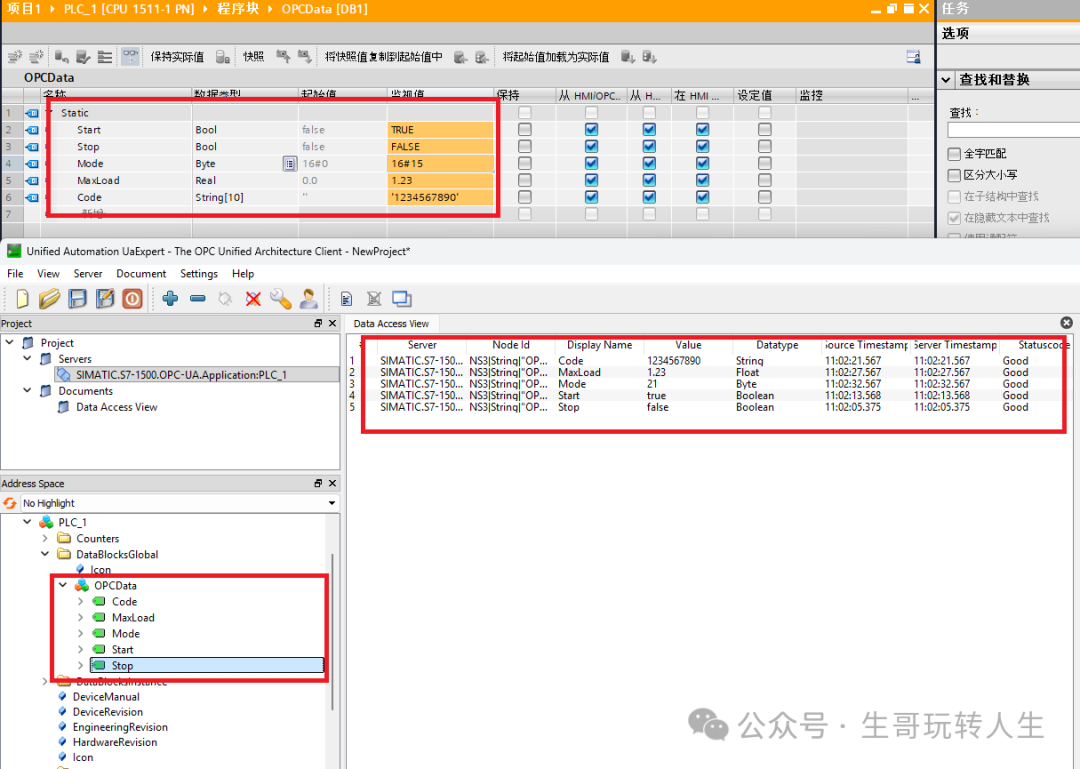
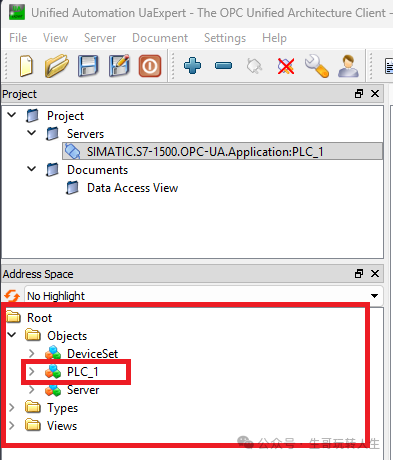 Open PLC_1, and you can see the configured PLC variables. You can drag the variables to the right for monitoring.
 If you need to access the variable addresses in the PLC, as shown in the following image, select a variable, and the detailed NodeId will be on the right.
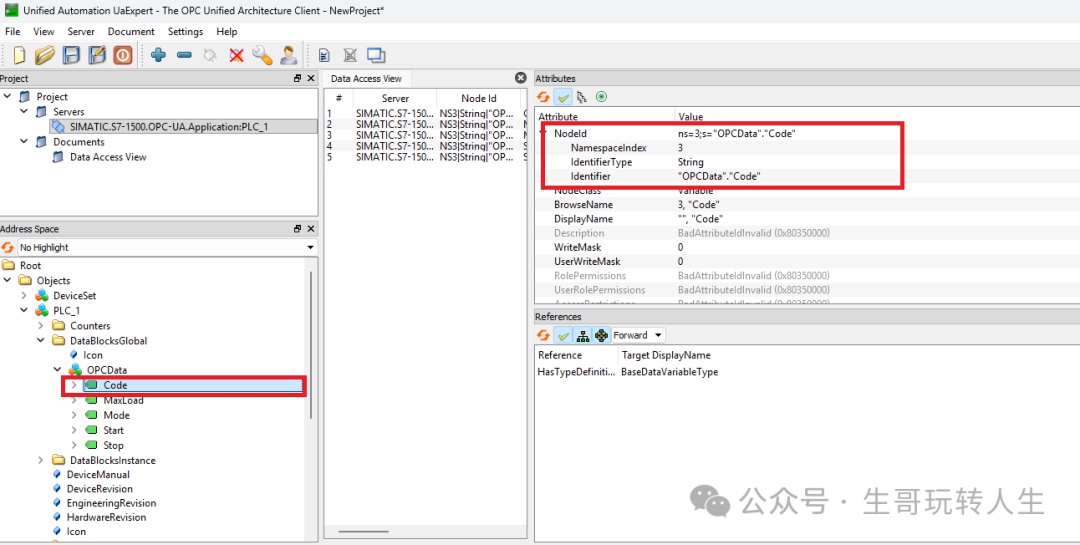 As shown in the image above, the Code corresponds to NodeID ns=3;s=”OPCData”.”Code”Force the PLC variable, and you can see that the value in UAExpert is consistent with the PLC. Thus, the configuration test is complete.The Siemens official website also provides a detailed tutorial, which includes configurations for certificates, etc. I have organized it in the comment section; feel free to download it if needed.
 I have organized learning materials related to industrial control. Feel free to take what you need. Please save the resources to avoid link expiration; the links are in the comment section.
 Mastering Industrial Control: Siemens PLC Time Synchronization – NTPMastering Industrial Control: A Treasure Chest for Beginners – Full of Valuable ContentMastering Industrial Control: Siemens HMI Can Be Remote, Why Run Back and Forth to Press the Interface?Mastering Industrial Control: Direct Read and Write Operations on SQL Database with Siemens PLC