Today, I would like to introduce a SiFive development board, the HiFive1 RevB. It is equipped with the RISC-V Freedom E310 microcontroller and adopts the Arduino Uno “form factor” design, making it compact, which is exactly the board I wanted.
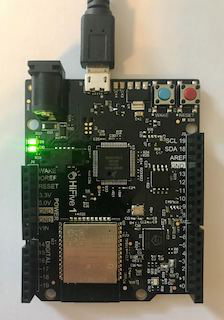
My HiFive1 Development Board
There is a lot of material available about RISC-V and how it will bring about a revolution in CPUs, but what attracts me is its open standard Instruction Set Architecture (ISA). Moreover, having a new hardware and development environment is itself a very cool thing.
Getting Started Guide
Reading the getting started guide is crucial. If you are like me and want to jump right in after just a few pages of the guide, believe me, please read the getting started guide first.
If you have a HiFive1 Rev B development board and no other accessories, you will also need to purchase a USB-A to USB-micro-B cable. This cable is used for serial communication and power. Of course, if you only have a system with USB-C, you will need some adapters to connect to the USB micro-B port.
For the host platform, we will be using a MacBook Pro running macOS 10.15 (Catalina). If your purpose for reading this article is to develop on the HiFive1 with your Macbook Pro, congratulations, you already have the best terminal program installed; if you don’t have a good terminal program, then Terminal.app will help you.
Let’s take a look at our startup screen:
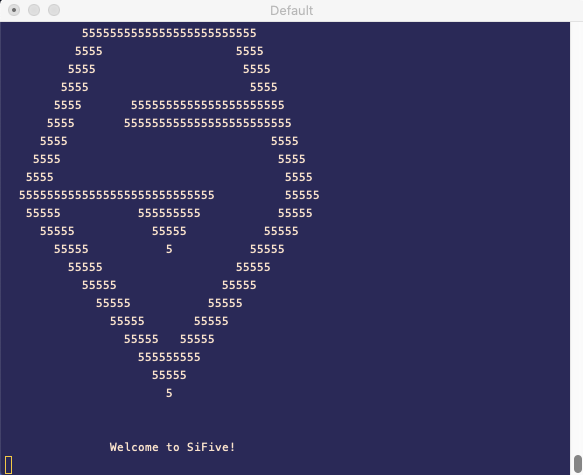
To see this startup screen, you need to use a serial terminal program. macOS will present the HiFive as two USB modem devices in the /dev directory.

The first displayed cu.usbmodem device will be HiFive1. My suggestion is to open an iTerm and use screen to connect. A rate of 115200 bps with the default 8N1 settings will suffice, so in our example, we just need to type screen /dev/cu.usbmodem0009790151821 115200 in the terminal.
Starting Development
To develop on the HiFive1 development board, you need to install several important software on your Mac.
-
Toolchain (e.g., compiler, assembler, linker, and related libraries)
-
On-chip debugger (OpenOCD)
-
Freedom E SDK development environment
-
Segger J-Link OB debugger toolchain
Next, I will explain these software one by one.
Installing Toolchain and On-chip Debugger (OpenOCD)
The referenced toolchain is the GNU Embedded Toolchain – v2019.08.0, which can be downloaded directly from the SiFive website. Download path: “Products” – “Boards and Software” – “Prebuilt RISC-V GCC Toolchain and Emulator”.
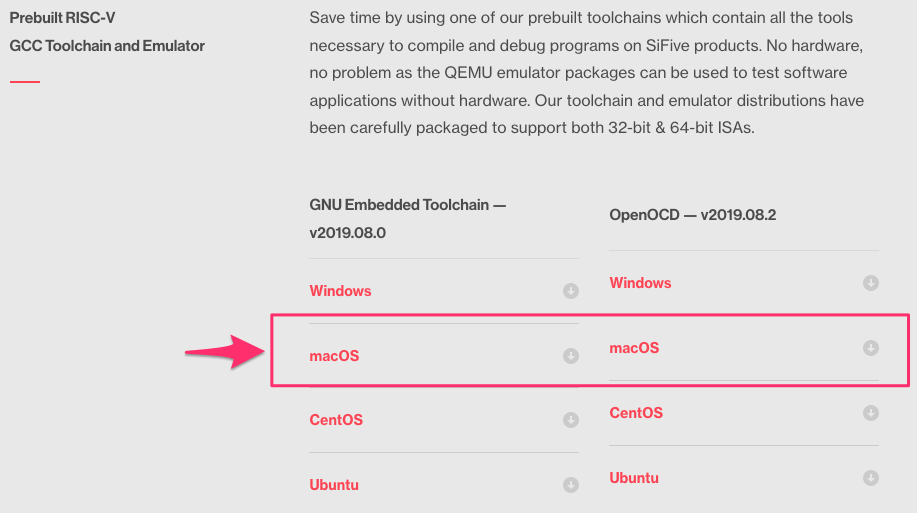
After downloading the GNU toolchain and OpenOCD software package, extract them to an appropriate installation location. I usually place such software packages in the /opt directory, so we will place the downloaded packages in the /opt/riscv directory.

Before proceeding to the next step, ensure that the compiler is functioning correctly.

You may receive an error message stating that “riscv64-unknown-elf-gcc” cannot be opened because the developer cannot be verified. For me, I do not rely on the operating system to tell me what software can run and what cannot, so we will use spctl to bypass this system alert:

Let’s try again.

Now it’s working.
Obtaining the Software Development Kit
We have a HiFive1 development board using the Freedom E310 chip, so we need the Freedom E SDK development environment. For this, I will keep the SDK in my “projects” directory.

Note: You must use the –recursive git option here to check out all required packages.
Now, let’s compile our first program!

In the top-level directory, freedom-e-sdk is a set of makefile files that can easily compile and generate images suitable for uploading to the HiFive1 development board. In this case, PROGRAM is the name of a subdirectory in freedom-e-sdk/software, and TARGET is your development board.
If this is your first time using it, you will see a bunch of garbled text about Python, pip3, and virtualenv:
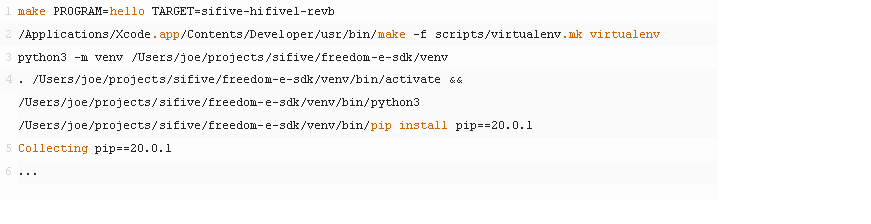
Additionally, if you receive an error about the C compiler not being able to create executables, you need to set your RISCV_PATH environment variable to point to the correct toolchain, such as export RISCV_PATH=/opt/riscv/riscv_64-unknown-elf-gcc-8.3.0-2019.08.0-x86_64-apple-darwin.
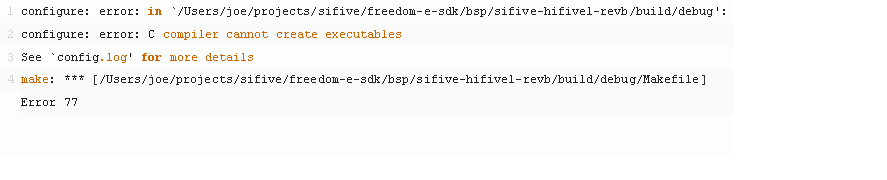
Generally, it’s best to place various environment variables in a file like “sifive.env” and import that script into your environment.
sifive.env:

If everything goes well, you will finally see the compiled output.

Installing J-Link
Now, we will upload it to the development board, but before that, we need to install the Segger J-Link OB debugger. If the debugger is not installed, you will see similar content when trying to use the upload target.

To obtain J-Link, go to the download page and get the J-Link software and documentation package for macOS.
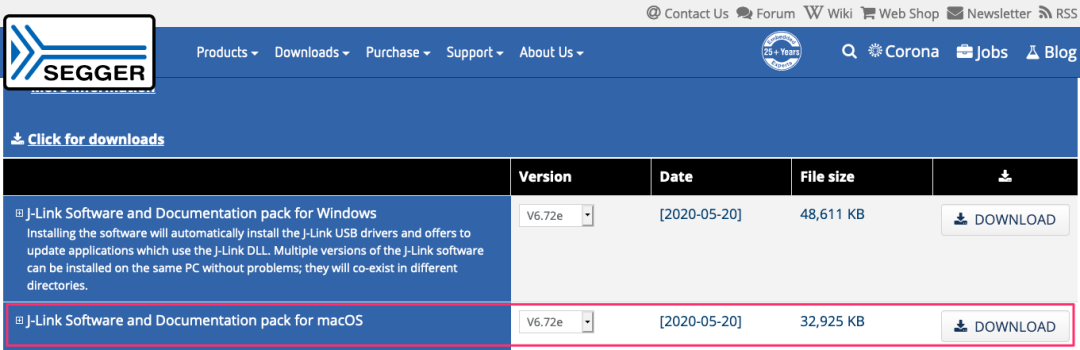
Follow the instructions for installation, and after the installation is complete, you can return to the SDK directory and type:

If everything is installed correctly and the mainboard is connected, you will see messages similar to the following:

If your terminal window is connected to the serial output of the development board, you will see Hello, World!
Your Own C Program
In the freedom-e-sdk directory, there is a software folder with many examples. We will use it to create our own software examples.
Use cp -R software/empty software/leo-welcome to copy the template, then edit software/leo-welcome/Makefile to change the PROGRAM name to leo-welcome. Open main.c in the same directory and replace its content with:
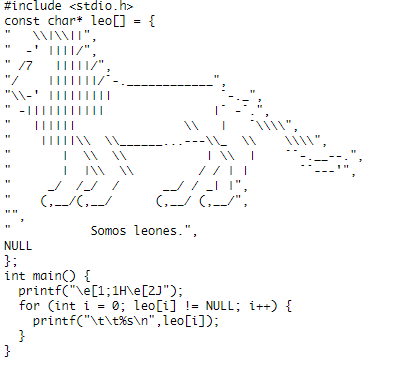
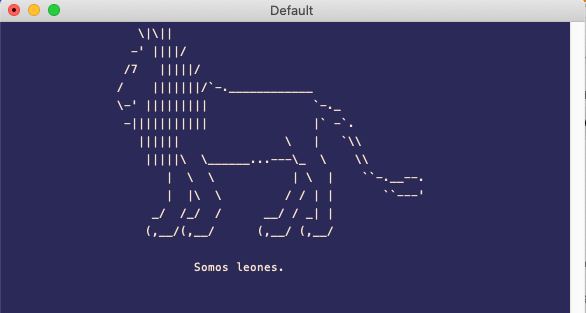
Using make PROGRAM=leo-welcome TARGET=sifive-hifive1-revb upload will compile and upload, and you will see the following effect.
About Assembly
RISC-V Assembly to Write Hello World
Again, let’s start from the example folder within freedom-e-sdk.

In this example, we will write Hello World in assembly, delete software/helloasm/main.c, and then create a file named main.S with the following content.
main.S:

In RISC-V, the a-register will hold our procedure parameters, here the procedure is C printf. We use la (load address) to place the address of the hellomsg label into a0, and then call the printf function. In fact, all of this is pseudo-instructions.
The Makefile in the template will extract files with the .S extension, so make PROGRAM=helloasm upload will assemble, link, and upload our file to the HiFive1 development board.
Countdown Program
Finally, let’s look at a countdown program with maximum and minimum values, which is a bit more complex because we will use prologue and epilogue code in the routine. The prologue code will save the return address on the stack, and the epilogue code will load the address back into the ra register so that the ret instruction will branch back to our caller.
countdown.S:

We can call it in C language as a function like this:
main.c:

Compile and upload!
Summary and Outlook
This is a summary after my first understanding of the SiFive HiFive1 Rev B development board. Of course, we haven’t even talked about the wireless capabilities of ESP32-based development boards, nor have we discussed the Freedom Metal library or anything that can accelerate our development. Perhaps next time we can talk about these unmentioned topics.
Source of this article from iAchieved.it LLC. Author: Joe, reposted after translation, intended to convey more information, copyright belongs to the original author.