“I just want to run a Go program, but I found out I need to set up a C compiler first?!”Don’t worry, I’ll guide you through this journey easily.
📌 Prerequisites: You need the following
✔ A computer that can run Ubuntu (like 18.04, 20.04, 22.04)✔ Administrator privileges (you should be able to use <span>sudo</span>)✔ Most importantly: you want to run a Go program, but the system says “you need to install GCC first!”
🧐 Why does Go need GCC?
Go is inherently a “standalone” language, and you can compile it using the official <span>go</span> toolchain, but sometimes it willcall the C compiler (GCC) to handle underlying dependencies, for example:
- • Using CGO (Go calling C language libraries)
- • Compiling Go libraries that contain C code
- • Using the GCCGo compiler (another version of Go from the GCC family)
- • The system lacks
<span>build-essential</span>, causing errors in the Go build process
🔧 So even if you are a pure Go developer, it’s best to have some tools in your system’s “toolbox”,install GCC, so your Go code won’t “fail” halfway through.
🛠️ Installation Steps:
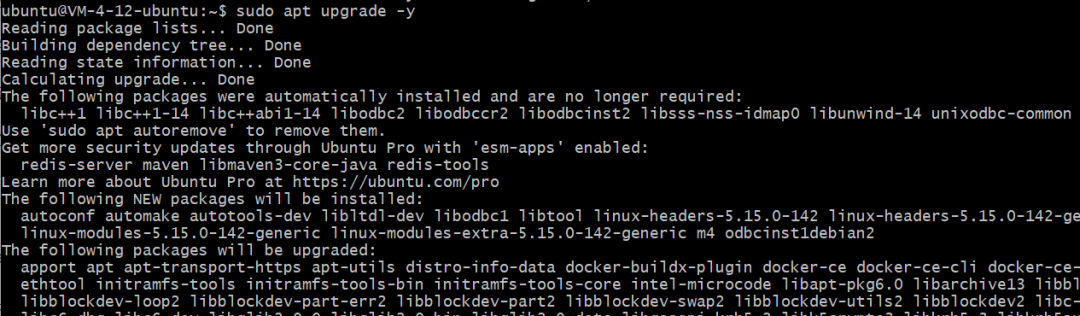
1️⃣ Update the system: Don’t treat an old system like a new computer
sudo apt update
sudo apt upgrade -y
☕️ This step is like washing your face and brushing your teeth, don’t skip it, the system will be revitalized.
STEP 01:

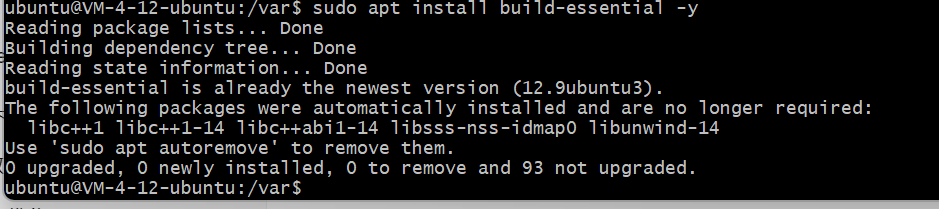
STEP 02:
2️⃣ Install GCC and friends: The building blocks of the world
sudo apt install build-essential -y🔍 <span>build-essential</span> not only installs <span>gcc</span>, but also brings along these:
- •
<span>g++</span>: C++ compiler - •
<span>make</span>: The building tool - • Header files & library files: Without them, the Go build process might directly fail
3️⃣ Check the installation:
gcc --version
g++ --version
You should see something like this (don’t worry too much about the version):
gcc (Ubuntu 11.4.0-1ubuntu1~22.04) 11.4.0
4️⃣ Compile test code:
nano hello.cPaste this little snippet in:
#include <stdio.h>

int main() {
    printf("Hello, GCC!\n");
    return 0;
}
Then press:
- •
<span>Ctrl+O</span>→ Save - •
<span>Enter</span>→ Confirm - •
<span>Ctrl+X</span>→ Exit the editor
Next:
gcc hello.c -o hello
./hello
✅ If you see <span>Hello, GCC!</span>, it means it really works, not just a decoration.
📦 Installing a specific version of GCC (like if you really want version 12)
sudo apt install gcc-12 g++-12Then tell the system “use this version by default from now on”:
sudo update-alternatives --install /usr/bin/gcc gcc /usr/bin/gcc-12 100
sudo update-alternatives --install /usr/bin/g++ g++ /usr/bin/g++-12 100
⚙️ If you want to switch versions, you can run:
sudo update-alternatives --config gcc🧹 Uninstall GCC:
sudo apt remove build-essential gcc g++With this set of instructions, installing GCC on Ubuntu is a breeze, now everyone can start practicing…