Introduction
: I often add an introduction at the beginning of my posts, which serves as a timestamp for this article, allowing me to recall my thoughts at that time. As the year-end approaches, life has become quite challenging with various tasks needing to be completed. I truly cannot produce more content, but I will ensure to provide a well-crafted article each week as a way to give back to everyone. This is a record of my notes from last month when I upgraded my server, shared for your learning or reference. I would like to express my gratitude to my boss, who has been very supportive of my work, especially in analysis, and often strives to meet my hardware needs. I will continue to learn and aim for further improvement during my doctoral studies.
First, let’s create the Linux image:
This time, the installation of the Ubuntu system on the server encountered several issues that others did not face, so I documented the entire process and highlighted the key points.
For this demonstration, I am using the Ubuntu 18.04 version for installation.
First, we download: UltralSO software: just install it with the default settings, and you will get the following icon:
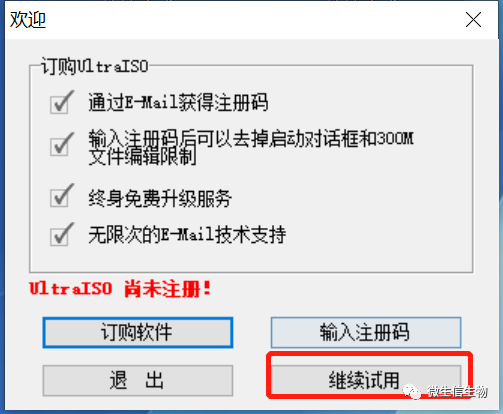
When we double-click to run it, we can choose to try it out since we don’t install systems every day:
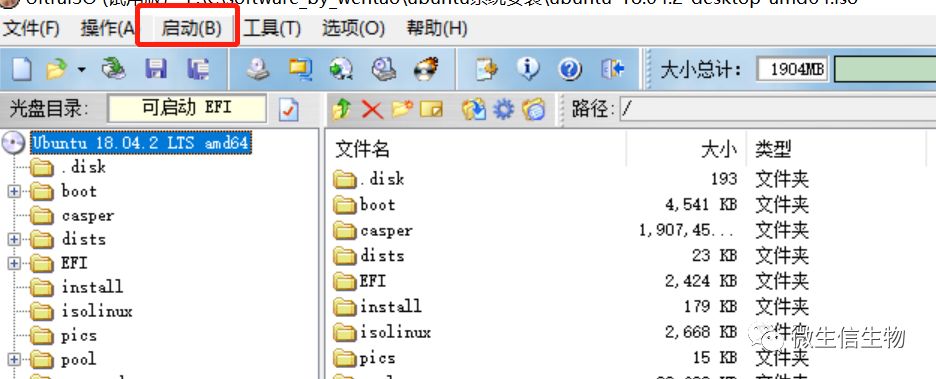
Click on File — Open:
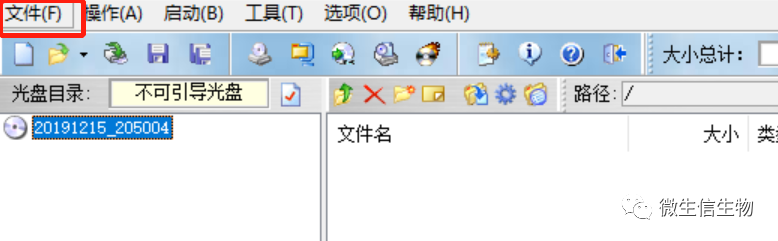
Select the file you want to create an image from — click Open:
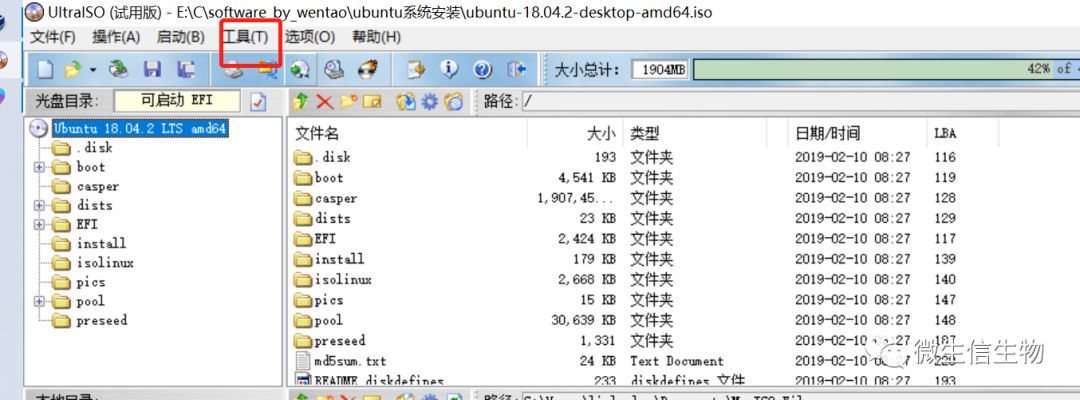
Click Start — Write to Disk Image:
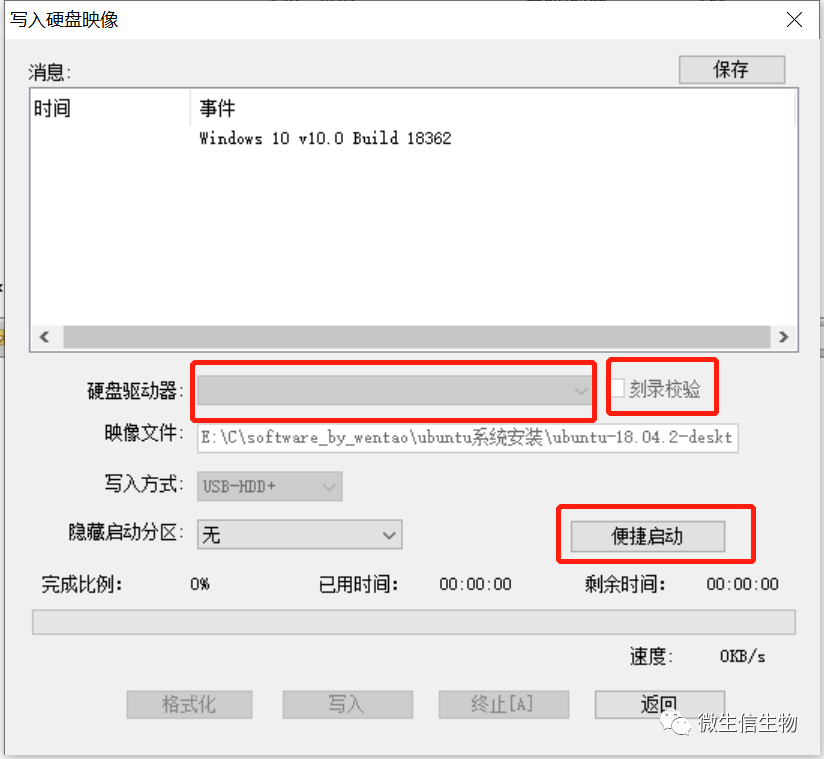
The following operation box appears:
Step 1: Select the USB drive location to write to;
Step 2: Choose to verify the burn;
Step 3: The rest can be left as default. Click Start to proceed.
Wait for the writing process to complete. After that, our USB boot disk will be ready.
Now, let’s install the system:
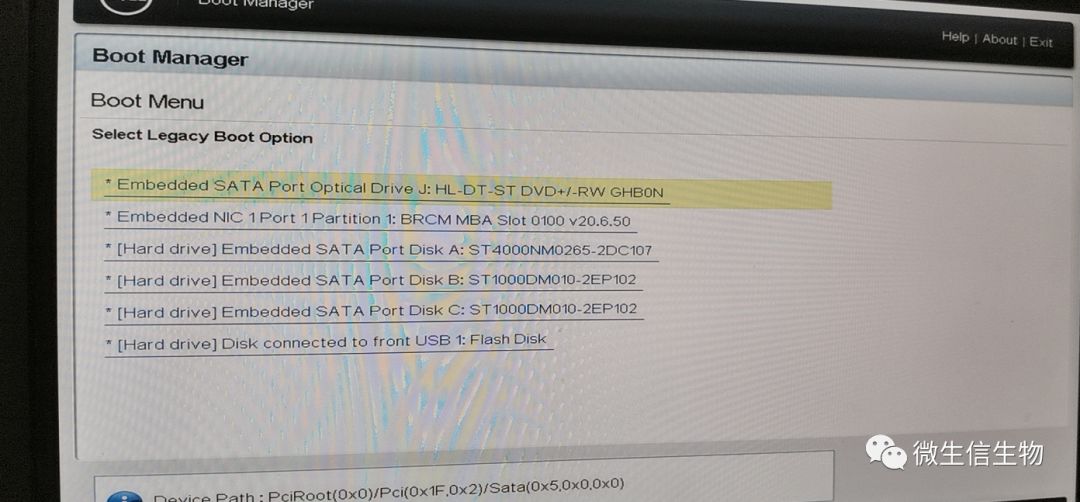
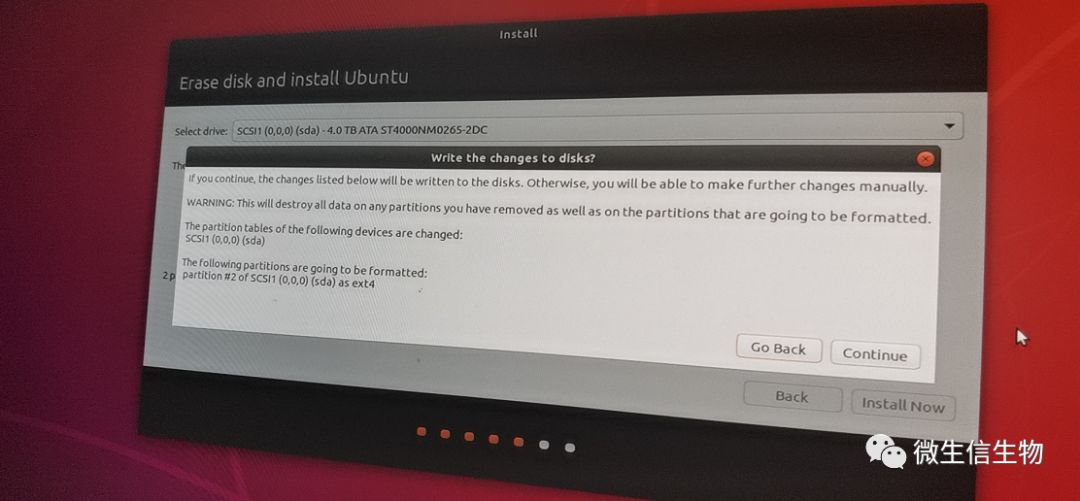
Step 1: Boot up and press the F11 key to enter the Boot Manager: select the second line to enter BIOS
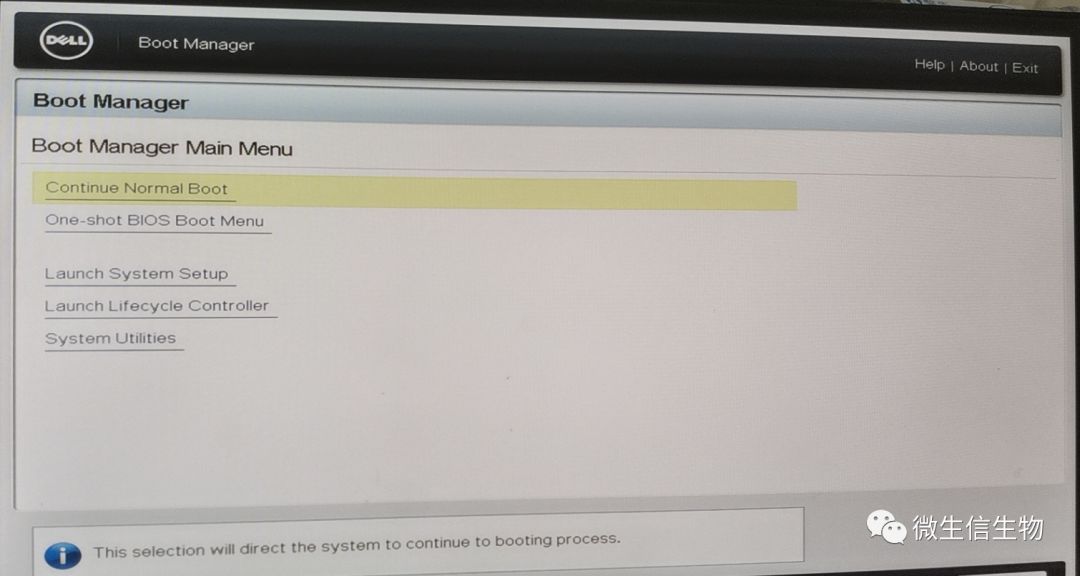
Step 2: Select USB boot, which is our boot disk:
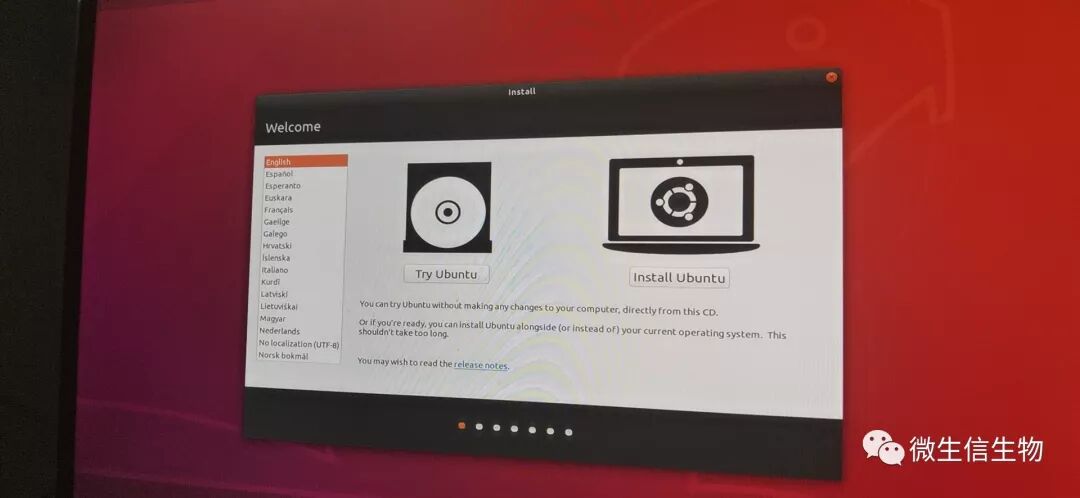
Step 3: Choose the language, here select English, and I recommend everyone to choose English.
Step 4: Just select the first option, and do not select the rest:
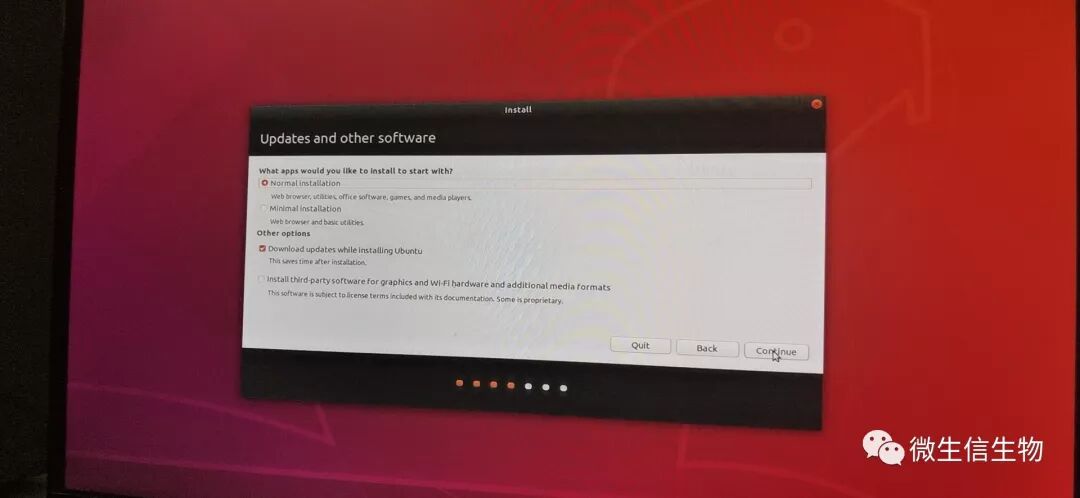
Step 5: Only select the first option, uncheck all others:
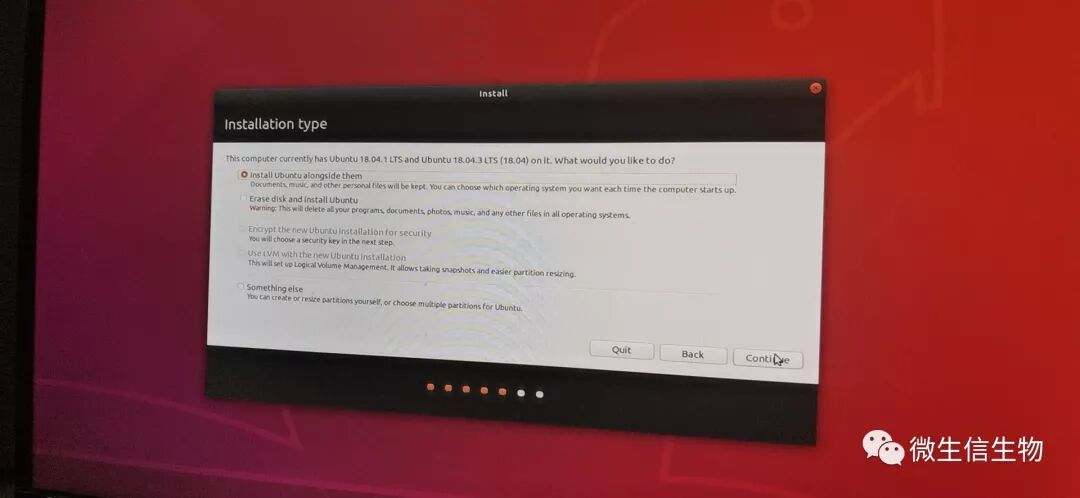
Step 5: After completion, we will see the interface: since QQ has also exited the Linux version, I took the opportunity to download and install it.

Issue Records:
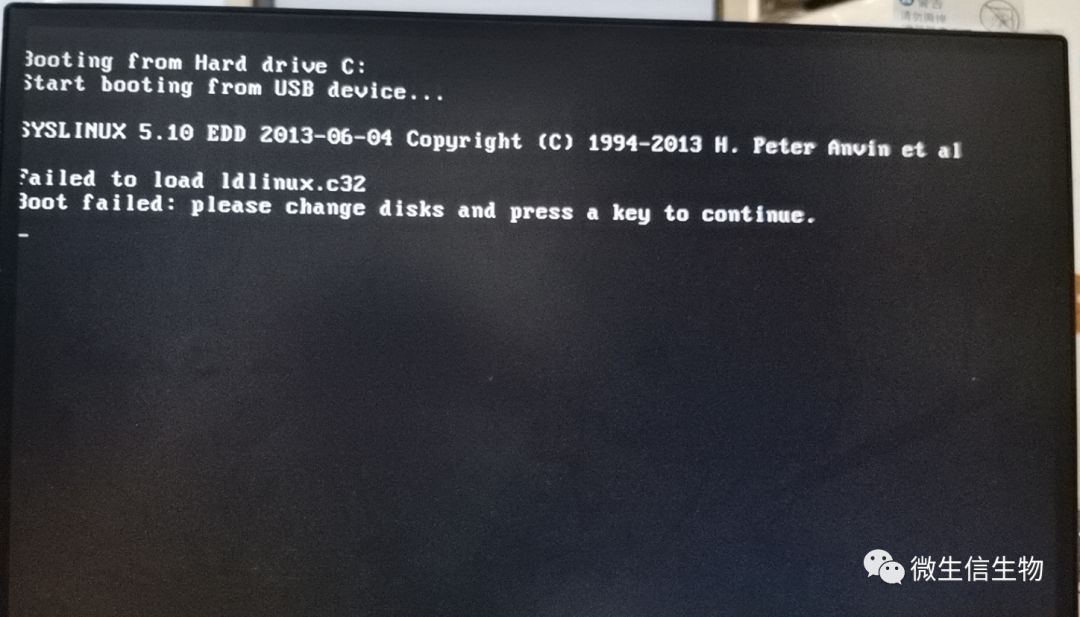
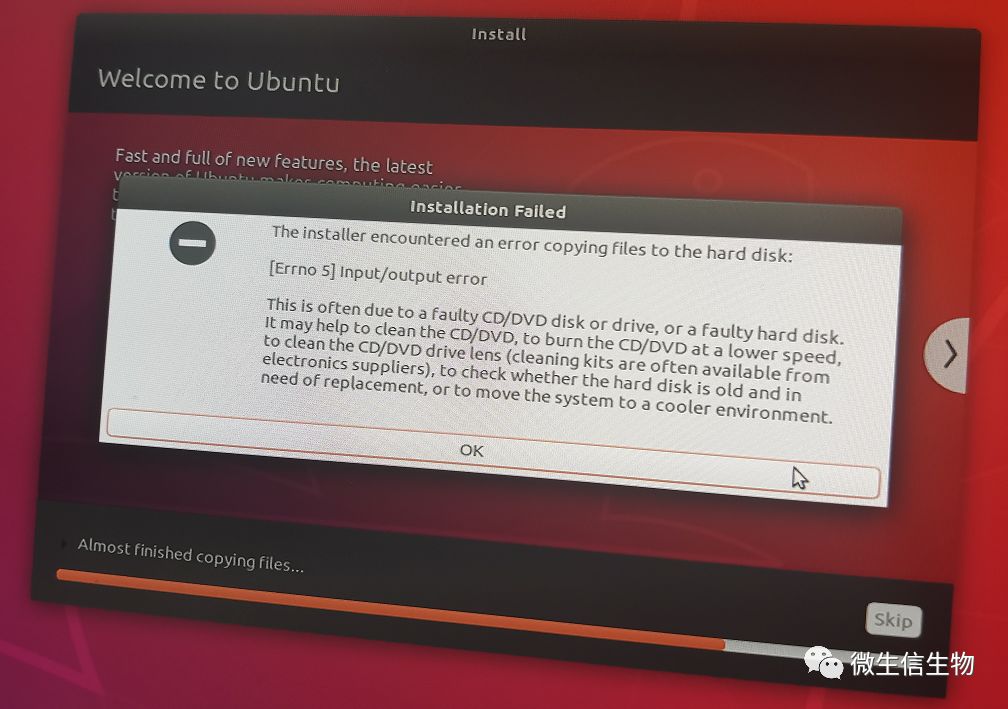
In Step 2, an error occurred, as shown in the image below: If you encounter a similar error, don’t panic; this is due to an incomplete download of the Ubuntu system. Therefore, do not cut corners; compare the MD5 value with the system on the website to ensure the integrity of the system.
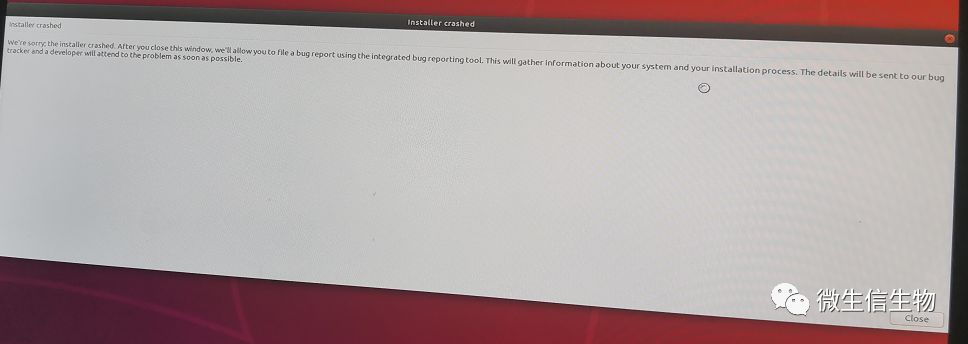
Error Two: This is a failure in creating the USB image. Ensure that the image creation process is correct, or update the image creation software and the image source.