Today, Teacher Cheng from the Mark Pen Design Study Abroad program continues to bring you the basics of Arduino. Last time we introduced the three types of Arduino development boards: Arduino UNO, Arduino Nano, and Arduino Pro Mini. How can beginners start learning Arduino?
Now, Teacher Cheng will introduce the essential knowledge of breadboards and DuPont wires that you will definitely use when connecting circuits. First, let’s look at the breadboard. You may notice that a beginner’s kit for Arduino always includes a long white board, as shown in the image below.
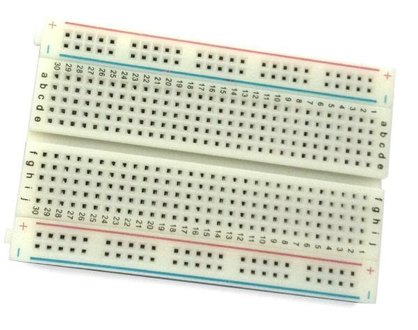
The breadboard is designed with many small holes for electronic circuit experiments without soldering. Various electronic components can be inserted or removed freely as needed, eliminating the need for soldering, saving assembly time, and allowing components to be reused. Therefore, it is very suitable for assembling, debugging, and training electronic circuits.
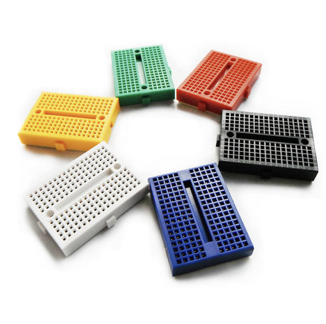
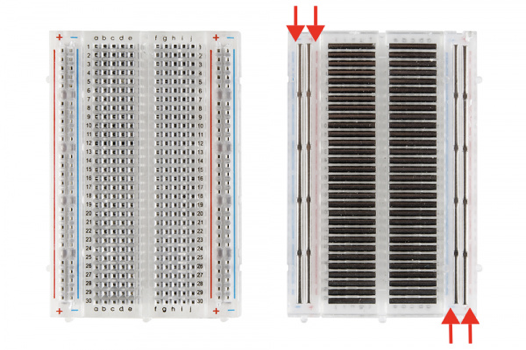
The breadboard comes in three sizes: large, medium, and mini. The large and medium breadboards have power rails located on both sides of the board. The current flows vertically as indicated by the arrows in the image, while the middle two columns with five holes each allow current to flow horizontally. When building circuits, we are not limited to a single breadboard. Some circuits may require more space. Most breadboards have raised squares and recessed slots on their sides, and some even have these features at the top and bottom of the board. These characteristics allow you to connect multiple breadboards together to form a testing area of unlimited size.