
How to Change the Flashloader of JLink
Recently, many EVKs have been borrowed by customers, and today when I wanted to verify some code, I found that I only had the previous RT1050-EVKB. This board is factory defaulted to use HyperFlash, but it was previously reworked by a customer to use QSPI Flash. I took out the board and tested it with the hello world project using IAR and MDK, and encountered no issues; it could be downloaded and debugged normally. However, when using JLink in the MCUxpresso IDE, I faced issues with downloading and debugging. After some exploration, I finally found a solution (thanks to Frank, who had briefly explained the operation method to me before). Now, let’s get to the point:
-
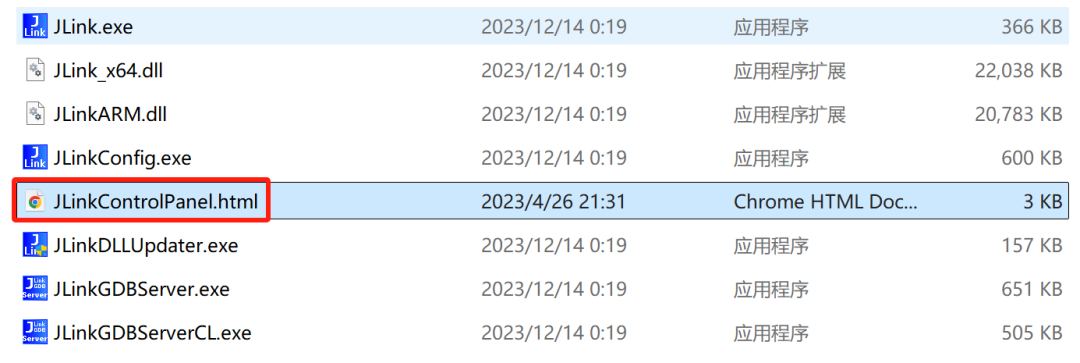
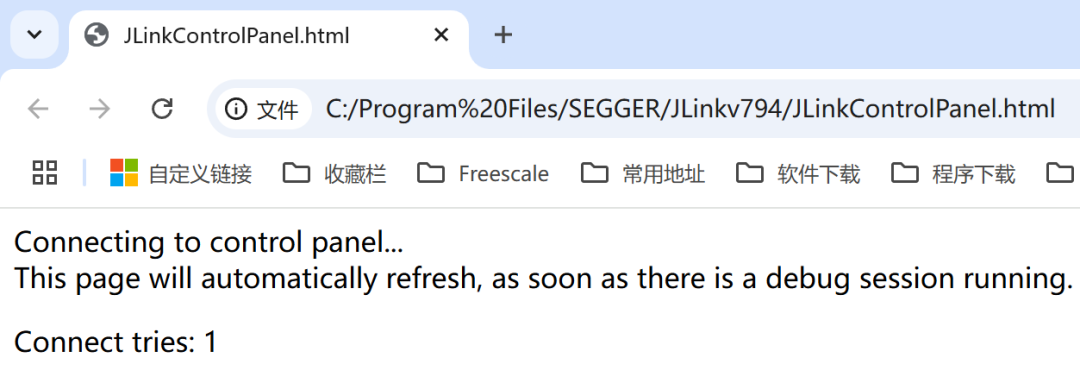
Open JLinkControlPanel.html in the JLink installation directory to access the browser interface.
-
Currently, JLink is not connected to the board, so it will prompt “Connect tries”.
-
Next, we create a new J-Flash project and connect it.

-
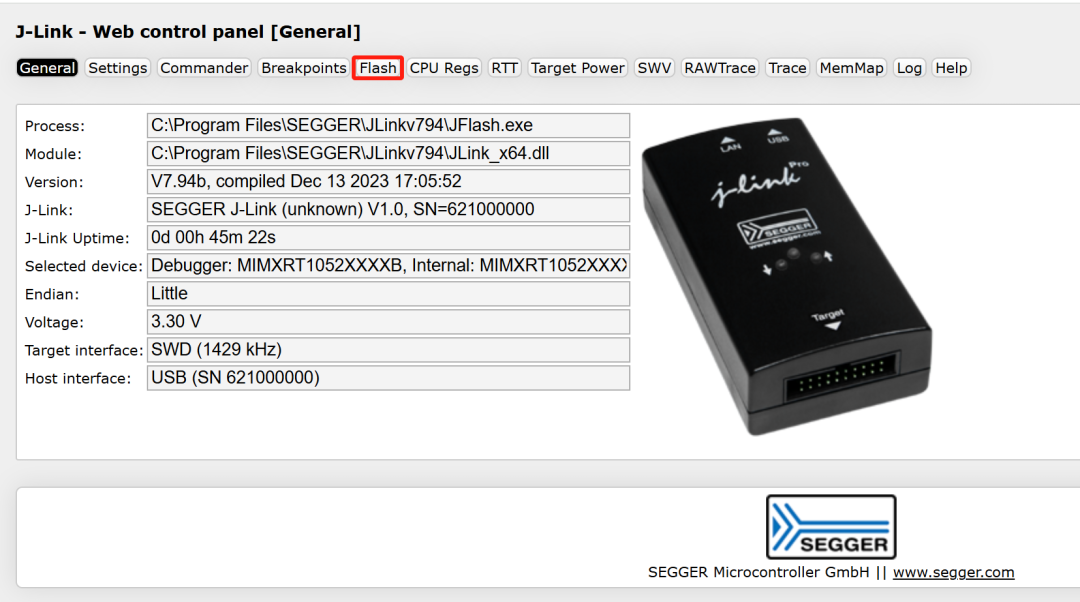
Then return to the browser, and you will see that it has successfully connected to J-Link. Here, select Flash.
-
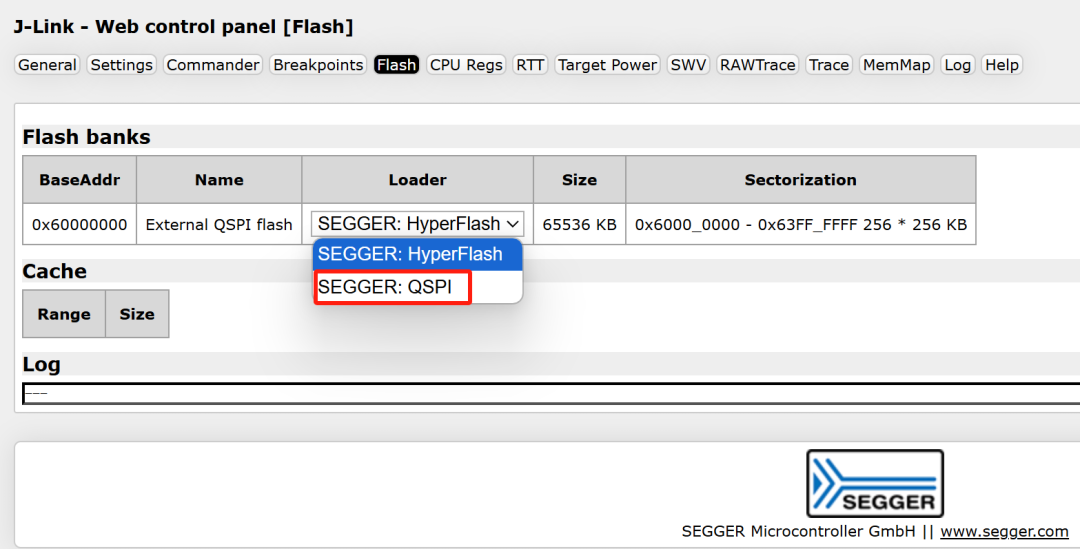
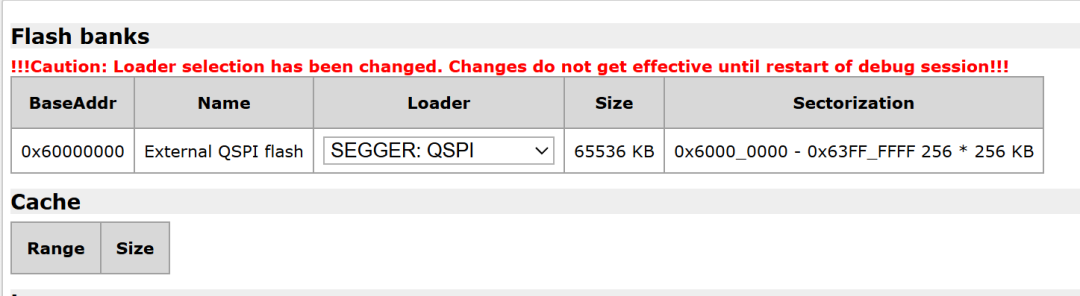
From the Flash tab, you can see that the default loader is using HyperFlash; change it to QSPI.
-
After modification, there will be a red text prompt; just make sure not to reset.
-
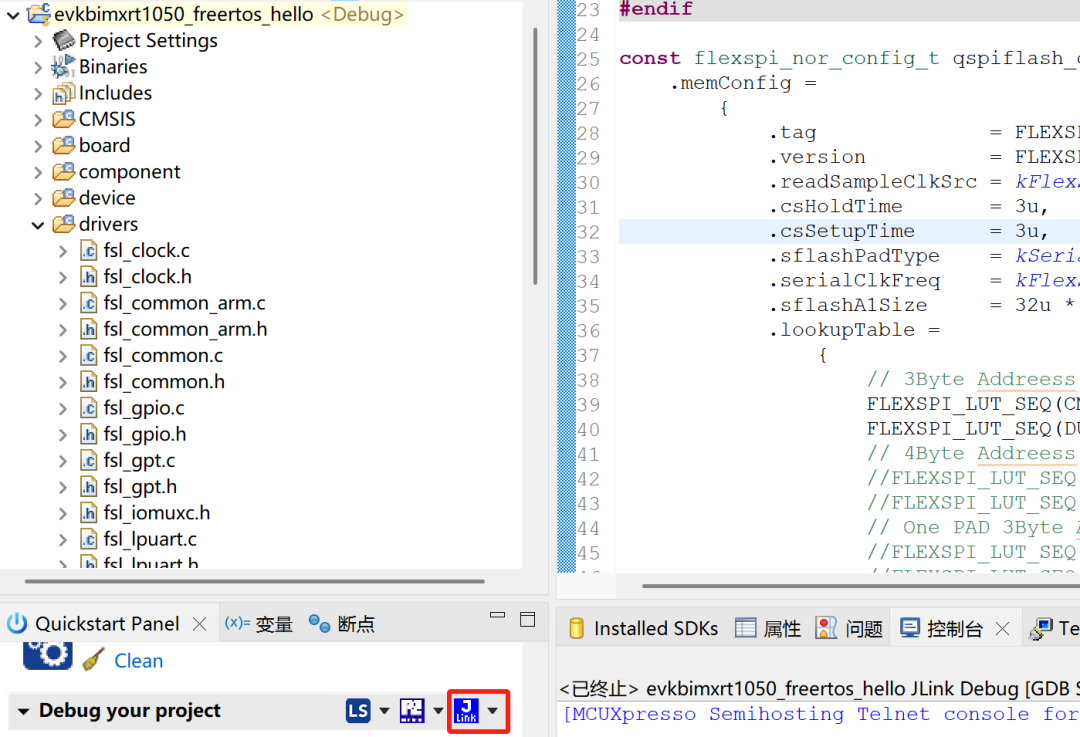
J-Link is ready; now let’s try simulating in MCUXpresso:
-
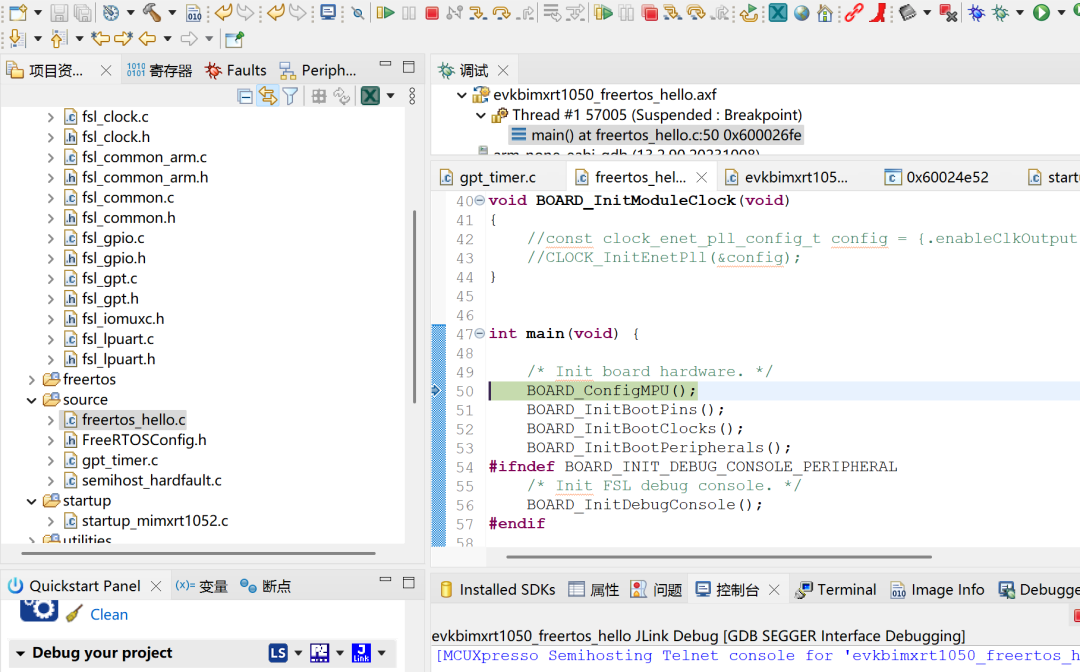
We can now successfully enter the main function.
———— END ———— ● Column “Embedded Tools”● Column “Embedded Development”● Column “Keil Tutorials”● Selected Tutorials from the Embedded ColumnFollow the public account and reply “Join Group” to join the technical exchange group according to the rules, reply “1024” to see more content.Click “Read Original” to see more shares.