Ray penetration reveals the mysteries of the universe!Follow “Ray Decoding Bureau” to explore the unknown vision! |
Backup system parameters
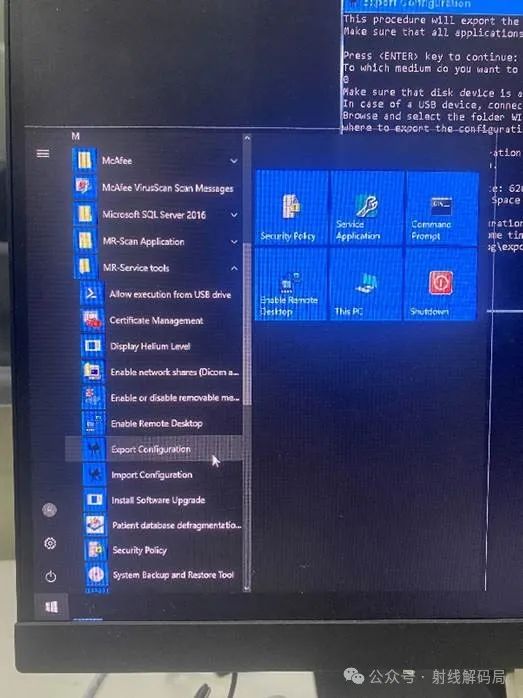
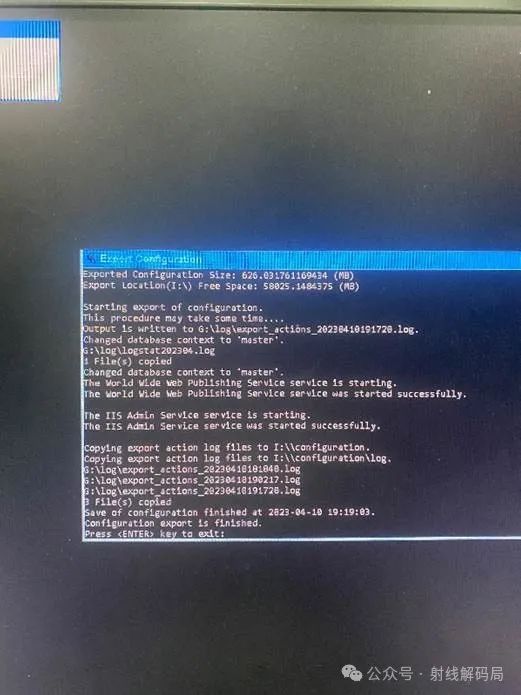
1.The system parameter backup folder for the configuration is located on drive I (Backup), and you can back up several different configuration files just in case. If this file does not exist, you can create a backup of the current system parameters. Enter the advanced username mrservice and password manager to access the desktop. Open the Start menu, click on the MR-service tools dropdown arrow, and click Export Configuration to export the current system configuration information. After clicking, a dialog box will pop up; press Enter and wait for it to finish. The default save location for the file is in the root directory of drive I (backup).
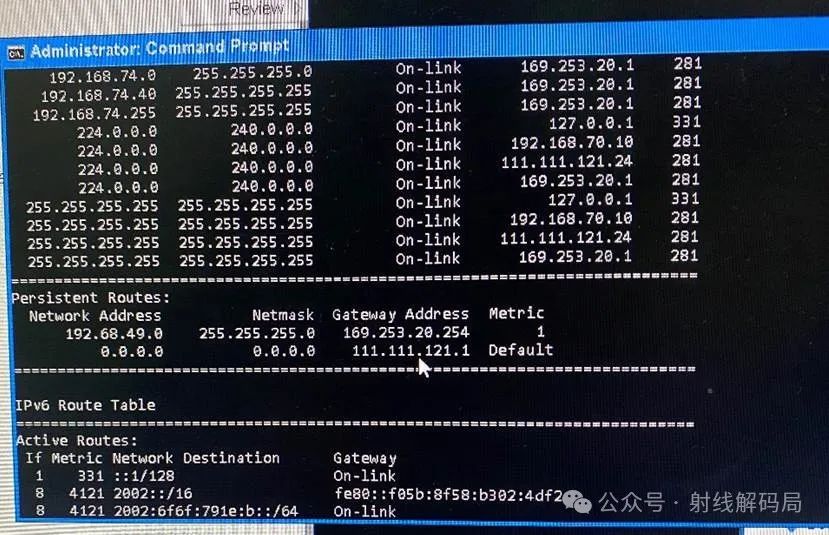
2.Take a photo of the IP information for each network port. Then open the command prompt and enter route print, press Enter to view the remote route, and take a photo to record it.
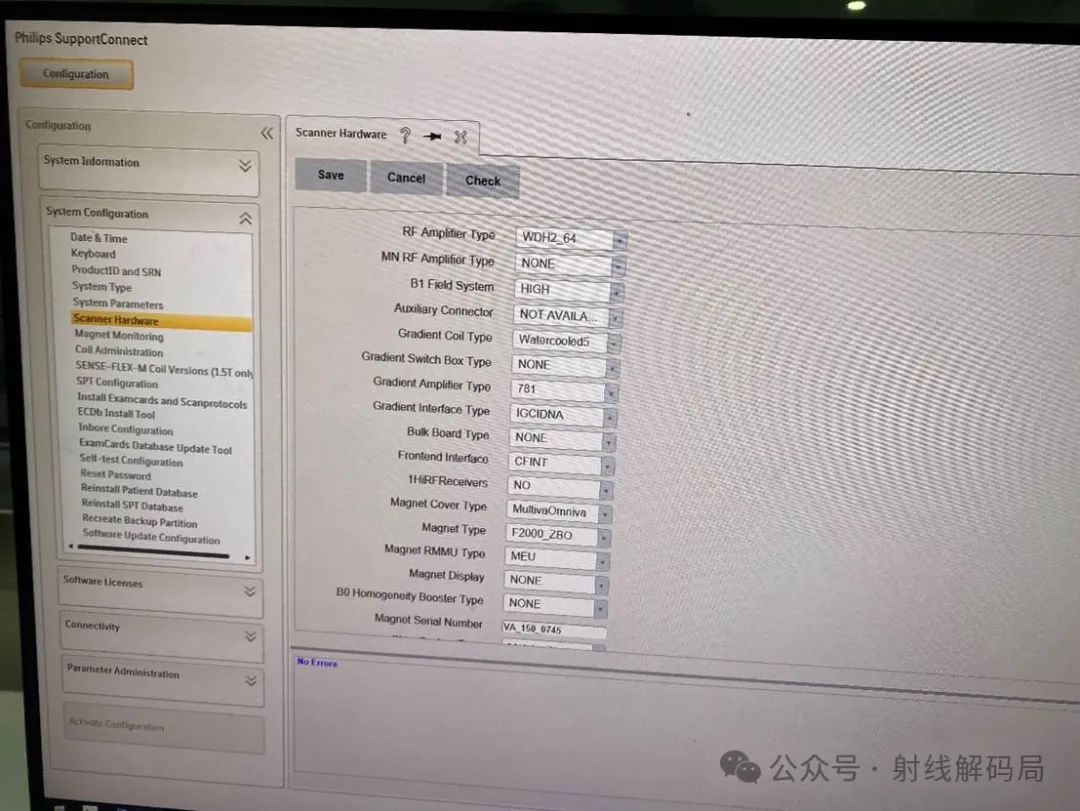
3.Then open the Start menu, click on Service Application, enter the settings interface, and take a photo to record the system configuration and Connectivity (DICOM information is inside) configuration information to prevent configuration file recovery failure.
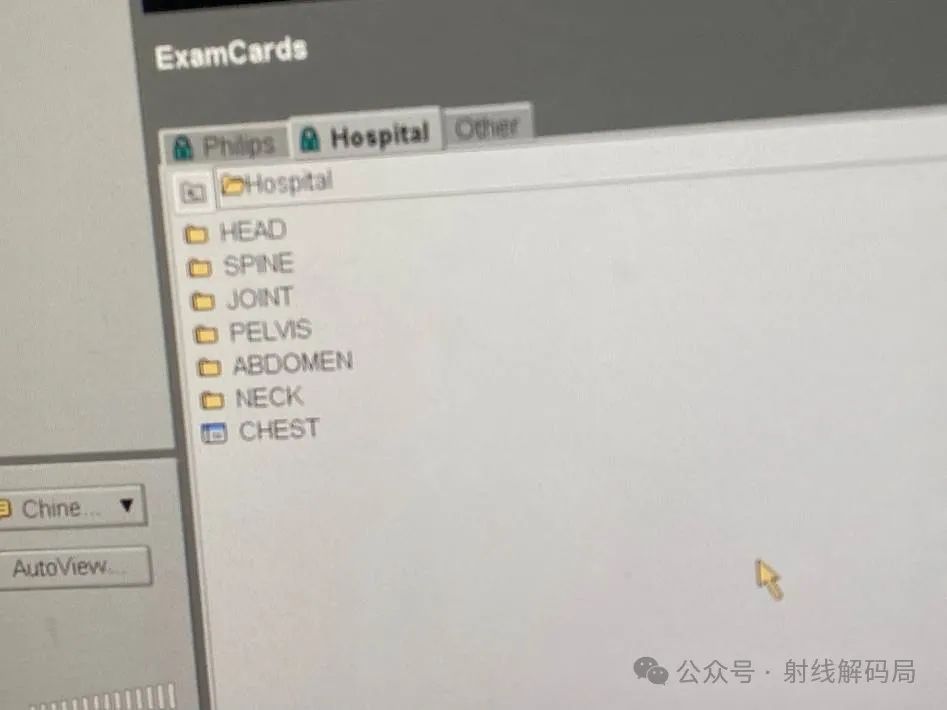
4.Backup the hospital protocol card information. Enter the software, then select the Examcards section of Hospital, right-click to export the protocol file to a specified location for backup. This information is generally restored in the configuration file, but if the restoration is unsuccessful, you can restore the hospital card information separately here.
Install the system and software
1.Prepare a USB drive for system software installation, and prepare two solid-state drives: one 256g (system drive) and one 512g (data drive).
2.Set up the BIOS, change the boot options, press esc during startup to enter the BIOS settings, select boot option, enter the password Philips123, and change the option to prioritize booting from the USB. Save and exit to restart.
3.Boot from the USB, and the installation will start automatically, with multiple restarts during the process. Avoid power outages. After installation, you will directly enter the login interface.
4.Enter the account mrservice and password Manager to access the desktop.
5.Change the IP address back to the previous state.
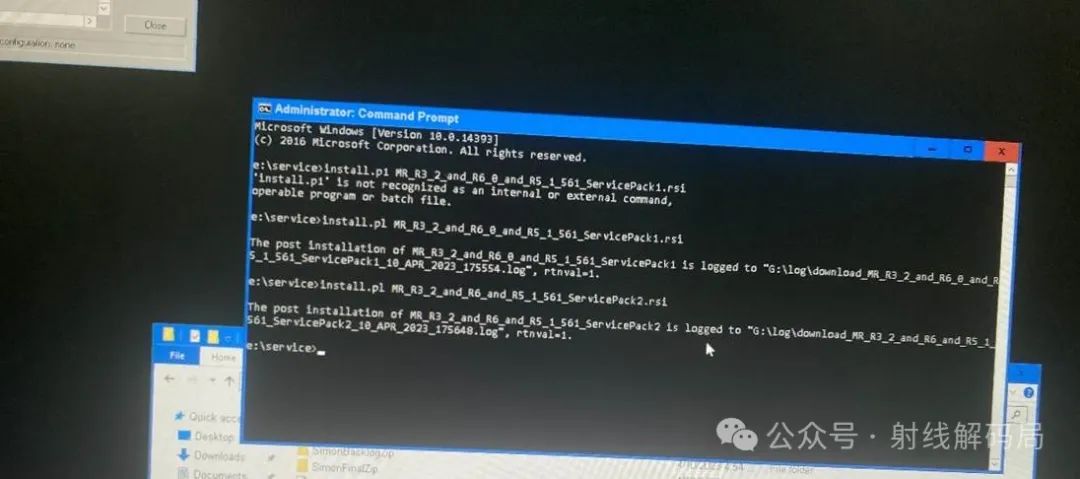
6.Download and install patches, move the downloaded patches to the FTP (E) root directory, a total of four files. Open the cmd interface, enter the command “install.pl filename” and press Enter. Install in order: service pack123, and finally install the security patch. After entering all commands, shut down and restart.
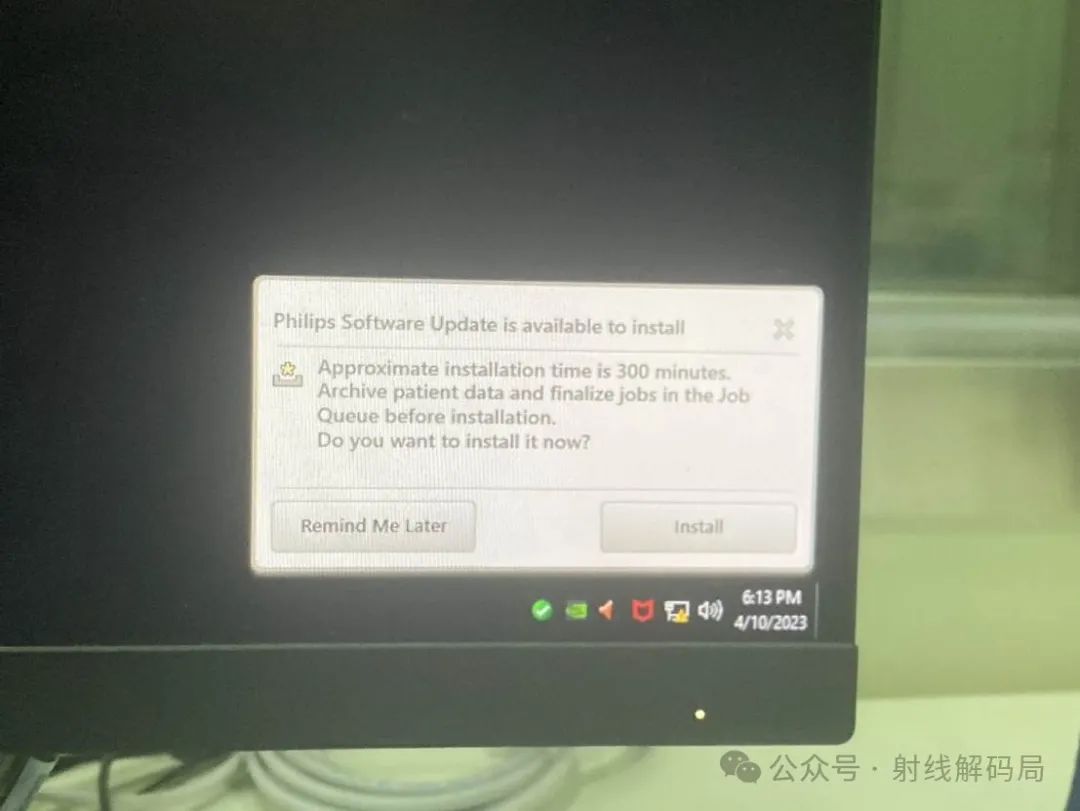
7.After restarting, a dialog box will pop up in the lower right corner of the desktop to install the patches; click install
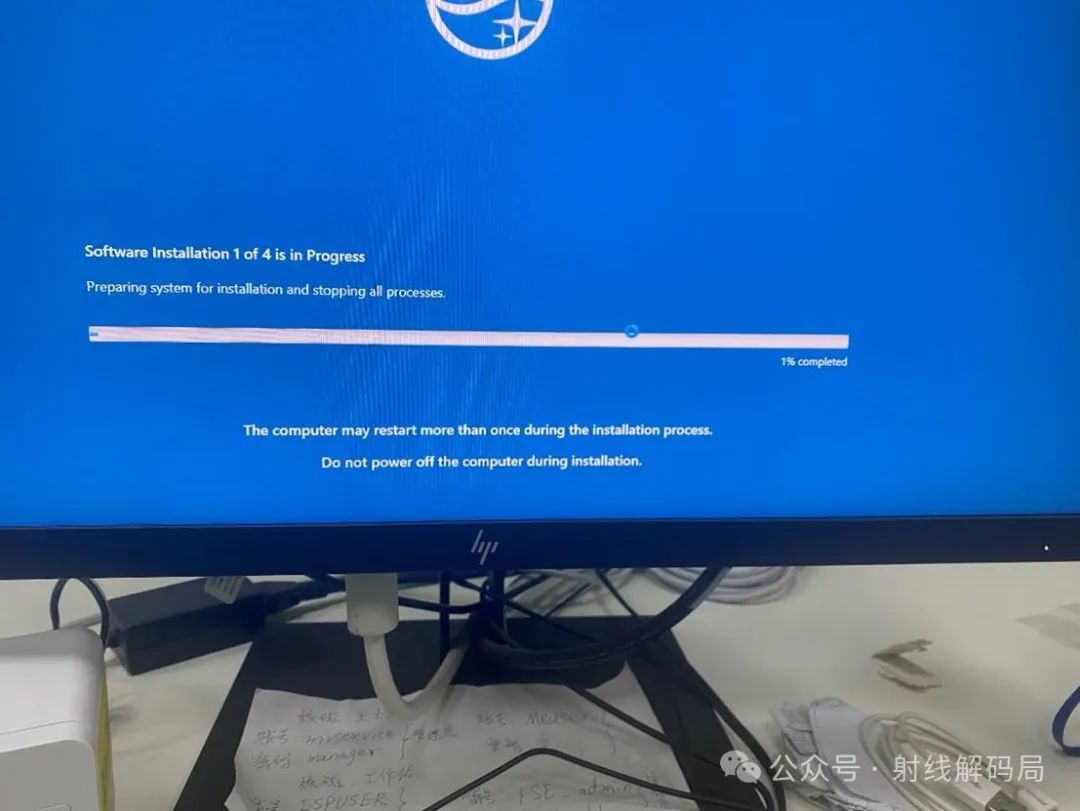
8.After clicking install, select all four files by pressing ctrl + left-click, and install them all. There will be multiple restarts during the process, so be careful not to lose power.
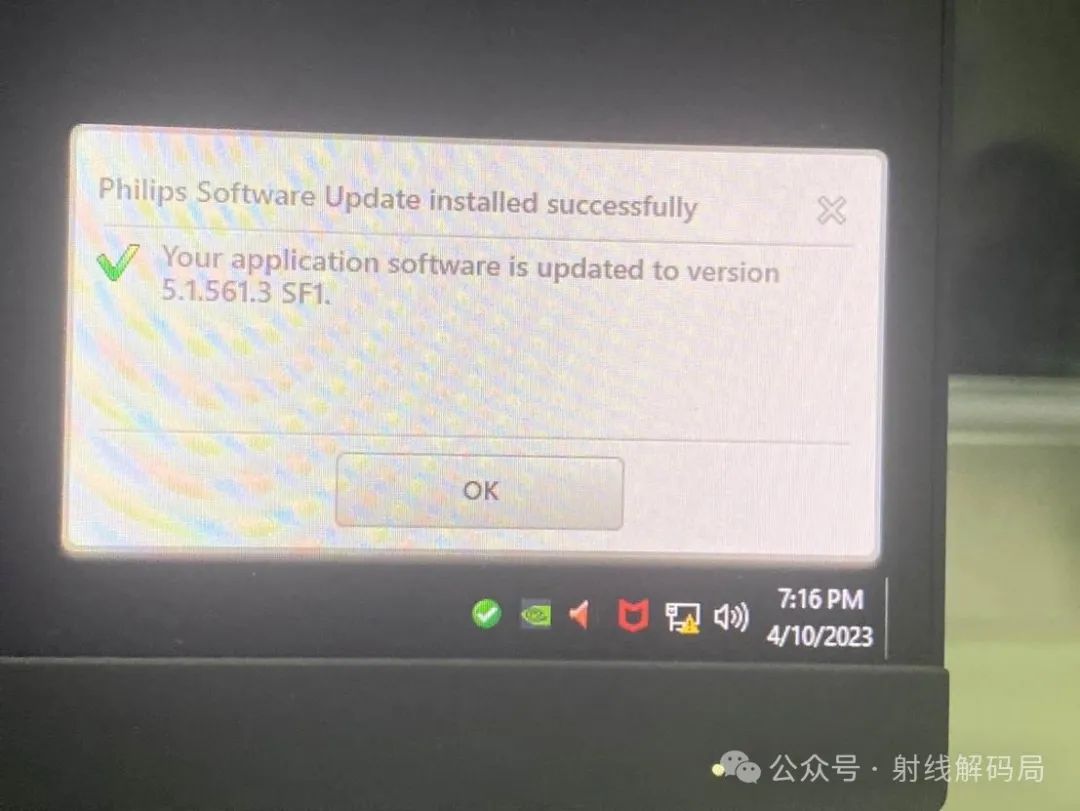
9.After installation, a prompt box will appear indicating that the installation is complete.
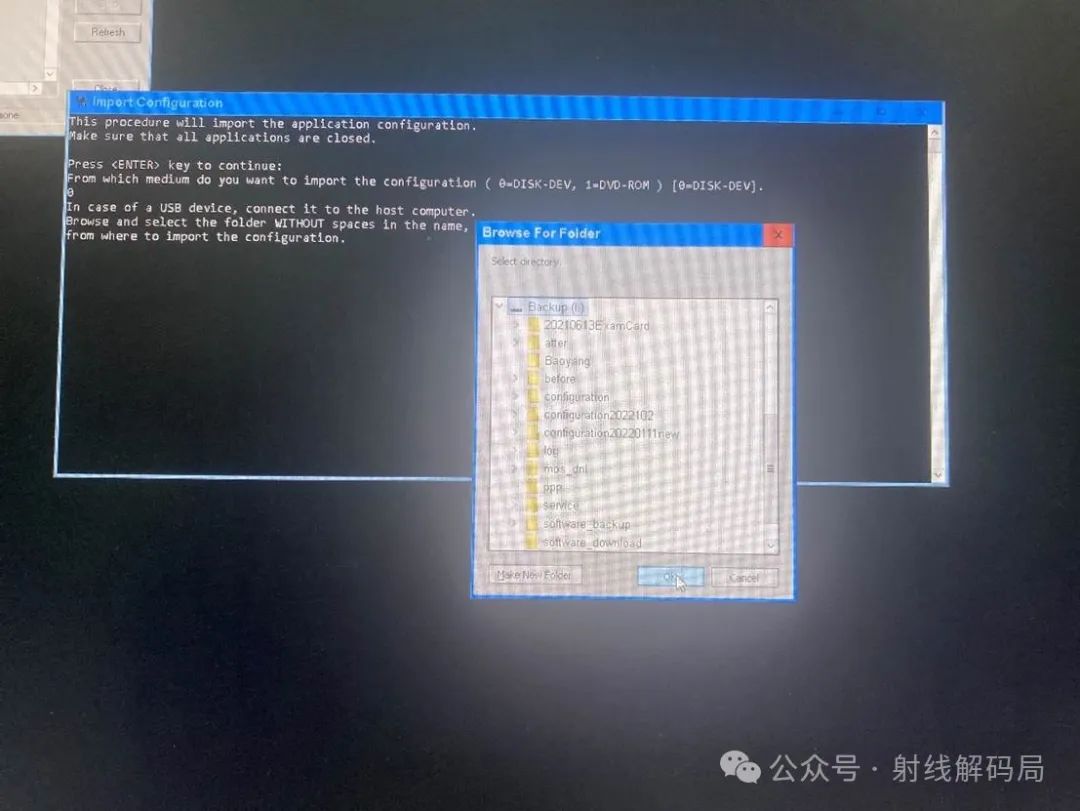
10.Restore the previously backed-up system configuration information, then import the previous configuration information. Place the configuration to be restored in the root directory of drive I. Open the Start menu, click on the MR-service tools dropdown arrow, and click Import Configuration to import the previous system configuration information. In the pop-up command box, press Enter, then enter 0 to select the system drive and press Enter, open the partition of the system drive, select I, then click ok, and it will automatically search for the configuration files under drive I for recovery.
11.Restore the routing settings, open the cmd window, go to drive E, in the service directory, enter route 192.68.49.0 MASK 255.255.255.0 169.253.20.254 -p and press Enter.
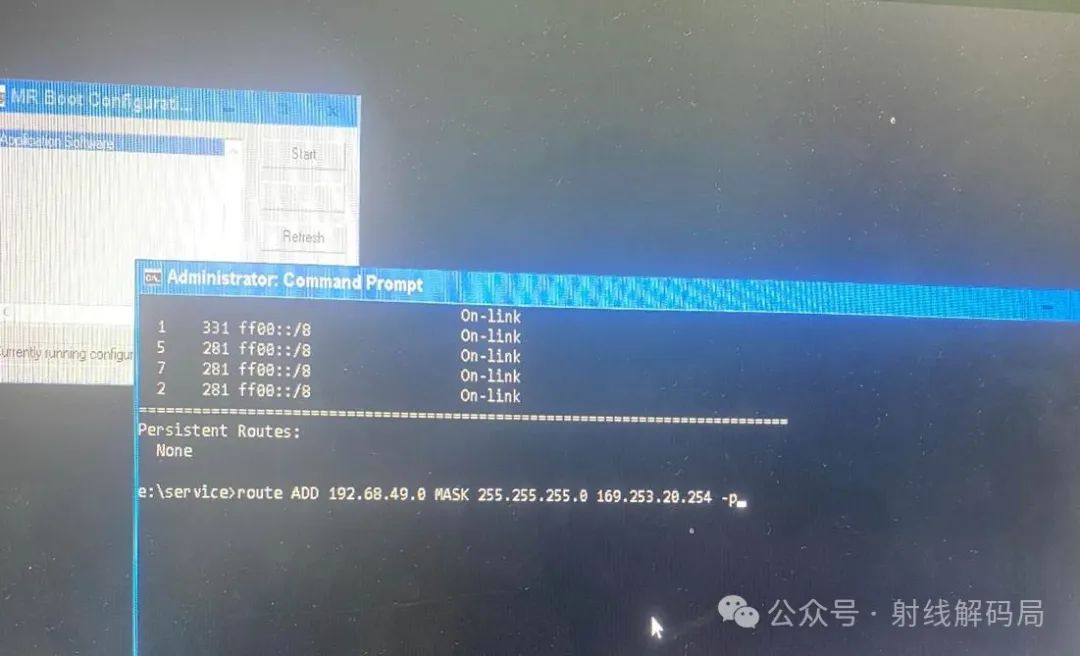
12.Enter route print to check if the routing has been set successfully.
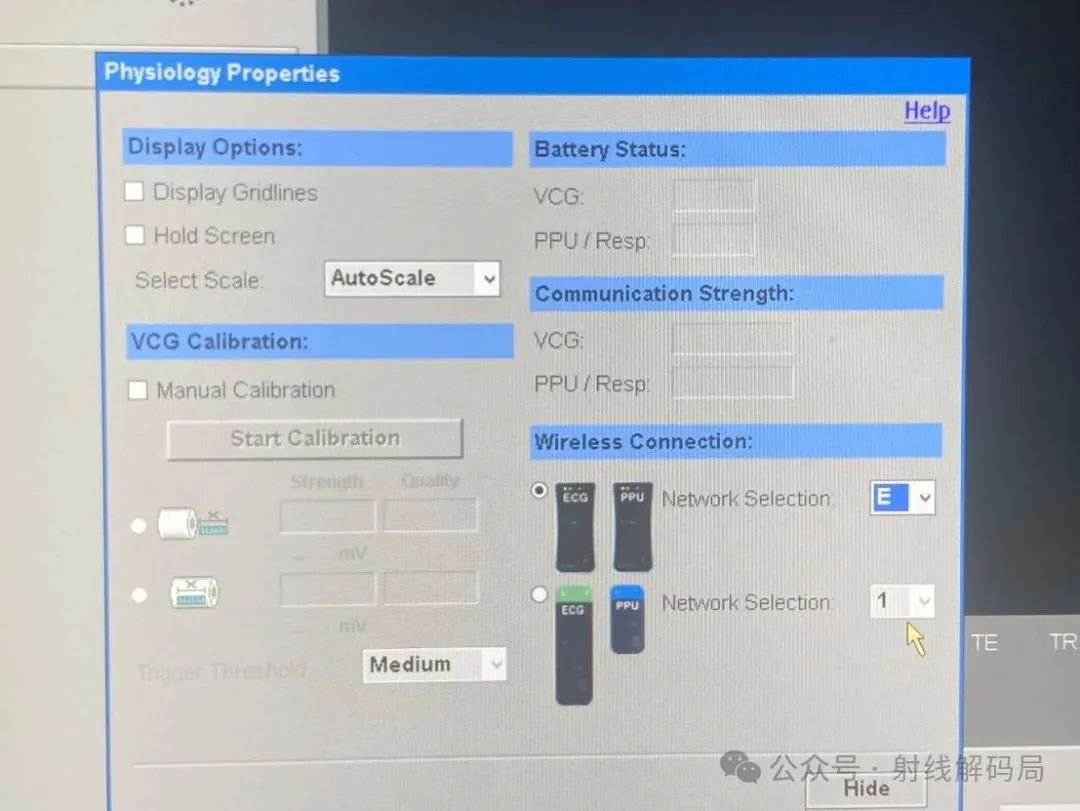
13.Then enter the software and set the PHYSIOLOGY PROPERTIES inside the Wireless Connection to E and save and exit.
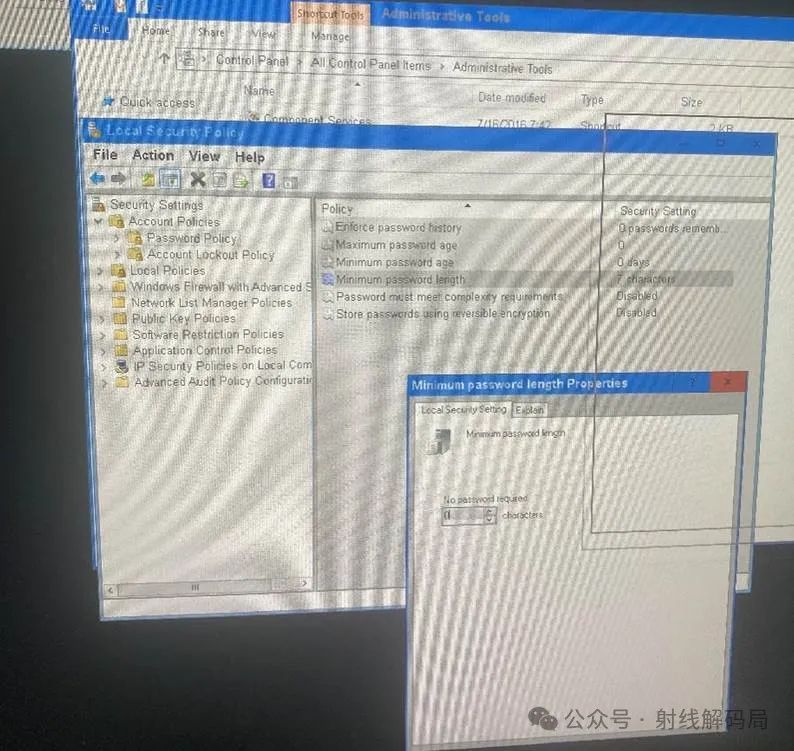
14.Change the username and password, enter administrative tools in the search box, and open the application. Then click on Local Security Policy-Account Policy-Password Policy, and in the pop-up dialog, set the password length to 0
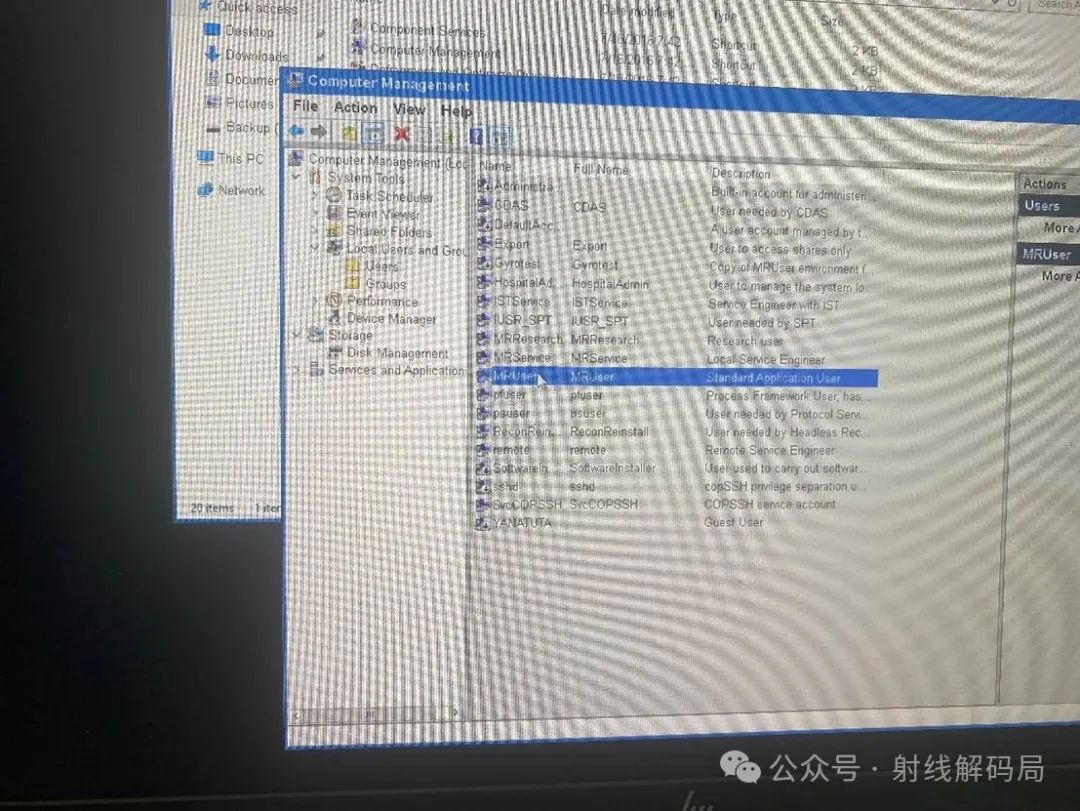
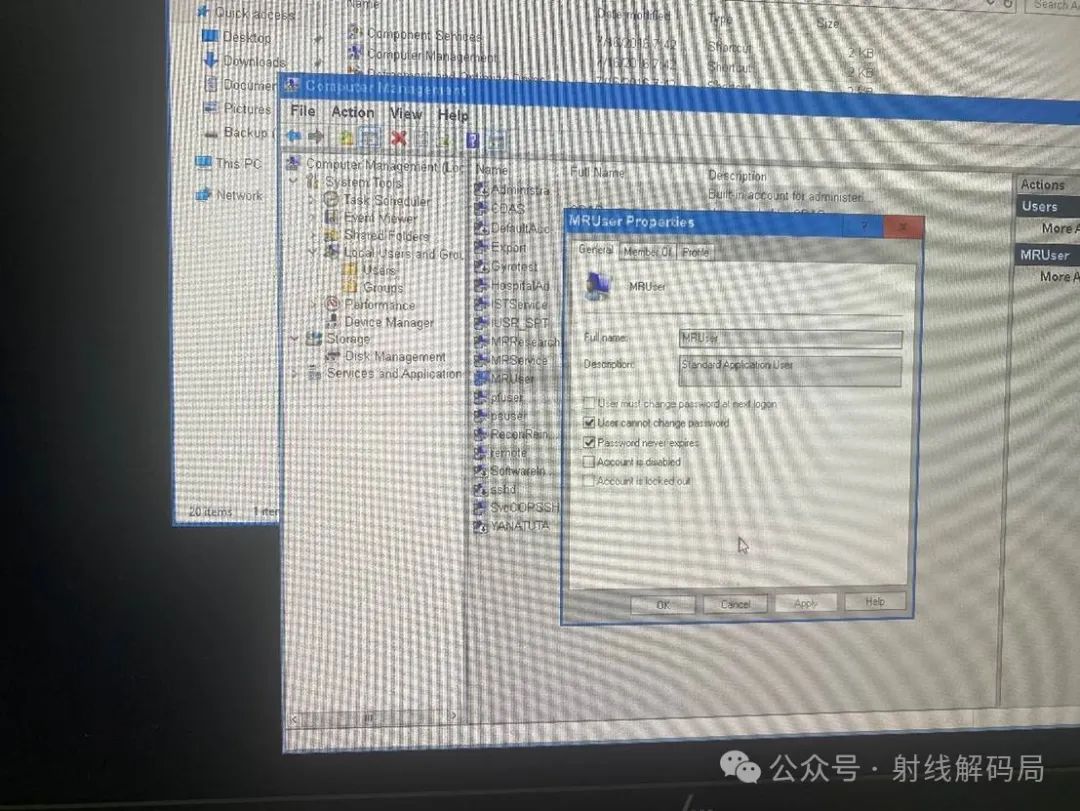
15.Then open the device manager, click on users and groups, click on users, modify the password for MRUser to be empty and save, and set the password for remote to manager and save and exit.
16.Check the Service Application, enter the settings interface, and check if the system configuration and Connectivity (DICOM information is inside) configuration information is consistent with the previous one, and check if the protocol information is normal.
17.The system software installation is complete, and the previous configuration has been restored.