Getting Started: Bare-Metal Programming on ARM Cortex-M Microcontrollers
Bare-metal programming typically refers to the process of writing programs to control hardware devices directly without an operating system. For embedded system developers, this is a fundamental and important skill. Today, I will guide you through how to implement bare-metal programming on ARM Cortex-M series microcontrollers. Starting from setting up the development environment, to understanding basic input and output operations, and mastering interrupt handling, we will delve deeper step by step.
Setting Up the Development Environment
Setting up a suitable development environment for bare-metal programming is the primary task, with the most critical components being the compiler, linker, and debugger. For ARM Cortex-M series microcontrollers, we typically choose ARM Keil MDK, IAR Embedded Workbench, or the free and open-source GCC ARM toolchain.
Choosing the GCC ARM Toolchain
Considering the advantages of being open-source and free, we will choose the GCC ARM toolchain as our development tool. The installation steps are as follows:
-
1. Visit the official website to download the toolchain version suitable for your operating system.
-
2. Unzip the downloaded file and add its path to the system environment variables to ensure that commands from the toolchain can be invoked from any directory.
Next, choose an IDE or text editor that suits you for writing code; Visual Studio Code is a good choice as it supports adding ARM development support through extensions.

Basic Input and Output Operations
A basic requirement for writing bare-metal programs is the ability to perform input and output operations. This usually involves reading and writing operations on the GPIO (General Purpose Input/Output) ports of the microcontroller.
Controlling an LED
A classic example is controlling the blinking of an LED on the microcontroller through programming. For most ARM Cortex-M microcontrollers, implementing this functionality requires the following steps:
-
1. Initialize the GPIO port, including setting specific pins as output mode.
-
2. Cycle the LED on and off, typically by setting and clearing the GPIO pin levels.
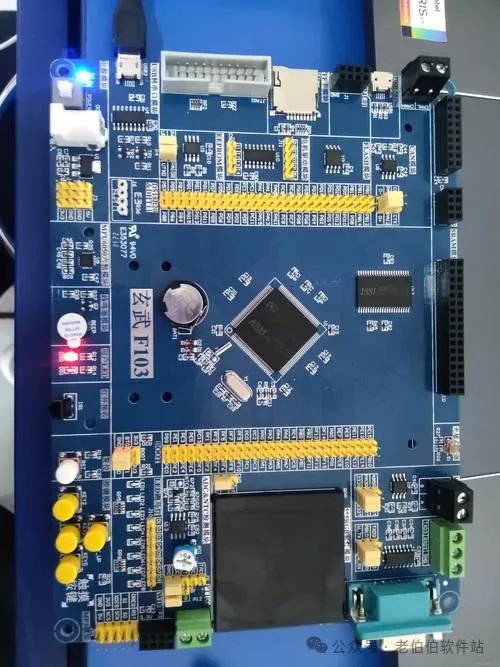
Taking the STM32F103C8T6 microcontroller as an example, here is a code snippet to implement LED blinking:
#include "stm32f10x.h"
void delay(unsigned int time) {    while(time--);}
int main(void) {    GPIO_InitTypeDef GPIO_InitStructure;
    RCC_APB2PeriphClockCmd(RCC_APB2Periph_GPIOC, ENABLE);
    GPIO_InitStructure.GPIO_Pin = GPIO_Pin_13;    GPIO_InitStructure.GPIO_Mode = GPIO_Mode_Out_PP;    GPIO_InitStructure.GPIO_Speed = GPIO_Speed_50MHz;    GPIO_Init(GPIOC, &GPIO_InitStructure);        while (1) {        GPIO_SetBits(GPIOC, GPIO_Pin_13);        delay(500000);        GPIO_ResetBits(GPIOC, GPIO_Pin_13);        delay(500000);    }}
This code first initializes pin 13 of GPIOC as push-pull output mode, then enters an infinite loop where it controls the LED’s state using the GPIO_SetBits and GPIO_ResetBits functions, with the delay function used to adjust the blinking frequency.
Interrupt Handling
Interrupts are an indispensable part of bare-metal programming, allowing the microcontroller to pause the current task to handle more urgent tasks when specific events occur. ARM Cortex-M series microcontrollers have a flexible interrupt and exception handling mechanism.
Implementing a Button Interrupt
As an example of implementing a simple button interrupt, when an external button is pressed, the microcontroller’s interrupt service routine is called to perform specific actions, such as toggling the LED state.
First, you need to configure the button pin as an external interrupt input and set the interrupt priority and enable the interrupt. Then, write an Interrupt Service Routine (ISR) to handle the interrupt event.
#include "stm32f10x.h"
void EXTI0_IRQHandler(void) {    if (EXTI_GetITStatus(EXTI_Line0) != RESET) {        GPIOC->ODR ^= GPIO_Pin_13; // Toggle LED        EXTI_ClearITPendingBit(EXTI_Line0);    }}
int main(void) {    // Initialization code omitted
    // Configure EXTI Line0 interrupt    EXTI_InitTypeDef EXTI_InitStructure;    EXTI_InitStructure.EXTI_Line = EXTI_Line0;    EXTI_InitStructure.EXTI_Mode = EXTI_Mode_Interrupt;    EXTI_InitStructure.EXTI_Trigger = EXTI_Trigger_Falling; // Falling edge trigger    EXTI_InitStructure.EXTI_LineCmd = ENABLE;    EXTI_Init(&EXTI_InitStructure);
    // Enable interrupts and configure priority omitted
    while (1) {        // Main loop code    }}
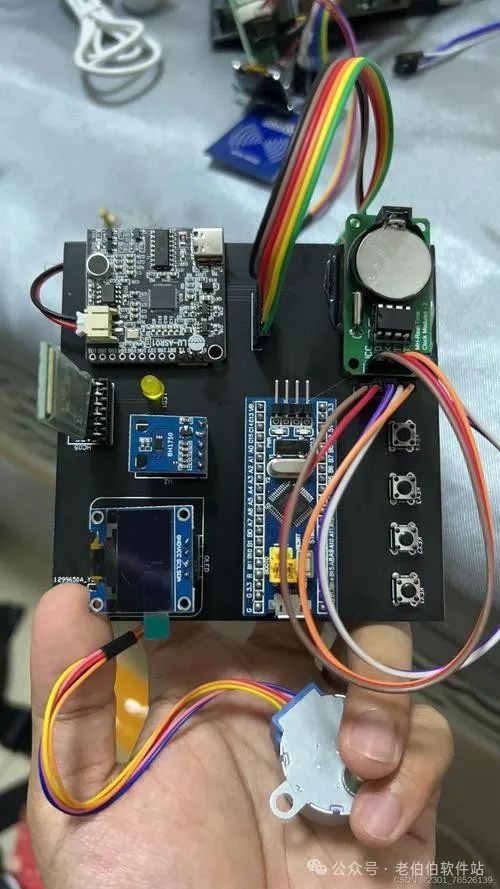
When the external button is connected to EXTI Line0 and pressed (assuming configured for falling edge trigger), EXTI0_IRQHandler will be automatically called, executing the code to toggle the LED state.
Through the above introduction, you have understood the basic steps and key techniques for bare-metal programming on ARM Cortex-M microcontrollers. This is just the tip of the iceberg; the world of microcontroller programming is vast and profound, covering low-level hardware operations, efficient algorithm implementations, and even real-time operating systems.
Recommended Courses
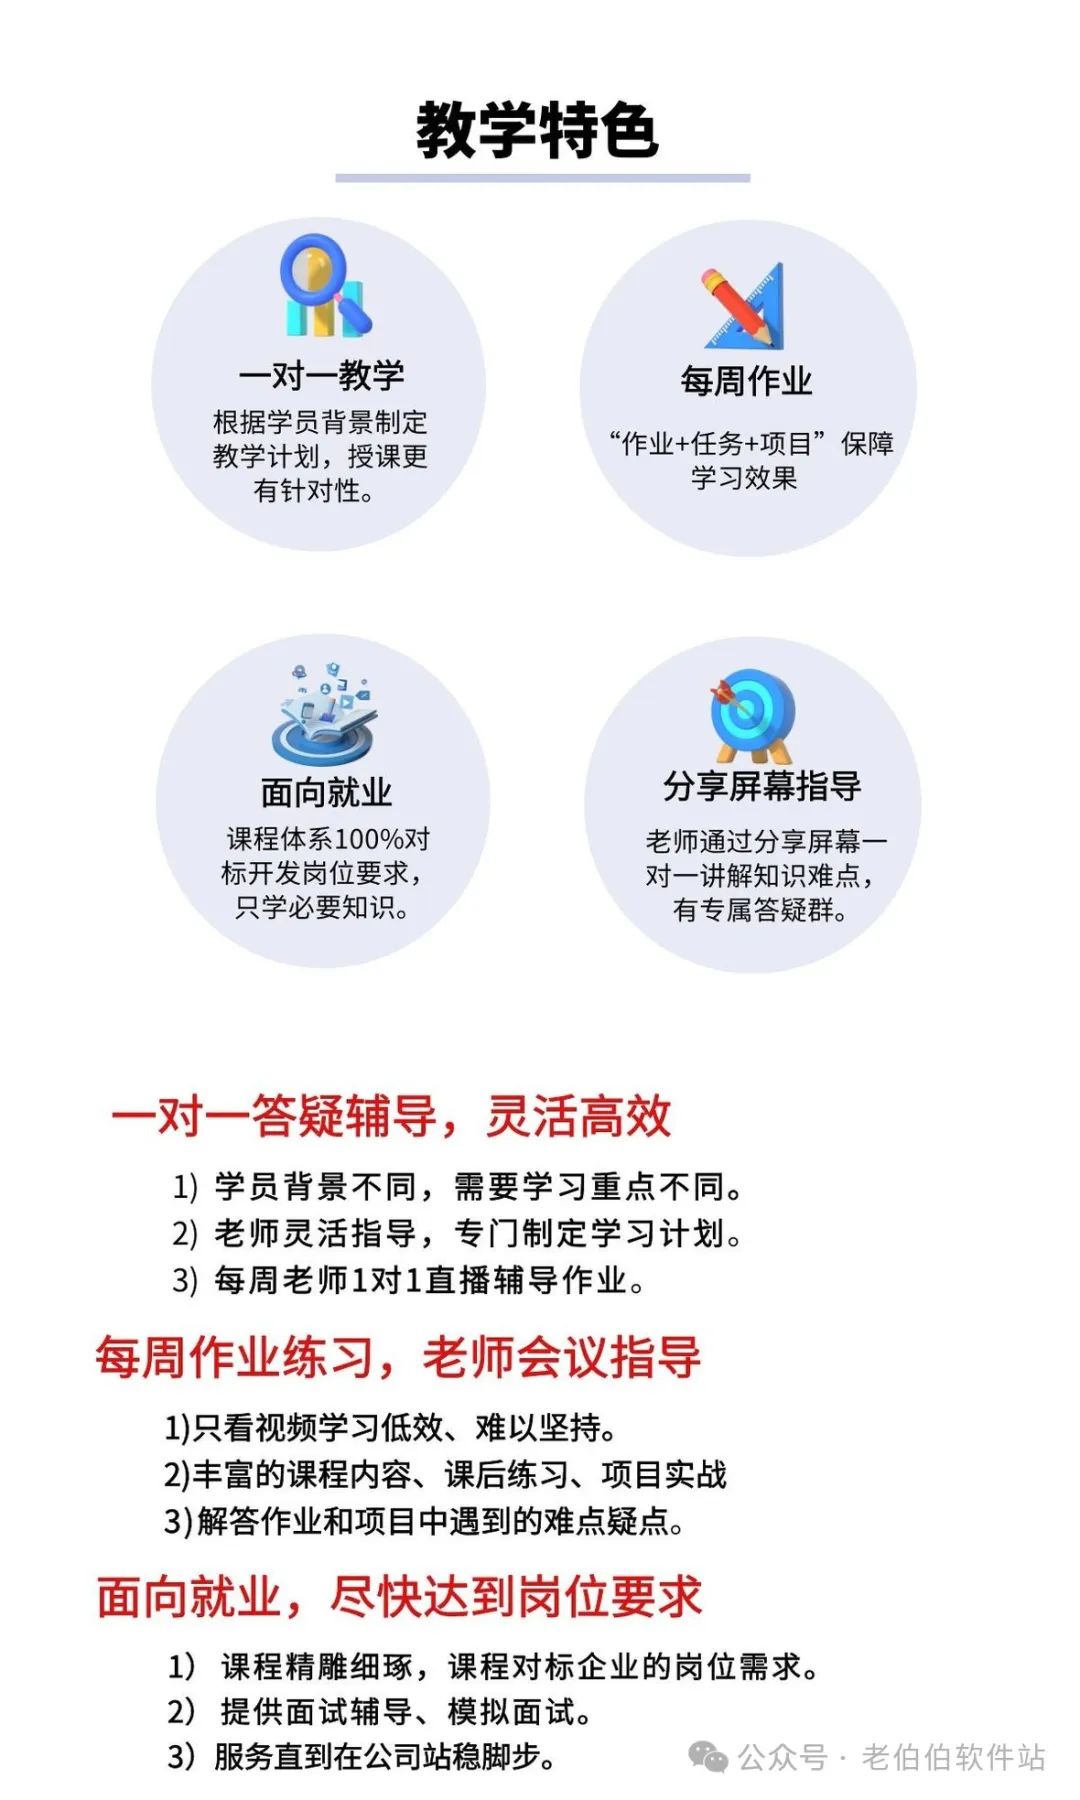
At the end of this article, I would like to recommend an excellent embedded development tutoring team. They provide C++/Linux/STM32/ARM development, driver development, application development, and a series of one-on-one meeting tutoring services for embedded development. Whether you are a beginner in the embedded field or looking to improve your professional skills, they can provide personalized teaching plans to help you achieve your goals from beginner to employment.
Their services include but are not limited to:
-
• One-on-one tutoring from several master’s degree engineers
-
• Pay by stage, pay as you learn
-
• Personalized teaching, weekly assignments, job-oriented
-
• From beginner to employment, classes via Tencent Meeting
-
• Project guidance, resume guidance, mock interviews
Reference Teaching Outline:
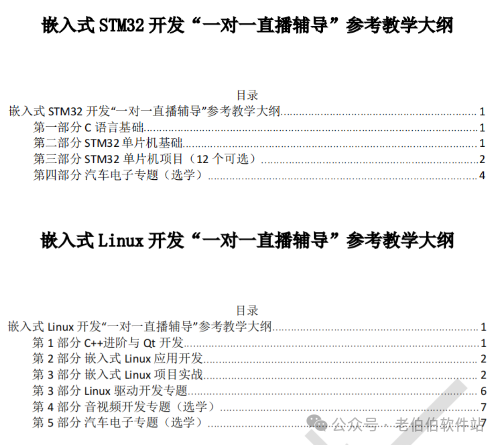
If you are interested, you can learn more information through the image below and add WeChat to get the complete teaching outline. When adding, please note: Uncle's public account, and fans of this public account can enjoyexclusive discounts<span> (consult customer service)</span>.
If you like my content, please give a thumbs up and follow, see you next time!