Install the ESP-IDF Plugin
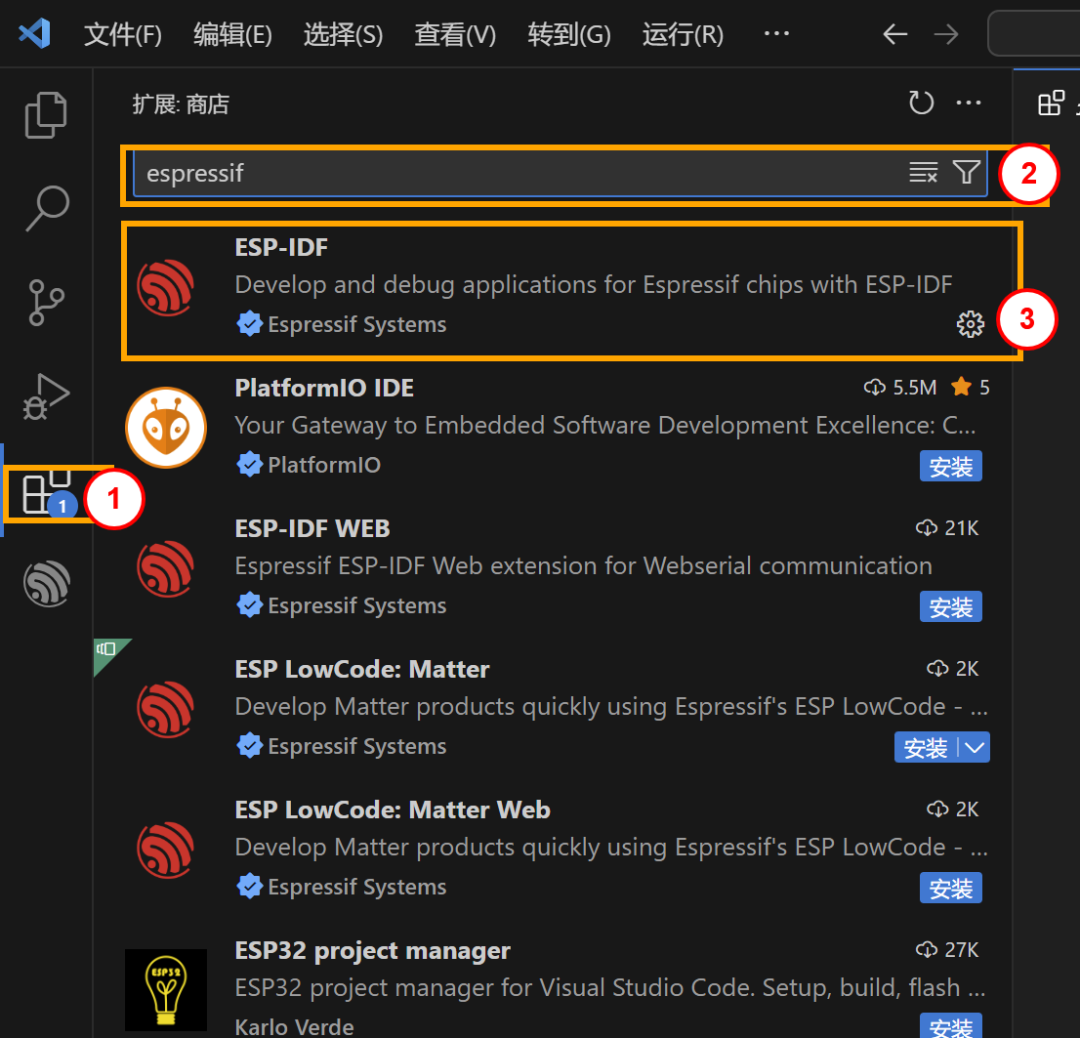
Press the shortcut key ctrl+shift+p
Type <span>esp-idf extension</span> and press Enter  select ESP-IDF: Configure ESP-IDF Extension
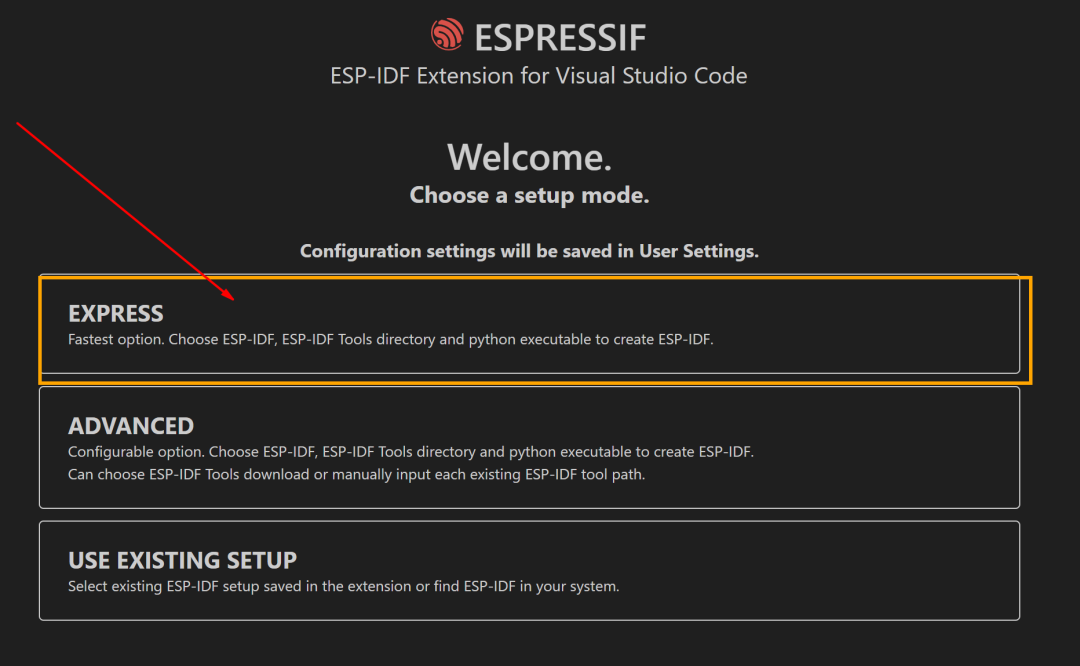
Wait for the configuration to complete in the bottom right corner
Then click express
Select the version starting with v (choose a stable version) 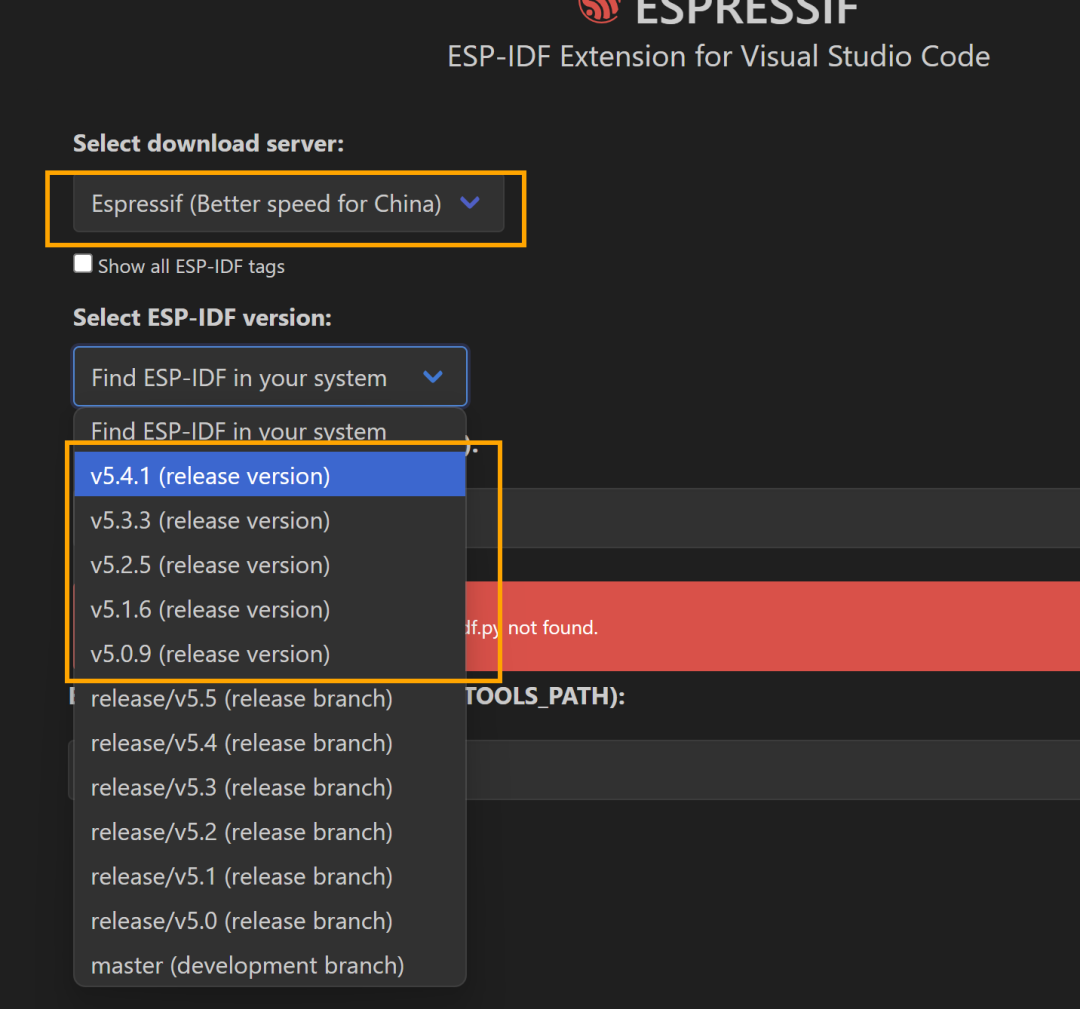
Select the path to store the ESP-IDF source code and the toolchain path

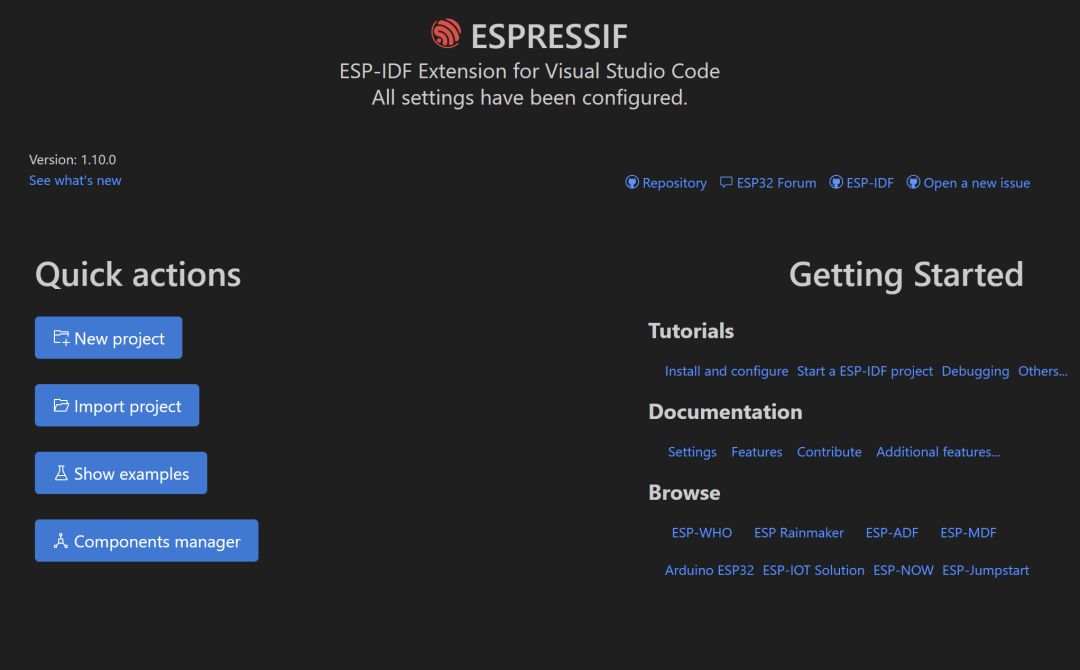
Install (the installation process will take 15-20 minutes) 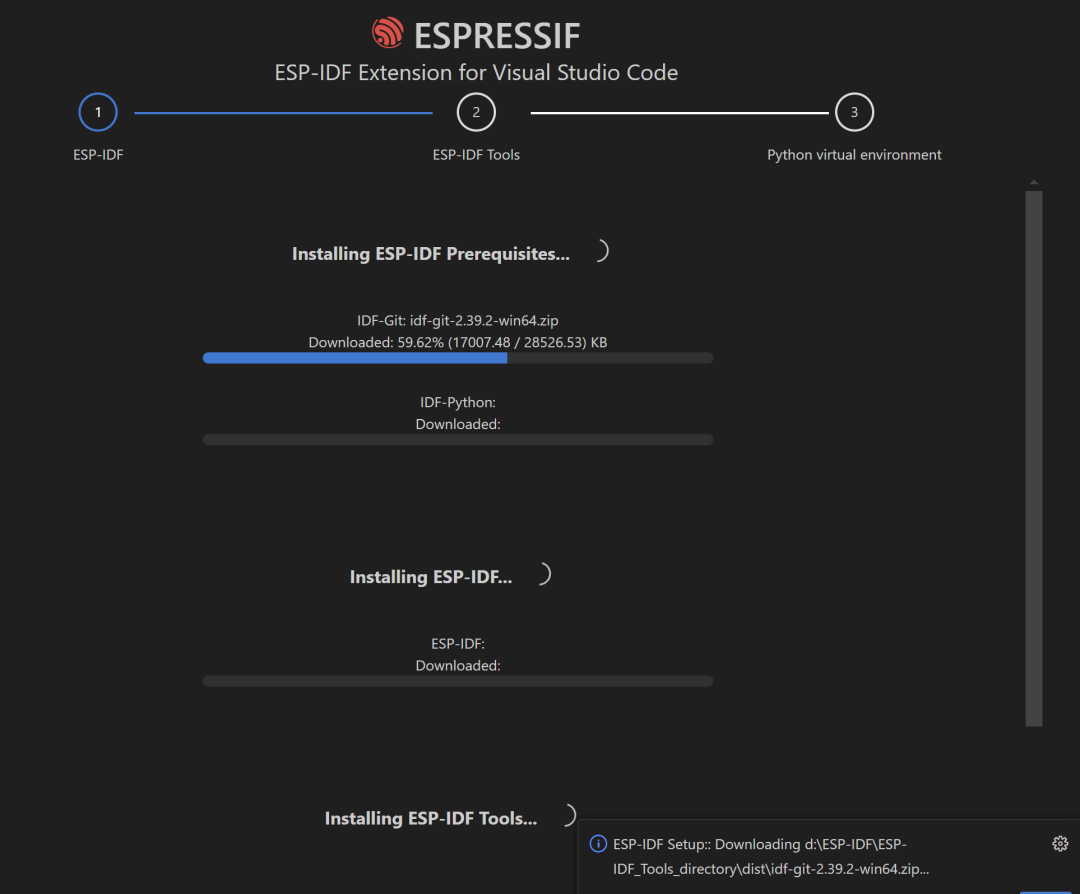 the following interface indicates that the development environment has been successfully set up
We can open an example to test it
CTRL+shift+p to open the command line
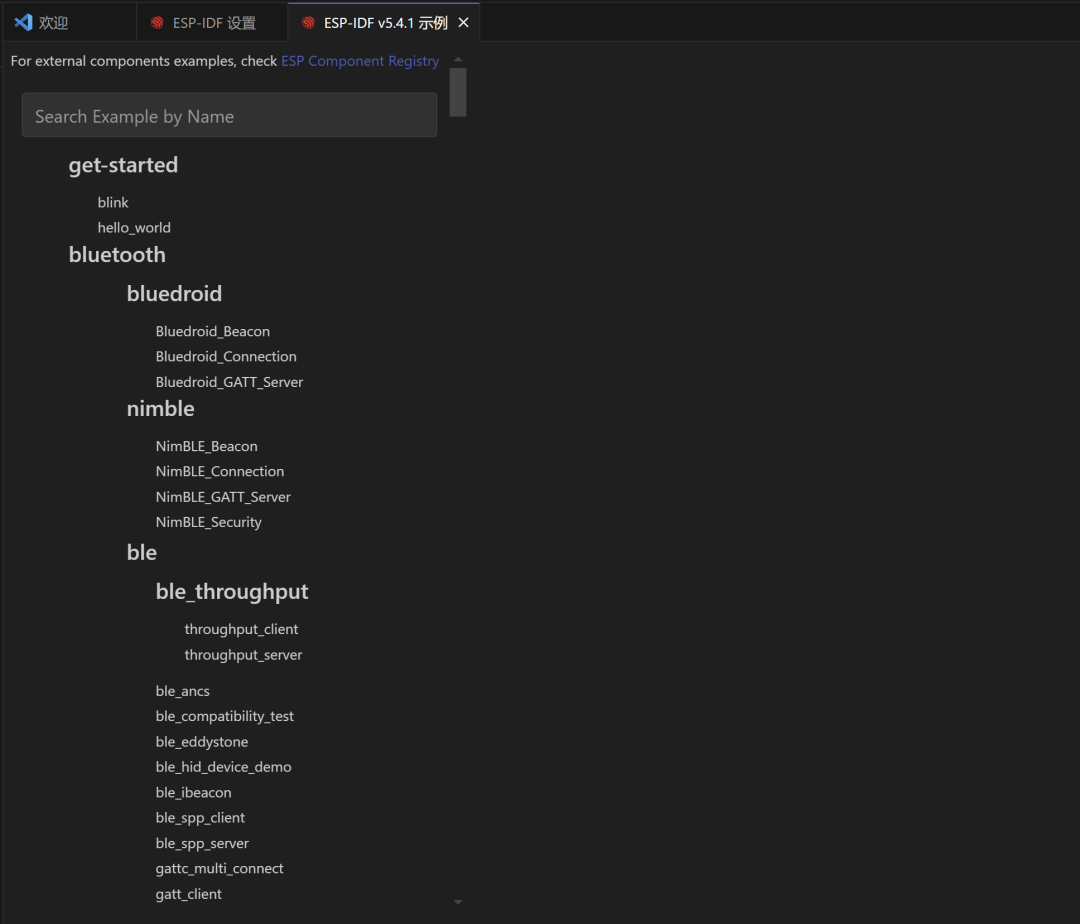
Type <span>esp-idf:show examples projects</span>
Click on the ESP-IDF we want to use
Select the “hello_world” project in the left sidebar
Then click “Select location for creating hello_world project”
 then configure it

❝
1. Built-in USB-JTAG Debugging
Applicable Scenario: No external hardware required, debugging directly through the USB interface of the development board
Configuration File: board/esp32c3-builtin.cfg
Note: Ensure that ESP-IDF version ≥4.4 and the USB driver is correctly installed
❝
- ESP-PROG Debugger
- Hardware Requirement: External ESP-PROG debugger (FTDI chip solution)
- Configuration File: board/esp32c3-ftdi.cfg
- Wiring Suggestion: TXD -> GPIO1 RXD -> GPIO2 ️ The debugger needs to be powered separately (3.3V)
❝
- ESP-PROG-2 Bridge Mode
- Upgrade Solution: Supports USB to dual serial port bridge chip
- Configuration File: board/esp32c3-bridge.cfg -> Advantage: Supports simultaneous programming and debugging
- Example Debug Command:
openocd -f board/esp32c3-bridge.cfg -c "program_esp filename.bin 0x10000 verify exit"
Compile and then flash