DIY Installing Automatic Control Front Door Light

For beautification, safety, and convenience, most homeowners in the U.S., especially those far from public lighting, choose to illuminate the lights in front of their doors and garages after dark. However, this brings about a problem, particularly for someone like me who often forgets things: I frequently forget to turn on the lights or forget to turn them off during the day. To solve this problem, I purchased this automatic control timer switch:
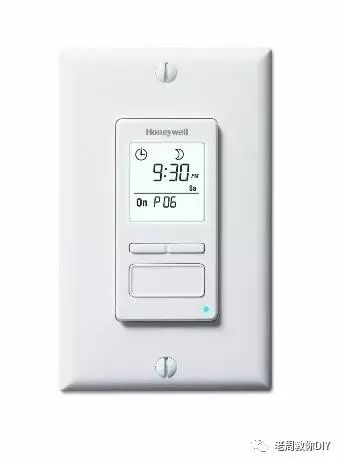
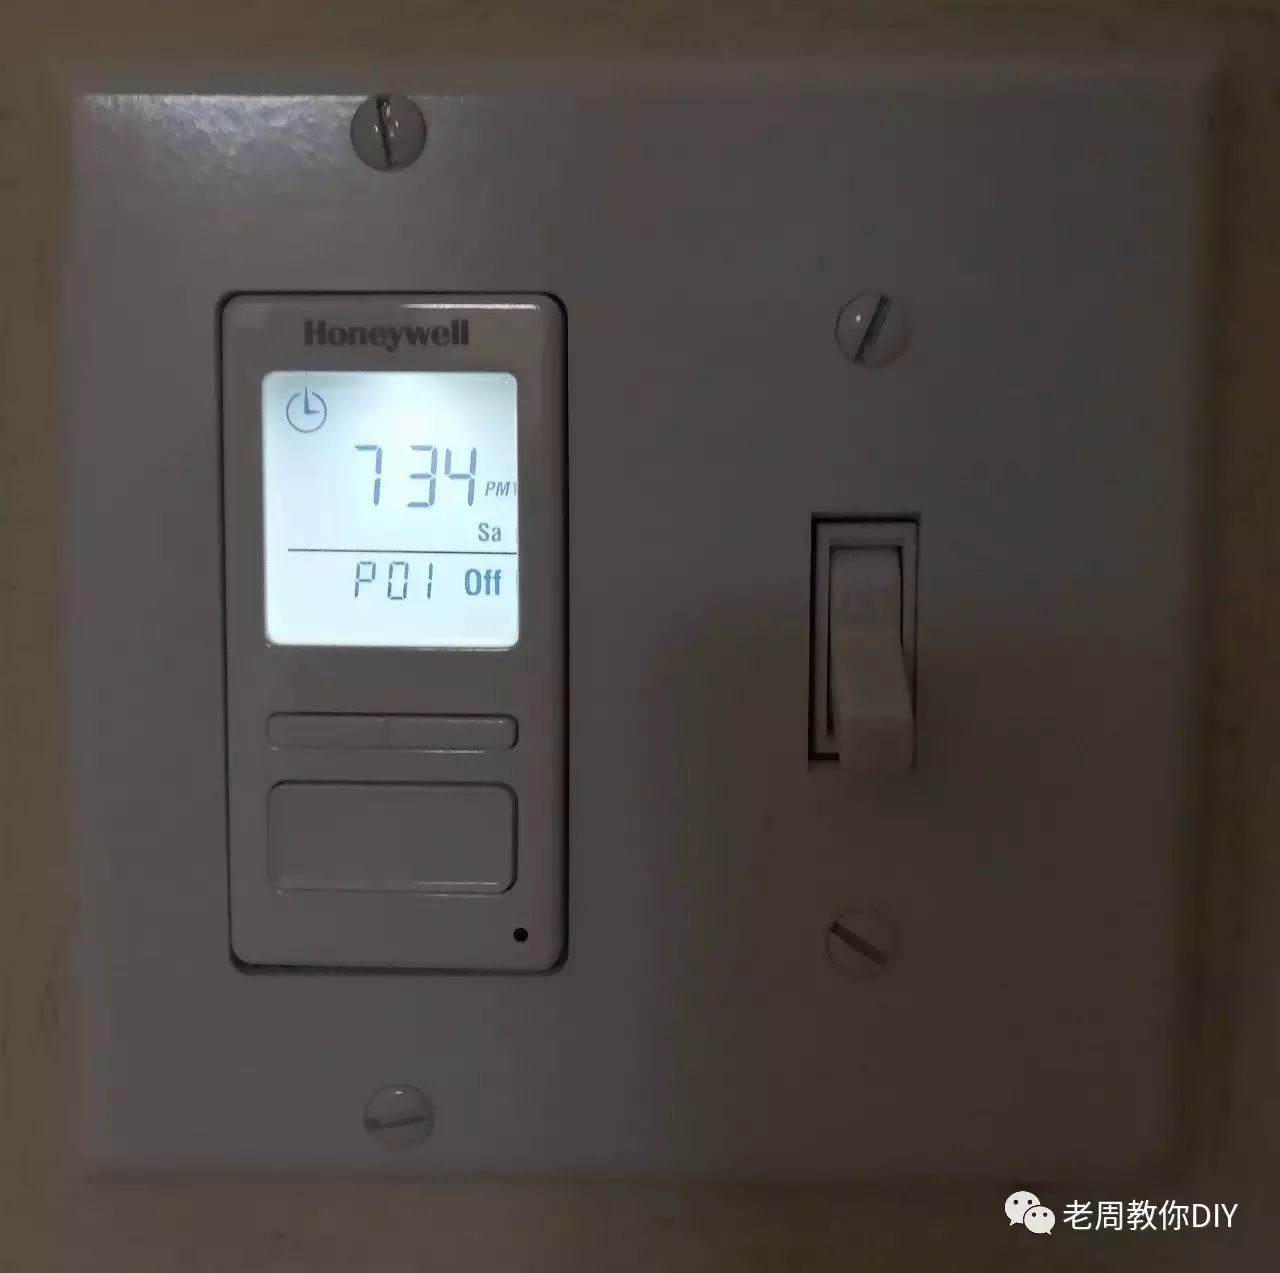
This timer switch can be freely set to turn on and off at specific times, and it can also run different control programs on different dates. Additionally, this switch can automatically determine the sunrise and sunset times based on its latitude and longitude, thereby controlling the lights automatically.
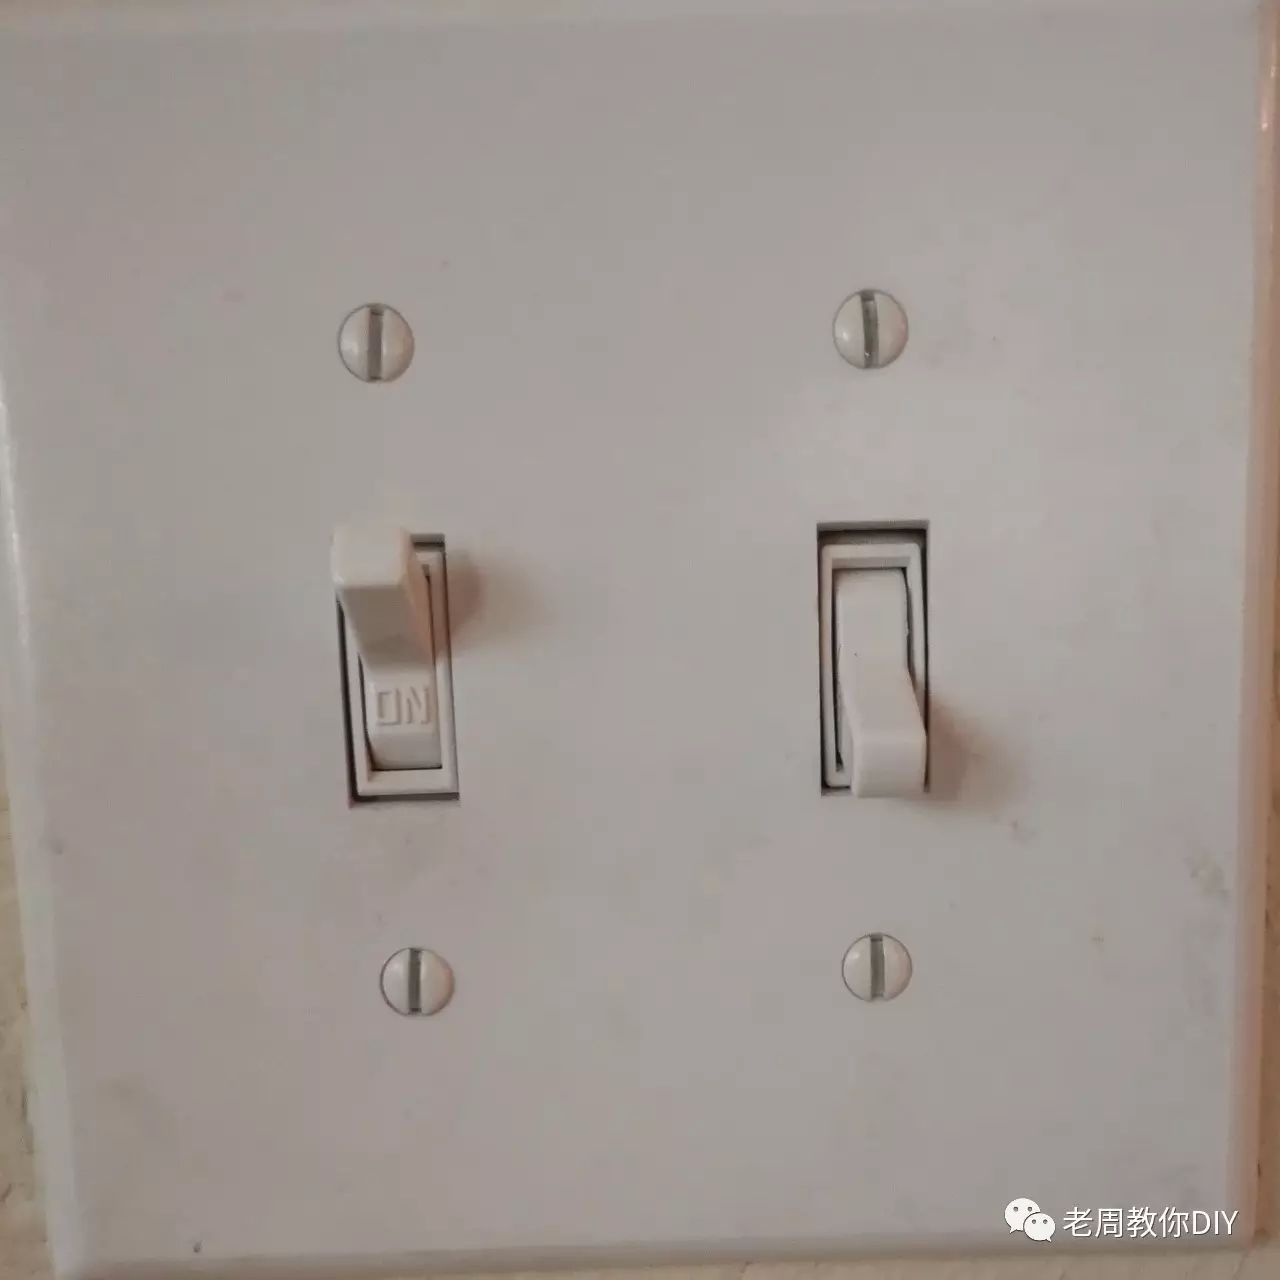
However, for most homes, the original switch looks like this:
After removing the cover, it looks like this:
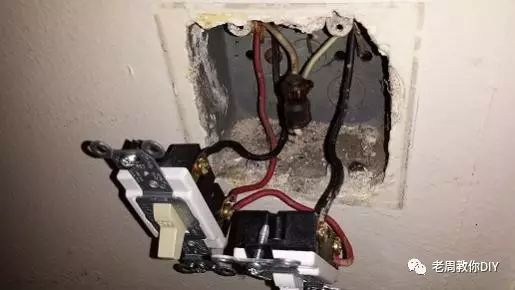
The wiring looks relatively simple, with one live wire and one neutral wire. If you don’t have a multimeter or a voltage tester on hand, just take a piece of paper and pencil to sketch a diagram or simply take a picture. Then you can connect it to the programmable switch accordingly. After everything is connected, it looks like this:
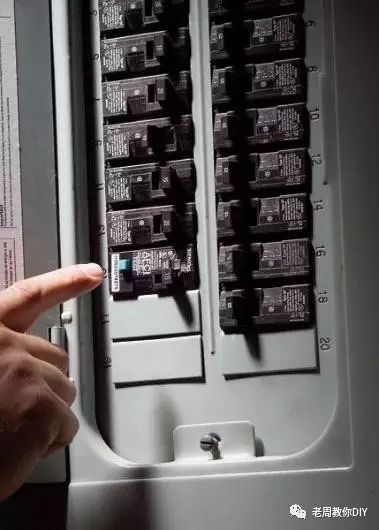
Of course, the most important point is to ensure that the power is turned off before disassembling the switch. Locate your distribution control panel, usually found in the garage, disconnect the corresponding power line, and confirm with a voltage tester or multimeter that there is no power before starting work to avoid electric shock.