Little Smart AI has been quite popular recently, and the short videos about it online have garnered a lot of attention. Essentially, it is a DIY project that combines the ESP32 series module, a digital amplifier, and a microphone module, enabling large model AI dialogue.Thus, I got the urge to create a board based on the ESP32-S3, integrating all the essential components of Little Smart and exposing all the pins. This time, the goal remains to serve as a tool for technology courses in primary and secondary schools, rather than creating a “more powerful voice assistant”.The aim is to develop a more versatile control board with experimental expansion capabilities, which essentially means exposing all the pins for easy connection to external sensors and actuators, along with adding a motor driver and charge/discharge module.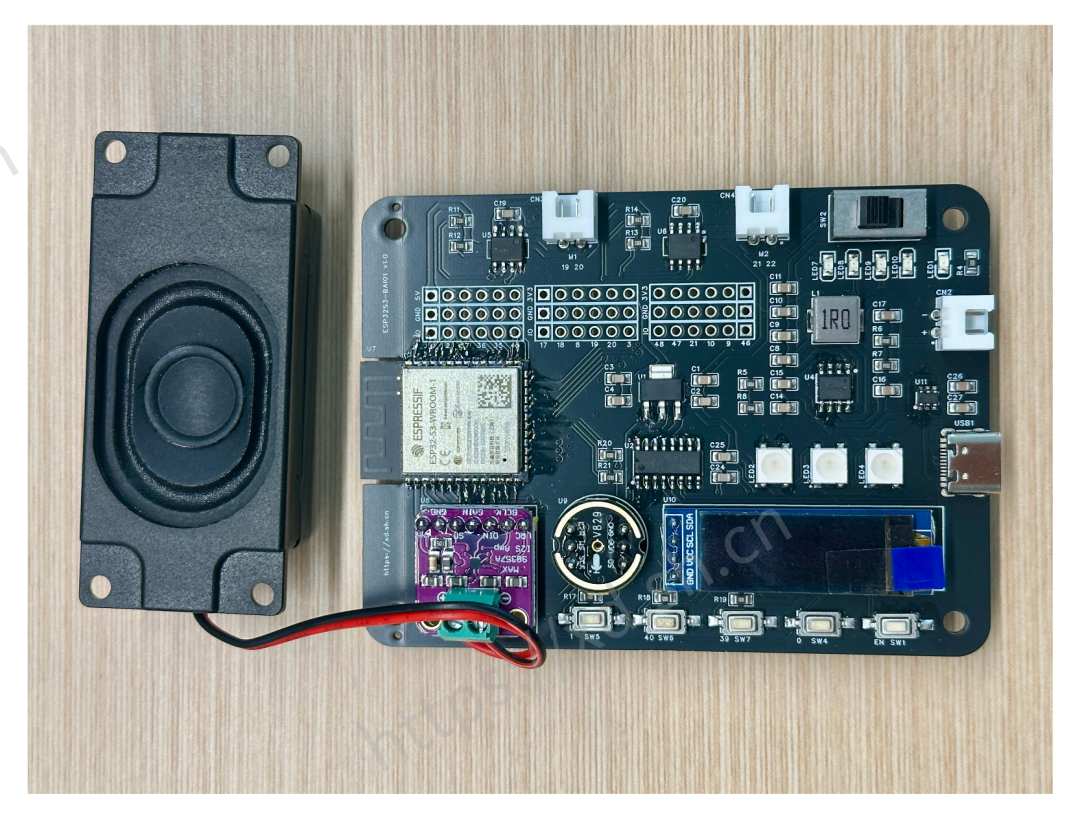 I previously made a similar board using the ESP32-C3 module, producing a small batch of 100 pieces, which are almost all used up, with the remaining ones kept as souvenirs.Most kits and products online are developed using ESP-IDF, while there are not many examples using Arduino. However, I will first test using the firmware of Little Smart AI, and later attempt to use the Arduino version for large model dialogue.Functionality DesignThis time, I have kept up with the times by using the mainstream configuration of Little Smart AI, the ESP32-S3 module (N16R8). Most online DIY kits consist of ready-made development boards, modules, and sensors, which can be used once assembled and the firmware is burned.If all the pins of the module can be exposed, then this board can not only engage in large model dialogue but also add various sensors and actuators for other experiments or small projects, serving as a regular development board. However, the overall cost of the board is relatively high (dog head).
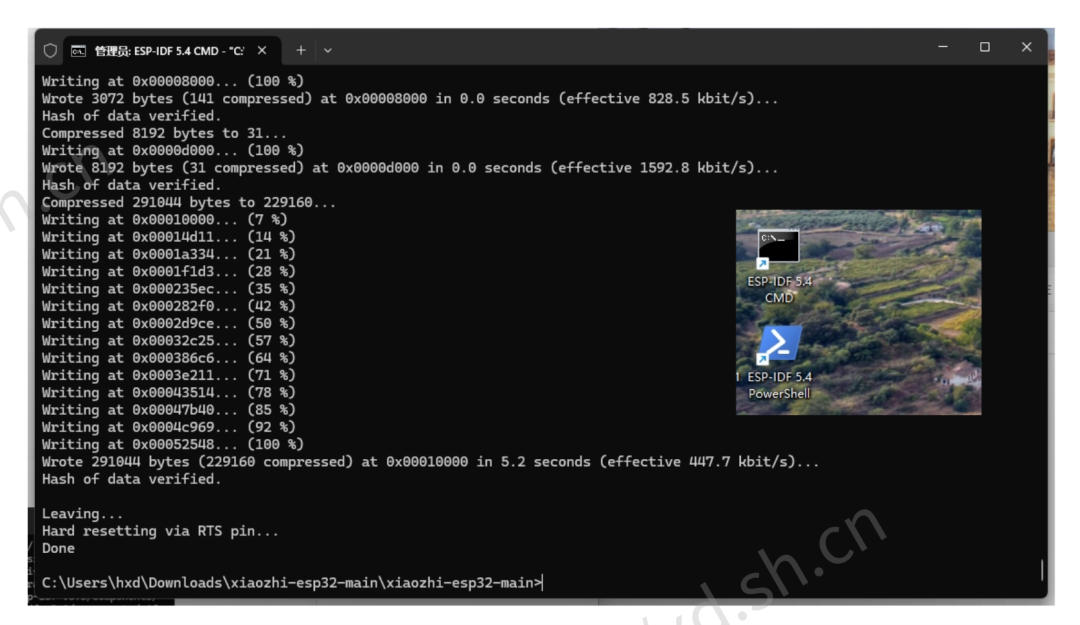 The board is compatible with three development methods: Arduino, ESP-IDF (as shown in the image above), and MicroPython, which is one of the advantages of using ESP32.
- Core Module: ESP32-S3-WROOM-1-N16R8, supports Wi-Fi + BLE, compatible with the default large model voice dialogue firmware of Little Smart.
- Pin Design: All available GPIOs are exposed as much as possible, supporting external sensors, servos, motors, and other common modules. Each GPIO is paired with a corresponding GND and 5V or 3.3V interface for easy connection.
- Voice Capability: Reserved space for the MAX98357A digital amplifier + microphone pickup module, retaining the ability to test AI voice functions.
- Charge/Discharge Management: Uses IP5306_CK for lithium battery charge/discharge management, supporting 5V 2A input.
- Display: Reserved space for an OLED screen, supporting status display or serving as an interactive interface.
- Actuators: Onboard L9110S motor driver chip, facilitating subsequent mechanical structure experiments (e.g., small cars).
Differences from Common Development Boards There are already various development boards or kits based on ESP32 available on the market, commonly used for DIY or AI voice attempts. This board has made the following adjustments:
- Versatility: In addition to voice dialogue, it exposes unused interfaces commonly used in teaching, such as input and output interfaces.
- Adapted for Teaching Use: All functional modules are concentrated on the front of the board, making it easier to observe, explain, and process in bulk (lower patch costs).
- Practical Project Consideration: It has certain execution capabilities (motor driver, charge/discharge module), making it closer to project production needs.
 I found a few minor drawbacks:
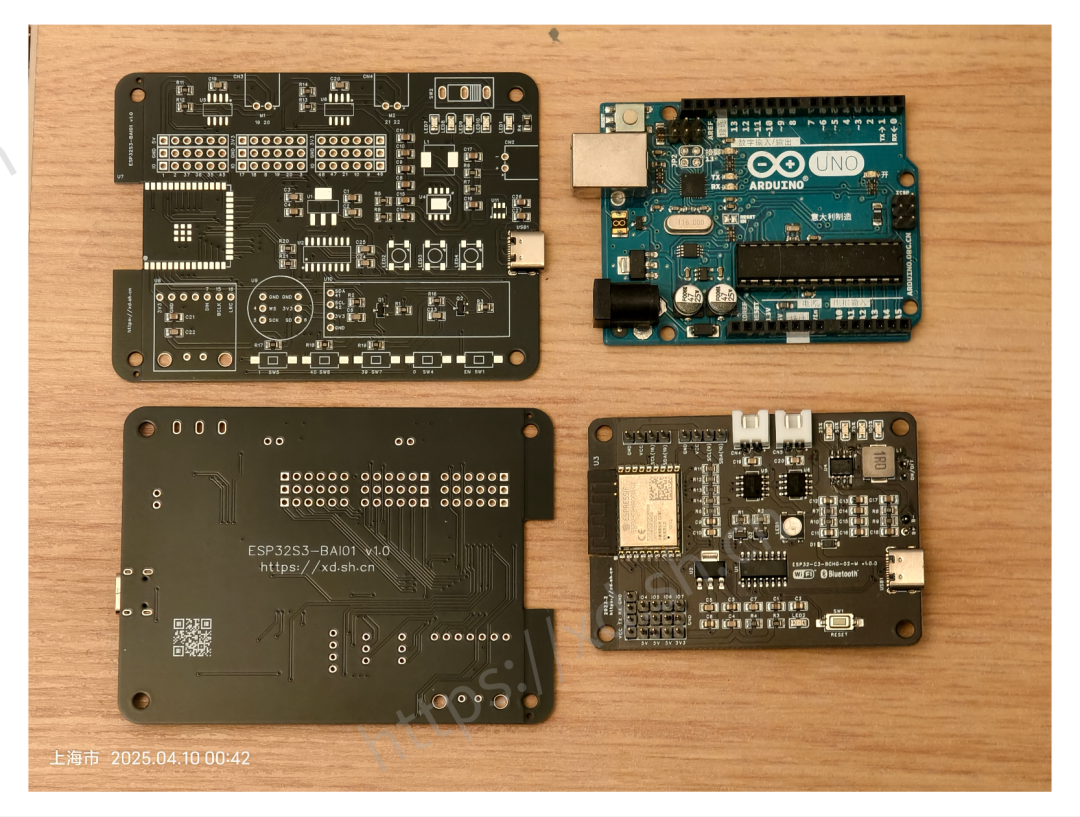
- The board is too large (as shown in the image above, compared to the previous development board based on the ESP32-C3 module and Arduino): To accommodate the digital amplifier, pickup module, OLED module, and charge/discharge, and to place all components on the front of the board (to reduce patch costs), the board appears particularly large overall.
- The charging indicator lights of the IP5306 were not drawn in the correct order (the order for the previous board with C3 was correct), but it does not affect usage.
- Due to the use of the charge/discharge protection chip LP5300B6F, the CC pin of the Type-C interface is not connected to a 5.1k resistor and grounded (pulled down). Therefore, when a fast charging head is inserted, the device cannot be recognized, which may output a voltage higher than 5V, triggering over-voltage protection, leading to power interruption, and the board cannot normally use fast charging power or charging other than 5V.
- After connecting the external speaker to the MAX98357A module, it emits a loud snow noise or howling sound. The cause has been identified; when soldering the ESP32-S3 module, the GND and some IO ports short-circuited (using the low-temperature solder paste + hot air gun for soldering, I was not very skilled the first time 🤣, so I applied a bit too much), and the schematic and wiring are fine.
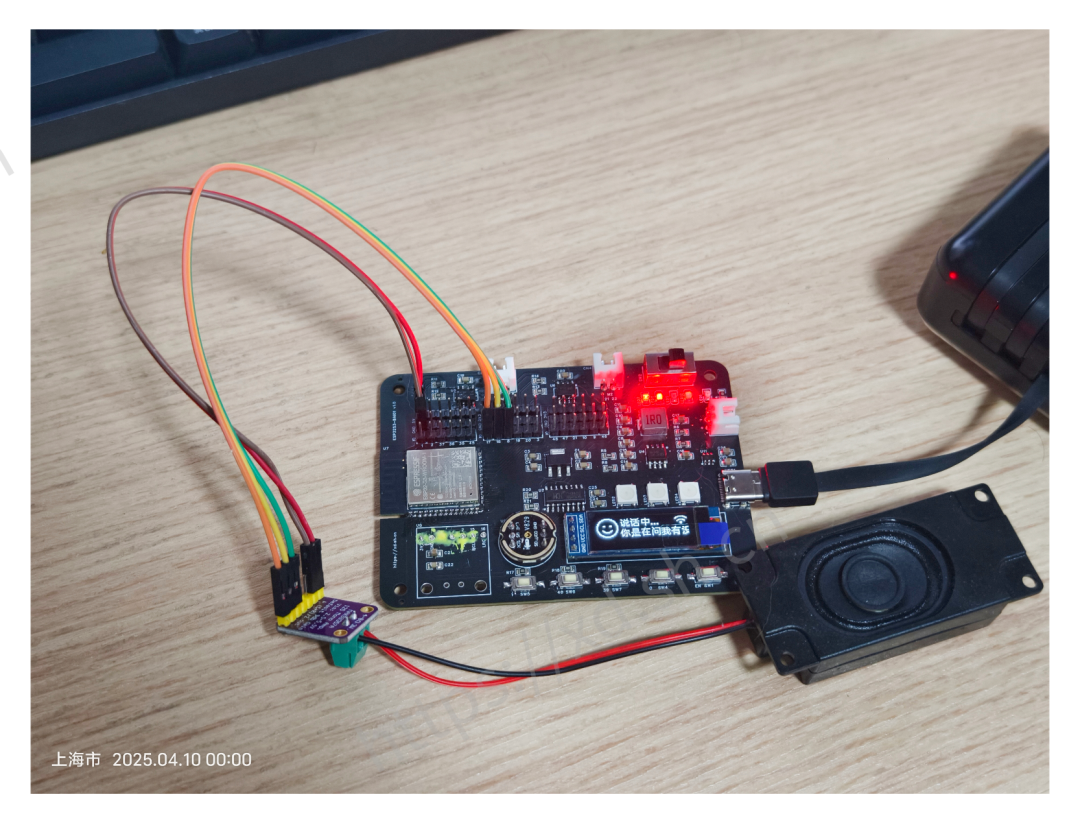 This is the first test board; changing the interface for the MAX98357A module will eliminate the snow noise and howling.
 This board does not attempt to replace any commercially available development boards or voice assistant products. It simply consolidates voice AI, embedded development, circuit experiments, and motor control into a relatively compact board, making it easier for teachers to organize teaching or for students to undertake small physics + information technology projects. There are several possible uses:
- Hardware teaching equipment in technology courses
- Core board for AI or physics expansion projects in project-based learning (PBL)
- Central control board for external control and data collection in physics experiment topics
- Development board used in student technology innovation competitions
Future PlansThe future plans are as follows (but this board may not be prototyped again):
- Optimize the stability and correctness of power management.
- Test the Arduino version of the sample code and development documentation. Output documentation materials, adapting to science and technology / physics courses.
- Pair with a basic sensor package to test general experimental projects (e.g., voice-controlled car, environmental monitoring station, etc.).