This article mainly explains the detailed installation guide for Rocky Linux, the alternative to CentOS.
Date: November 22, 2025
Author: Ren Congcong
Preparation Materials:
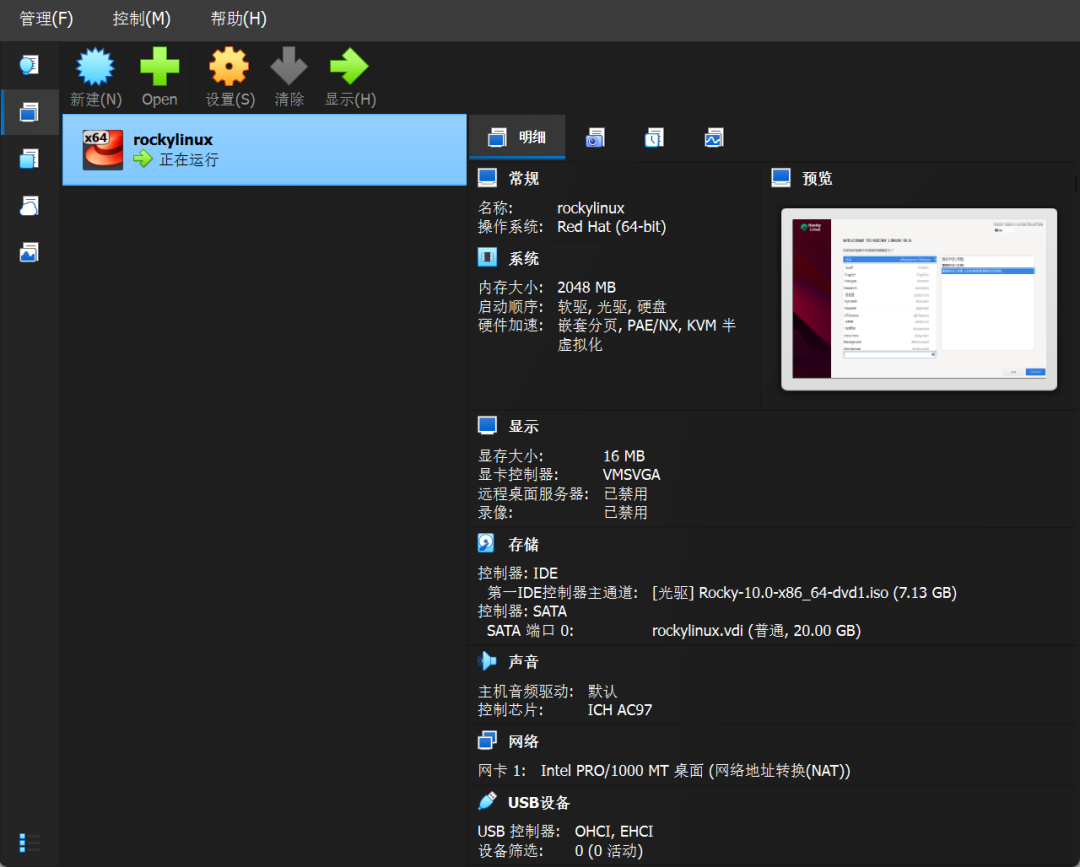
1. VirtualBox https://www.virtualbox.org/
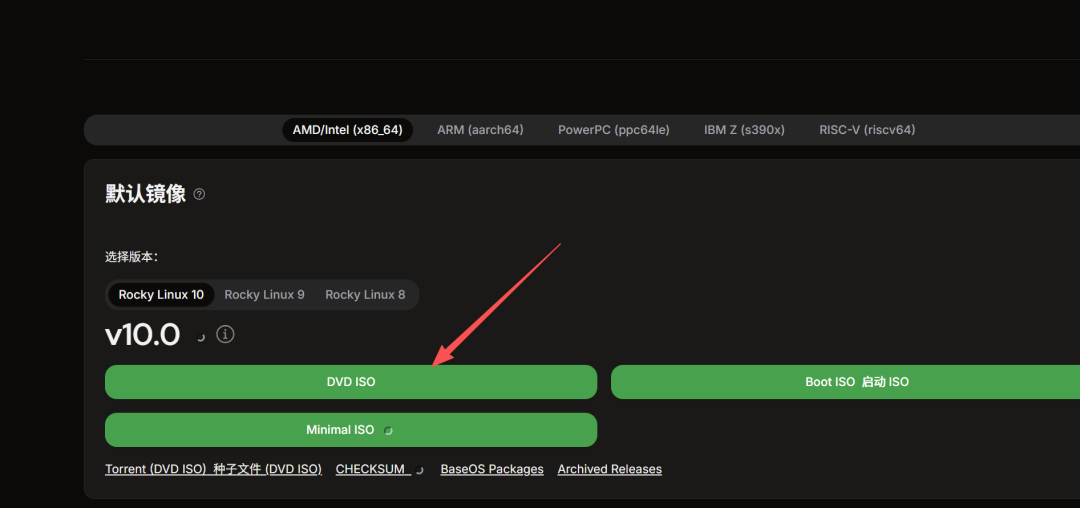
2. Rocky Linux Complete Image https://rockylinux.org/en/
Create a Virtual Machine to Install Rocky Linux
Step 1: Click to create with the configuration information as follows
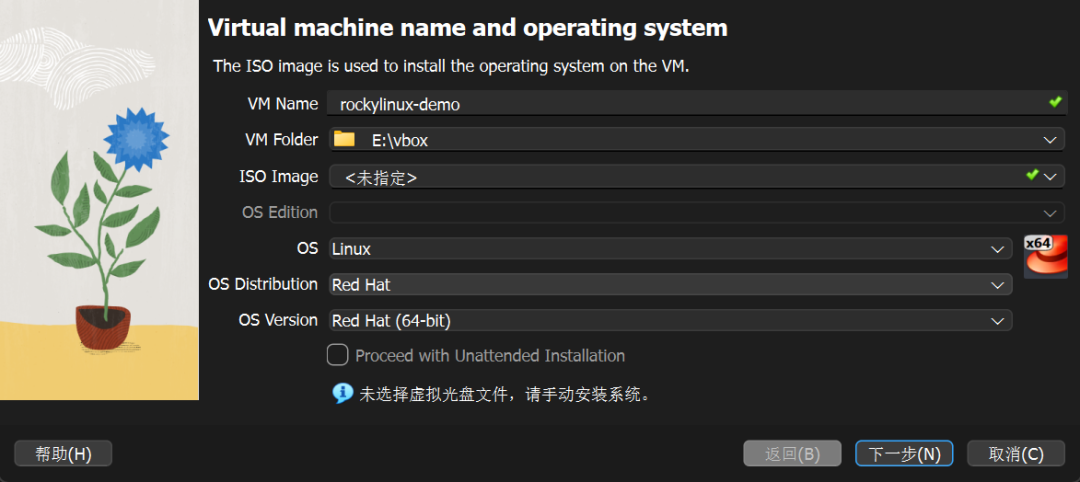
Note: You can proceed to the next step as needed, and continue until the startup is complete.
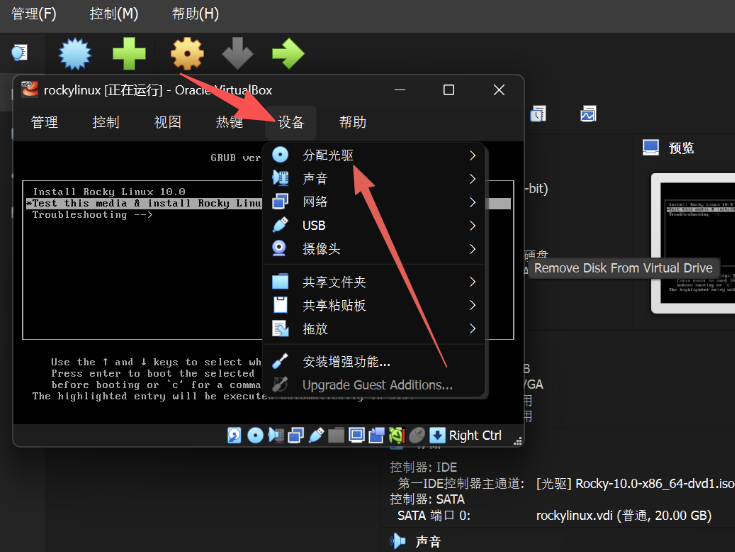
Step 2: Start the virtual machine, click on Devices, select to mount the ISO, and enter the following interface:
Step 3: Select Install, and enter the installation wizard interface as shown below:
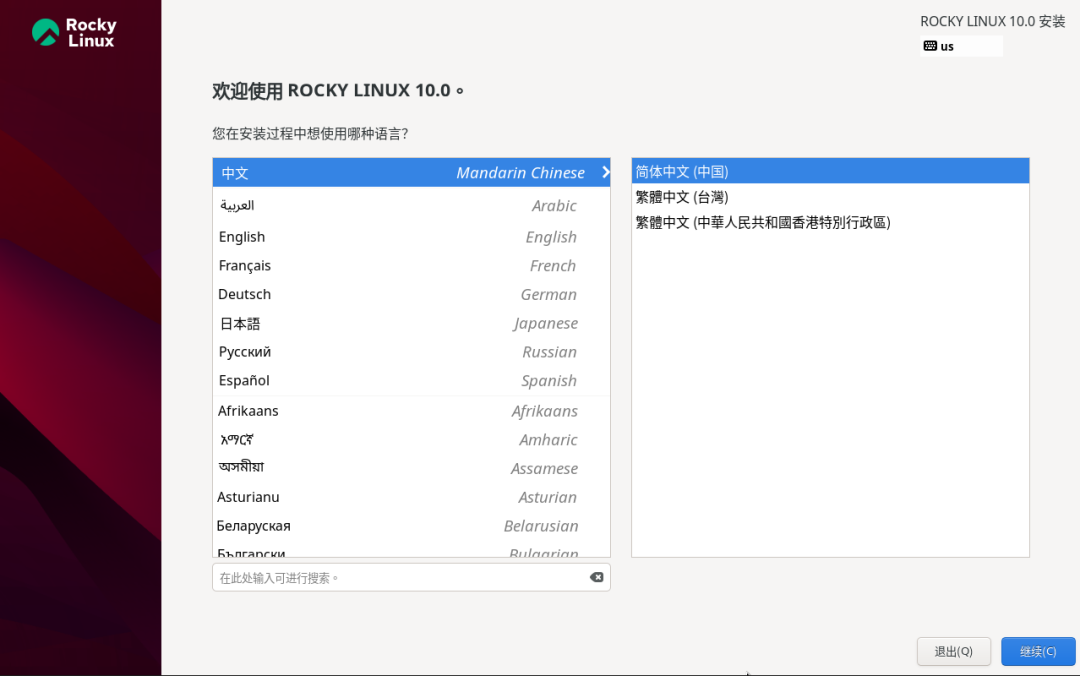
Note: Here we choose Simplified Chinese.
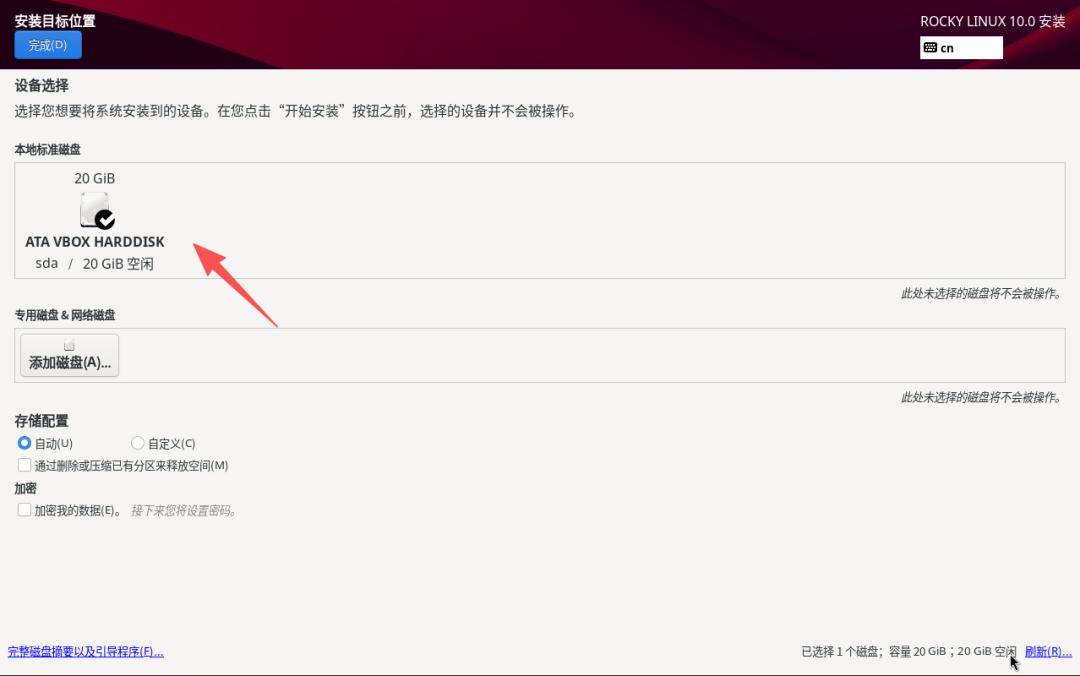
Step 4: Configure System Options
Configure the disk, just select directly.
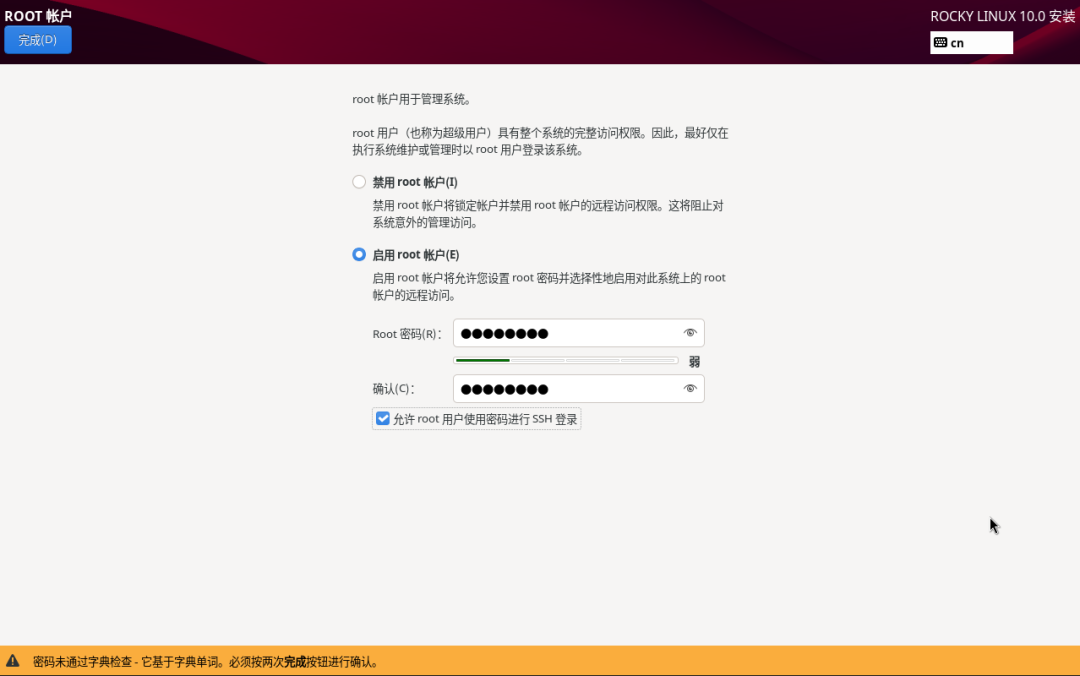
Enable the root account password, and make sure to enable SSH login
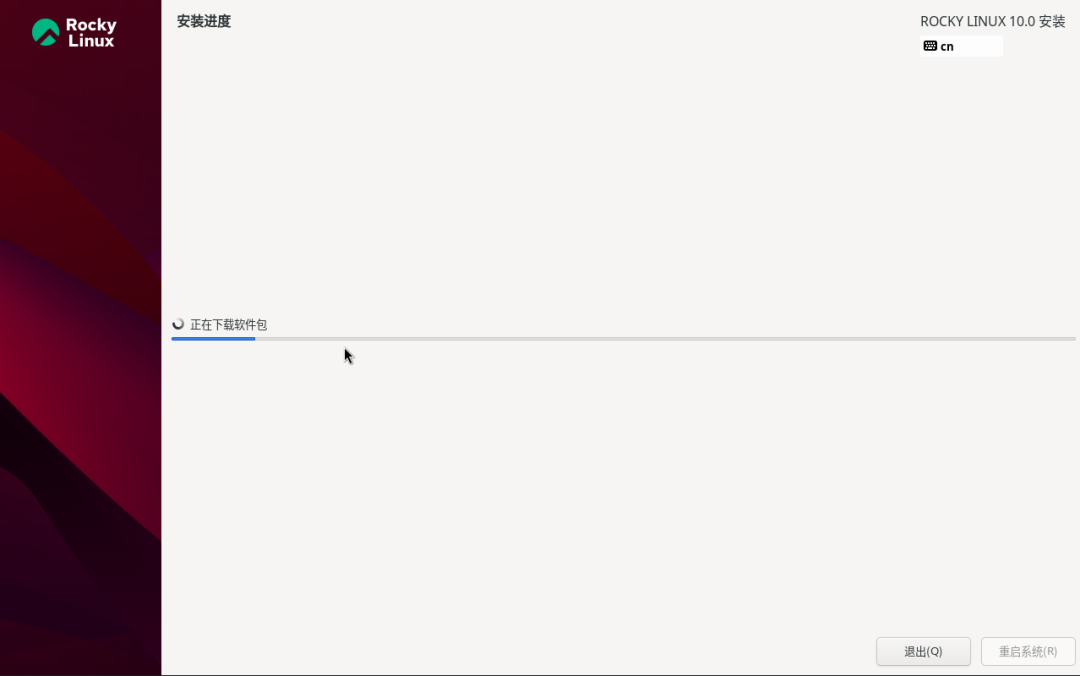
Step 5: After configuration is complete, click to start installation
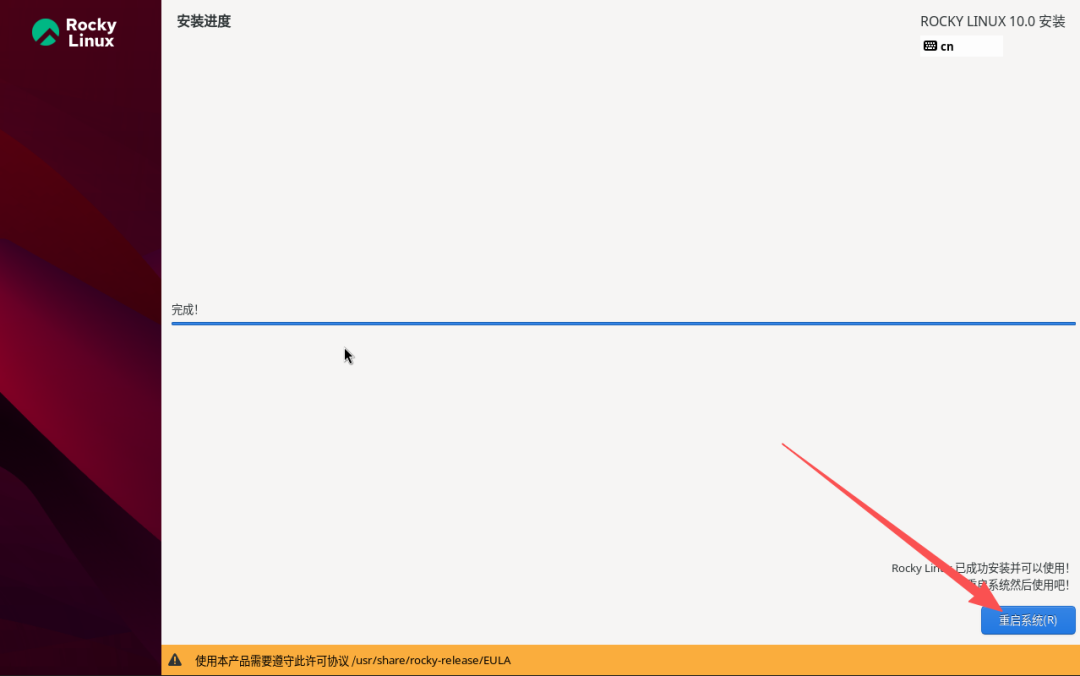
Note: Enter the installation progress as shown below, and wait for the installation to complete.
After installation, use the shell tool to connect and install the Baota panel
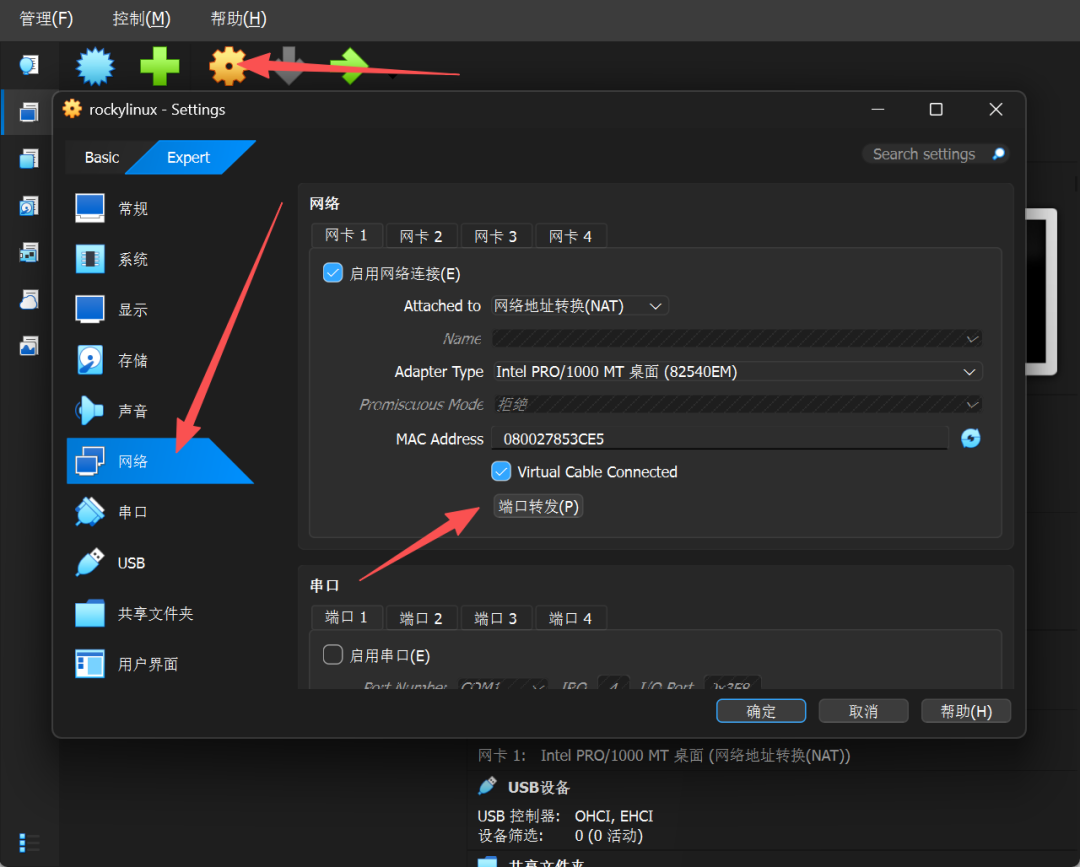
Step 1: Set the Virtual Machine Network Configuration
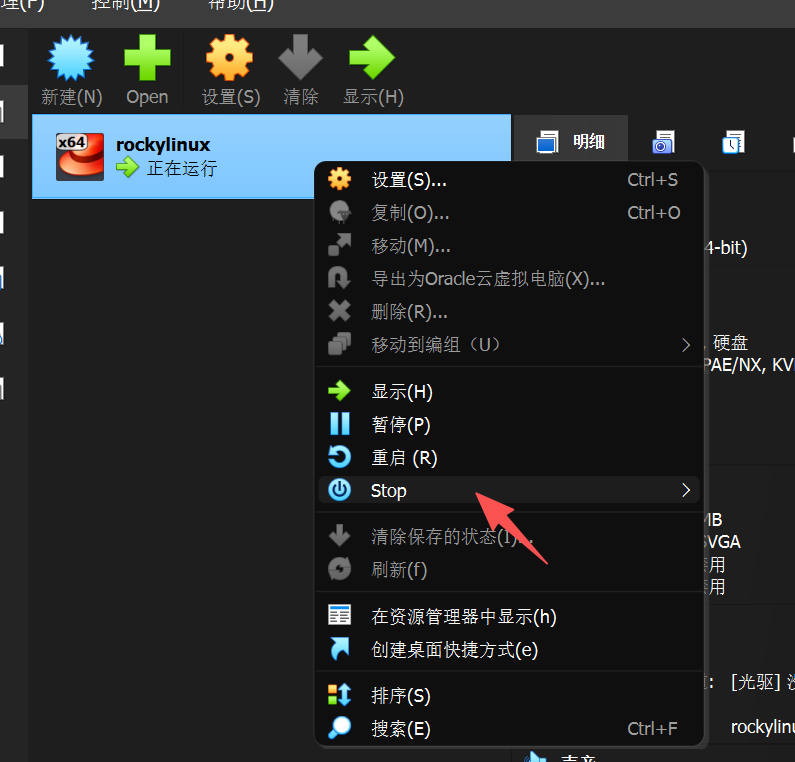
Click Restart to check if it is installed correctly. If there are no issues, shut down the host as shown below:
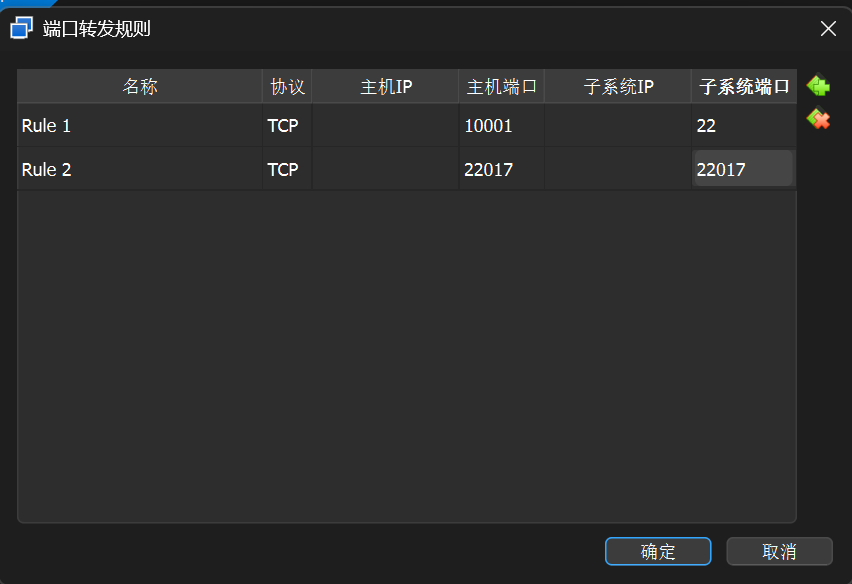
After shutting down, go to the network settings of this virtual machine and set up port forwarding as shown below:
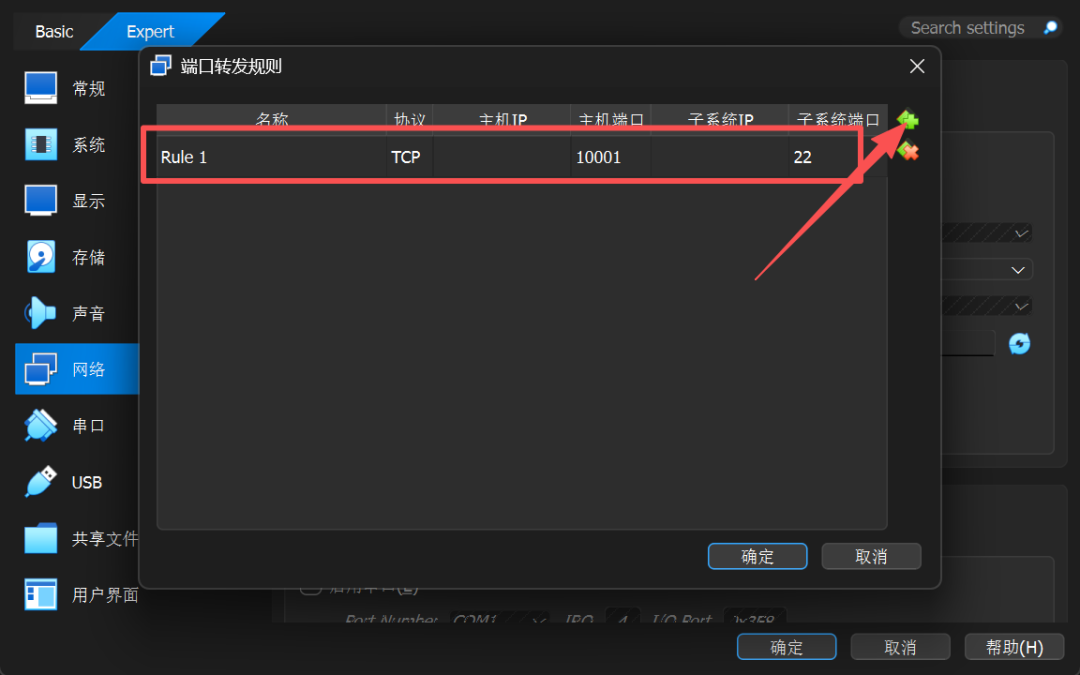
Configuration information as shown below, set up port forwarding, and connect directly using your local machine:
Step 2: Connect to Rocky Linux via shell tool, fill in the configuration as follows
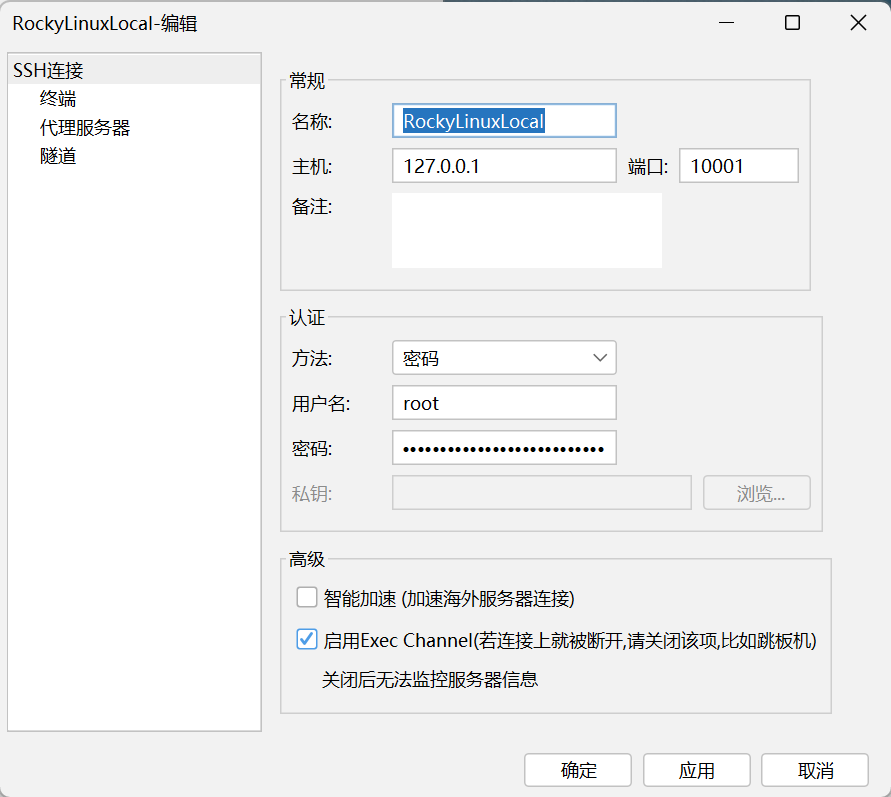
After connecting, start the installation of the Baota panel
Step 3: Install the Baota Panel
Open the Baota panel official website as shown below:
Address: https://www.bt.cn/new/index.html
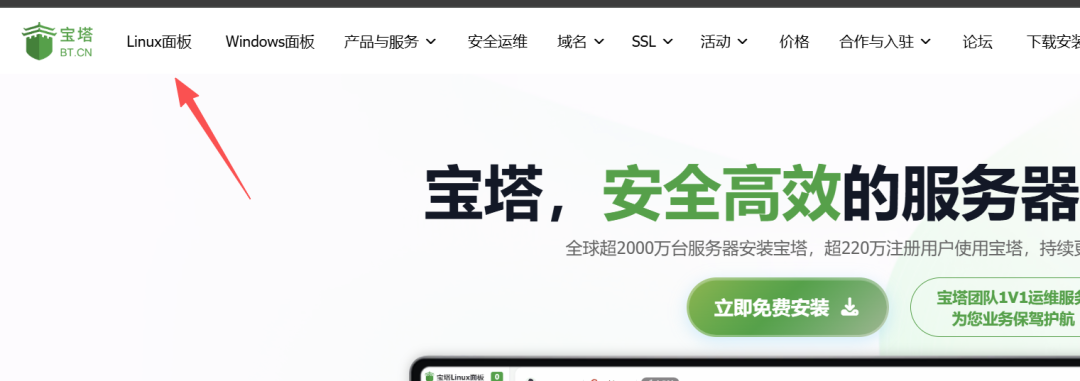
Enter the Linux panel, find the automatic installation script as shown below:
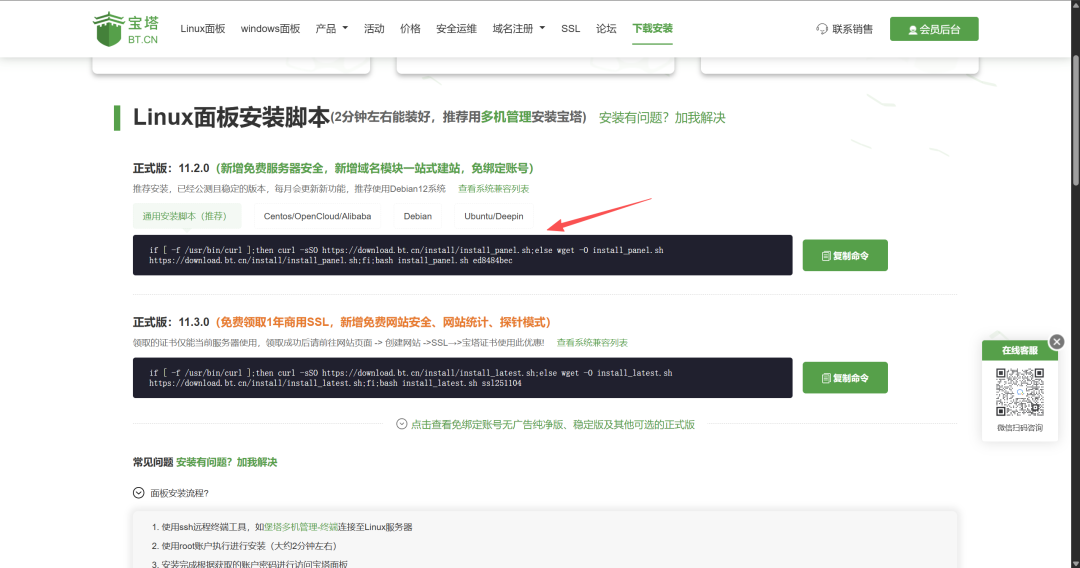
Copy the command and execute it, filling in the custom information as needed.
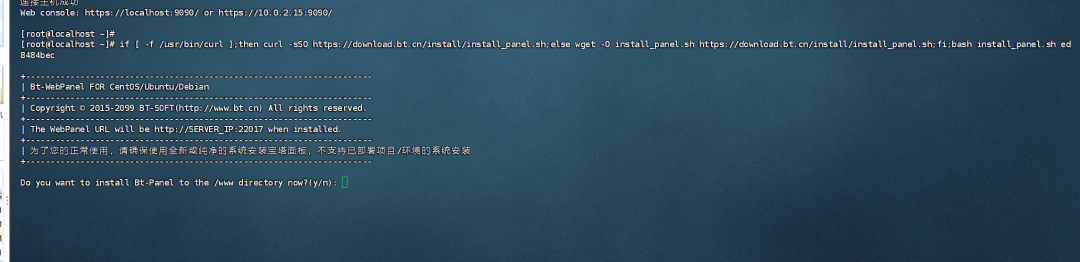
Note: If the network is not connected to the external network, please set the virtual machine network configuration as follows:
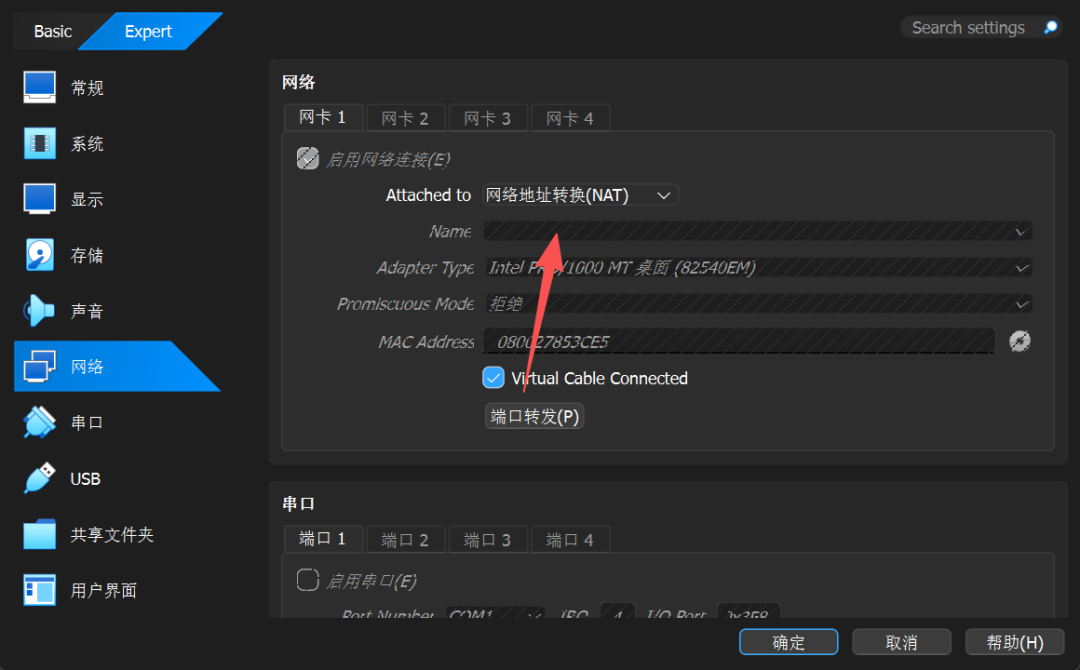
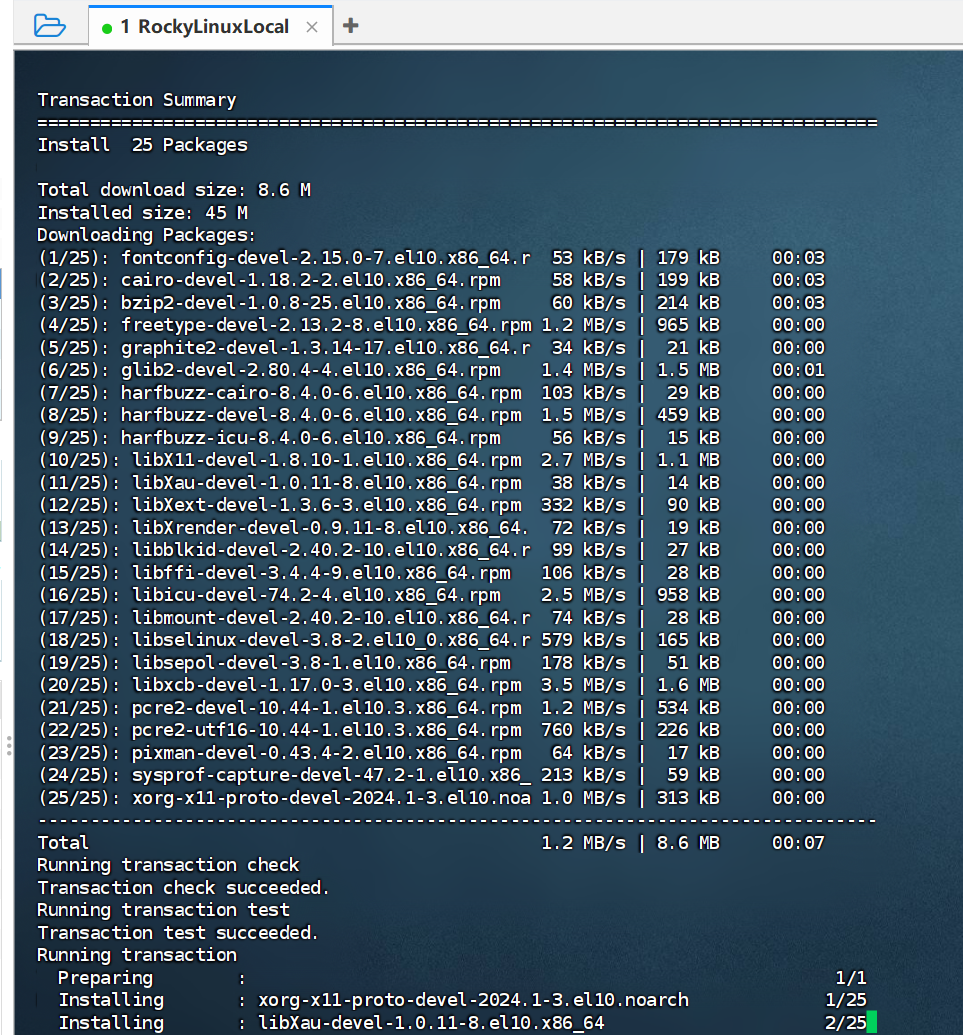
Be patient and wait for the installation to complete:
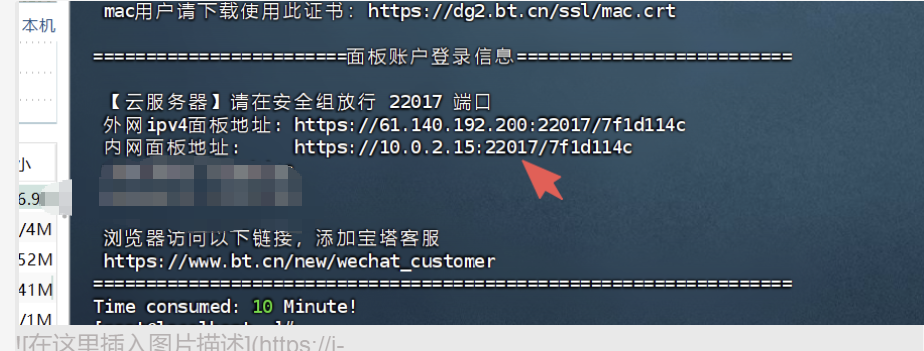
Installation complete, re-forward the target port.
Set the virtual machine network, port forwarding
The browser access result is as follows:
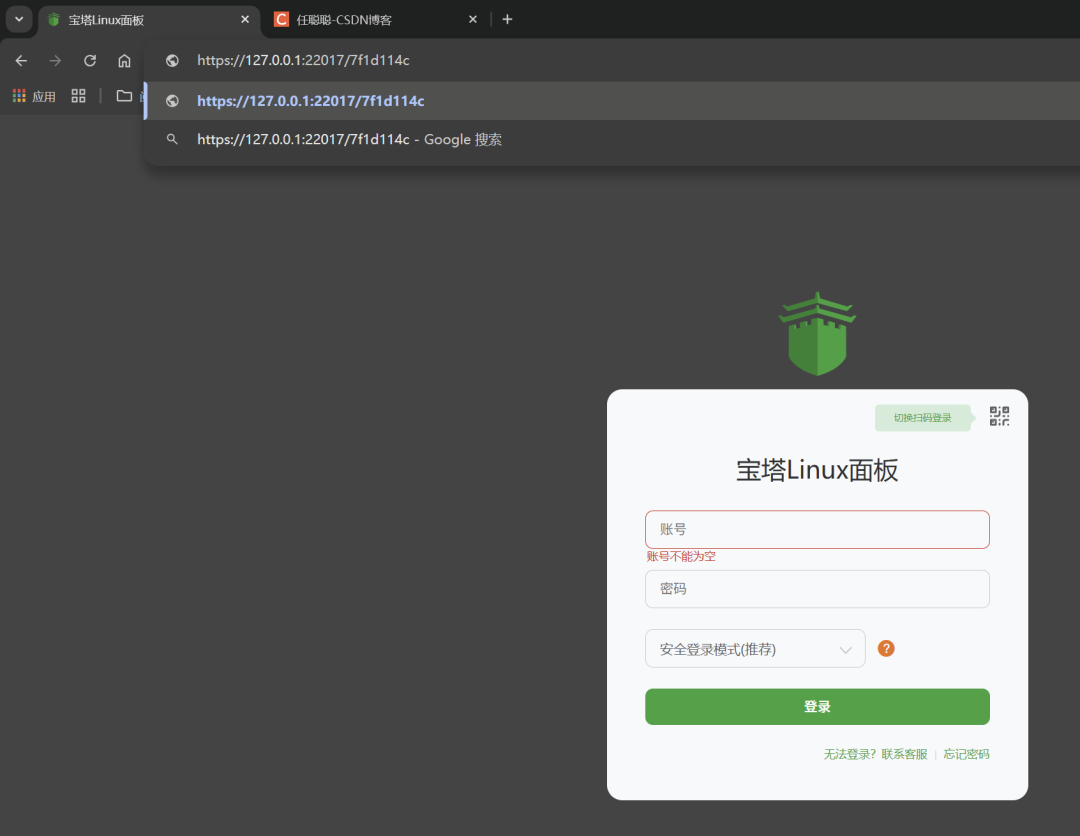
end: All done, to access within the same local area network, just visit your own machine’s IP + port.
Recommended Related Articles:
How to Renew a Bank Card Expiration Date
Stop Using Translation Software for Variable Names, Learn to Use CHTML Code Variable Naming Tools to Improve Programming Efficiency!
JAVA Can Be Used to Develop the LogYin Open Source Management System for Graduation Projects
500 Years of Hibernation
In 2028, I Opened a Business Without Employees