💡 Preview: Before Installation, You Must Get This Information!
Before starting the installation journey, please ensure that your “equipment” meets the requirements to avoid unnecessary detours! 👇 Quick overview of key information:
| Key Item | Specific Requirements | Friendly Reminder |
|---|---|---|
| Software Name | Keyence PLC (Core: KV STUDIO) | Integrates programming, debugging, and monitoring! |
| Software Size | 4.32GB (Please reserve enough space) | Friends with slow internet are advised to download in advance |
| Software Language | Simplified Chinese (default selection) | Operations are smoother |
| Installation Environment | Windows 7 and above operating system | Friends on XP systems should upgrade |
| Download Channel | Reply “Keyence PLC” on the official account | Those who know, know; there’s a surprise at the end 😉 |
‼️ Key Point: It is strongly recommended to select the installation path outside of drive C, and ensure that the path does not contain Chinese characters! This is a crucial step to avoid various mysterious issues later! 🙅♂️
🚀 Step-by-Step Installation Guide (15 Steps, Not a Single One Can Be Missed!)
Ready with the installation package? Let’s go! Follow the steps, and you’ll be as steady as a rock! 👇
- Unbox and Check: Find the downloaded installation package, unzip it, and double-click the
<span>KVstudio</span>folder icon 📁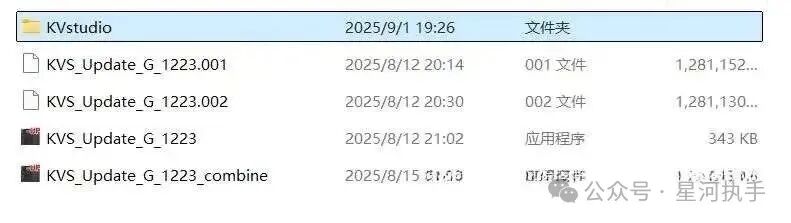
- Start the Installation Engine: Enter the folder and double-click the
<span>setup.exe</span>file 🚀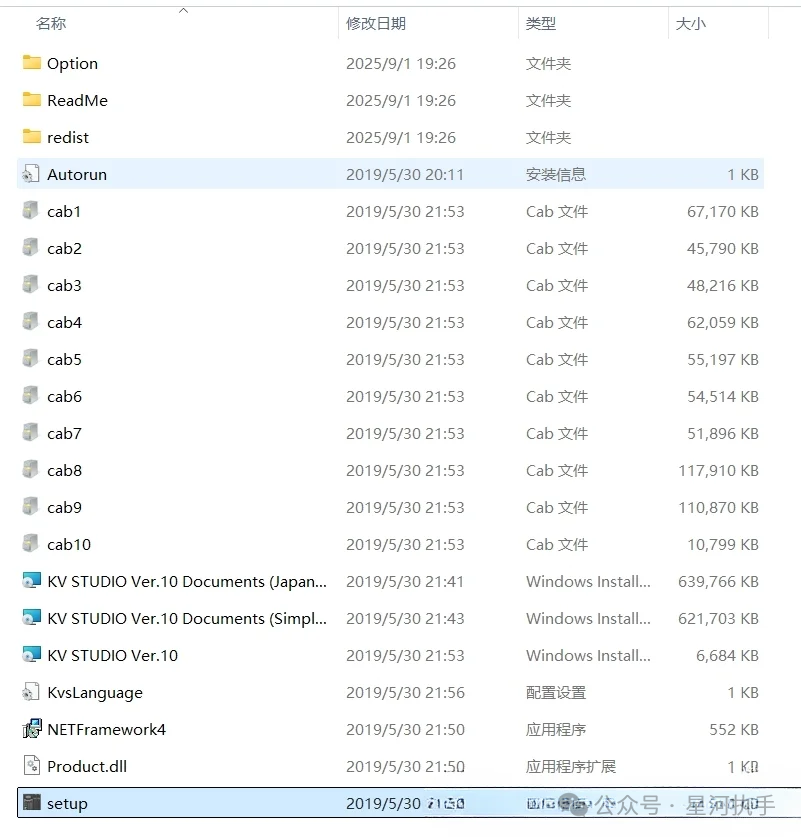
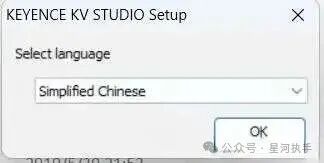
- Language Selection: Choose **”Simplified Chinese”**, and click next 🇨🇳
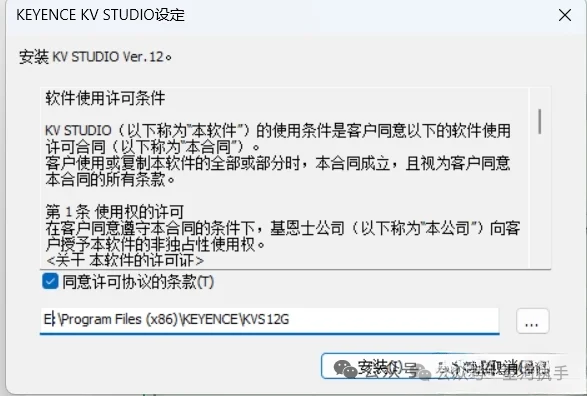
- Partitioning: Click “Change…” and select anon-C drive folder withpure English path 💾 (Emphasizing again: Do not use Chinese in the path!)
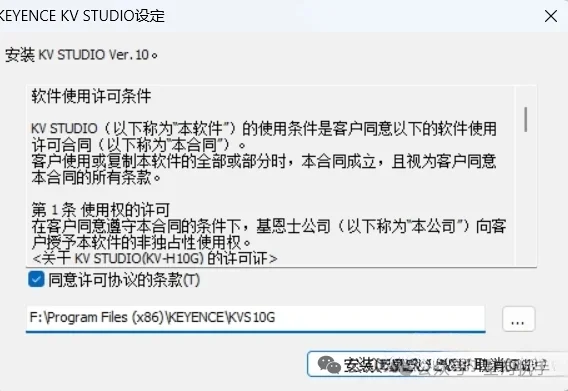
- Confirm to Start: After checking the settings, click “OK” to start the installation 🛠️
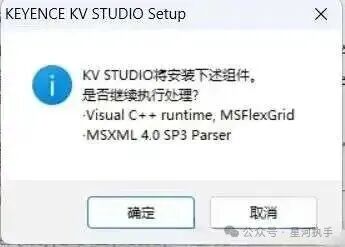
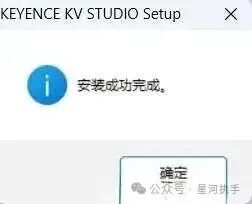
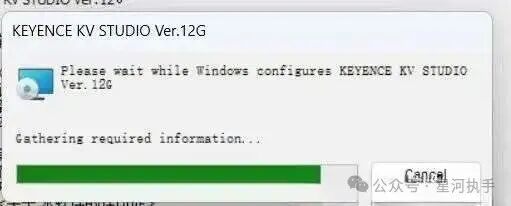
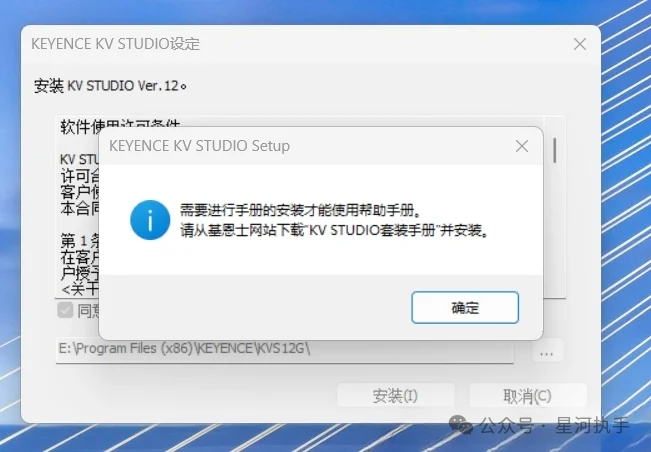
- Basic Completion: Wait for the progress bar to finish, basic installation is complete 🎉
- Upgrade Start: Double-click the upgrade patch
<span>UPdata</span>file to start the upgrade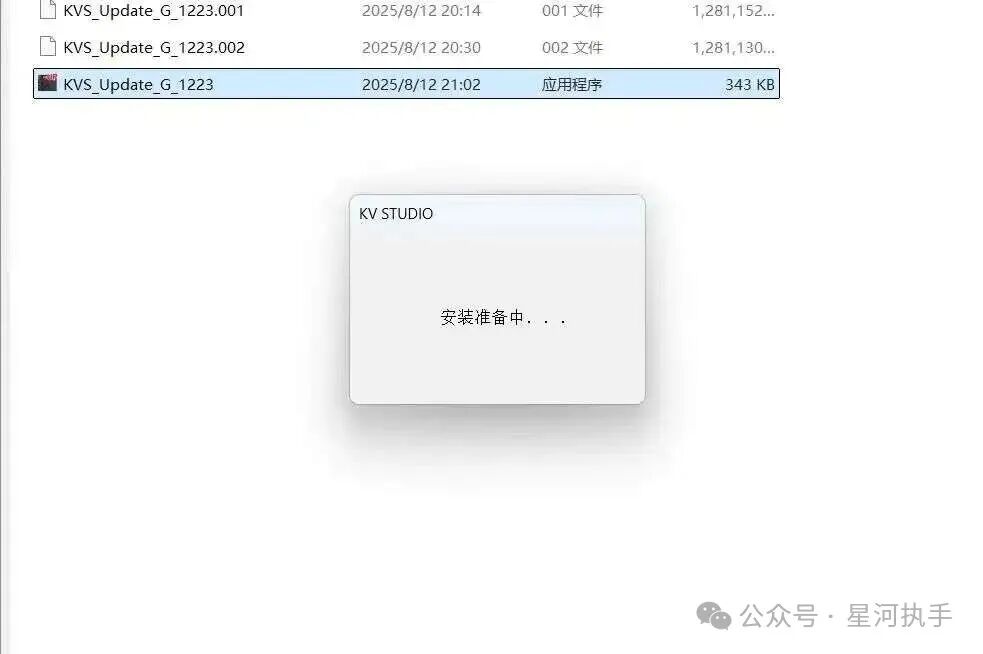
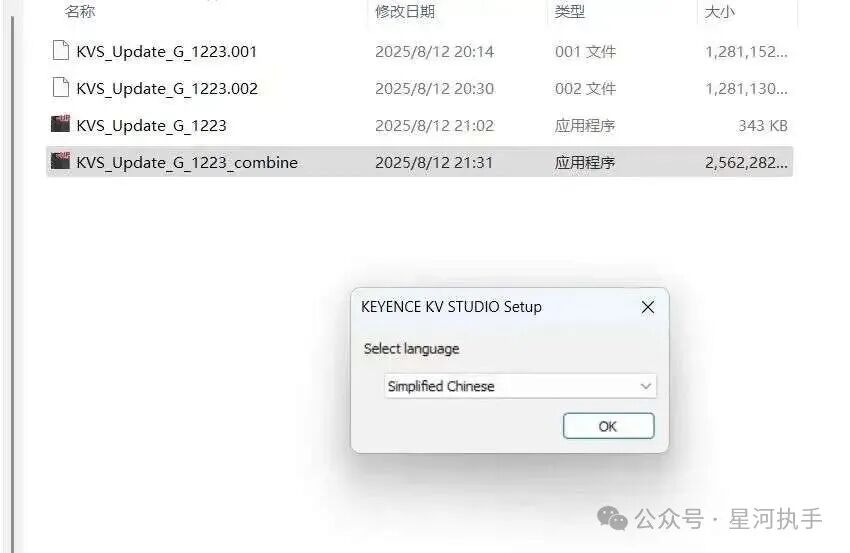
- Key Step in Upgrade: After the upgrade is complete:
- Automatically pop up the
<span>combine</span>file window: operate directly - If it does not pop up automatically: manually double-click the upgrade program → select **”Simplified Chinese”**
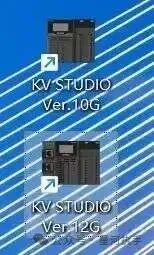
- Keep the old version → selectnew path
- Only use the new version → try selectingthe same path as step 4 (overwrite installation)
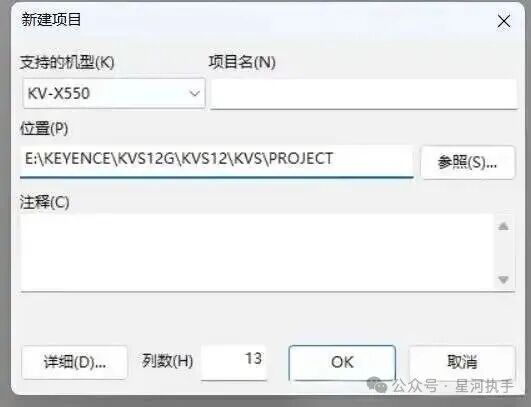
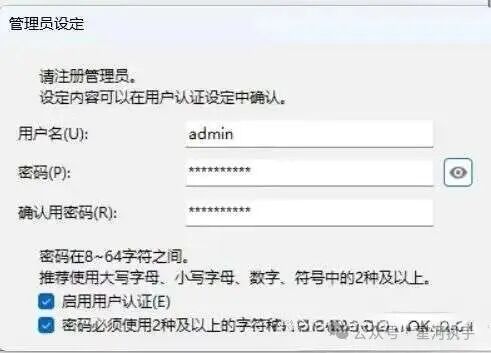
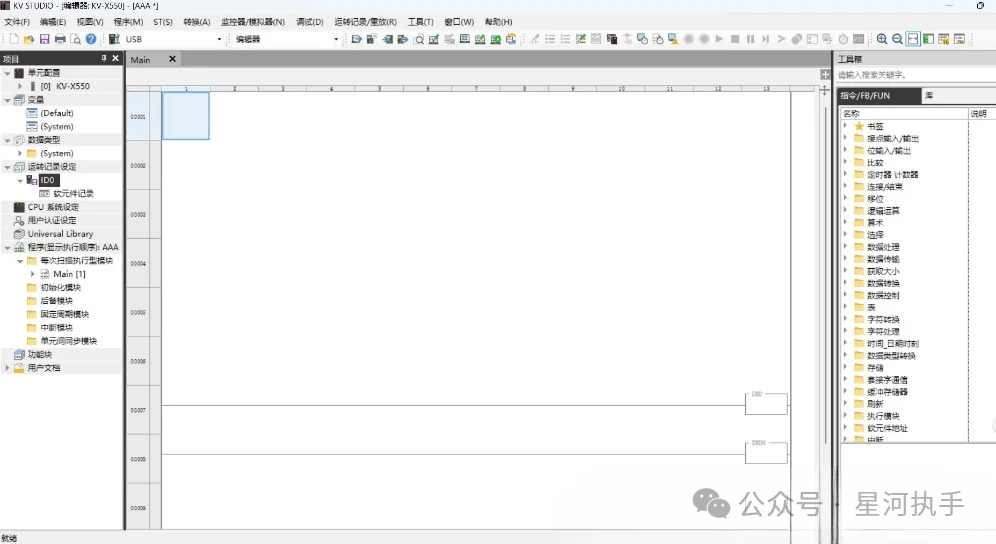
🎉 Final Thoughts & Interaction
How about it, is this super detailed 15-step installation guide hardcore enough? 😎 Hurry up and bookmark and share it to rescue your industrial control buddies!
⚠️ Friendly Reminder: This resource is for learning and communication only, please delete it within 24 hours after downloading. Support the original version to enjoy official services! 🙏
📣 Little Surprise at the End (You Know What I Mean~)
Do you think this article can help you? Writing is not easy, and the tutorial is detailed! 👉 Warm support channel:
- Light up the little star in the bottom right corner ✨ to let more peers see it
- Tap to follow 📌 to get more hardcore industrial control strategies
- Come to the comments section to chat! 💬 Share your installation experiences or pitfalls
Let’s unlock more possibilities together in the world of industrial automation! 💥