Author: Mechanical BOY
The kindergarten principal who is the best at taking care of children in the evaluation industry~
Introduction
In the past two years, drones have transformed from high-end professional shooting tools to consumer-grade digital products for digital enthusiasts. Drones have gradually come down from their pedestal and are getting closer to people’s lives.
When mentioning the term drone, everyone must conjure up a sense of high technology and sophistication. For beginners who have not been in contact with drones, making their own drone seems completely unimaginable.
In fact, the structure of a basic drone is not complicated at all. Once you understand the major components and make the correct connections and combinations, anyone can DIY their own drone as long as they are willing to get their hands dirty.
It should not actually be called a drone, because only a machine that can perform aerial photography and transmission can be called a drone. The aircraft described below can only be referred to as a multi-rotor aircraft, and can only be called a “drone” after all components and functions are perfected.
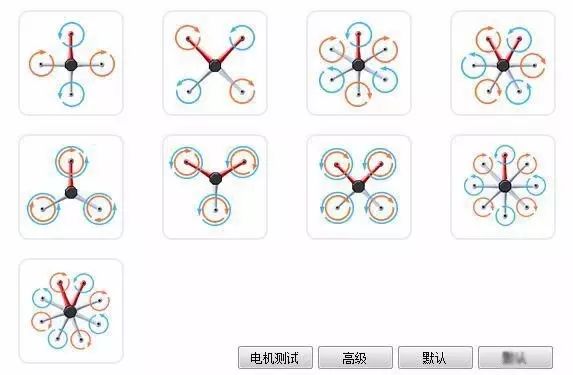
First, let’s have a conceptual understanding of multi-rotor aircraft. Multi-rotor aircraft do not only refer to the most common type of aircraft on the market that has four rotors; a four-rotor aircraft is the simplest structure, and there are six-rotor, eight-rotor, and even more rotor structures.
The three-axis aircraft shown in the picture actually has six rotors, with two propellers on each axis.▼
Considering cost-effectiveness, stability, and controllability, a four-rotor aircraft is the most suitable for beginners to tinker with.
Because with one more rotor, there needs to be one more motor and electronic speed controller (ESC), which increases power consumption. To maintain a normal hovering time, the battery capacity must be increased, which in turn increases the weight of the battery. As the weight increases, the power output required from the motors must also increase, leading to further increased power consumption. This is a black hole that plagues the drone industry.
Manufacturers are all looking for a better solution and balance point. Therefore, most of the DIY drones are four-rotor aircraft.
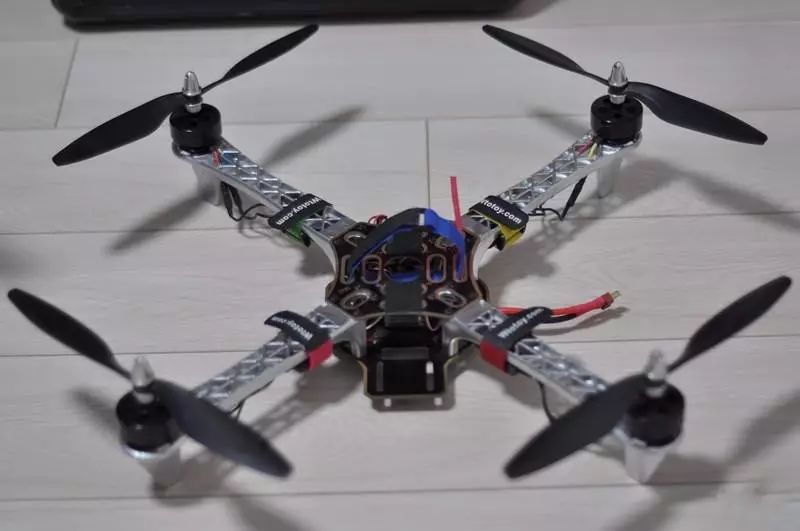
Let’s briefly understand the basic components of a drone. First is the brain of the drone—flight controller. There are many types of flight controllers, among which I prefer using DJI’s NAZA flight controller, which comes with preset parameters and can be used simply by adjusting some basic parameters through tuning software.
It is also quite reliable in terms of stability. There are also some cheap open-source flight controllers that allow for various parameter adjustments, and the entire flight program can be DIYed, but such flight controllers are not suitable for ordinary beginners and require strong professional knowledge to operate.
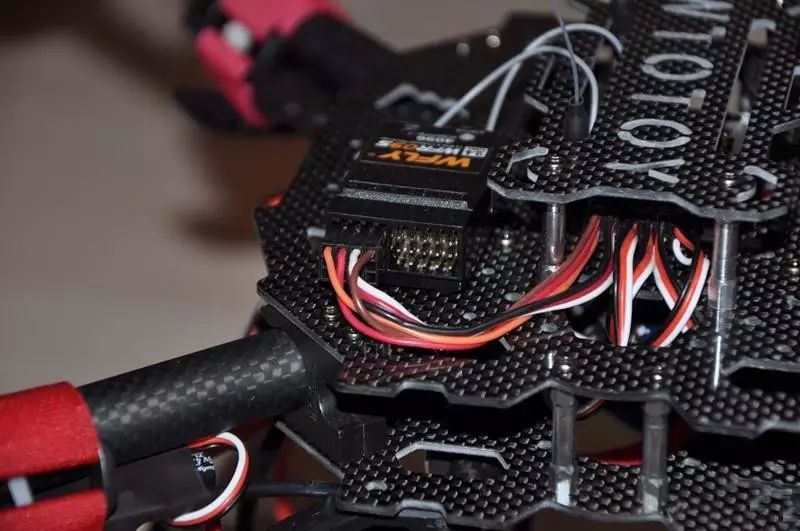
The flight controller does not directly command the motors; an ESC is needed to connect them. The ESC’s function is to ensure that the four motors can accurately execute the commands issued by the flight controller, thereby allowing the motor to output appropriate power. Additionally, the flight controller needs to connect to a remote control receiver to receive remote control signals.
Finally, the entire system also needs a power supply, typically using a 3S lithium battery.
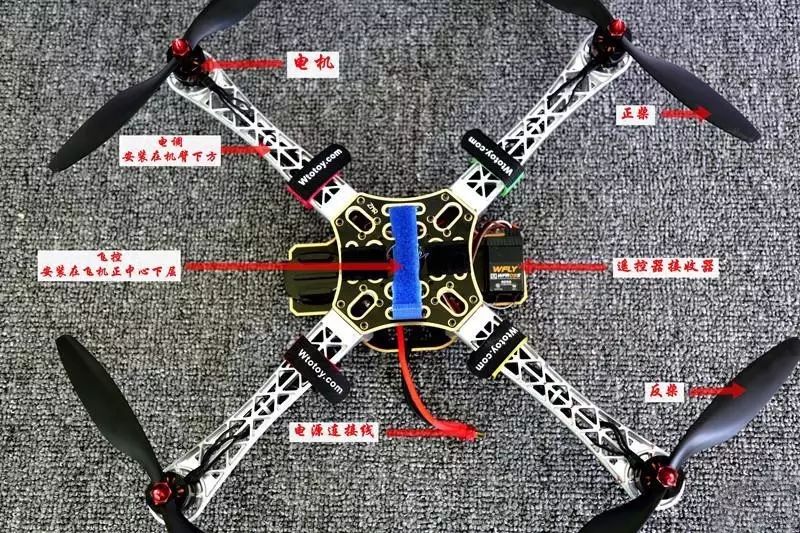
DJI’s flight controller is quite reliable and easy to use. If needed, a GPS positioning device can also be added. The regular NAZA flight controller is reasonably priced, but the GPS costs twice as much as the flight controller.
GPS is the essence of the NAZA flight controller. If the budget allows, it is recommended to include GPS for more accurate hovering and stable attitude control, as well as more flight modes, increasing playability.
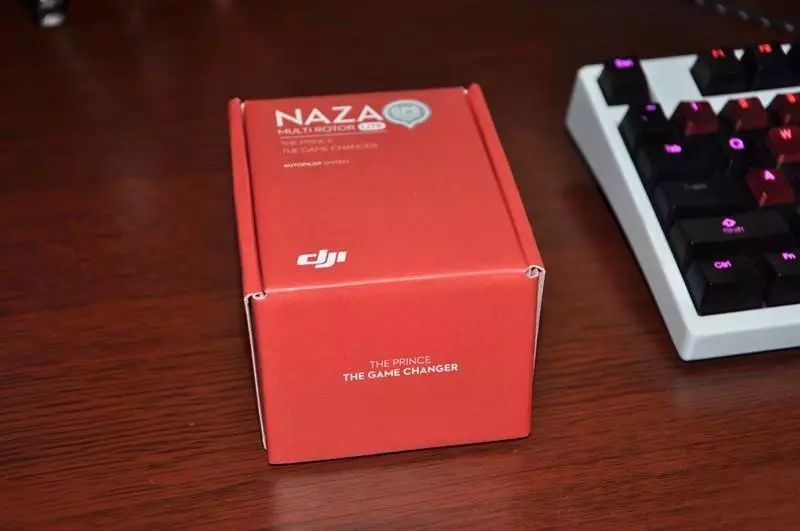
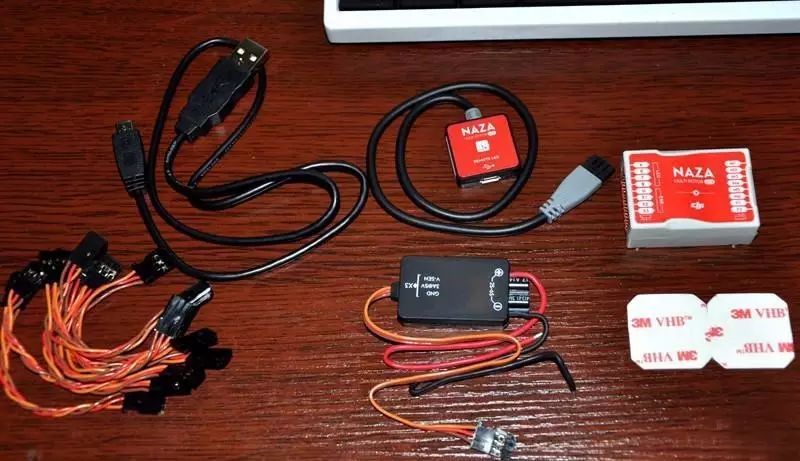
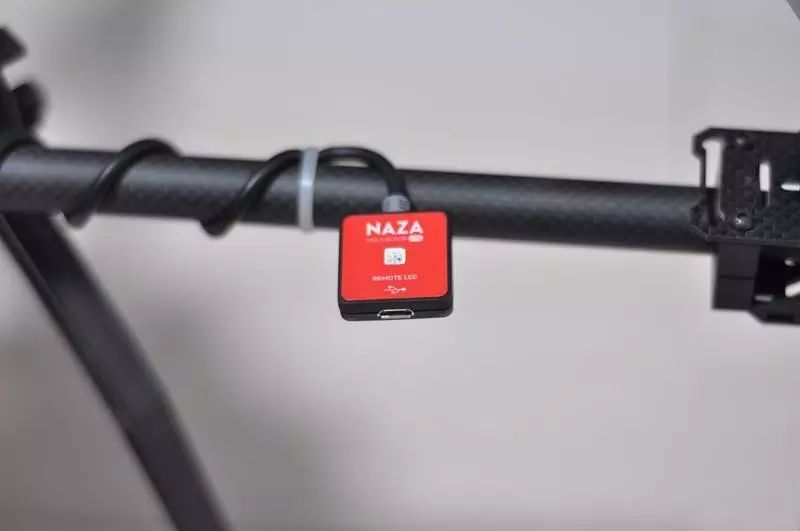
The basic accessories that come with the NAZA flight controller are sufficient for building a drone. They include a flight status indicator light, remote control receiver connection line, tuning data line, power module, shock-absorbing 3M tape, and flight controller main unit.
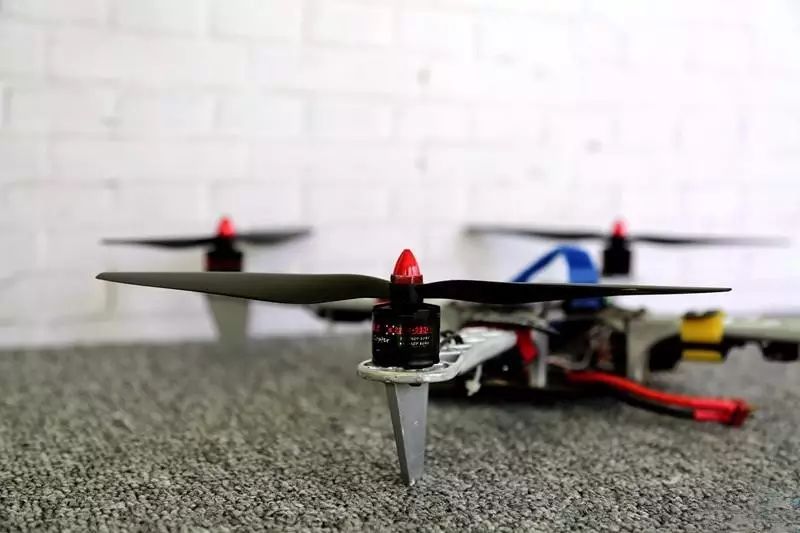
Choosing a suitable motor for the size of the drone is very important. The power of the motor should be selected based on the drone’s load requirements. Generally, the motor specifications will indicate the power and the optimal takeoff weight.
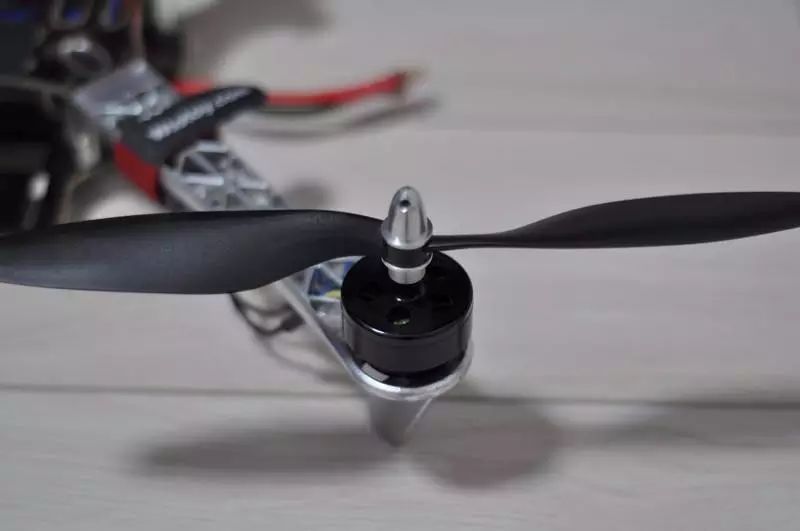
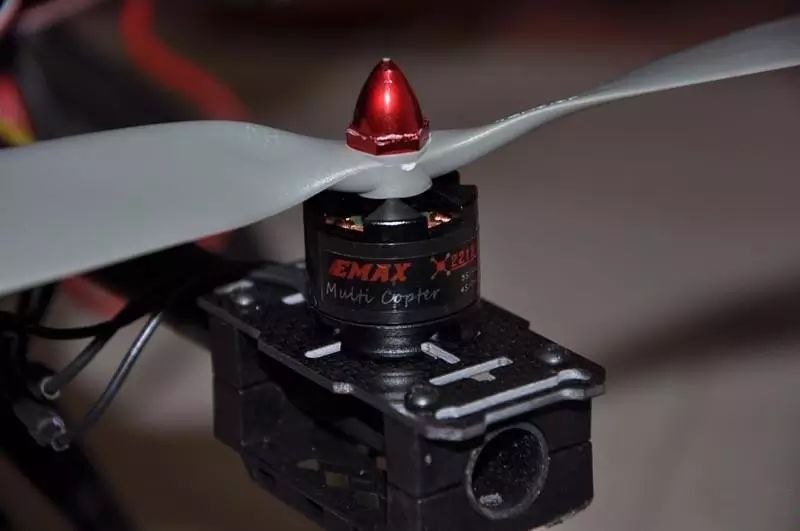
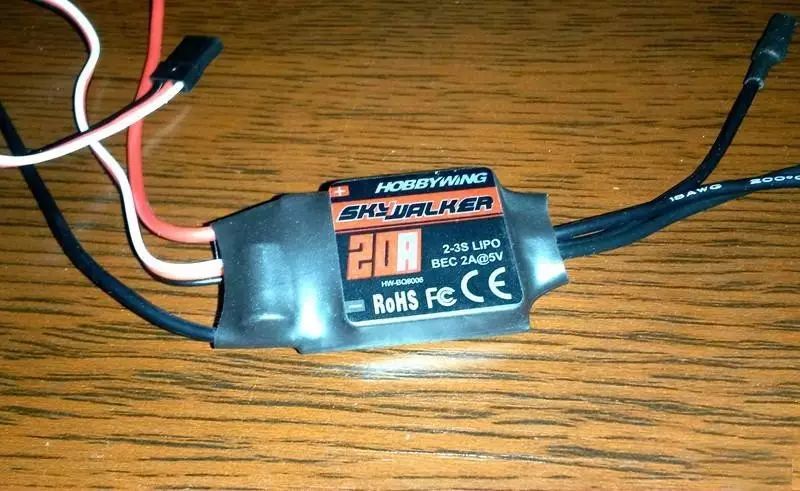
After selecting the size and power of the motor, you need to equip the motor with a suitable ESC that can handle its power and current. A standard small four-rotor uses a 20A ESC for daily flying, while slightly larger drones that need to carry gimbals require 40A or even larger current ESCs. Otherwise, if the current exceeds the ESC’s limit, it can burn out the ESC, and the loss is not just a single ESC. The loss of a crashed drone is incalculable.
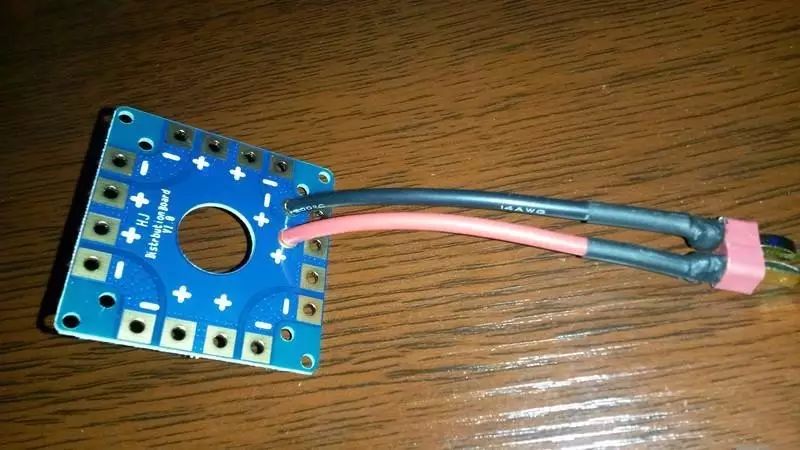
The four ESCs need a circuit board to connect them, and there are dedicated connection circuit boards that can be bought directly. Some frames come with a PBC gold-plated board, which saves space and makes wiring easier.
Different remote control receivers have different connection methods with the flight controller, and the receiver’s manual will provide detailed illustrations on how to connect the wiring.
If there is a need to control a gimbal later, a remote control and receiver with more channels should be purchased. A regular 6-channel remote control can meet the needs of a four-rotor aircraft, but to control the gimbal’s movements, a remote control with more channels should be selected. The remotes from FRSKY and Taranis are good options.
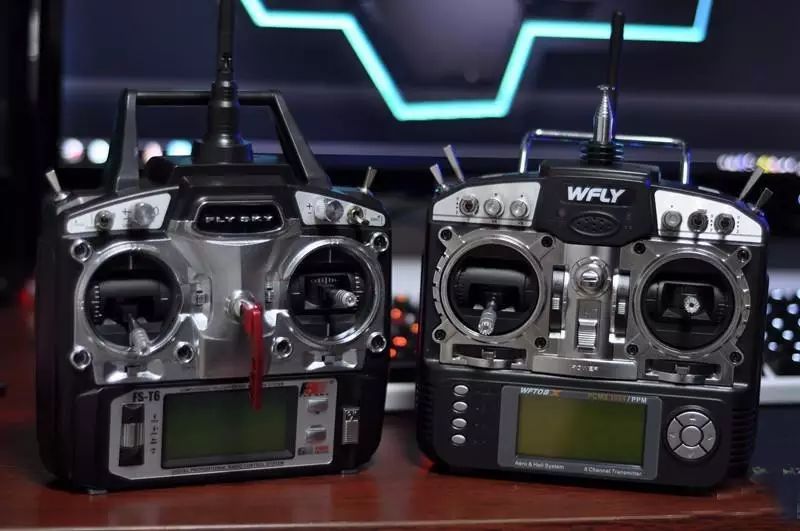
Choosing a suitable power supply based on the motor’s power and the fuselage weight is also very important. Generally, a 3S lithium battery is sufficient for use, allowing an unloaded 2133 motor four-rotor aircraft to stay in the air for over 20 minutes.
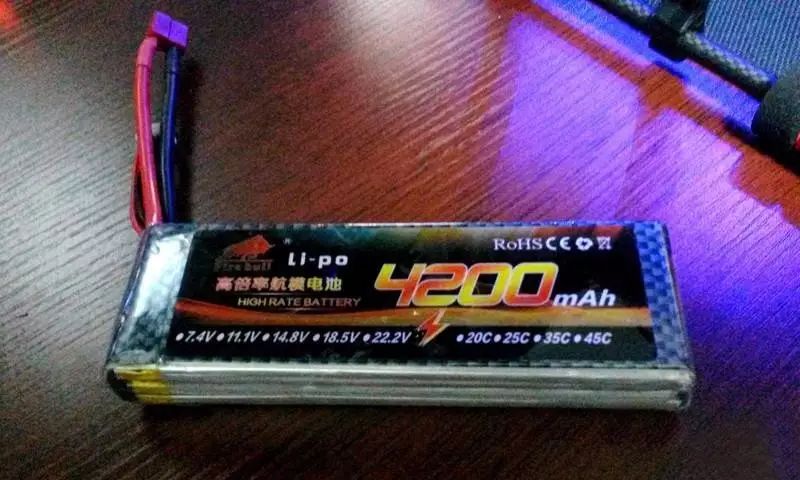
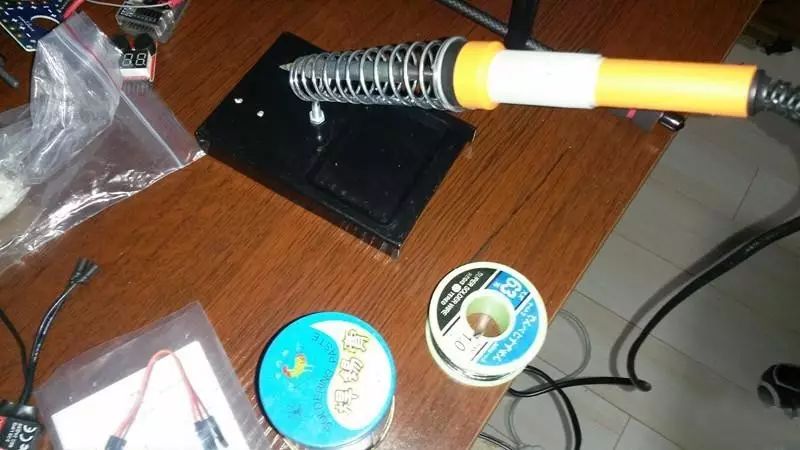
The connections between components need to use banana plugs, which must be soldered onto the wires using a soldering iron. The choice of wire is also very important; try to increase the wire diameter without adding too much weight to the fuselage.
Wires that are too thin will affect the battery’s output, and 3S lithium batteries usually output high current. Too thin wires can heat up excessively.
Using DJI’s NAZA flight controller will have flight mode indicator lights. When the battery reaches a preset alarm value, the indicator light will flash rapidly to warn the operator to return home.
Flight controllers without separate indicator lights need to have an alarm device installed on the battery. Similarly, when reaching the preset battery value, the alarm device will emit a warning signal.
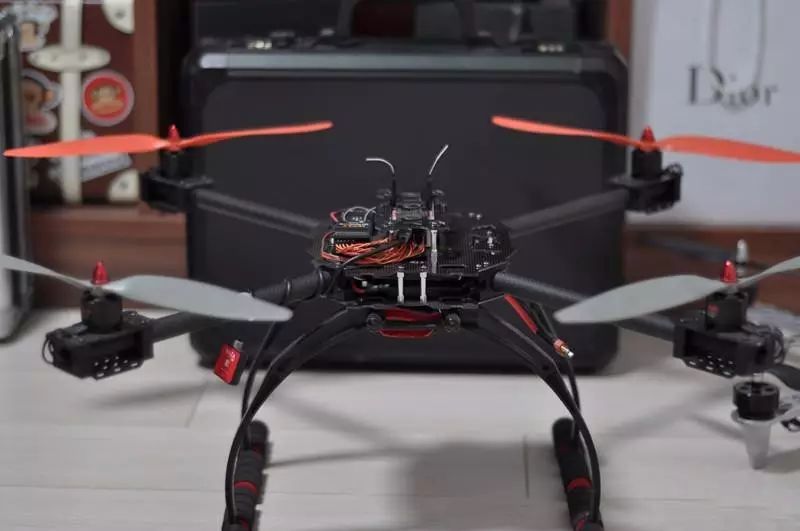
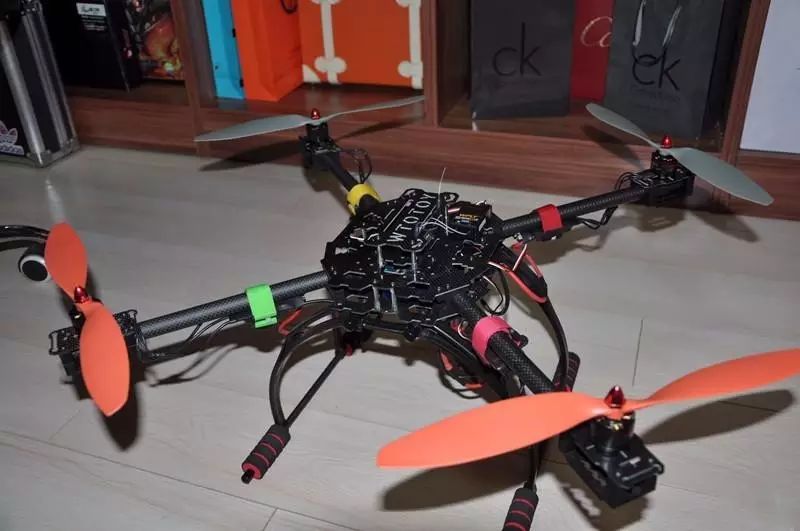
The major components are correctly combined, and after optimizing the internal wiring of the fuselage, a basic four-rotor aircraft is assembled.
Of course, it cannot take off directly; you need to test the working conditions of various moving parts of the aircraft to ensure that everything is assembled correctly.
The method is generally to hold the bottom of the aircraft, then unlock and start it, perform simple operations to see if the aircraft responds correctly to the commands. If not, continue adjusting and identifying the problem. If everything is correct, you can connect it to a computer to adjust parameters.
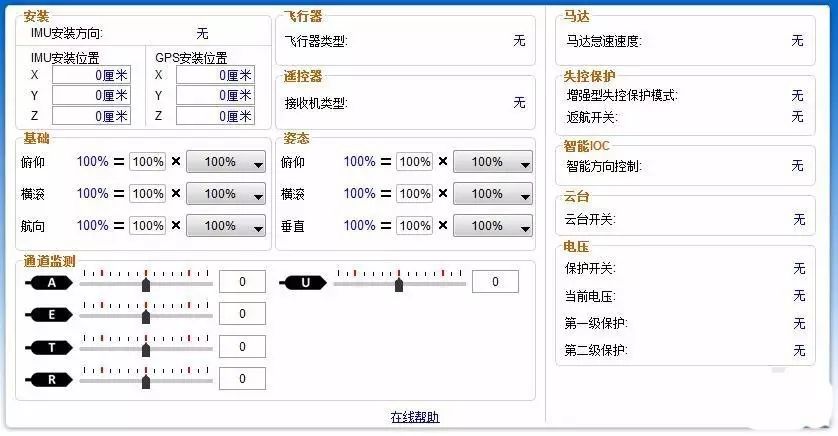
DJI’s tuning software is quite convenient to use. After connecting the data line, all dynamic data is displayed in real-time on the tuning interface.
You can adjust the sensitivity of the remote control’s joystick, the sensitivity of the command, and the stability sensitivity of the flight controller according to your needs. The sensitivity for the flight controller’s stability needs multiple test flights to find the most suitable parameters.
The length of different arms and the power of the motors all affect the stability of the flight controller, which needs to be adjusted based on the specific aircraft, requiring careful attention in the future.
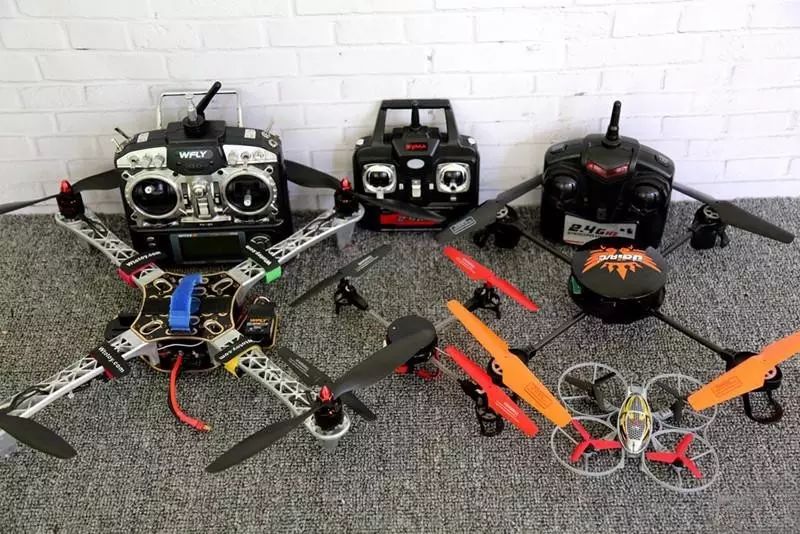
If you are still hesitant to fly the assembled drone due to a lack of confidence in your flying skills, I recommend starting with a toy drone to practice your flying skills. Before I became an experienced pilot, I crashed countless toy planes.
From large to small, operating toy planes puts no psychological pressure on you and greatly helps improve your flying skills.
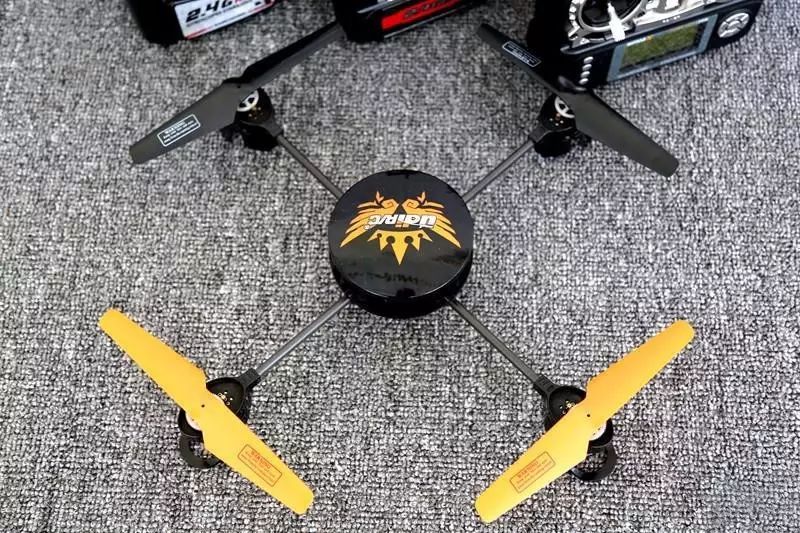
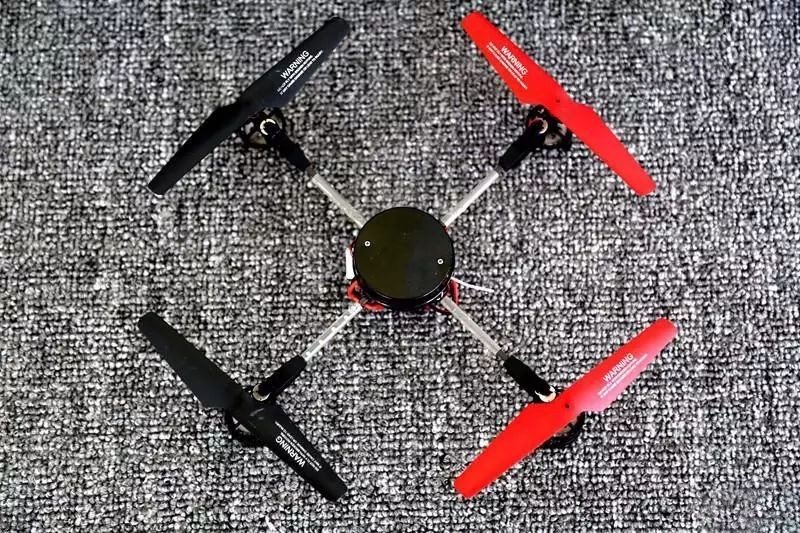
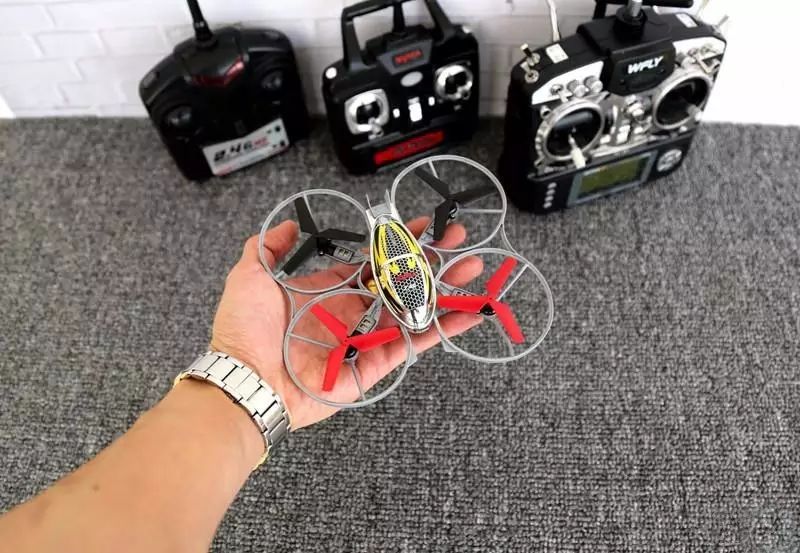
After truly becoming an experienced pilot, you will find that operating a multi-rotor aircraft is simply boringly simple. It is just about ascending and descending, then moving forward and backward, left and right, plus turning.
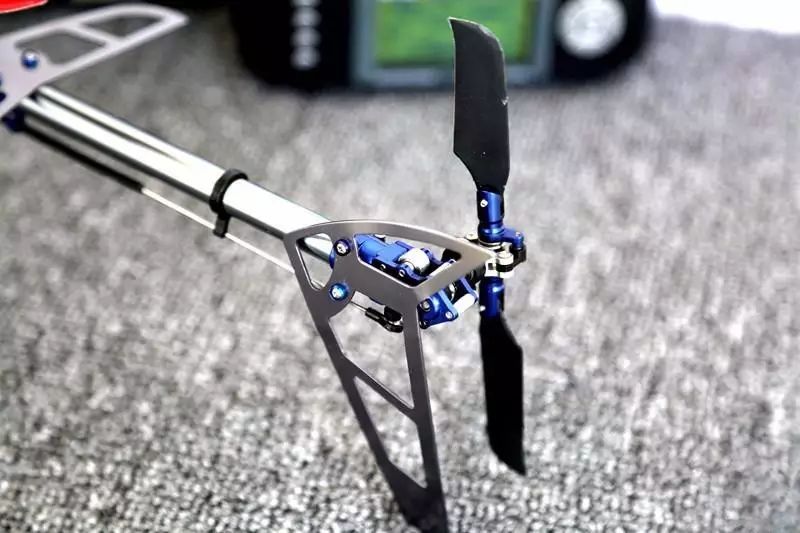
If you find multi-rotor aircraft boring, you can challenge yourself with more difficult helicopters. The stunts that electric helicopters can perform are far more than those of four-rotor aircraft. Moreover, they are more challenging and have a greater risk of crashing.
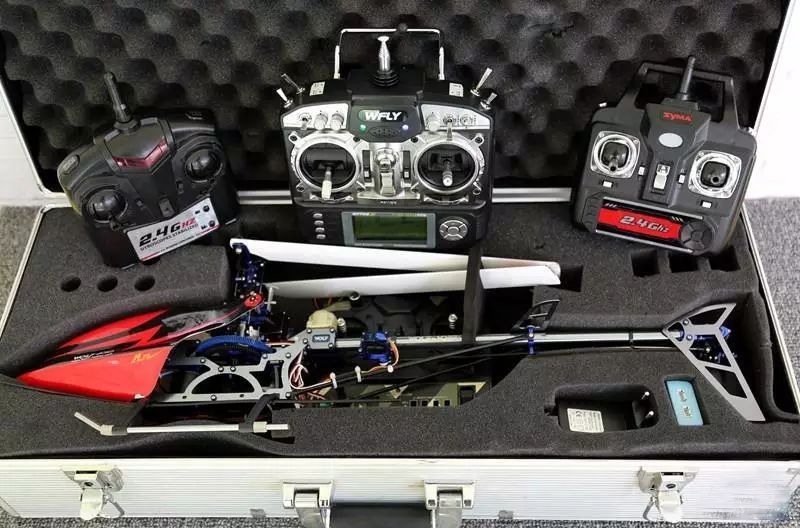
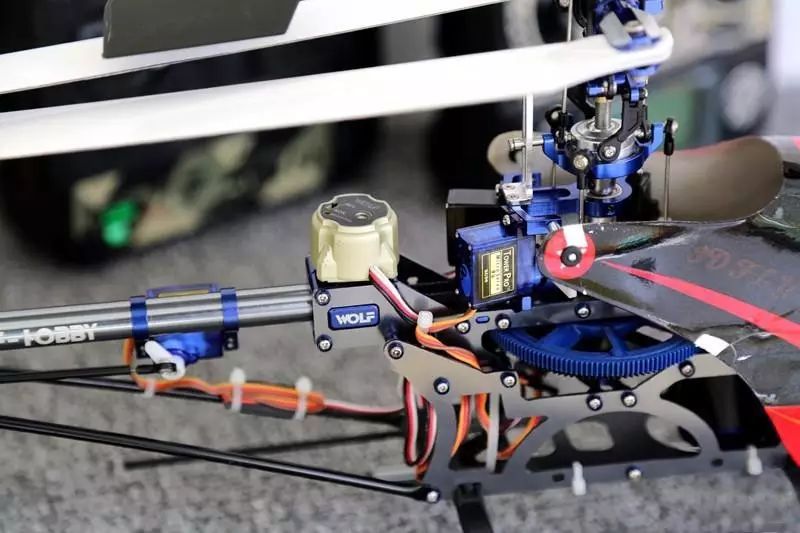
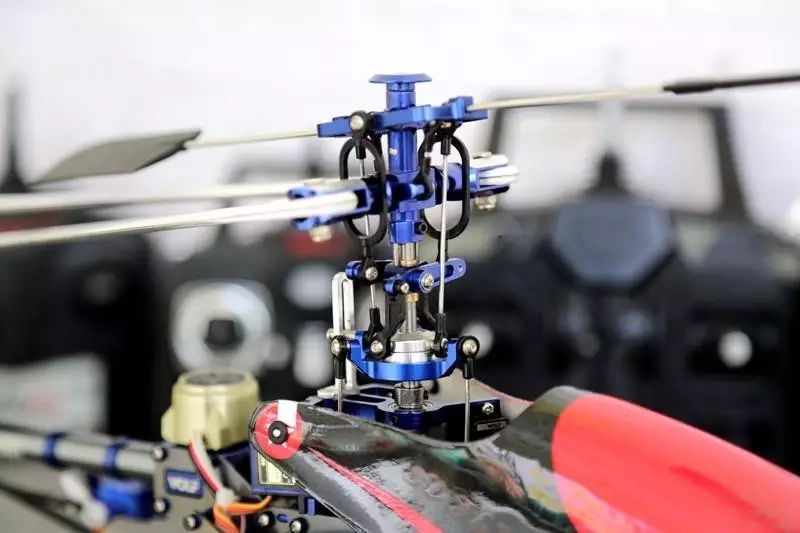
At this point, it is also not advisable for beginners to directly DIY a drone with just the components. I remember that I spent a long time researching online, watching many tutorials, and only then did I start purchasing components. After the components arrived, it took me a week to assemble the prototype of the aircraft.
However, I still couldn’t get it to take off. After researching many tutorials, I figured out how to adjust the ESC, flight controller, and remote control. When everything was finally compatible and the plane took off, a sense of achievement surged within me. During this process, I also made mistakes in purchasing components that led to compatibility issues.
So, friends, before you start, be sure to think carefully and consider all aspects before diving in. Don’t follow my path and take many detours. Once you understand everything, you can optimize the weight distribution, wiring, layout, and so on of the aircraft.
Finally, I wish all friends can DIY their own drones!
After reading Mechanical BOY’s DIY drone guide,
Are you also feeling the urge to get hands-on?!

▼