The latest versions of Fluent (such as Fluent 2025R1) come with a built-in clang compiler, allowing UDF compilation without the need to install Visual Studio. However, using GCC for UDF compilation has several advantages, including: (1) GCC compiles quickly and provides detailed debugging information. (2) It is convenient to compile and debug code using tools like vscode. (3) It can compile external dynamic link libraries.
Below is the basic process for compiling Fluent UDF using GCC.
1 Download Mingw64
Mingw64 includes all the GCC compilation tools.
- Mingw64 official website: https://mingw-w64.org/
- GitHub repository: https://github.com/niXman/mingw-builds-binaries/releases
”
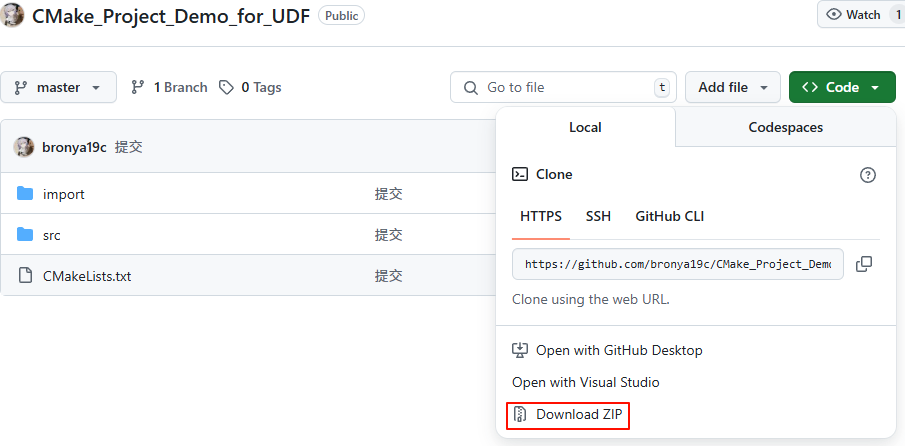
If you find it troublesome, you can download the precompiled version from GitHub, as shown in the figure below.

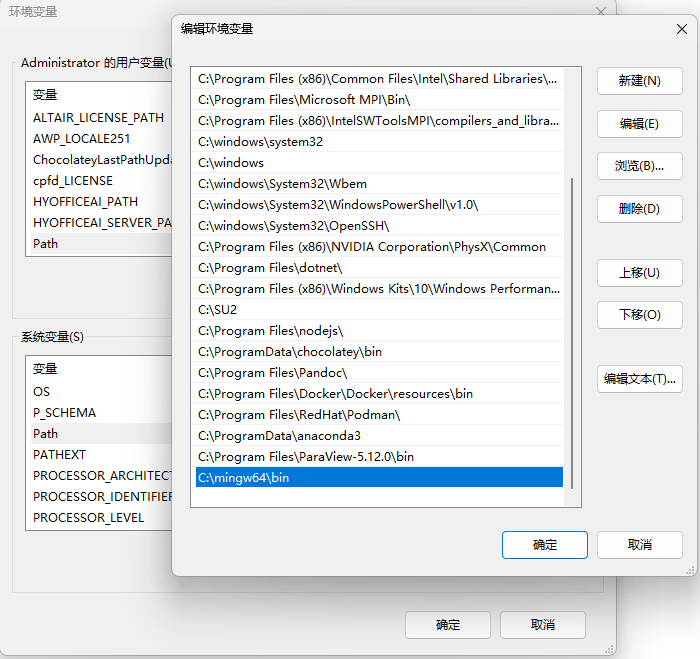
After downloading, extract the files to a path with English characters, then add the path of the extracted <span>bin</span> folder to the environment variable <span>path</span> (you may need to restart your computer for the environment variable to take effect), ensuring that you can directly execute <span>gcc</span> in cmd.
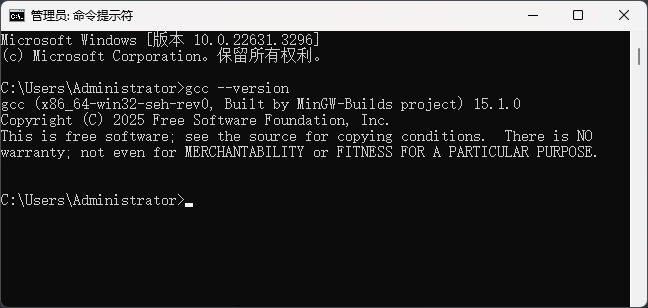
Type the command <span>gcc --version</span> in cmd, and if the version information appears as shown in the figure below, it indicates that you are ready.
2 Download CMake
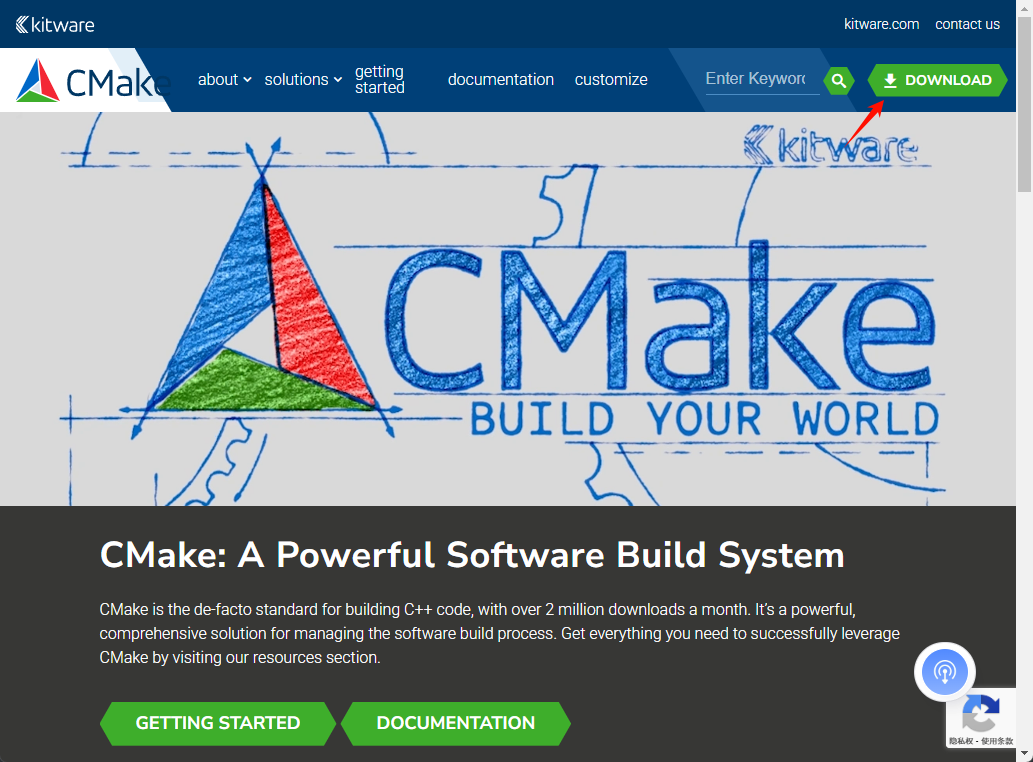
Visit the CMake official website (https://cmake.org/) to download CMake.
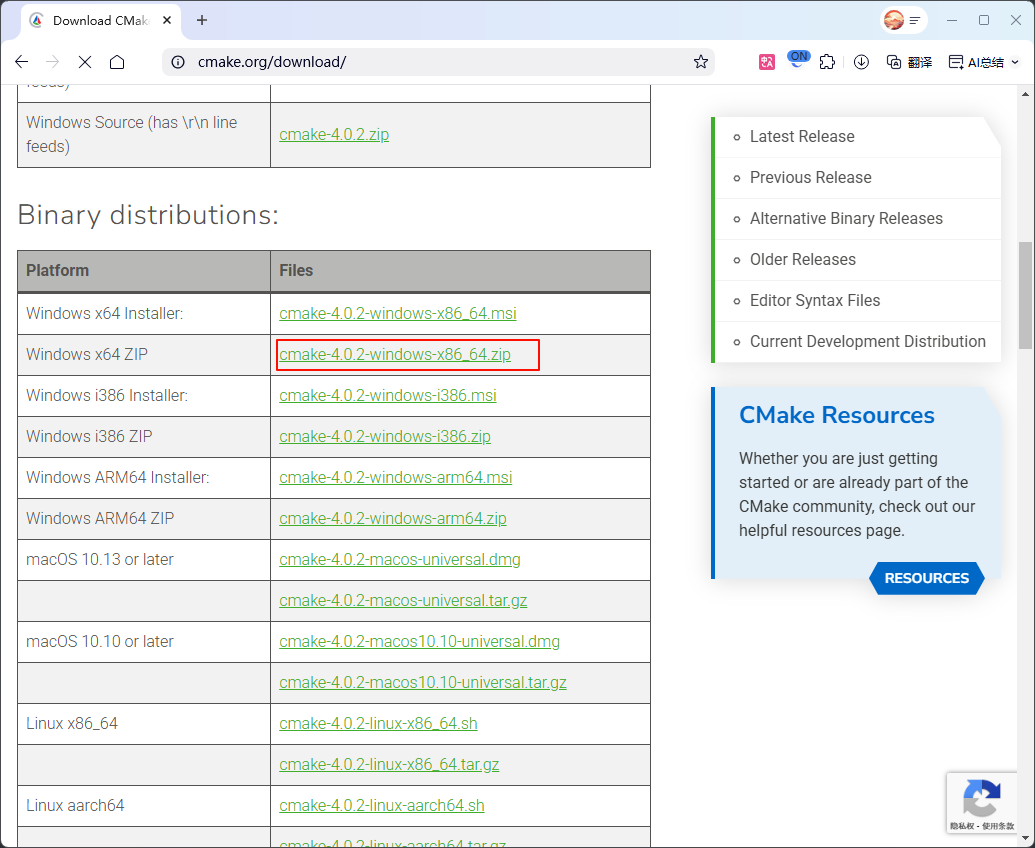
Download the green version.
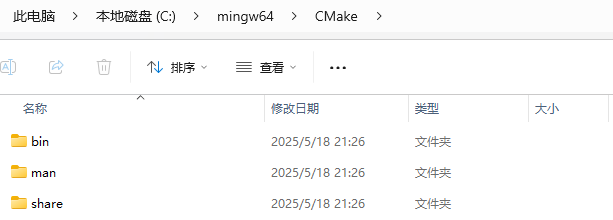
After downloading, extract it. If extracted to <span>C:\mingw64\CMake</span> (here, delete the doc folder).
3 Prepare CMakeLists File
Here we use the file organization from the GitHub repository <span>https://github.com/bronya19c/CMake_Project_Demo_for_UDF</span>.
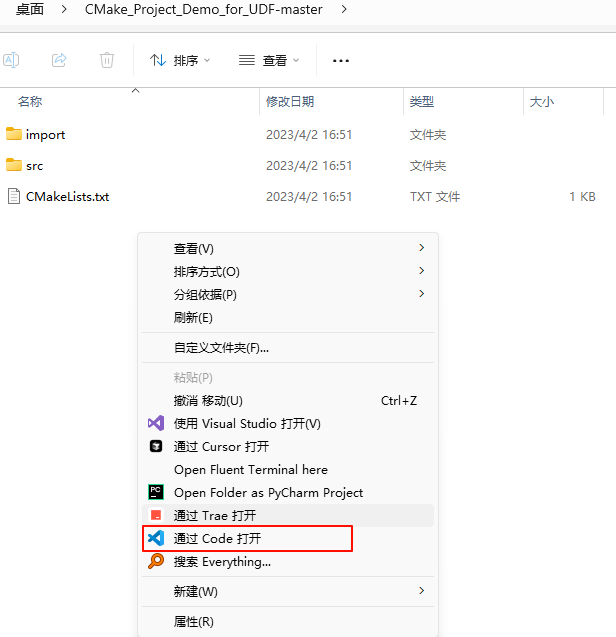
After downloading the file, extract it to a path with English characters, then open the folder using <span>vscode</span>.
Open the <span>CMakeLists.txt</span> file and modify it according to the prompts in the file, mainly changing the Fluent path and version information.

4 Modify Files
To ensure successful compilation, some content also needs to be modified.
- Modify the
<span>CMakeLists.txt</span>file in the src folder, adding the following line at line 46:<span>${FLUENT_ROOT}/include</span>. If this line is not added, there will be a lot of “header file not found” errors during compilation.

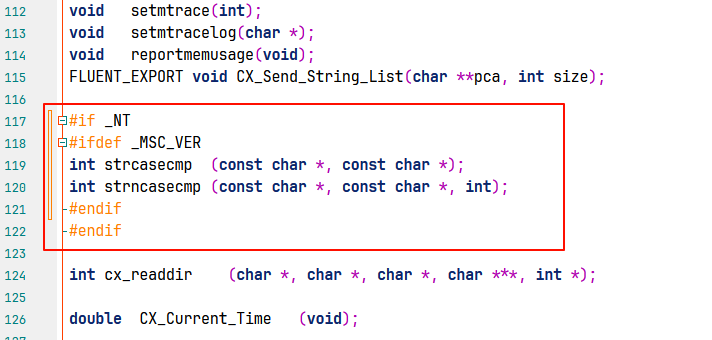
- Open the file
<span>C:\Program Files\ANSYS Inc\v241\fluent\fluent24.1.0\cortex\src\cx.h</span>, find lines<span>118-119</span>, and modify them as shown in the figure below. The reason for modifying this code is that<span>strecasecmp</span>conflicts with the corresponding code in Mingw64; if using MSVC for compilation, this modification is not necessary.
The UDF source files to be written should be placed in the <span>src</span> folder, such as the example file <span>test.c</span>. Note that if we add new UDF files, we need to modify the corresponding file path information in the <span>src/CMakeLists.txt</span> file.
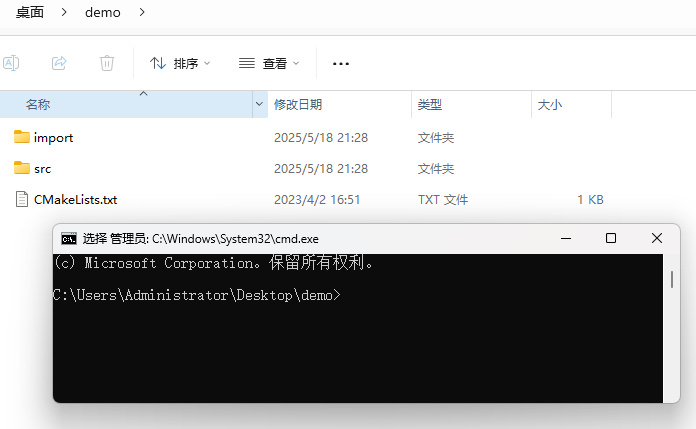
5 Compile UDF
Start <span>CMD</span> in the project directory, as shown in the figure below.
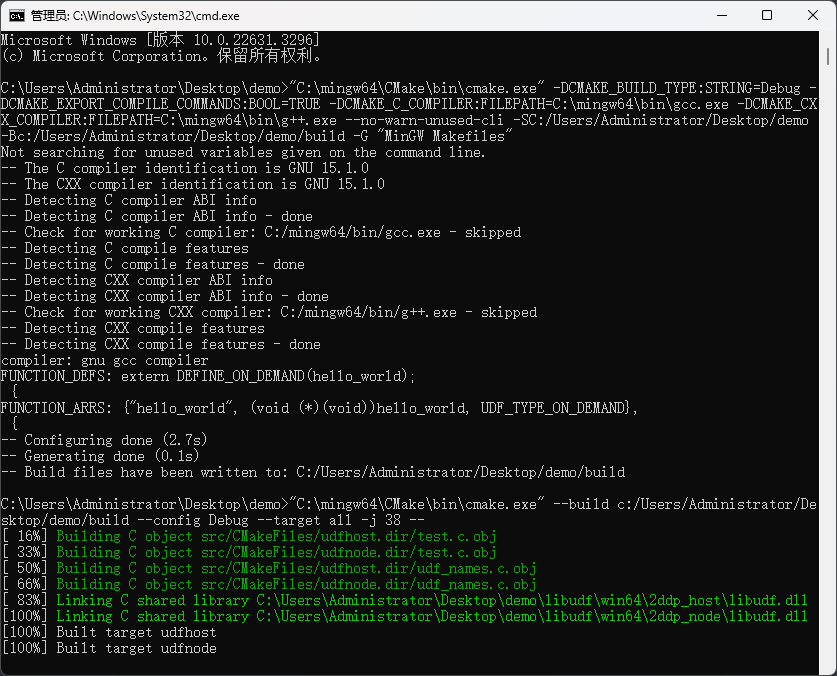
Enter the following command (be sure to replace the file paths in the command):
"C:\mingw64\CMake\bin\cmake.exe" -DCMAKE_BUILD_TYPE:STRING=Debug -DCMAKE_EXPORT_COMPILE_COMMANDS:BOOL=TRUE -DCMAKE_C_COMPILER:FILEPATH=C:\mingw64\bin\gcc.exe -DCMAKE_CXX_COMPILER:FILEPATH=C:\mingw64\bin\g++.exe --no-warn-unused-cli -SC:/Users/Administrator/Desktop/demo -Bc:/Users/Administrator/Desktop/demo/build -G "MinGW Makefiles"

"C:\mingw64\CMake\bin\cmake.exe" --build c:/Users/Administrator/Desktop/demo/build --config Debug --target all -j 38 --
As shown in the figure below.
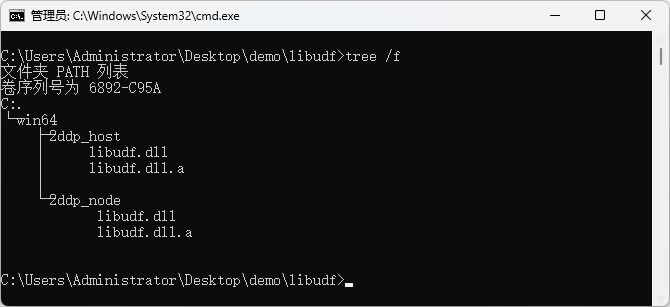
At this point, you can see that there is a compiled dll file in the <span>libudf</span> folder.
(End)