This article is an excellent piece from the Kanxue Forum.
Kanxue Forum Author ID: Nameless_a
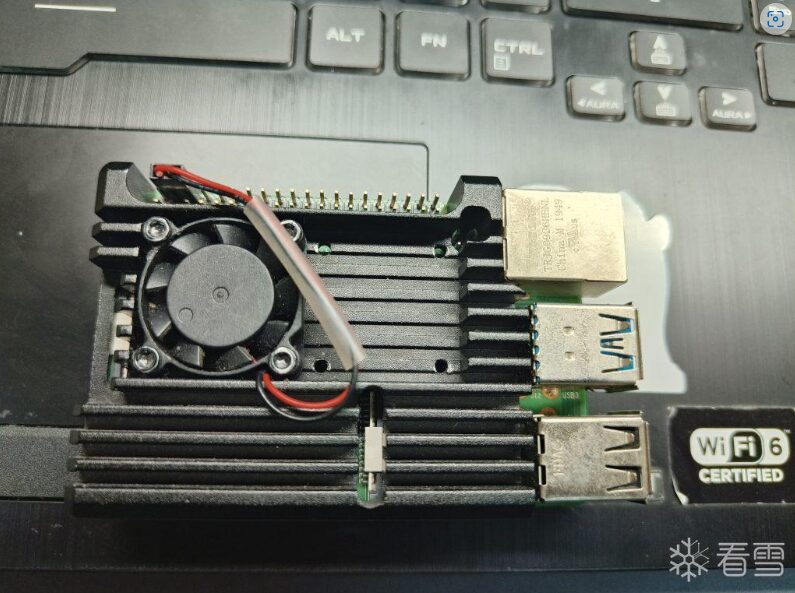
I borrowed a Raspberry Pi from nazo✌ and prepared to set up a Bluetooth sniffing/scanning environment for Bluetooth research.
Burning the Image to the SD Card
Official website: https://www.raspberrypi.com/
Download and Use the Burning Software
Go to the official website -> firmware: then select the burning software that matches your system type (Windows/Linux/Mac).
The result when running is as follows: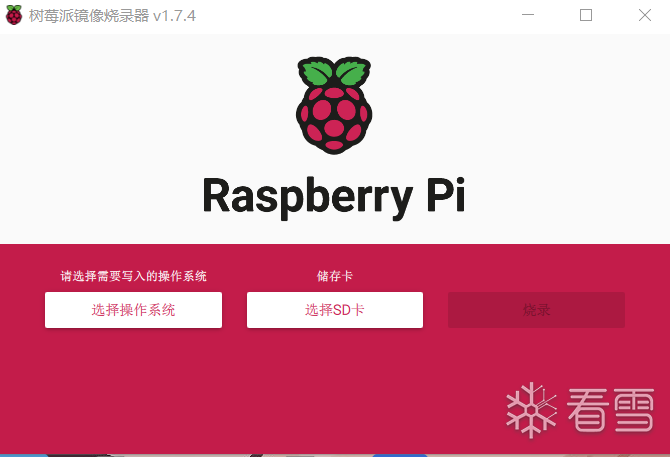 I chose the official image version:
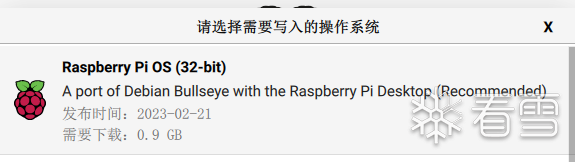 Press shift+ctrl+x for some initialization configurations of the image:
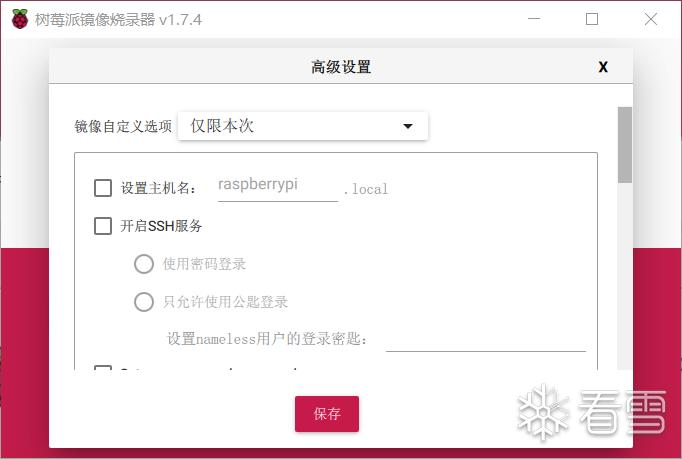 After the burning is complete, insert the SD card into the Raspberry Pi, then connect it to Type-C power supply to boot:
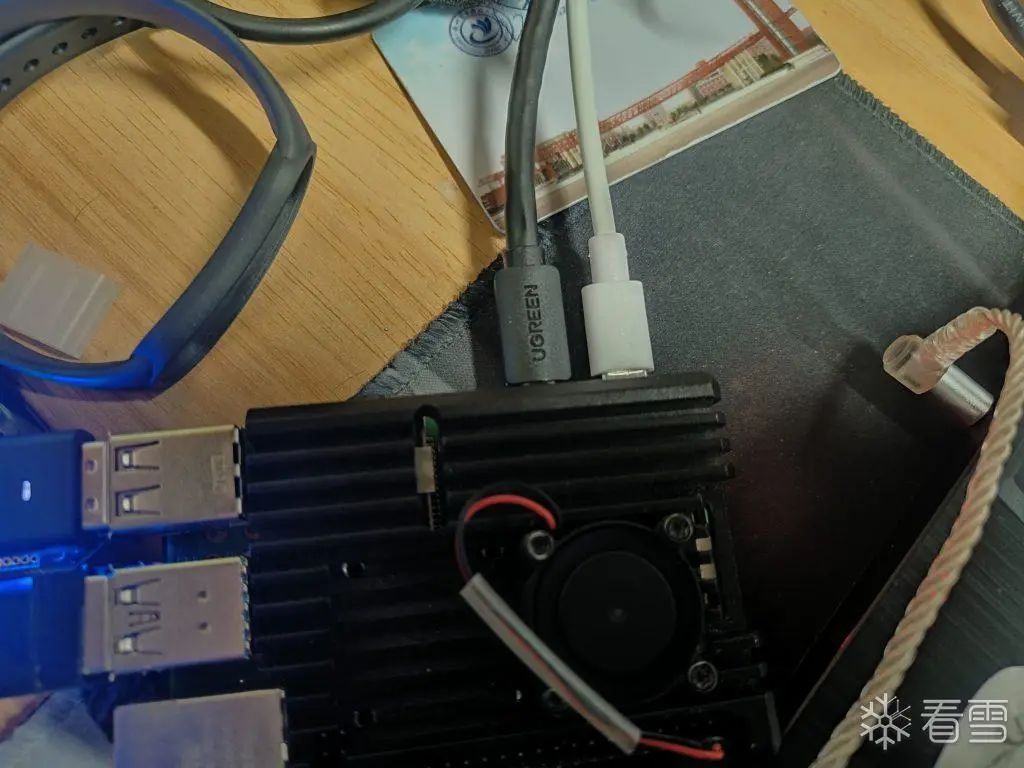
Operations After Booting
The wire on the left side of the image is a micro HDMI cable, the other end connects to a portable screen, and after booting, the portable screen displays the output: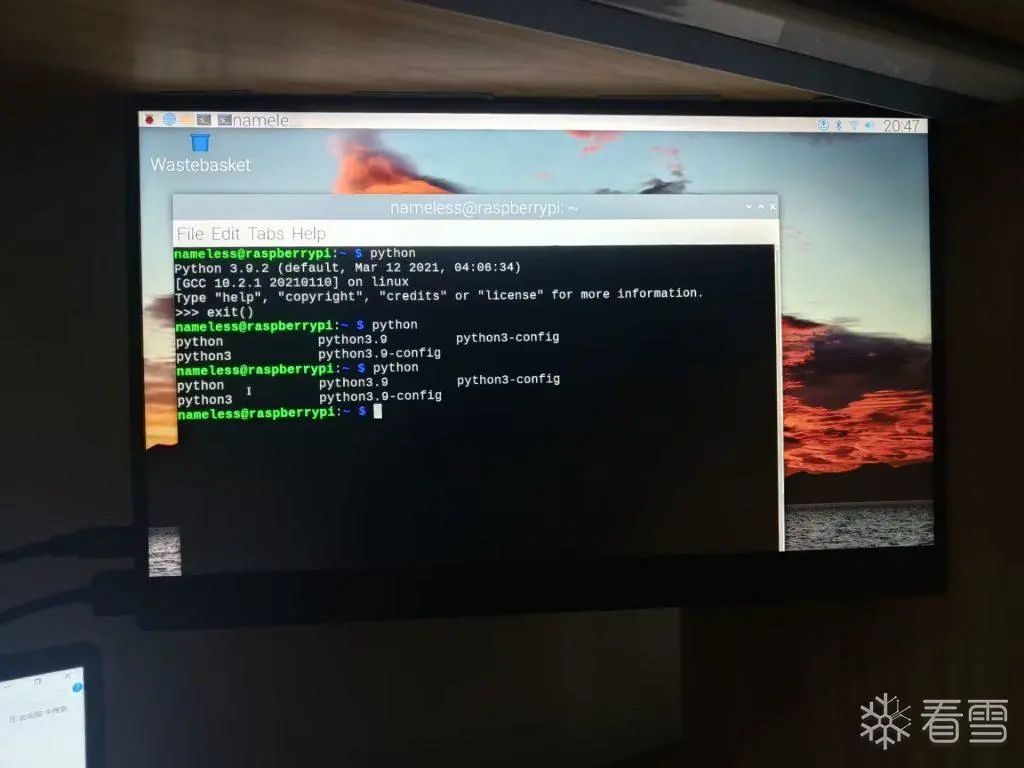 If you don’t have a portable screen, you can also add SSH and Wi-Fi options during the burning process (by pressing ctrl+shift+x), then after booting, it will automatically connect to the Wi-Fi you selected (which is the Wi-Fi your computer is connected to by default).
Then enter the router management page to check the Raspberry Pi’s IP address (you can also scan your router’s IP), and you can SSH into it: However, for software like Wireshark that requires graphical display, SSH alone won’t suffice. You can use software like VNC Viewer for remote desktop display, but there may be delays. The author hasn’t tried it yet, but if you need it, you can give it a try; I won’t elaborate here.
Installing Bluetooth Sniffing Dependencies
Change Source
I chose the USTC source and searched in the USTC open-source mirror siteClick in and execute the following command according to its tutorial:
sudo sed -i 's|//archive.raspberrypi.org|//mirrors.ustc.edu.cn/archive.raspberrypi.org|g' /etc/apt/sources.list.d/raspi.list
sudo apt-get update
sudo apt upgrade
(ps: Before using sudo, you need to set the root password with sudo passwd root)
Install Bluetooth Dependencies
sudo apt-get install cmake libusb-1.0-0-dev make gcc g++ libbluetooth-dev \
 pkg-config libpcap-dev python-numpy python-pyside python-qt4
Install Ubertooth One Bluetooth Sniffing Software
The sniffing device I used is Ubertooth One: It is good because it has supporting software and can capture packets directly through Wireshark. Official documentation: https://ubertooth.readthedocs.io/en/latest/index.htmlFollow the “Build guide”, “firmware”, and “wireshark” sections to install step by step.
First, install libbtbb:
wget https://github.com/greatscottgadgets/libbtbb/archive/2020-12-R1.tar.gz -O libbtbb-2020-12-R1.tar.gz
tar -xf libbtbb-2020-12-R1.tar.gz
cd libbtbb-2020-12-R1
mkdir build
cd build
cmake ..
makesudo make install
sudo ldconfig
Then install Ubertooth tools:
wget https://github.com/greatscottgadgets/ubertooth/releases/download/2020-12-R1/ubertooth-2020-12-R1.tar.xz
tar -xf ubertooth-2020-12-R1.tar.xz
cd ubertooth-2020-12-R1/host
mkdir build
cd build
cmake ..
makesudo make install
sudo ldconfig
Install Wireshark and Ubertooth plugins:
sudo apt-get install wireshark wireshark-dev libwireshark-dev cmake
cd libbtbb-2020-12-R1/wireshark/plugins/btb
mkdir build
cd build
cmake -DCMAKE_INSTALL_LIBDIR=/usr/lib/arm-linux-gnueabihf/wireshark/plugins/ ..
makesudo make install
Install Classic Bluetooth Plugin:
sudo apt-get install wireshark wireshark-dev libwireshark-dev cmake
cd libbtbb-2020-12-R1/wireshark/plugins/btbredrmkdir build
cd build
cmake -DCMAKE_INSTALL_LIBDIR=/usr/lib/arm-linux-gnueabihf/wireshark/plugins/ ..
makesudo make install
Add Wireshark Permissions:
sudo groupadd wiresharksudo chgrp wireshark /usr/bin/dumpcapsudo chmod 4755 /usr/bin/dumpcapsudo gpasswd -a your_username wiresharkSniffing
Create a pipe file using “mkfifo file_name” or “mknod file_name p” and then configure in Wireshark as follows: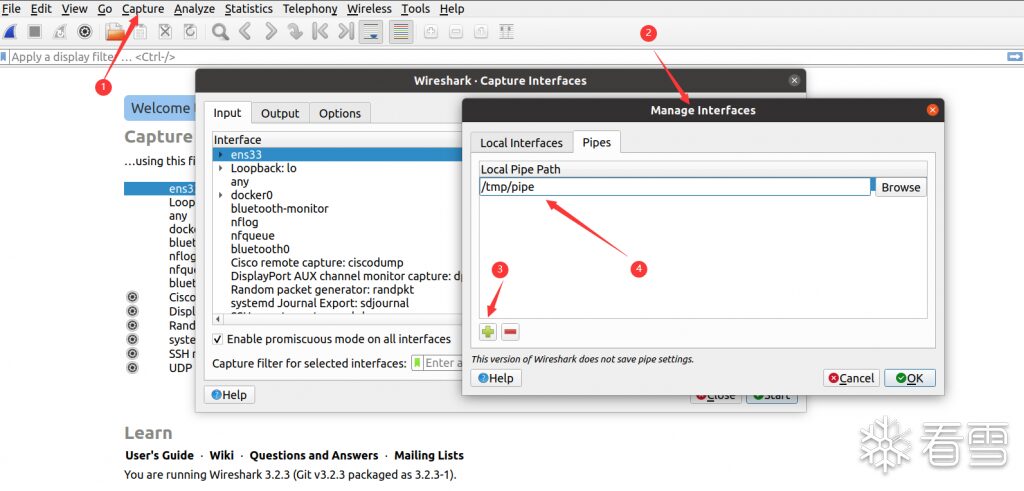 Then click OK -> start to reach a blank page (ps: in the browser, there may be a situation where /tmp/pipe cannot be found, just press enter and then OK -> start).
Then enter the following command in the terminal:
ubertooth-btle -f -c /tmp/pipeYou will see the Bluetooth capture information in Wireshark: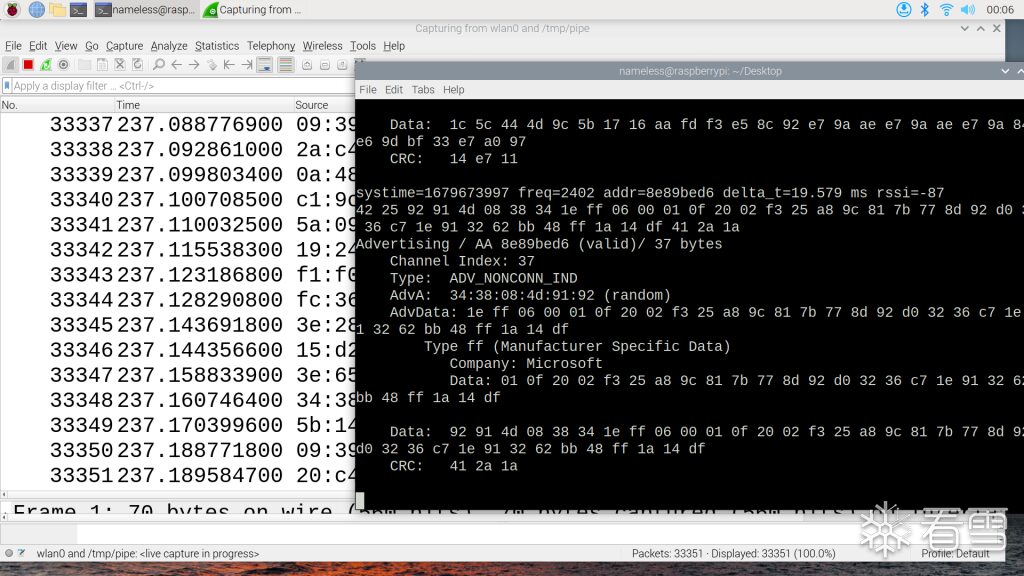
Scanning and Connecting
Sniffing is actually a process that helps us analyze. The key to communicating with a device is to obtain the MAC address of the communication device and establish a connection with it.
This process also requires certain hardware support; otherwise, you may encounter connection issues (refer to this year’s 10cm Bluetooth in West Lake 2333).
So I used a Bluetooth adapter, and after connecting, my Raspberry Pi was fully equipped haha: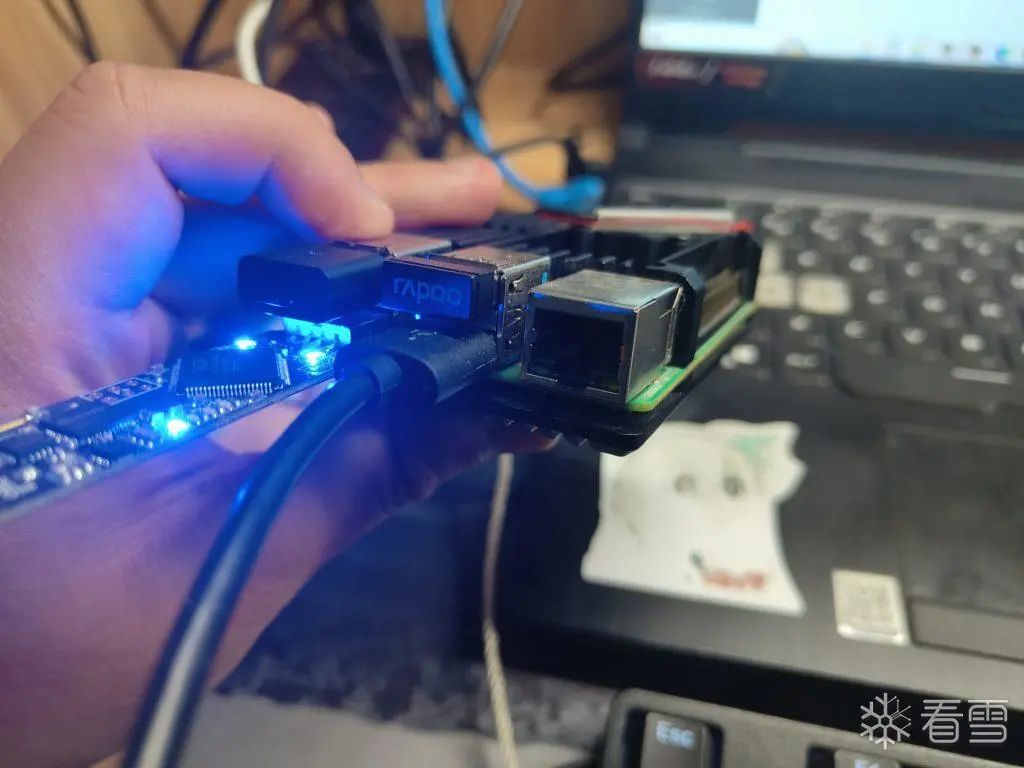 Execute the command “hciconfig -a”:
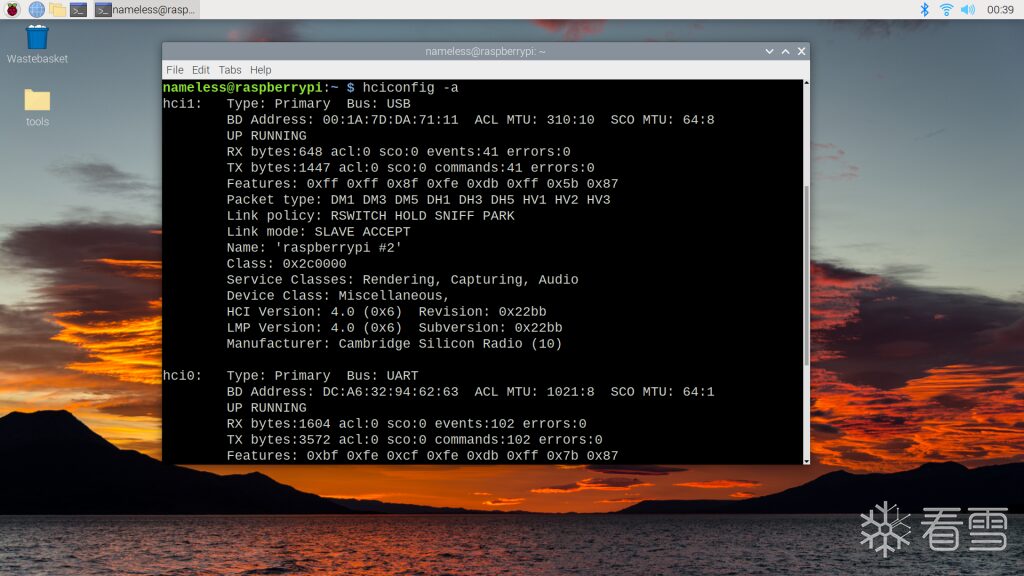 This hci1 is our Bluetooth adapter.
Scanning
Scan using bluetoothctl to capture nearby Bluetooth devices: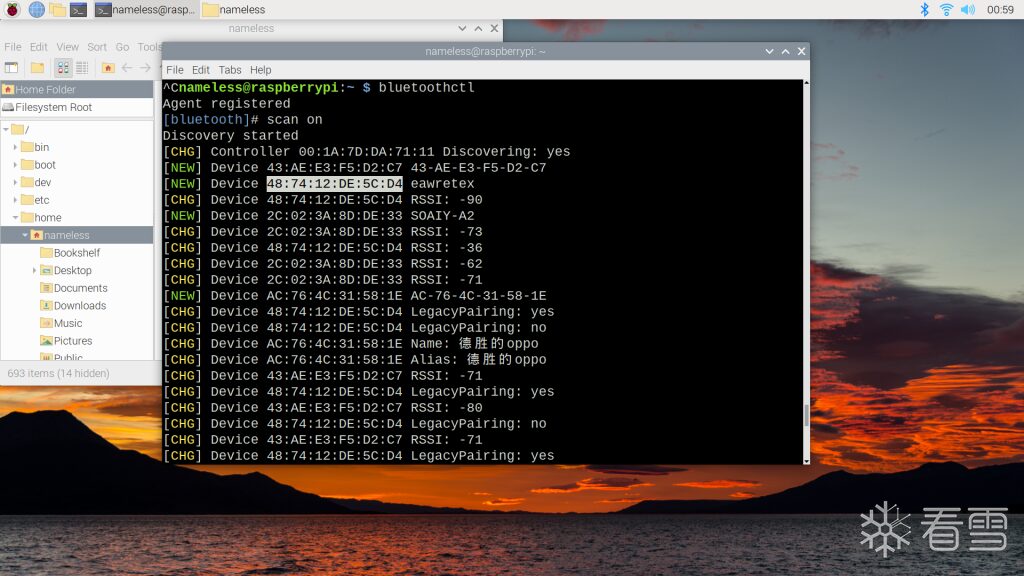 You can also use hcitool lescan, but the effect may not be as good:
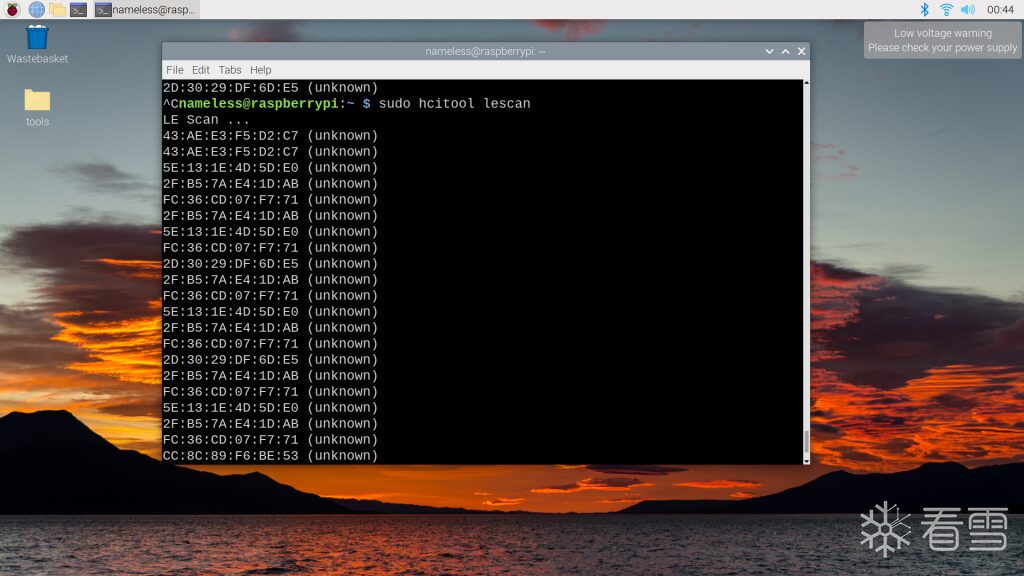 Some devices will display device names, while others may show as unknown; in this case, you may need to take your Bluetooth device to a remote, uninhabited area to capture packets and obtain the MAC address XD.
Connecting
You can establish a connection with the device using the following command:
gatttool -b MAC_ADDRESS -I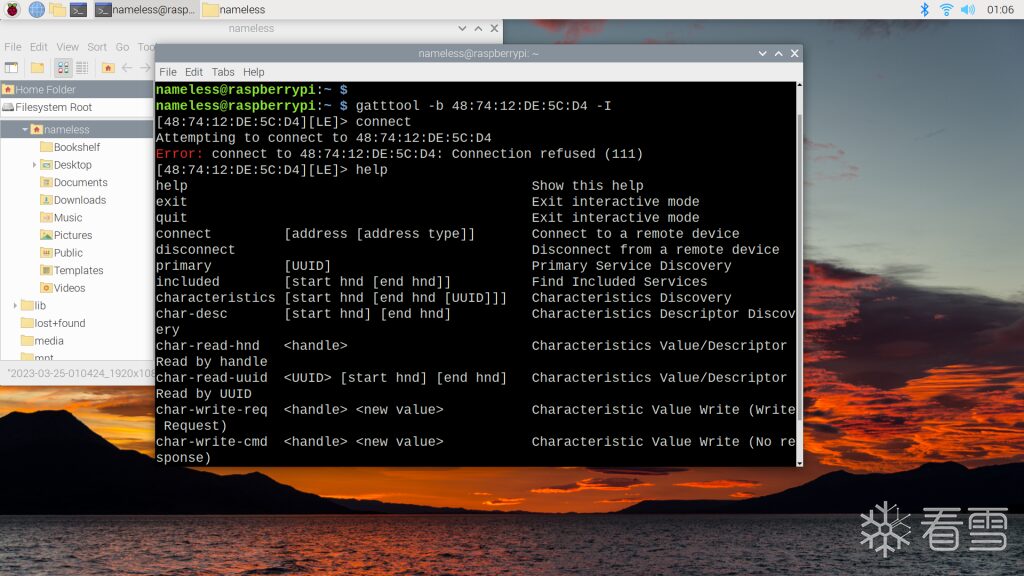 Using help, we can see the available commands.
We are particularly concerned with a few things:
(1) Connect/Disconnect: corresponding to connect and disconnect
(2) Send message:
char-write-req handle value: write value to handle(3) Read message:
char-read-hnd handle: read value from handle(4) Get services and characteristics: primary and characteristics. There are certainly more commands, but these are relatively common. If you have other needs, you can refer to help for self-use.
Follow-up Work
After preparing, we officially start the attack research on a Bluetooth device.
First, we need to sniff to obtain Bluetooth packets, then analyze the format of the packets that achieve specific functions, and then connect to the device using gatttool, sending packets of the same format to complete the man-in-the-middle attack. We will analyze this with corresponding examples later; stay tuned.
References
https://zhuanlan.zhihu.com/p/344447077

Kanxue ID: Nameless_a
https://bbs.kanxue.com/user-home-943085.htm

# Previous Recommendations
1、Realworld CTF 2023 ChatUWU Detailed Explanation
2、Android Protocol Reverse Engineering cxdx Analysis and Implementation
3、Kernel PWN from Beginner to Advanced
4、Kernel PWN – Enabling smap protection babydrive
5、[Detailed Explanation] CTFHUB-FastBin Attack
6、Relocate, PLT, GOT And Lazy Binding


Share

Like

Currently Watching

Click “Read the Original”, to learn more!