There are many products on the market for home surveillance, which work well, but they lack the satisfaction of DIY. Furthermore, we are constantly dealing with code, so it’s good to get a little closer to hardware. Just to clarify, our home surveillance will monitor photos every minute, not real-time video, as the Raspberry Pi may not have enough performance for that.
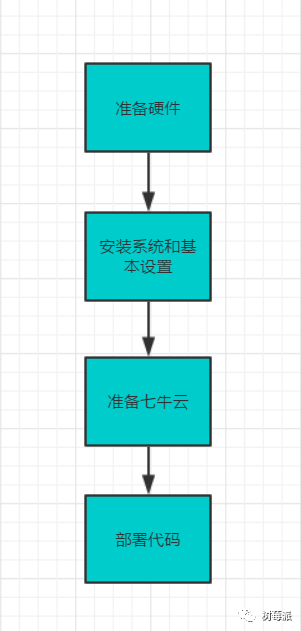
Here are the general steps for our project:
Hardware Preparation
We need at least a Raspberry Pi 3, a Raspberry Pi camera, a TF card (16G, class 10 is recommended), and for easier data transfer, it’s best to have a card reader or SD card adapter. A USB mouse, USB keyboard, and an HDMI monitor (it’s best to have one, but if not, it can still be managed, I assume you have one).
First, let’s see what our Raspberry Pi looks like:

It has four USB ports, one Ethernet port, one HDMI port, one camera interface, a power port, and some less commonly used ports, as well as GPIO.
Let’s take a look at what our camera looks like:
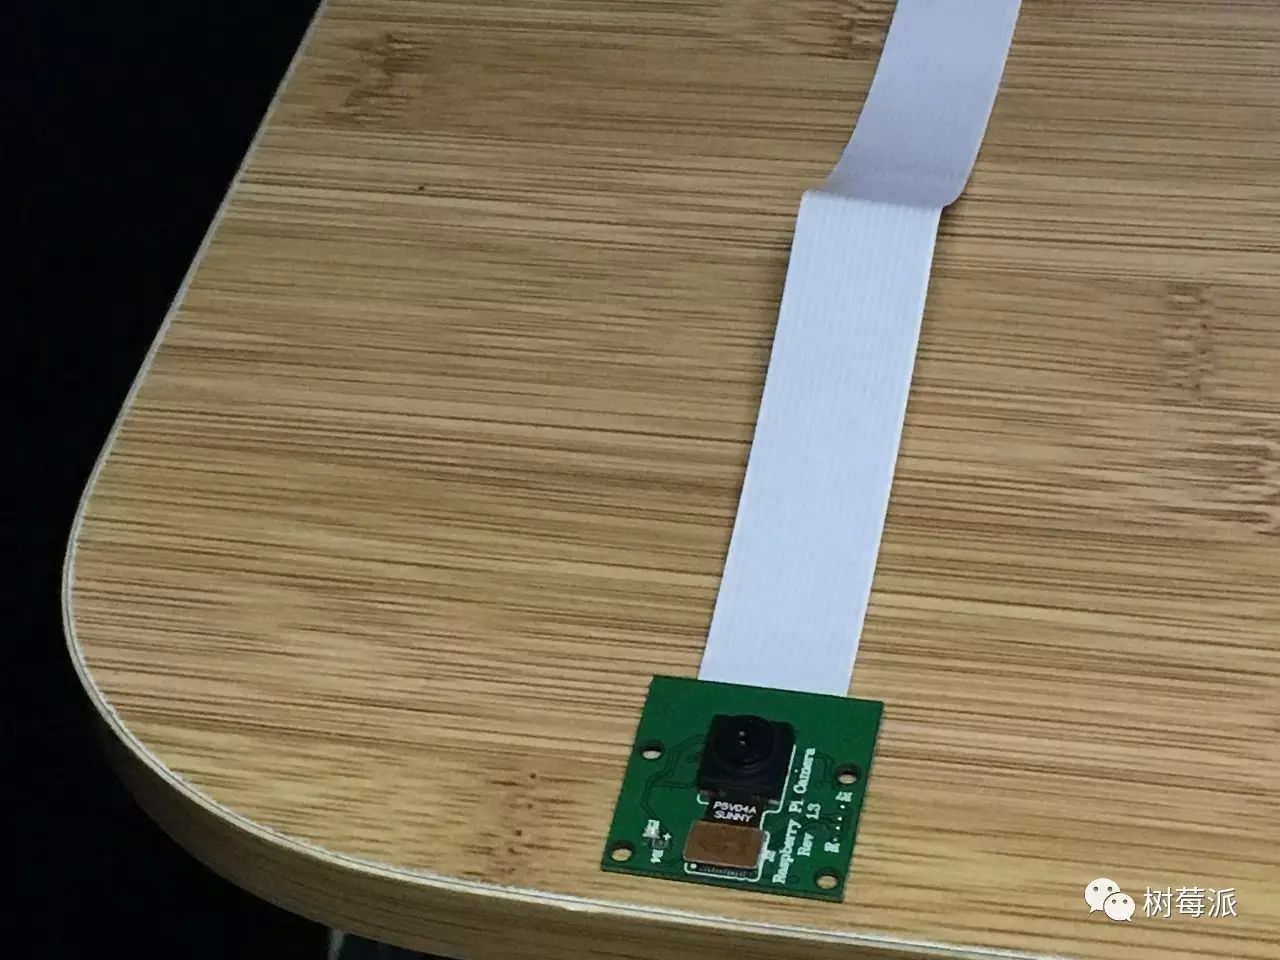
It’s a very simple small camera, about 500W pixels, usually sold for around 35 on Taobao.
Other than the two mentioned above, I don’t care what model of keyboard, mouse, or monitor you use.
Installing the System and Basic Settings
There are so many tutorials online for installing the system that you don’t need to search for English materials; just look at Baidu’s results to solve it perfectly. Below, I assume the system on the Raspberry Pi has been set up.
Access the terminal on the Raspberry Pi (if you choose the Debian system, it operates almost the same as Ubuntu) and execute:
Python
|
1 |
sudo raspi–config |
You should see the following page:
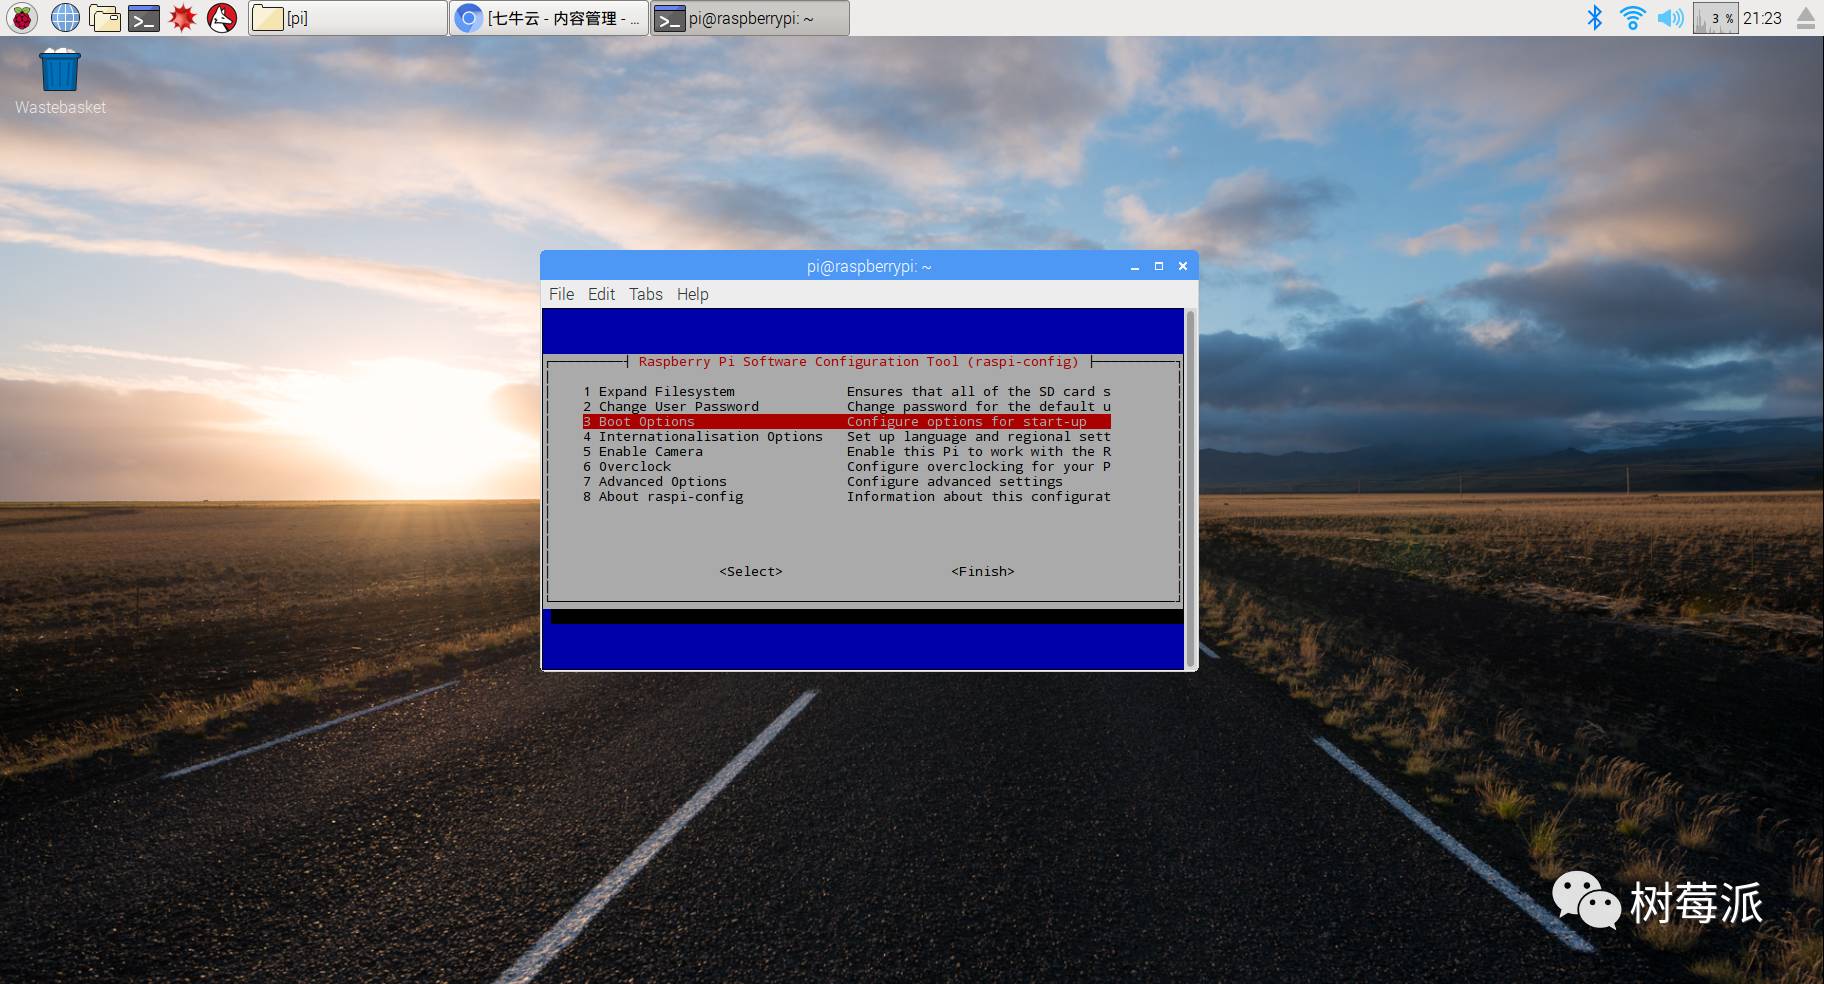
First, select the first option to expand the file system, allowing the Raspberry Pi to fully utilize your TF card. After this, you may need to restart. After restarting, execute the command again and return to this page, select the fifth option, and continue selecting OK to enable the camera interface.
Then we shut down:
Python
|
1 |
sudo shutdown–hnow |
Or you can simply cut the power, which is also fine.
Warning!!!!!!!!!!!!!!!!!!!!!!!!! Never insert the camera while the power is on; if you operate it with power, your camera will likely be damaged, a lesson I learned the hard way. Moreover, if the camera is damaged, it will still light up when called, but you won’t receive any data. I have Googled this issue for a long time, and foreigners are also puzzled; everyone generally thinks it must have been burned out = =
We plug the camera into the Raspberry Pi as shown:
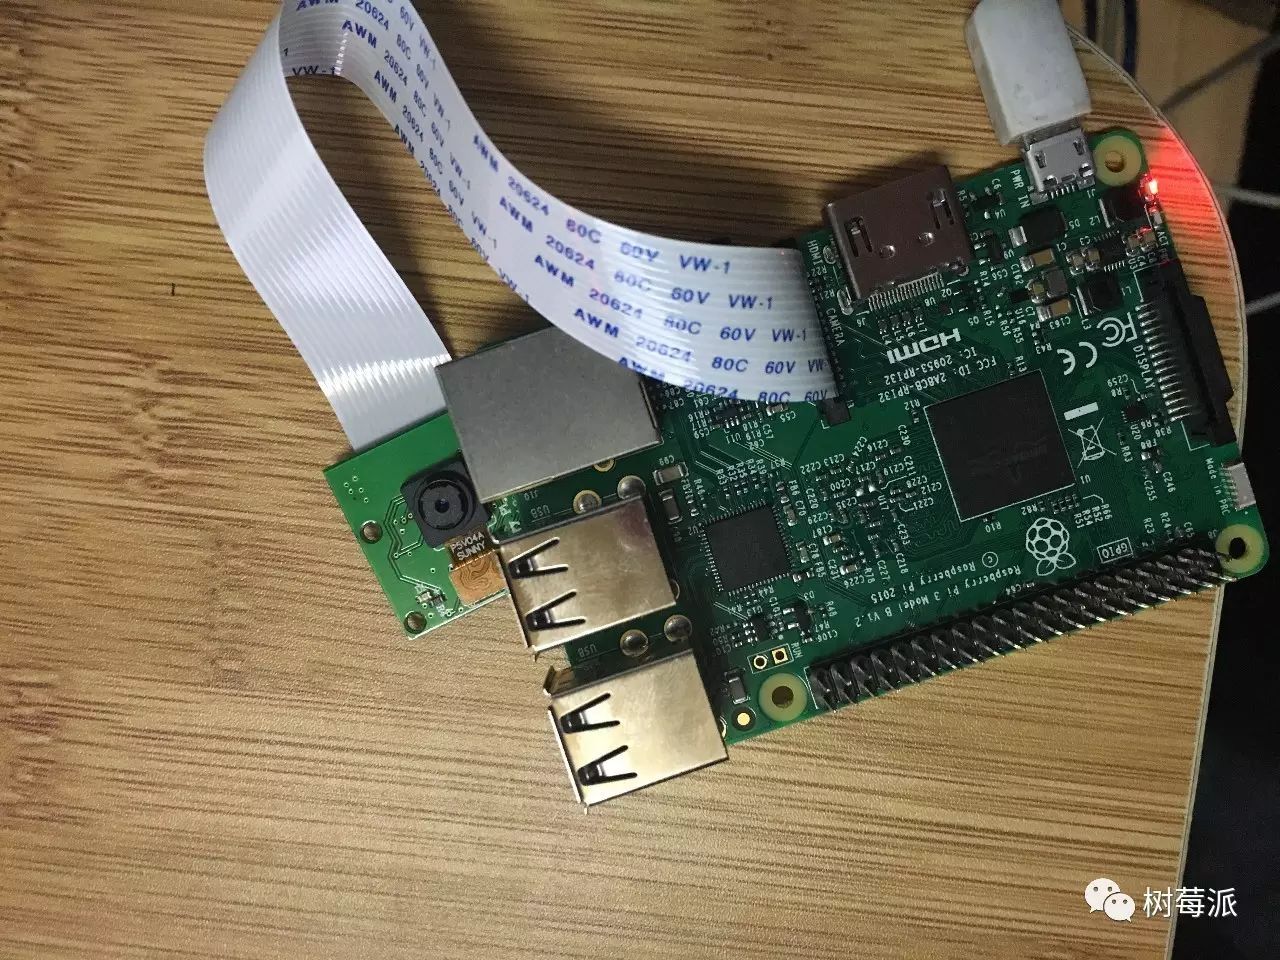
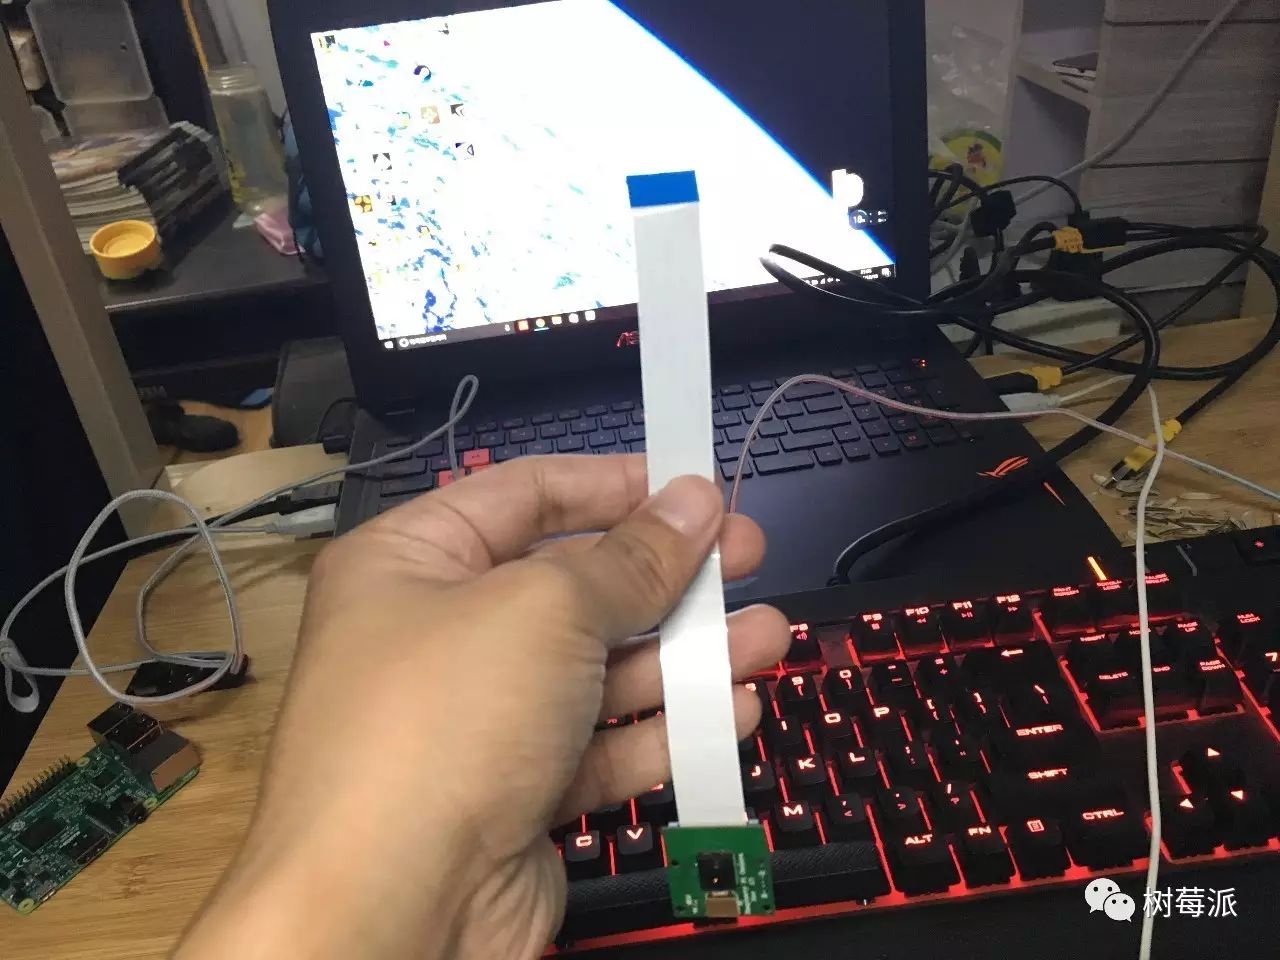
Make sure the blue side of the camera is facing the direction of the USB port; do not insert it the wrong way.
Once you have everything set up and ensured all hardware connections are secure, then power it on. (Make sure not to hot-swap the camera)
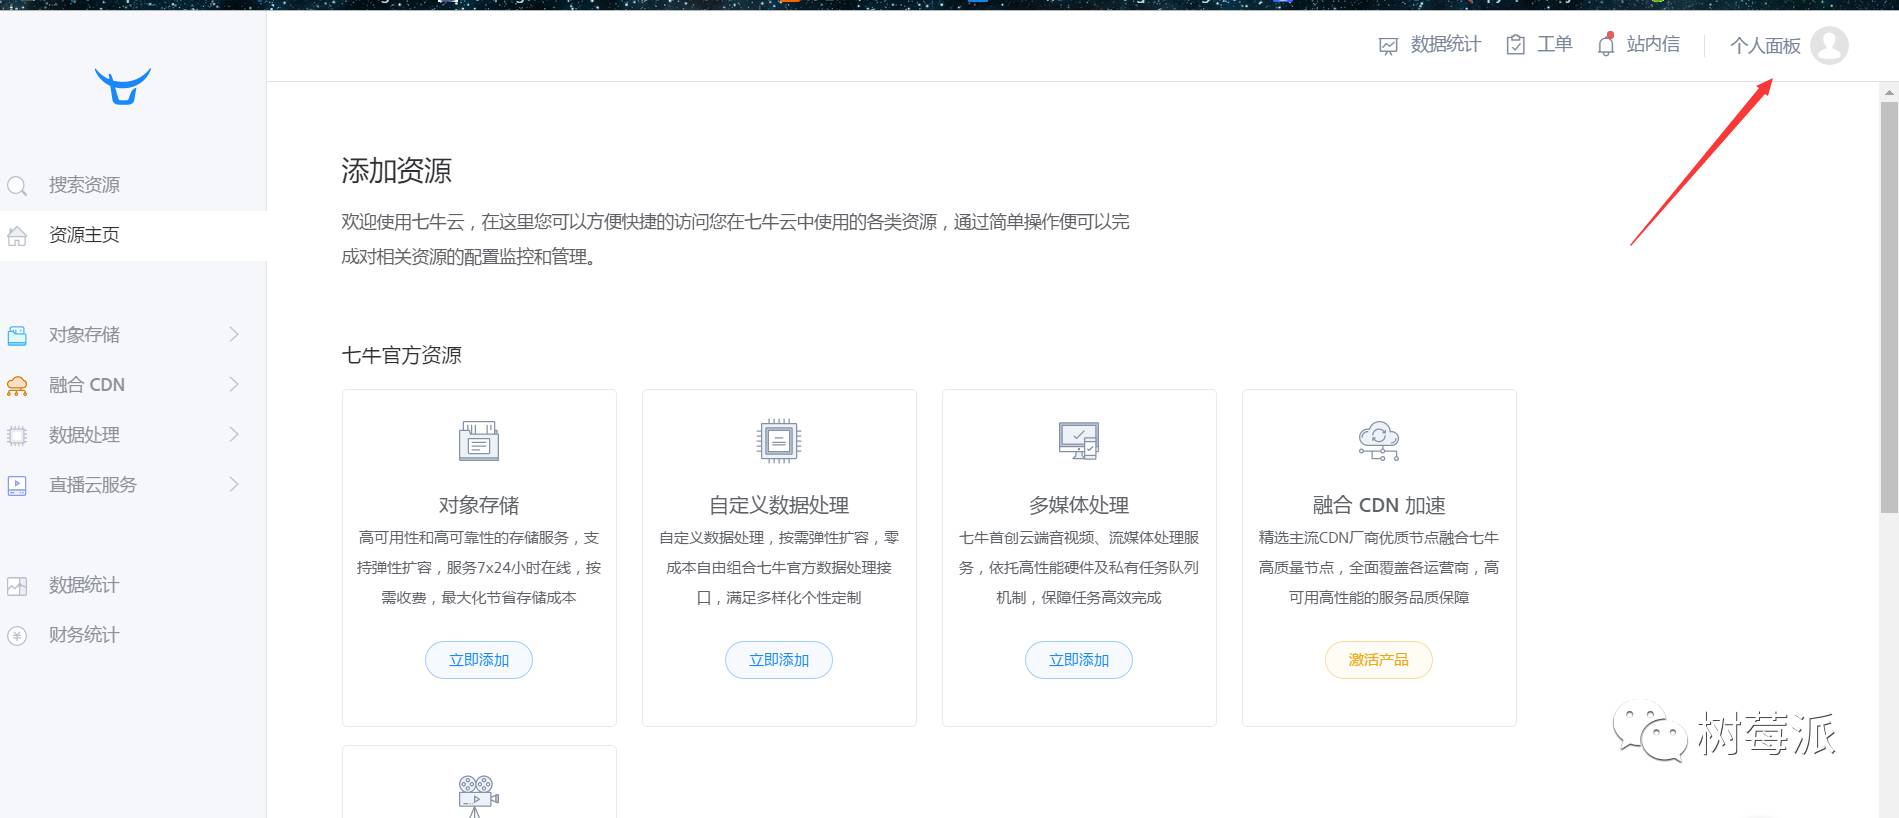
Preparing Qiniu Cloud
Why do I suddenly mention Qiniu Cloud here? The reason is that we need a space to store the monitoring data. Writing a simple server code is also possible, but cloud servers have very small bandwidth for cheap options, and we poor students can’t afford the expensive ones, so it’s better to use Qiniu Cloud, which is simple and free. (Real-name registered users have 10G of free space; all the images linked in this markdown were taken from here).
First, we go to the Qiniu Cloud official website to register an account at http://www.qiniu.com/
After logging in, operate as shown:
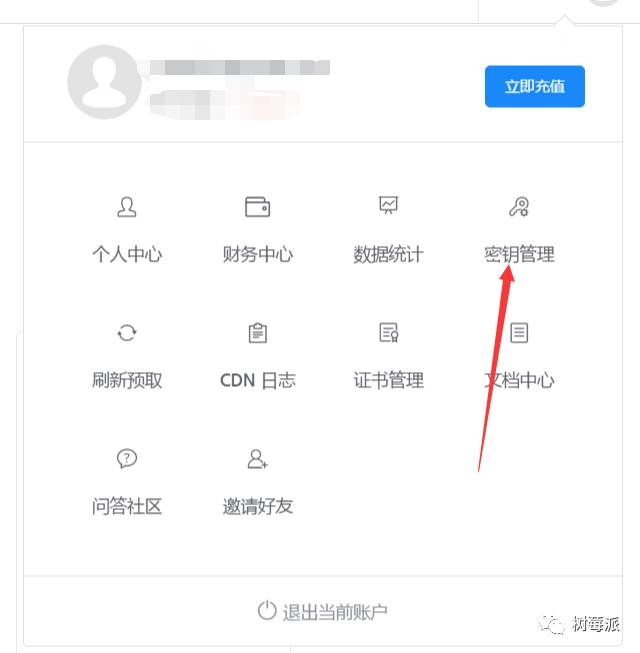
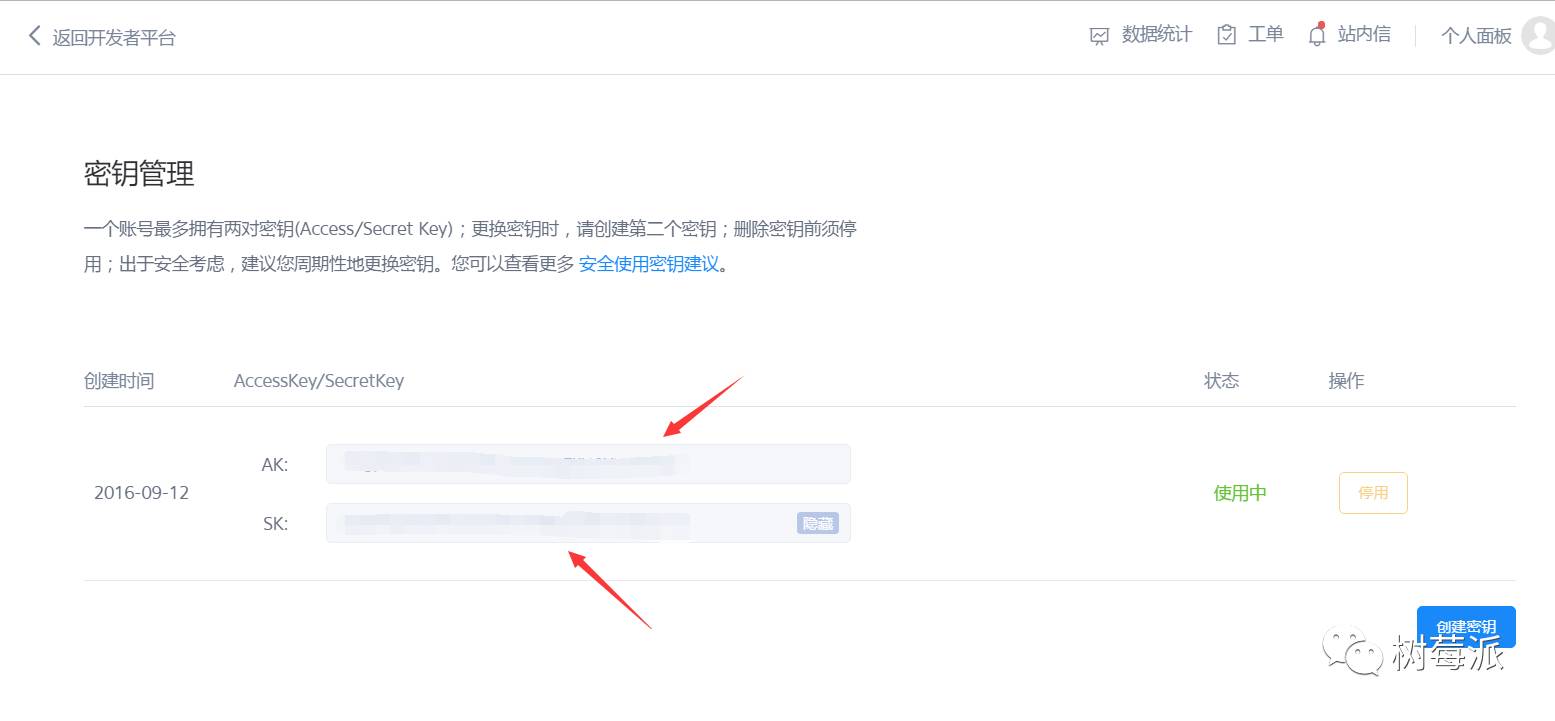
Store this key pair; we will use it later.
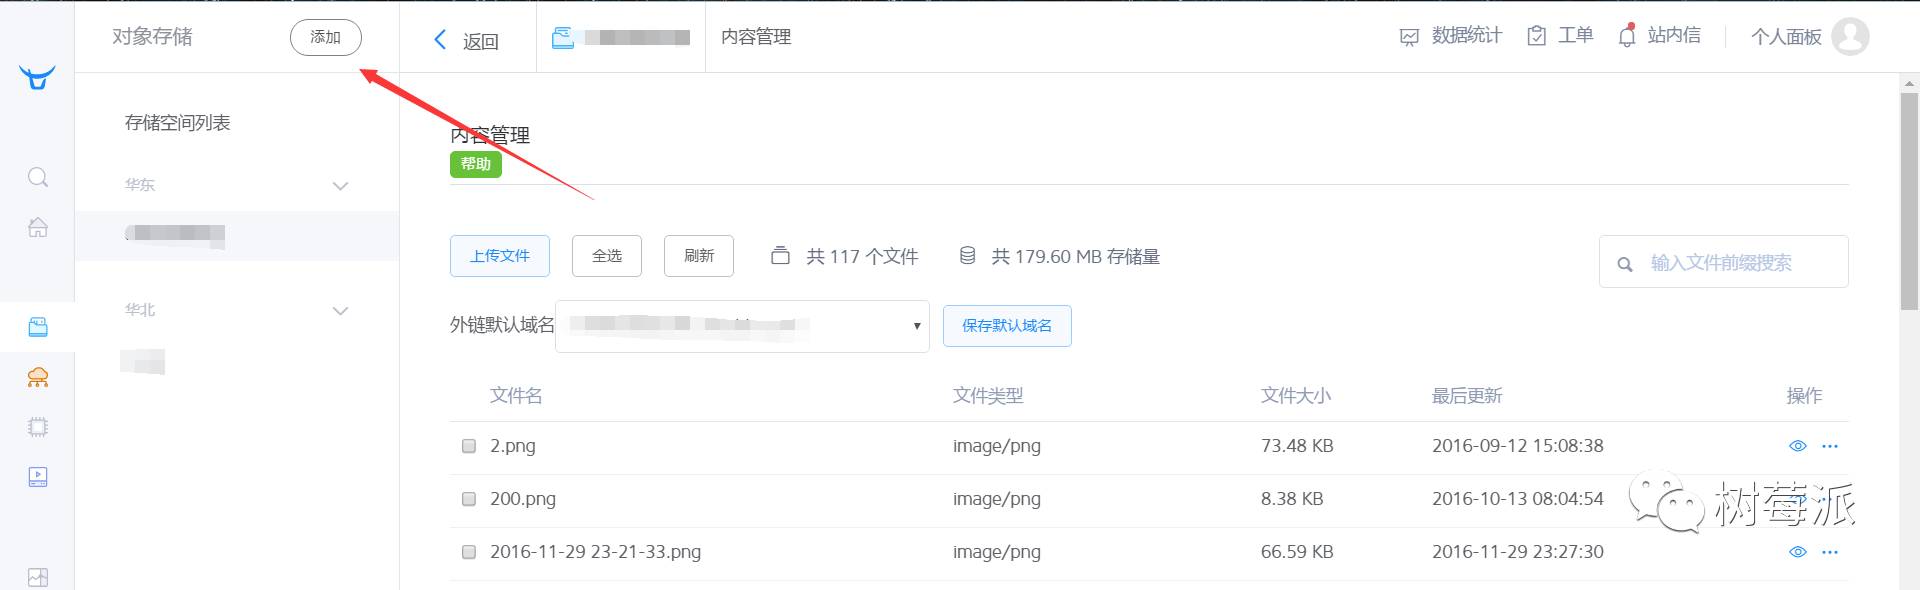
We need to create a new bucket. After opening it, choose any node; the speeds of several domestic nodes are actually similar and can fully meet the needs.
Later, we can query the monitoring photos here.
Code
The following code can be written locally and then cloned via GitHub or copied via USB, or it can be written directly on the Raspberry Pi. However, remember if you choose the former, you need to synchronize the installation of third-party libraries and configuration.
First, we write a .sh script called take_photo.sh
Python
|
1 2 |
raspistill–ocurrent_photo.jpg python test.py |
Then install the Qiniu Cloud Python SDK by executing the following in the command line:
Python
|
1 |
sudo pip install qiniu |
In the same directory as take_photo.sh, we create a test.py
Python
|
1 2 3 4 5 6 7 8 9 10 11 12 13 14 15 16 17 18 19 20 21 22 23 24 25 26 27 28 29 30 |
# -*- coding: utf-8 -*- importtime fromqiniu importAuth,put_file,etag,urlsafe_base64_encode importqiniu.config importos # Fill in your Access Key and Secret Key access_key=”# Fill in the key pair I asked you to remember secret_key=”# Fill in the key pair I asked you to remember # Build the authentication object q=Auth(access_key,secret_key) # The bucket to upload to bucket_name=‘mypi’ # The filename after uploading to Qiniu key=‘%s_%s_%s_%s_%s_%s.jpg’%(time.localtime()[0],time.localtime()[1],time.localtime()[2],time.localtime()[3],time.localtime()[4],time.localtime()[5]) # Generate upload token, can specify expiration time, etc. token=q.upload_token(bucket_name,key,3600) # Local file path to upload localfile=‘current_photo.jpg’ ret,info=put_file(token,key,localfile) filename=‘current_photo.jpg’ ifos.path.exists(filename): os.remove(filename) |
In this way, every time we execute the take_photo.sh script, the Raspberry Pi will take a photo and send it to Qiniu Cloud, and we just need to log in to see data like this:
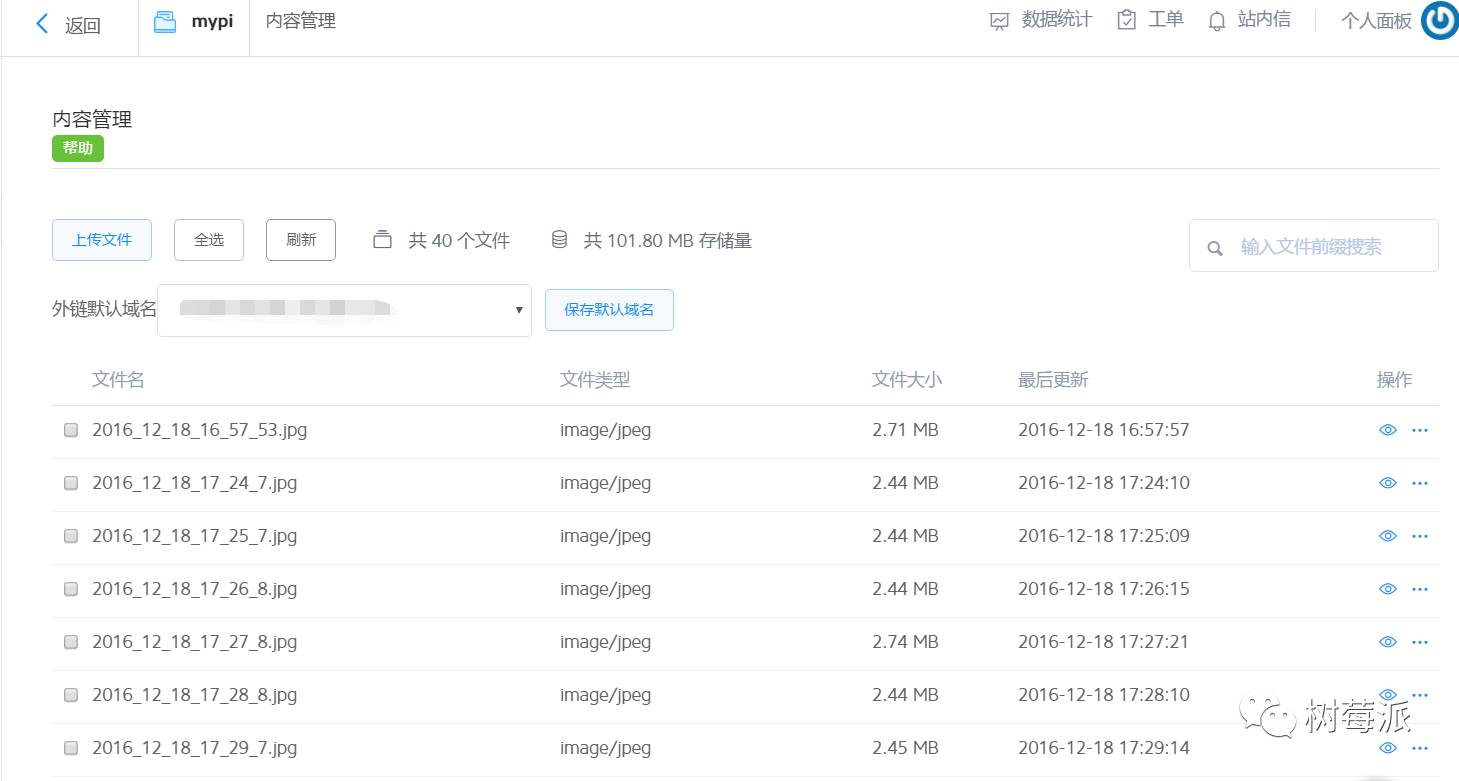 The file naming is done in the format of year, month, day, hour, minute, second.
However, we certainly can’t manually execute it every time; that wouldn’t be monitoring. The simplest idea is to use Linux’s cron jobs to manage this script.
Enter the command line and execute:
|
1 |
crontab–e |
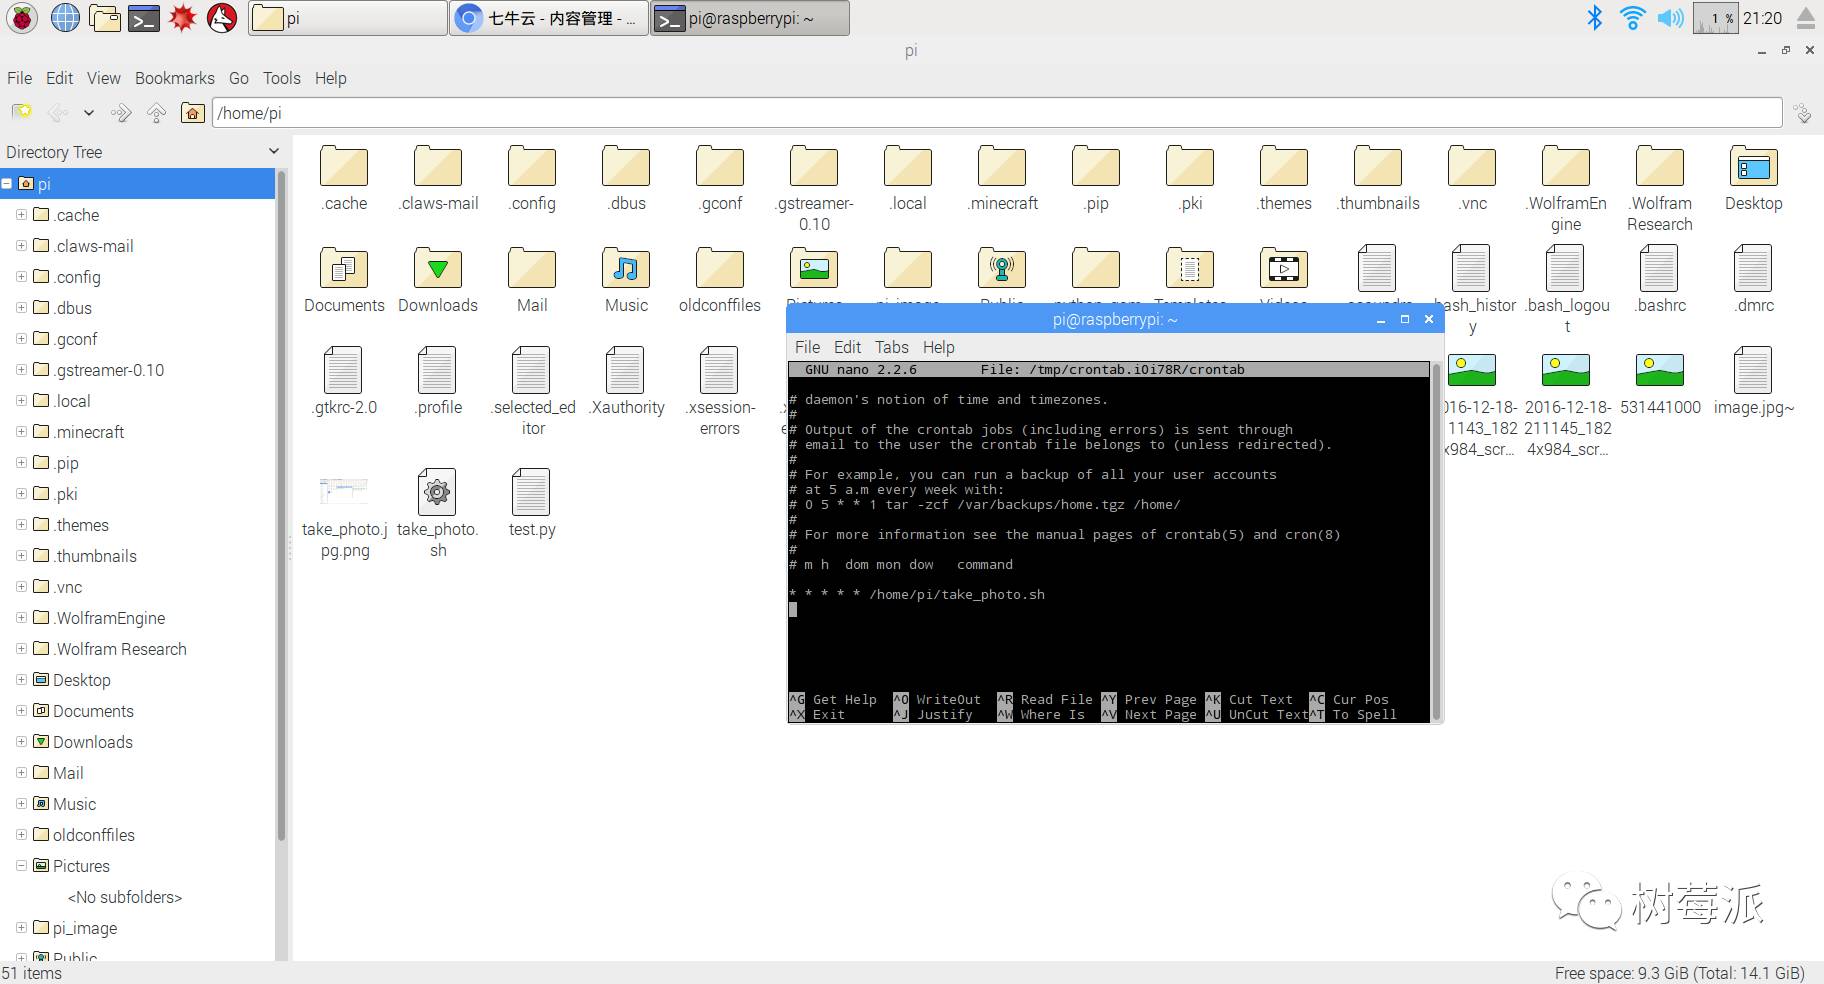 Add the following at the end:
Python
|
1 |
*****/home/pi/take_photo.sh |
Then press Ctrl+x, press Y, and save the changes. After that, restart cron:
Python
|
1 |
sudo service cron restart |
Now our scheduled monitoring is complete! Place it where you want, and it will take a photo every minute and send it to Qiniu Cloud. You can use Qiniu Cloud’s local sync tool, qshell, to conveniently view updated photos.
Qshell usage tutorial: http://developer.qiniu.com/code/v6/tool/qshell.html