Simple Operation Process (Three Steps)
Step 1: Prepare Files and Folders
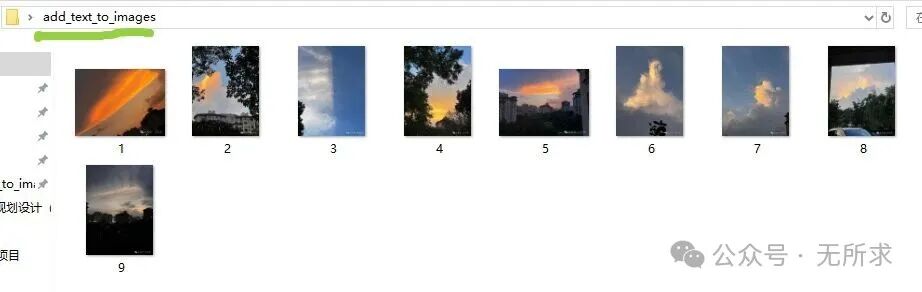
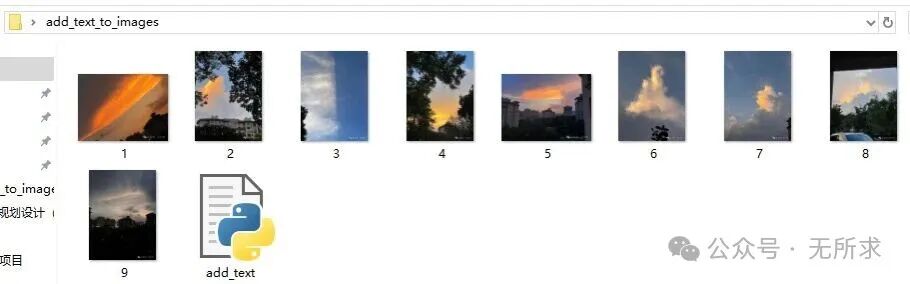
Create a new folder, for example, named add_text_to_images.

Place all the images you want to add text to into this folder.

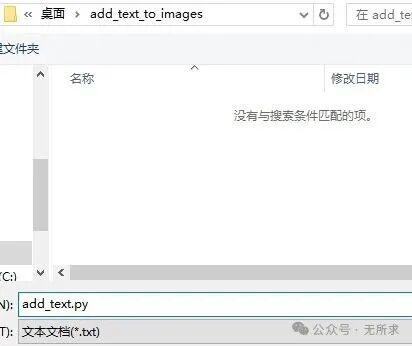
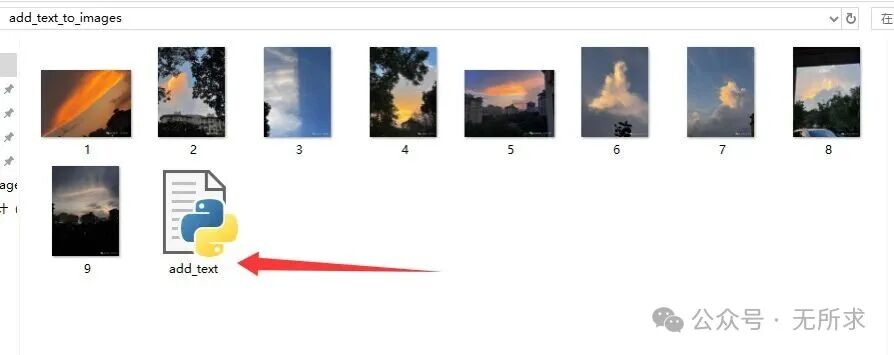
In this folder, create a new text file and rename it to add_text.py (note that the extension is .py).

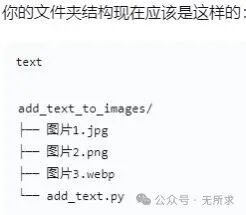
Your folder structure should now look like this:

Copy the code provided by AI as follows:
from PIL import Image, ImageDraw, ImageFont
import os
# === Configuration Area: Modify the parameters here ===
# Text content to be added
text_to_add = "Test Watermark"
# Text color - change to black for visibility
text_color = "black"
# Text position - change to a more prominent position
position = (50, 50)
# Font size - increase
font_size = 80
# Use system Chinese font (Windows path)
try:
# Try to use Microsoft YaHei, a common font in Windows
font = ImageFont.truetype("C:/Windows/Fonts/msyh.ttc", font_size)
except:
try:
# If YaHei fails, try SimHei
font = ImageFont.truetype("C:/Windows/Fonts/simhei.ttf", font_size)
except:
# If both fail, use the default font (fallback)
font = ImageFont.load_default()
print("Warning: Chinese font not found, using default font")
# Input and output folders
input_folder = "."
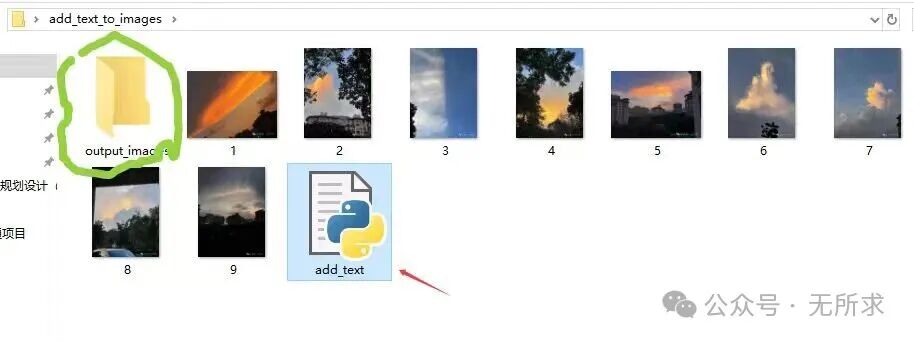
output_folder = "./output_images"
# === Code Execution Area ===
# Create output folder
os.makedirs(output_folder, exist_ok=True)
# Supported image formats
image_extensions = ('.jpg', '.jpeg', '.png', '.bmp', '.webp')
# Counter
processed_count = 0
# Iterate and process images
for filename in os.listdir(input_folder):
if filename.lower().endswith(image_extensions):
image_path = os.path.join(input_folder, filename)
try:
with Image.open(image_path) as img:
# Ensure the image is in RGB mode (avoid RGBA issues)
if img.mode != 'RGB':
img = img.convert('RGB')
draw = ImageDraw.Draw(img)
draw.text(position, text_to_add, fill=text_color, font=font)
output_path = os.path.join(output_folder, f"with_text_{filename}")
img.save(output_path)
print(f"✓ Processed: {filename}")
processed_count += 1
except Exception as e:
print(f"✗ Failed to process {filename}: {e}")
print(f"\nBatch processing completed! Successfully processed {processed_count} images")
print(f"Output folder: {output_folder}")
Save the script to the newly created .py text file.
 Run the script
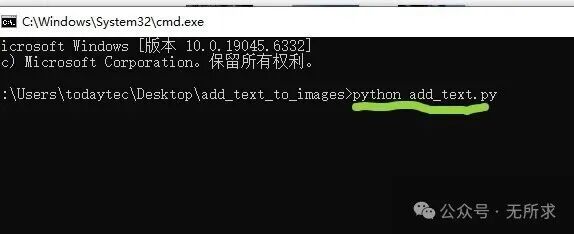
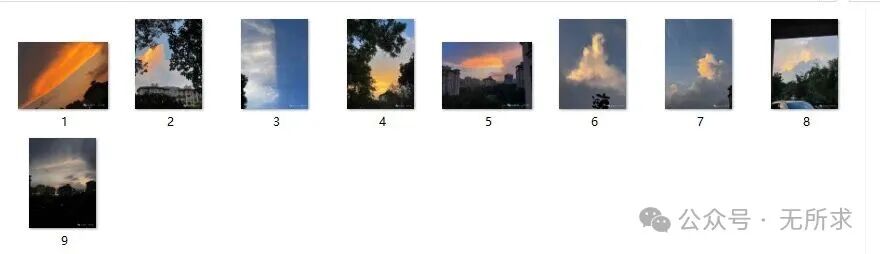
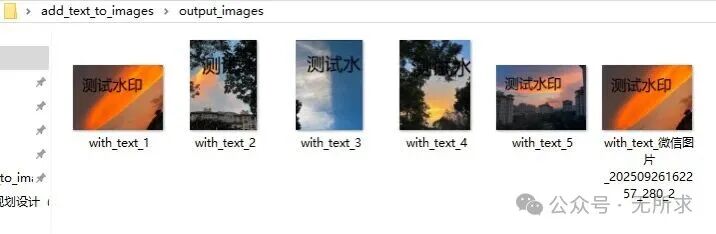 Images with Jfif files that cannot be recognized were not added. The black text is not clear, so I changed it to white. In the code, modify the color. The image has four words “Test Watermark” added, and the image name also has a uniform identifier with_text_, which can be changed to your desired identifier.
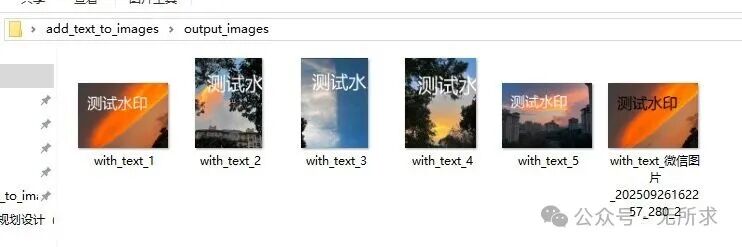 This is my first time learning to use Python, and I’m not very familiar with it. I’m afraid I will forget, so I recorded the steps. After the holiday, I will practice again. After running once, you only need to copy the modified parameter code to a text file, save it in this folder to replace the original one, and then click the folder to automatically run and output the images with added text, which will be in the same folder as the original images without deleting them.