Experience Soft Routing: A Step-by-Step Guide to Setting Up OpenWRT on an Old Laptop
Hello everyone, I am Stark-C.
When it comes to soft routing, many of you may have heard of it but not experienced it. Many people, like I did, have heard too many bloggers promoting soft routing, discussing its functionalities, and even wondering if they really need a soft router. Eventually, they end up spending money on one, only to find out that it doesn’t serve much purpose, which is quite disappointing.
So today, I will teach you how to turn your idle old laptop into a standard soft router running the OpenWRT system. This way, you can experience the soft routing system at zero cost with your existing resources before deciding whether you need to purchase an additional soft router.
Disclaimer: This tutorial will format the USB drive you prepare and the system disk of the idle computer you will install the soft router system on, so please make sure to back up your data!!!
Preparation
Before we start the installation, in addition to preparing a USB drive with at least 4GB of space, we also need to download the following three files:
NO.1 OpenWrt Firmware
Download link: https://drive.google.com/drive/folders/1dqNUrMf9n7i3y1aSh68U5Yf44WQ3KCuh
For this firmware, I have chosen the Lean OpenWrt x86-64 soft router firmware compiled by eSir. I would like to express my gratitude for the generous contribution from eSir!
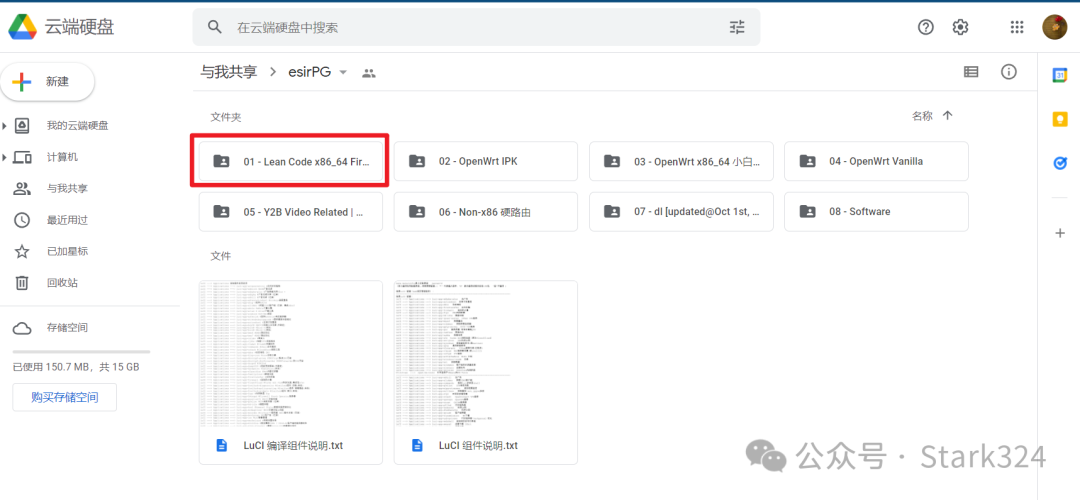
🔺 Open the firmware list published by eSir, then directly select and double-click to open the folder named 【Lean Code x86-64】.
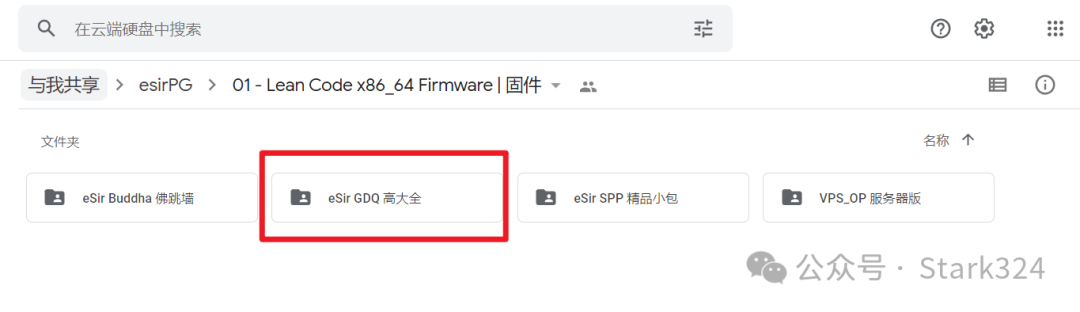
🔺 Next, we will choose the 【High Definition】 version.

🔺 Choose the latest 【2022】 version.
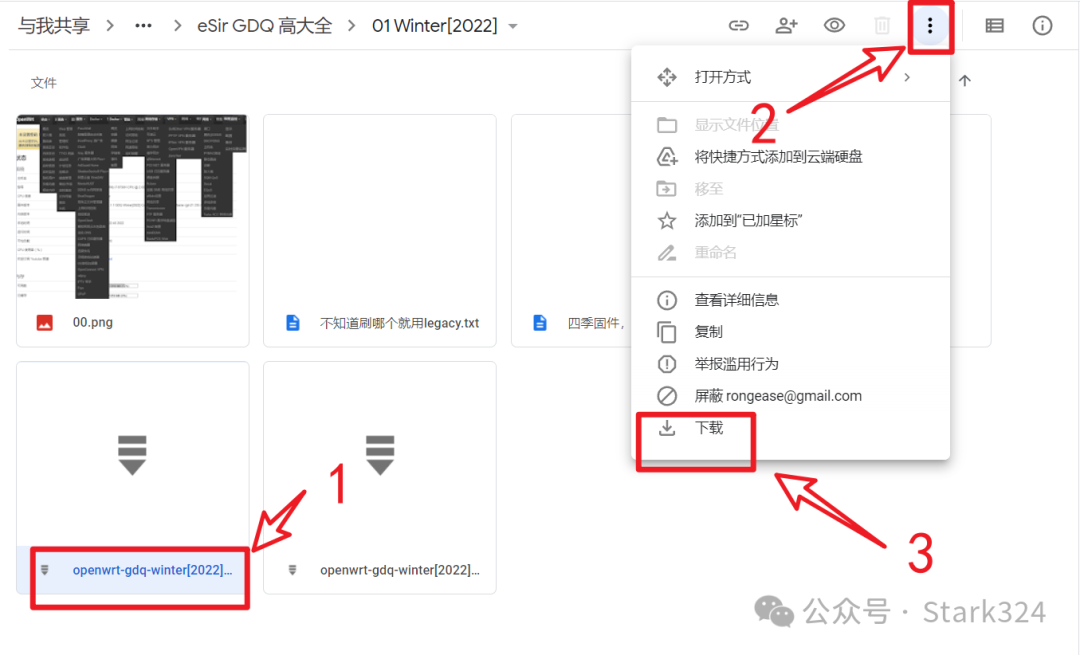
🔺 There are two firmware versions available, legacy and uefi. If you are unsure which to choose, simply select the legacy version firmware. Then download it as shown in the image above.
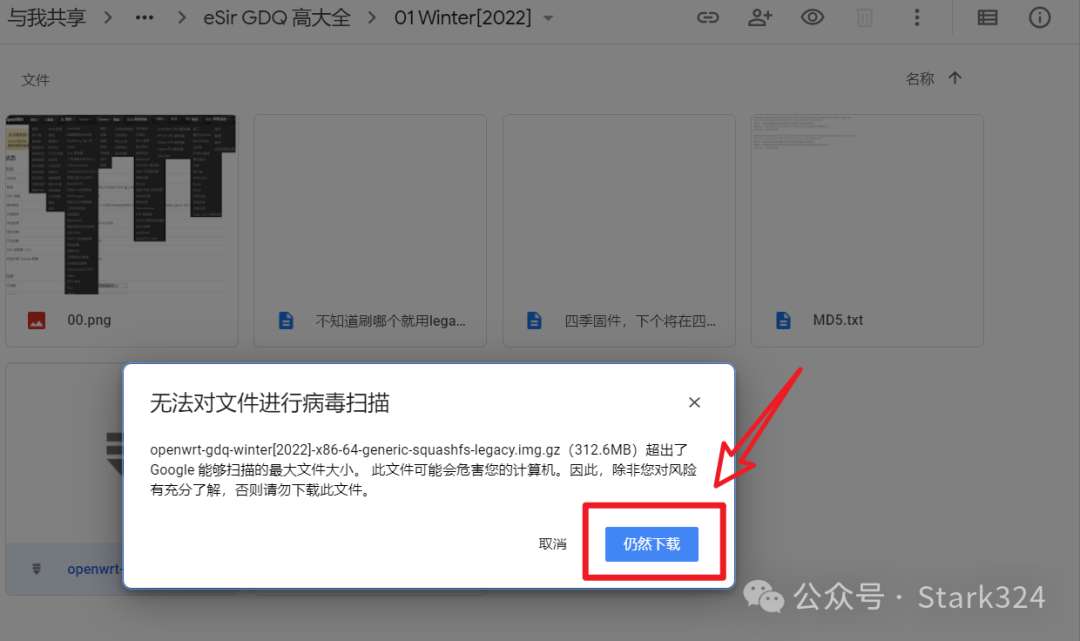
🔺 During the download, a prompt may appear; choose “Download anyway” to download the OpenWrt firmware to your local computer.
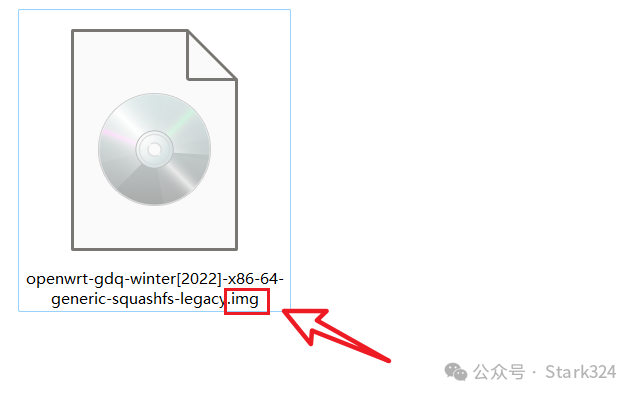
🔺 After downloading, you will have a compressed file. Unzip this file to obtain a file with the extension “img”, which is the OpenWrt firmware we will install today.
PS: If the file you get after unzipping does not have the “img” extension, simply rename it accordingly.
NO.2 WeiPE
Download link: https://www.wepe.com.cn/download.html
Of course, you can choose other PE tools; there are no restrictions. However, I have been using this one for many years, so I am choosing WeiPE here.
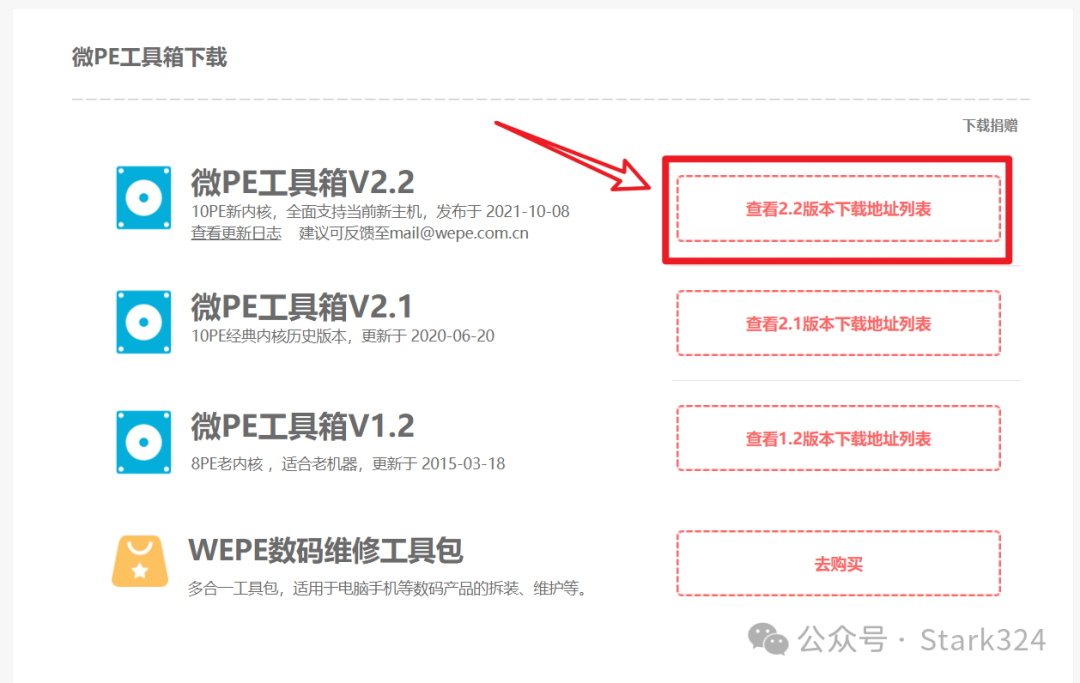
🔺 Here, I choose the latest WeiPE. Although my computer is over a decade old, it is still compatible.

🔺 You will be prompted to donate; this is up to you. Of course, the developers have a hard time, so donating the price of a cup of tea is reasonable~~. If you are just using it temporarily, you can choose “Not donating, continue downloading”.
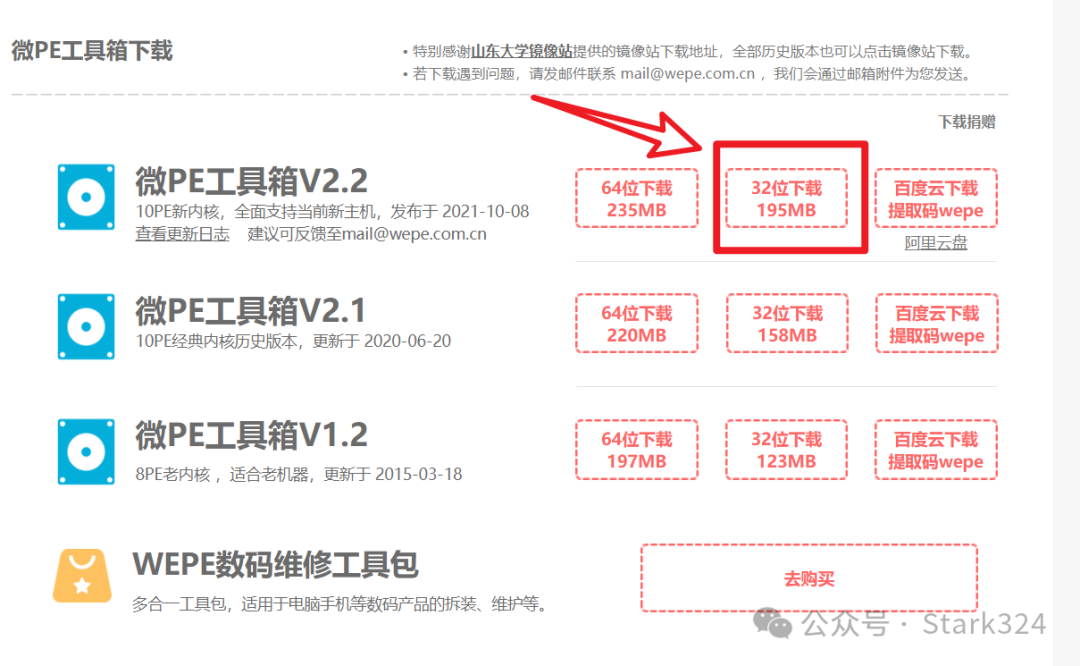
🔺 A download box will appear. If your computer is as old as my laptop, I recommend choosing the 32-bit version.

🔺 After downloading, you will have an “exe” application.
NO.3 IMG Writing Tool

🔺 I couldn’t find the official download link for this, so I won’t provide a link. You can easily find it by searching the keywords in your browser. I am using version 1.60.
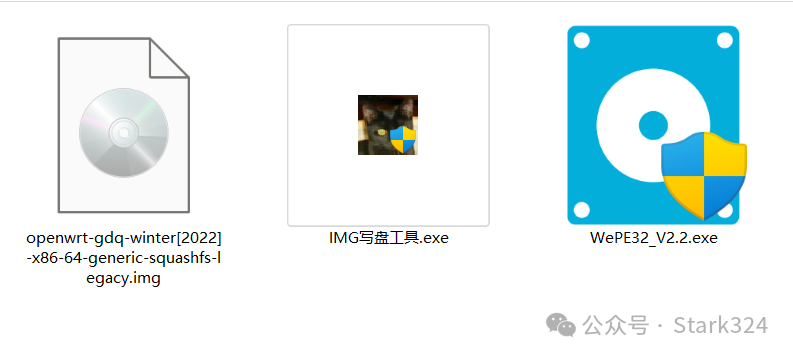
🔺 Now we have downloaded the three files needed for today’s tutorial.
Creating the USB Drive with WeiPE System
After completing the preparations, we can insert the USB drive into the computer we are currently using.

🔺 Open the WeiPE toolbox we downloaded, and on the first interface, select “Other Installation Methods — USB Drive”.

🔺 Ensure that the “Target USB Drive” is the one we prepared for installing the OpenWRT system, and leave the other settings as default. Click the “Install to USB Drive” button below. Please note: This step will format your USB drive, so make sure you have backed up your data!!!

🔺 The system will automatically create and install WeiPE onto our USB drive; we just need to wait patiently.

🔺 When this screen appears, it indicates that our USB drive with the WeiPE toolbox has been successfully created.
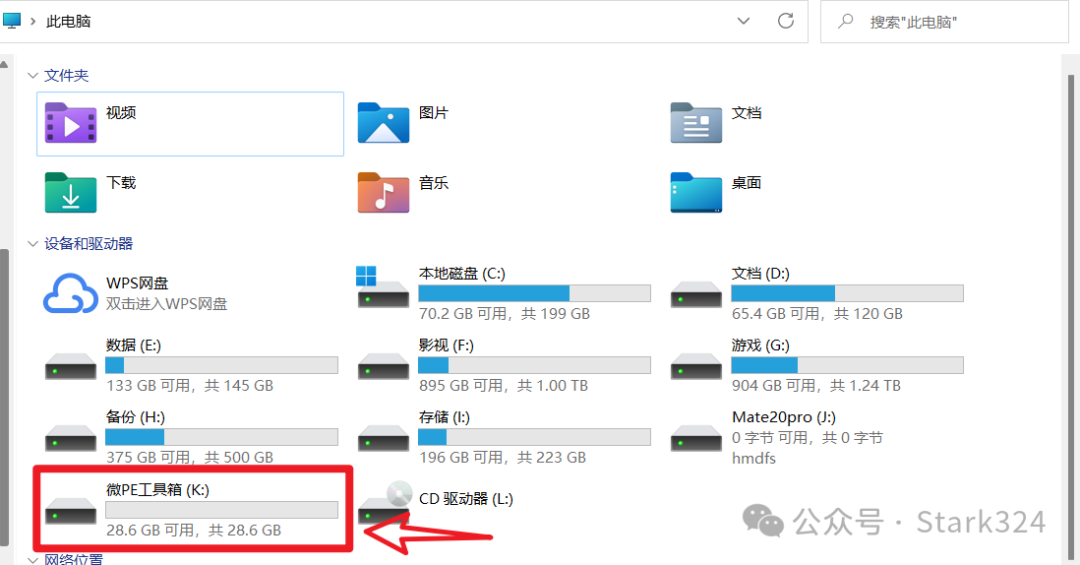
🔺 Then we can open “This PC” on the desktop, and in the “Devices and Drives” section, we will see our WeiPE drive (which is actually our USB drive). Click to open it.
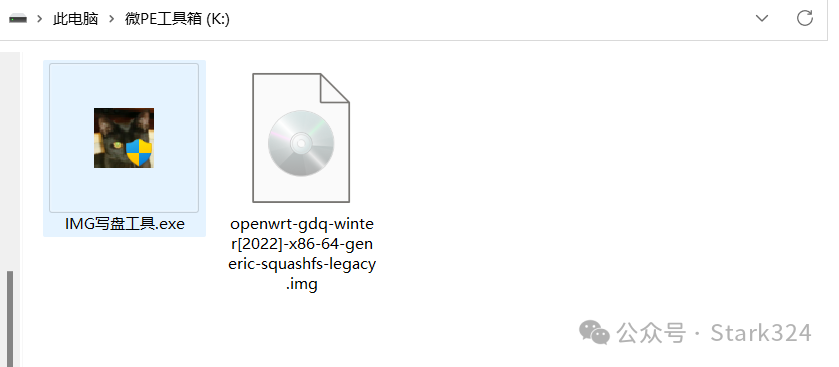
🔺 Copy the OpenWRT firmware and the IMG writing tool we downloaded in the first step to the WeiPE system USB drive.
At this point, our work on the USB drive is complete, and we can safely eject it and proceed to the next step on our idle laptop.
Installing OpenWRT
Insert the USB drive into the idle laptop where we will install the OpenWRT soft router, then power on the computer and enter the boot mode.
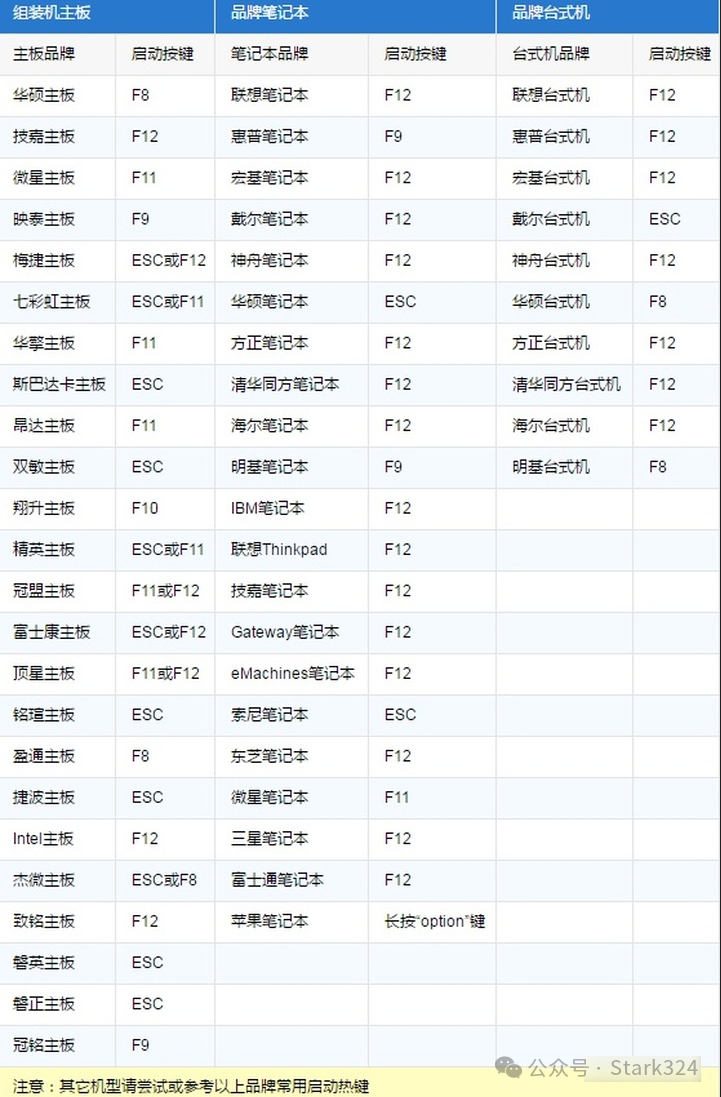
🔺 The above shows the methods to enter boot mode for various brands.
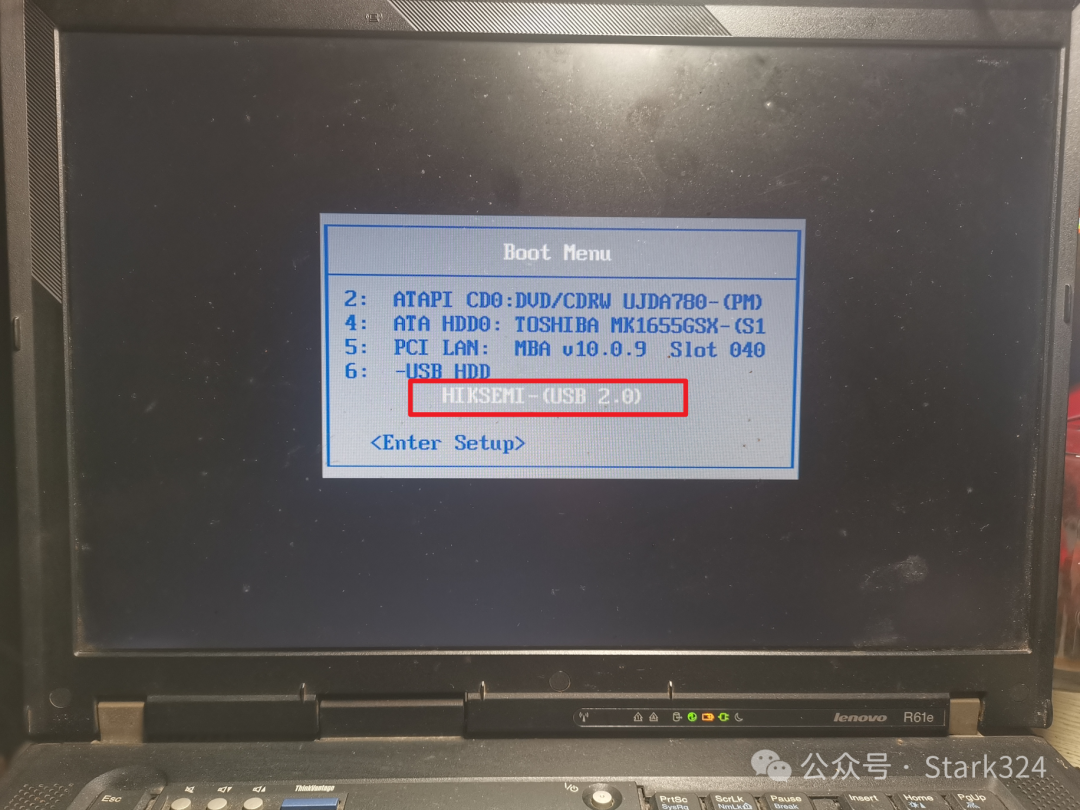
🔺 My computer is a Lenovo Thinkpad, so I can enter the boot menu by pressing F12 immediately after powering on, then select USB boot (which is the name of our USB drive under USB HDD).
🔺 The computer will automatically enter the PE system on our USB drive.
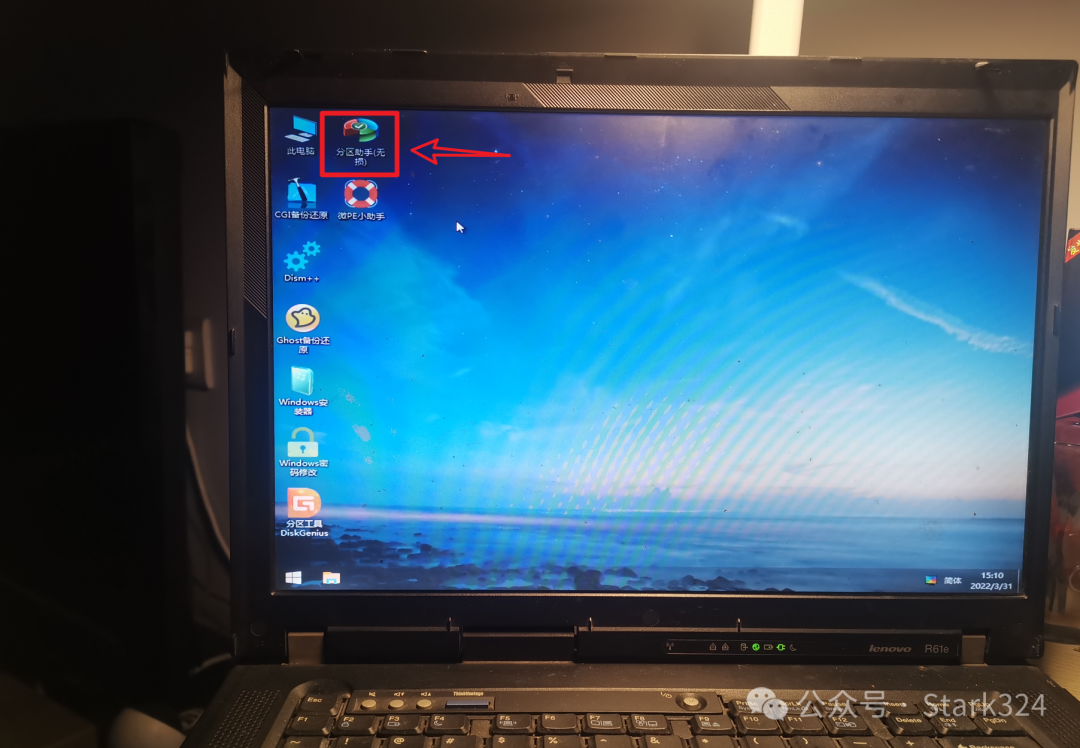
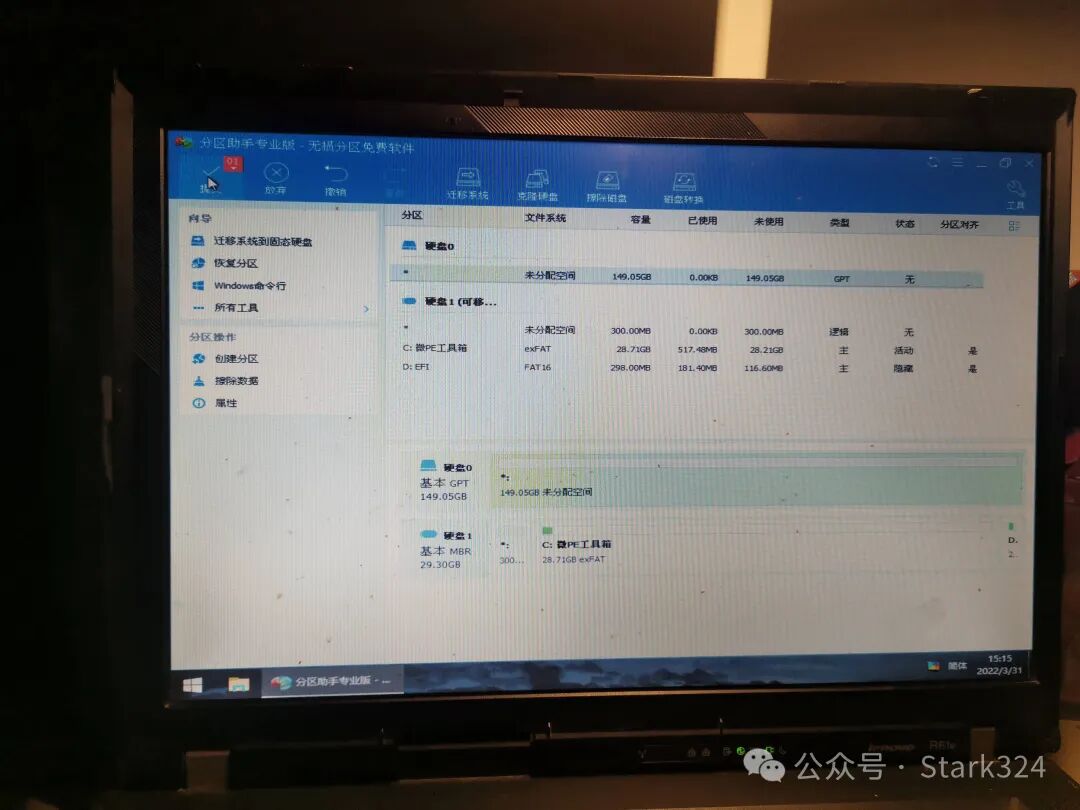
🔺 After a moment, you will enter the WeiPE system interface. At this point, we will operate just like we do on a normal Windows computer, first opening the partition assistant.
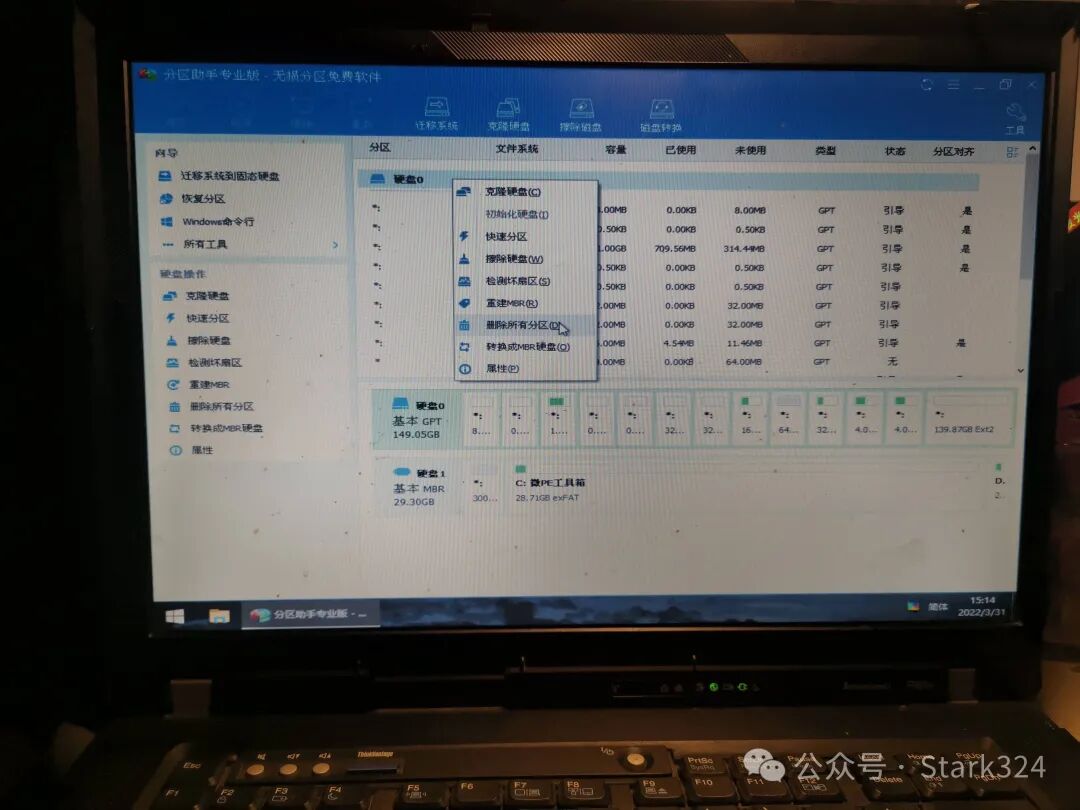
🔺 Then select the hard drive of the computer we are going to install on, right-click and choose “Delete All Partitions”. Since my computer has only one hard drive with one partition, I directly selected the entire hard drive for this operation.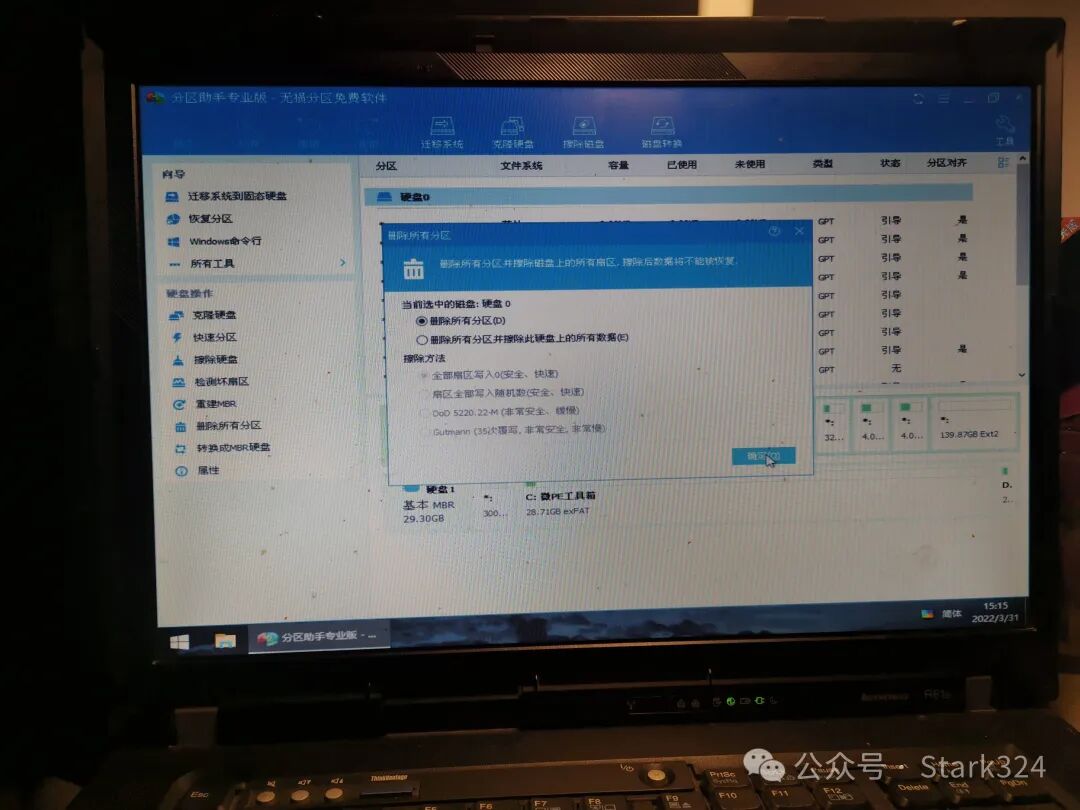
🔺 Click “OK”
🔺 Then click the “Submit” button in the upper left corner
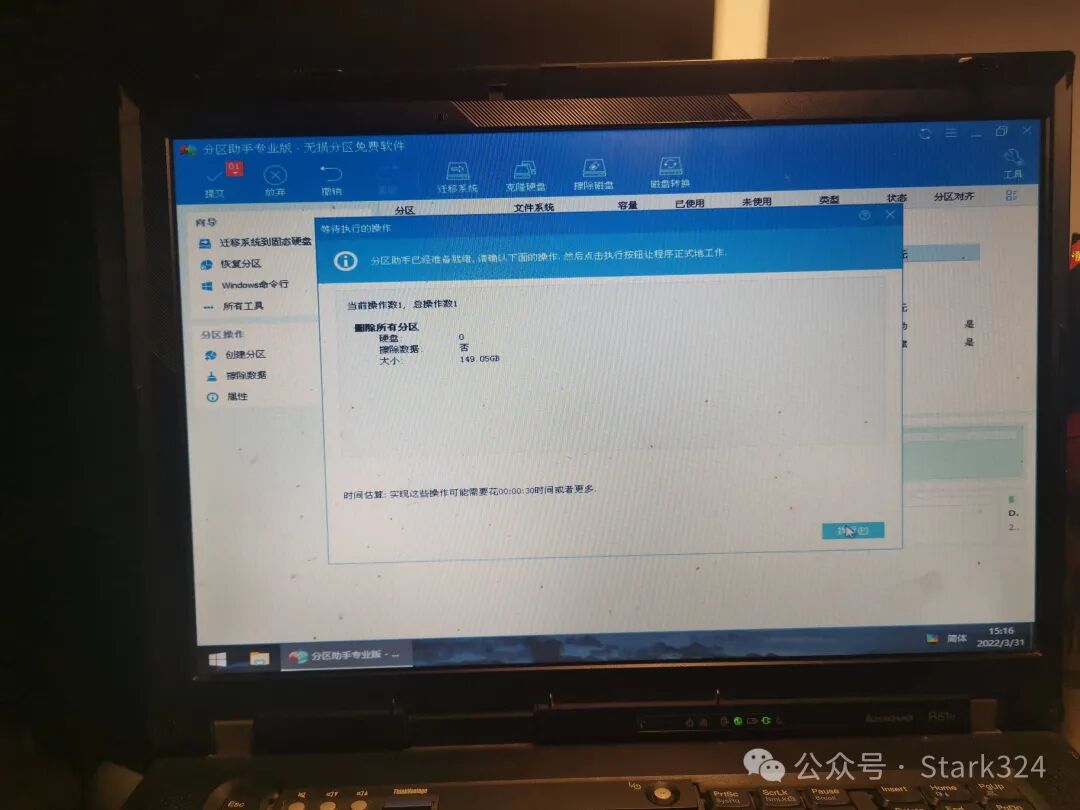
🔺 Then click the “Execute” button

🔺 When this screen appears, it indicates that the partition deletion operation has been completed, and you can close the 【Partition Assistant】 now.

🔺 Now, open “This PC” on the desktop again
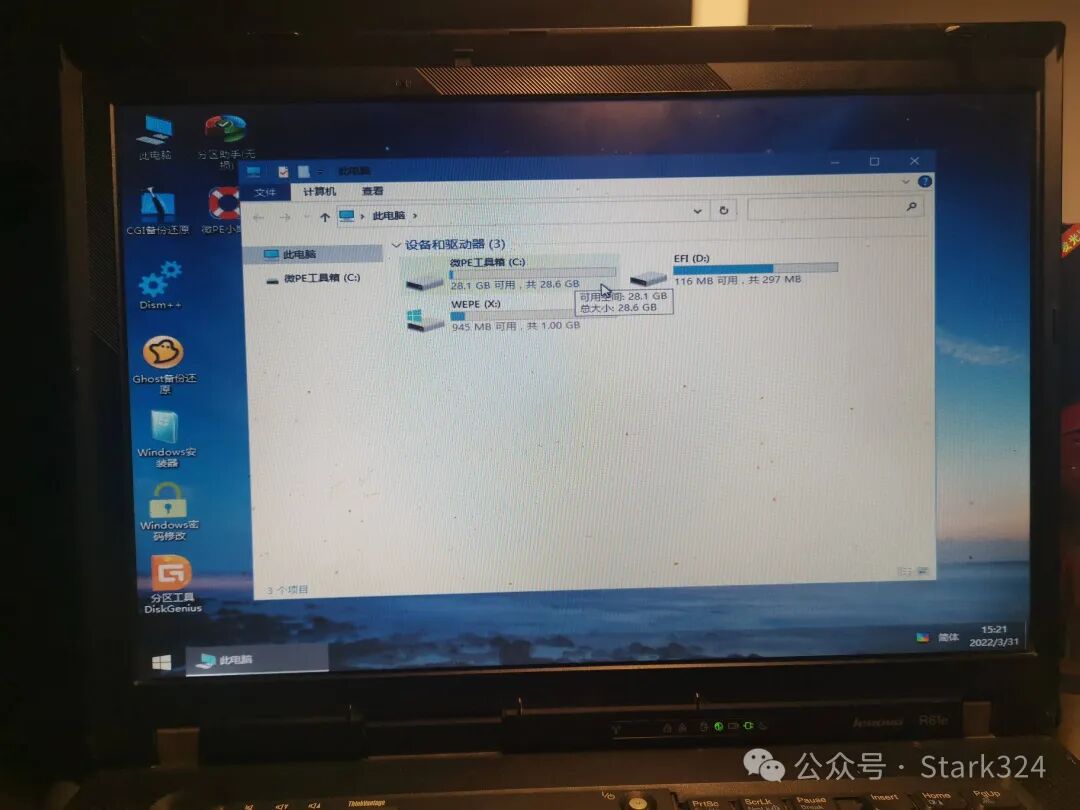
🔺 Then open the USB drive where we wrote the WeiPE.
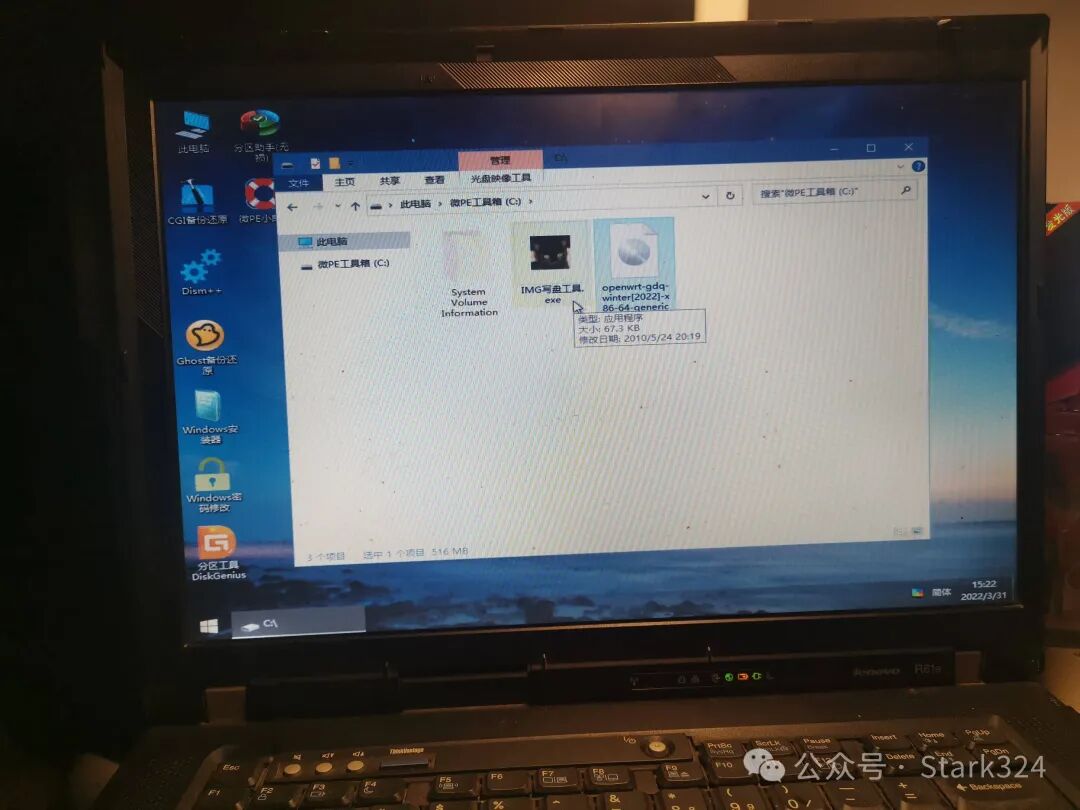
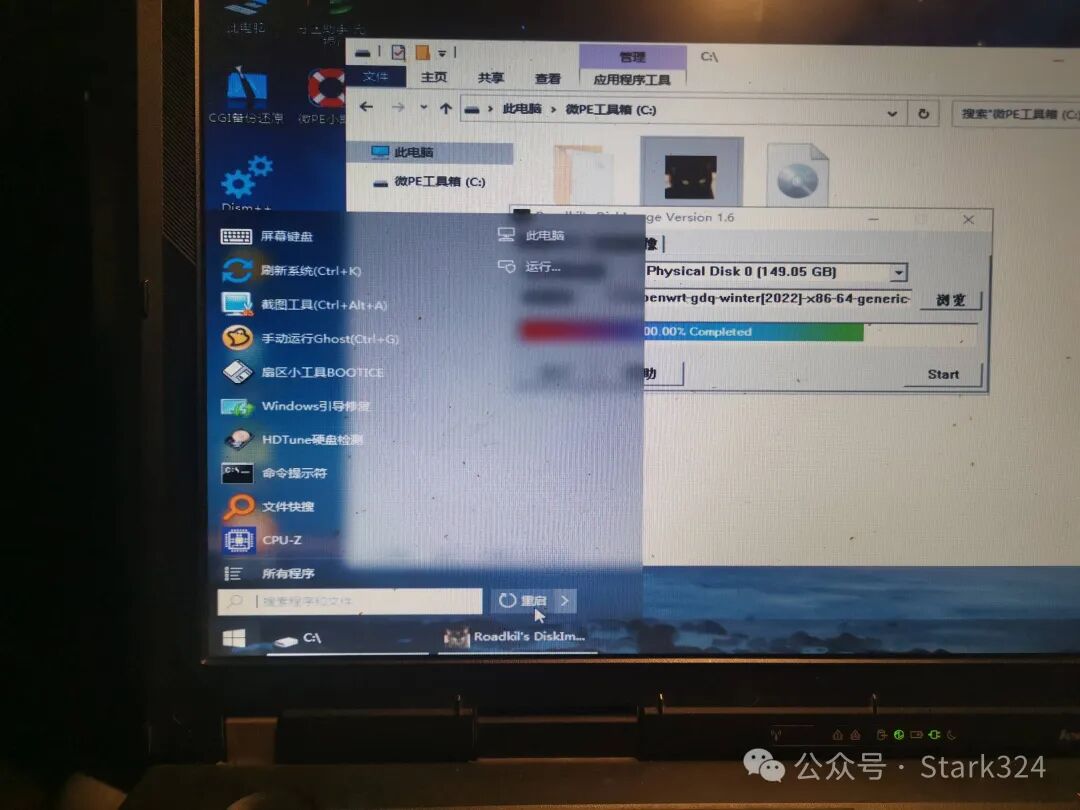
🔺 Inside the USB drive, click to open the “IMG Writing Tool” we copied there.
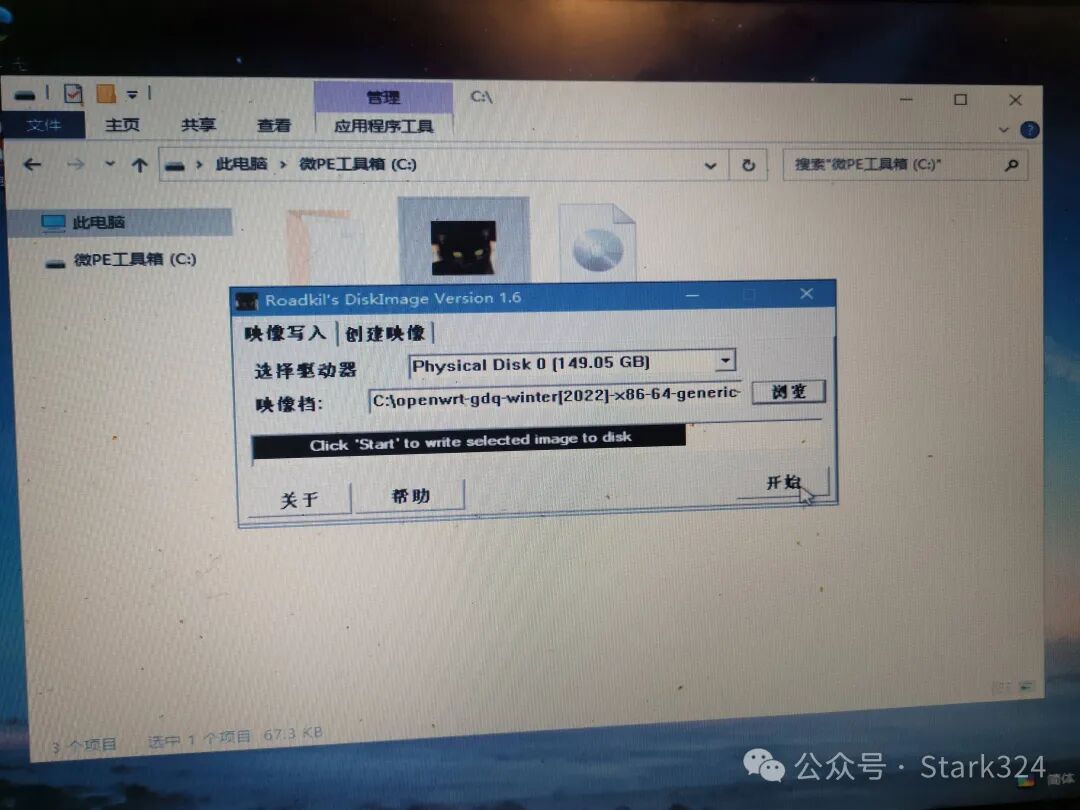
🔺 After opening, we will:
Select Drive: Choose your computer’s hard drive, which is the one we just deleted the partitions from.
Image File: Select the OpenWRT firmware image from our USB drive.
After completing this, click the “Start” button in the lower right corner.
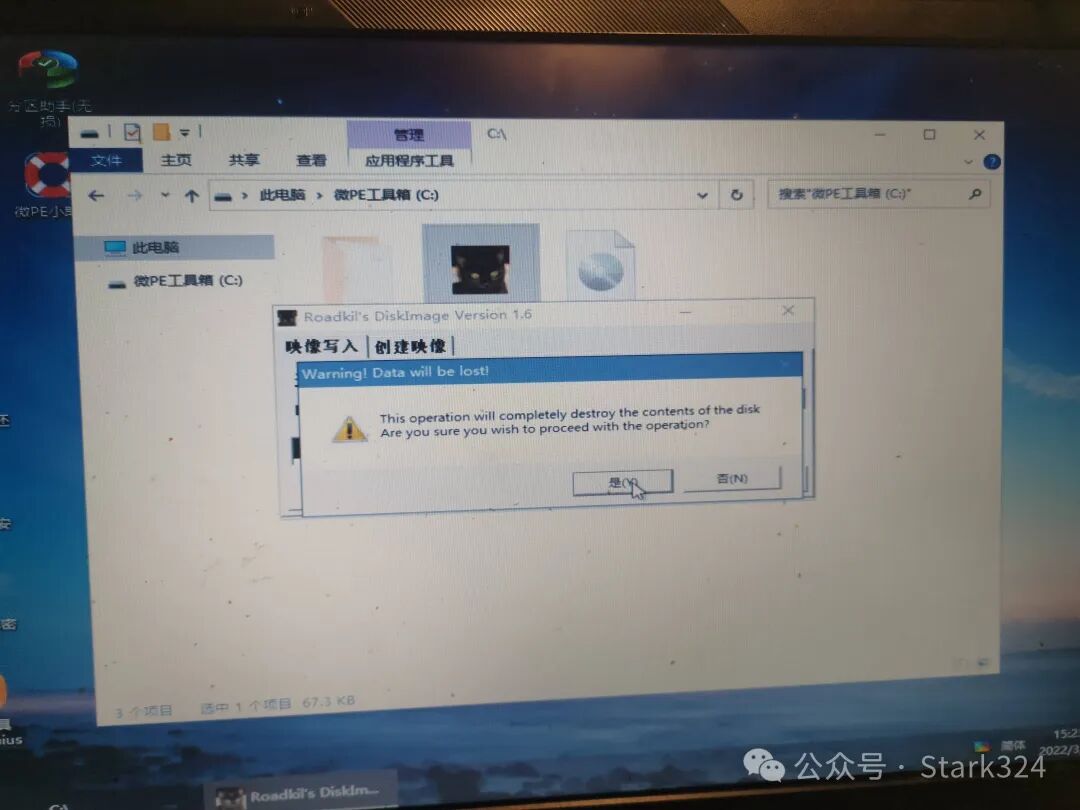
🔺 When a prompt appears, select “Yes”.
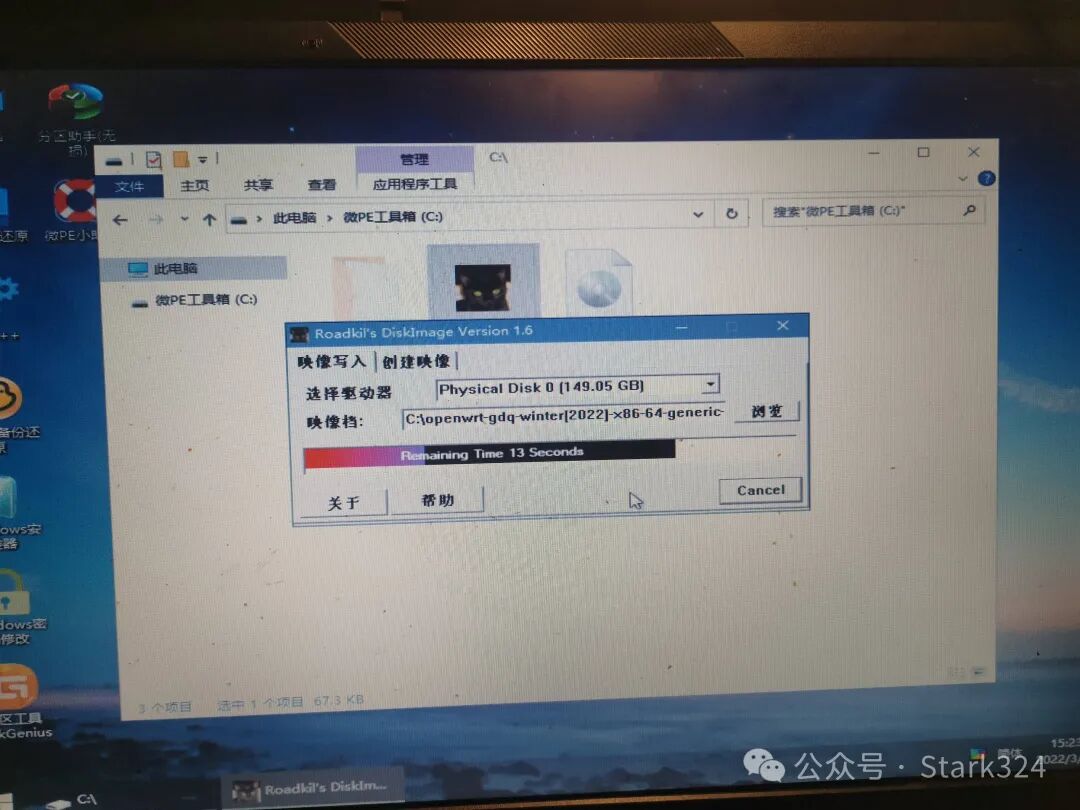
🔺 Next, it will write the OpenWRT firmware we downloaded to our computer’s hard drive.
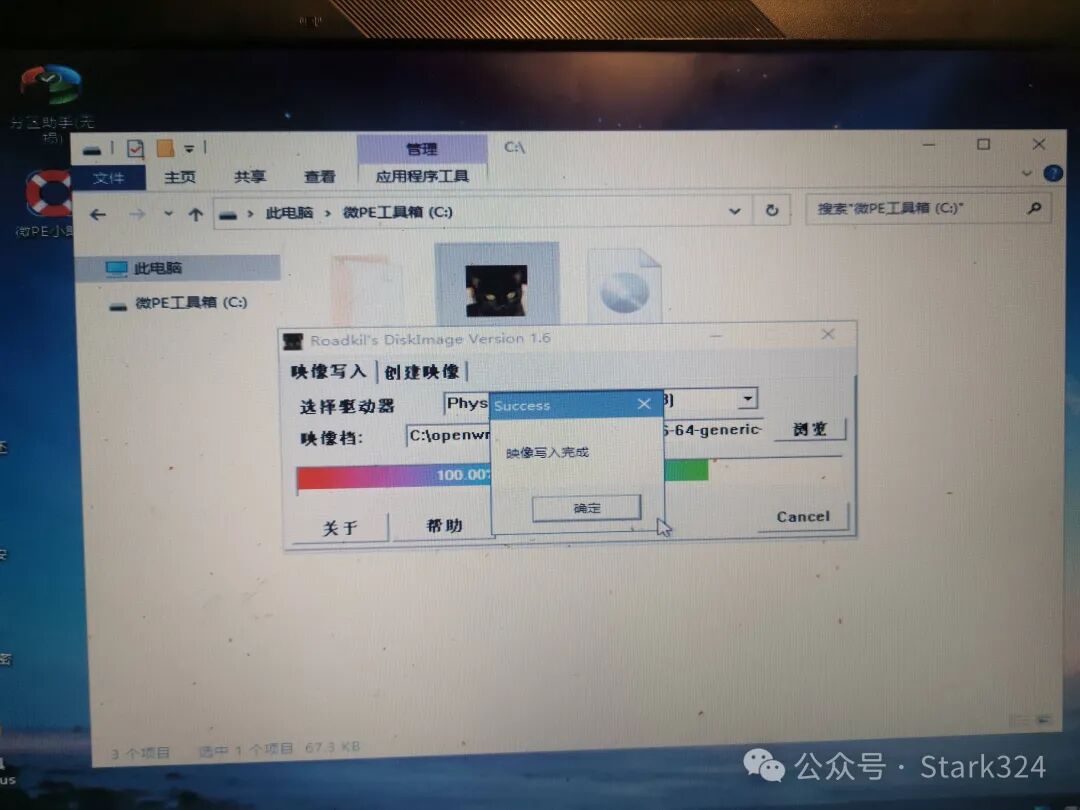
🔺 When this screen appears, it indicates that the writing is complete. Click the “OK” button to close the software and exit.
🔺 Finally, click the WIN icon in the lower left corner of the PE main interface and select the “Restart” button.
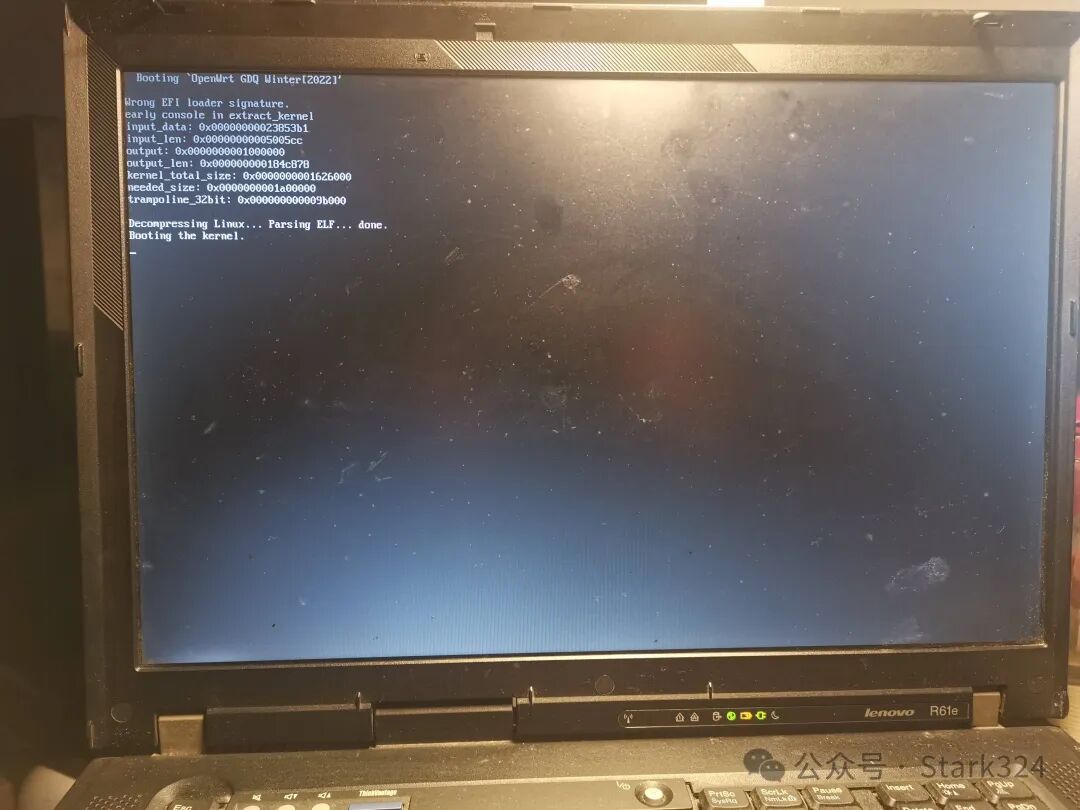
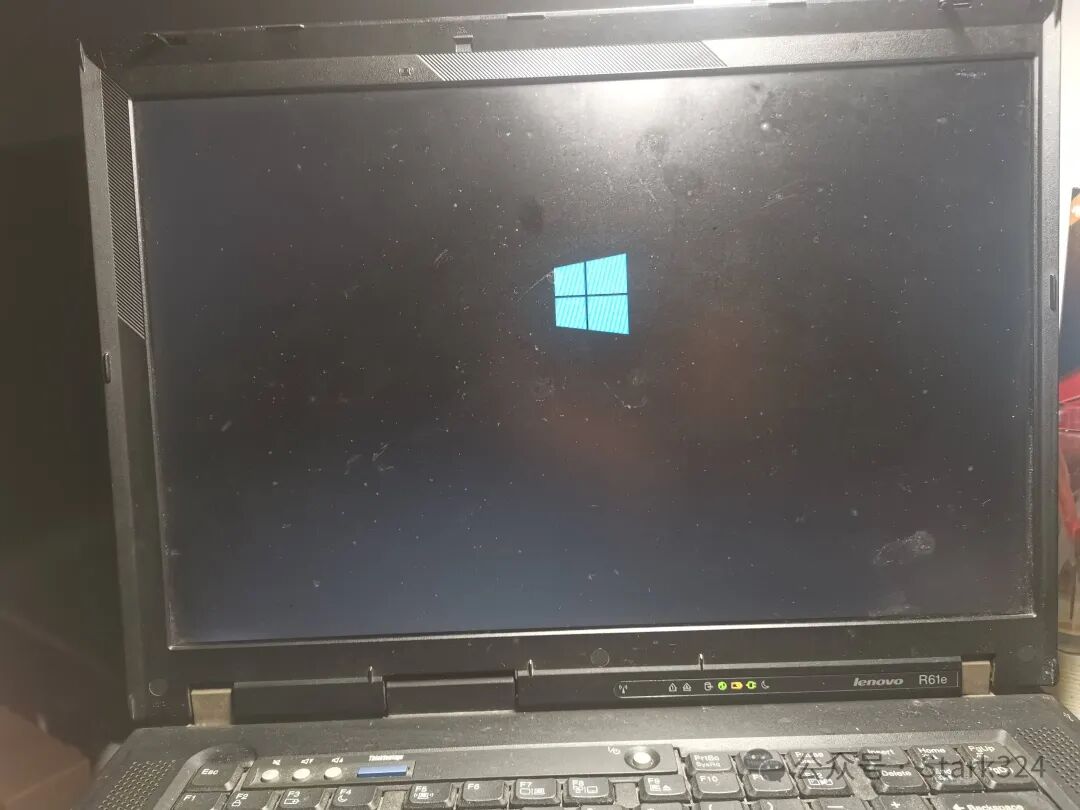
🔺 After restarting, you can directly remove the USB drive. At this point, you will see that the computer screen has started running the OpenWRT firmware file we wrote.

🔺 At this point, you will be prompted to press the “Enter” key to continue. Simply press the Enter key on your keyboard.
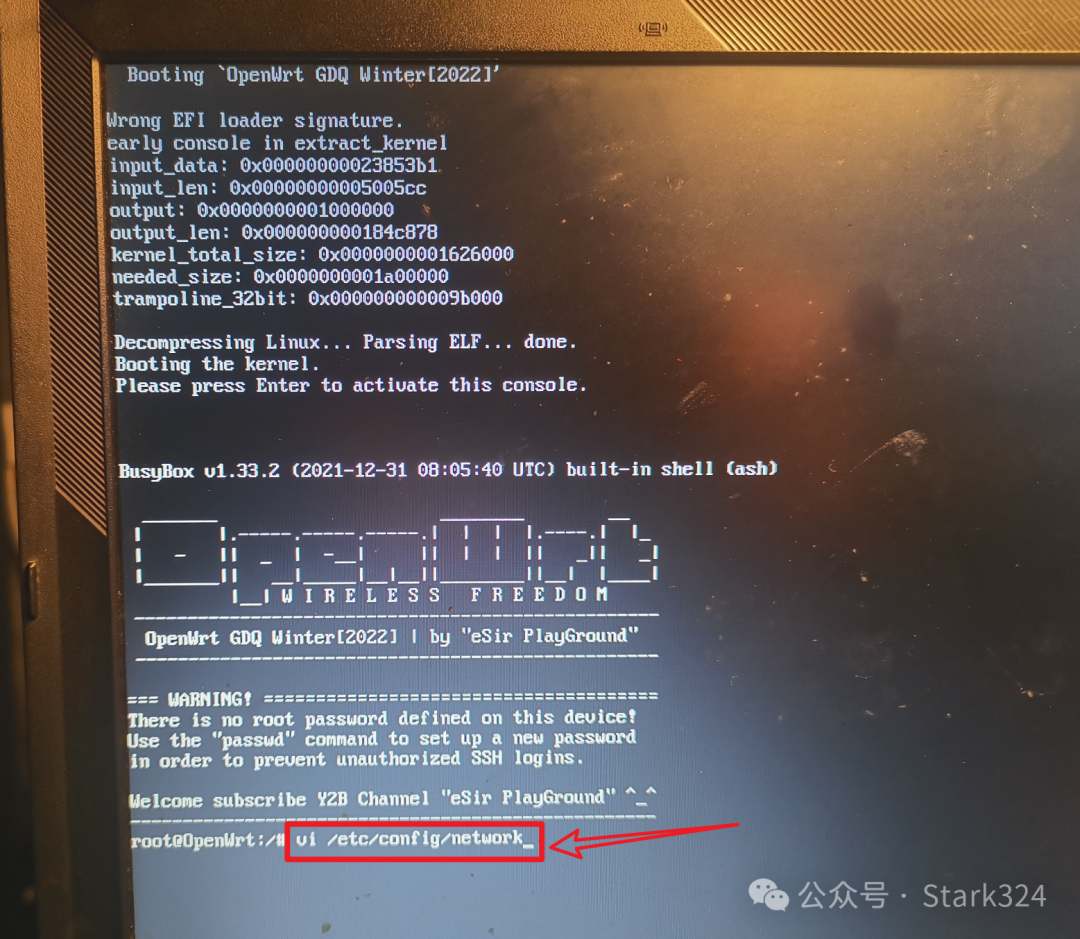
🔺 When this screen appears, you need to enter the following command:
vi /etc/config/network
Please note that there is a space after vi!
After completing this, press Enter.
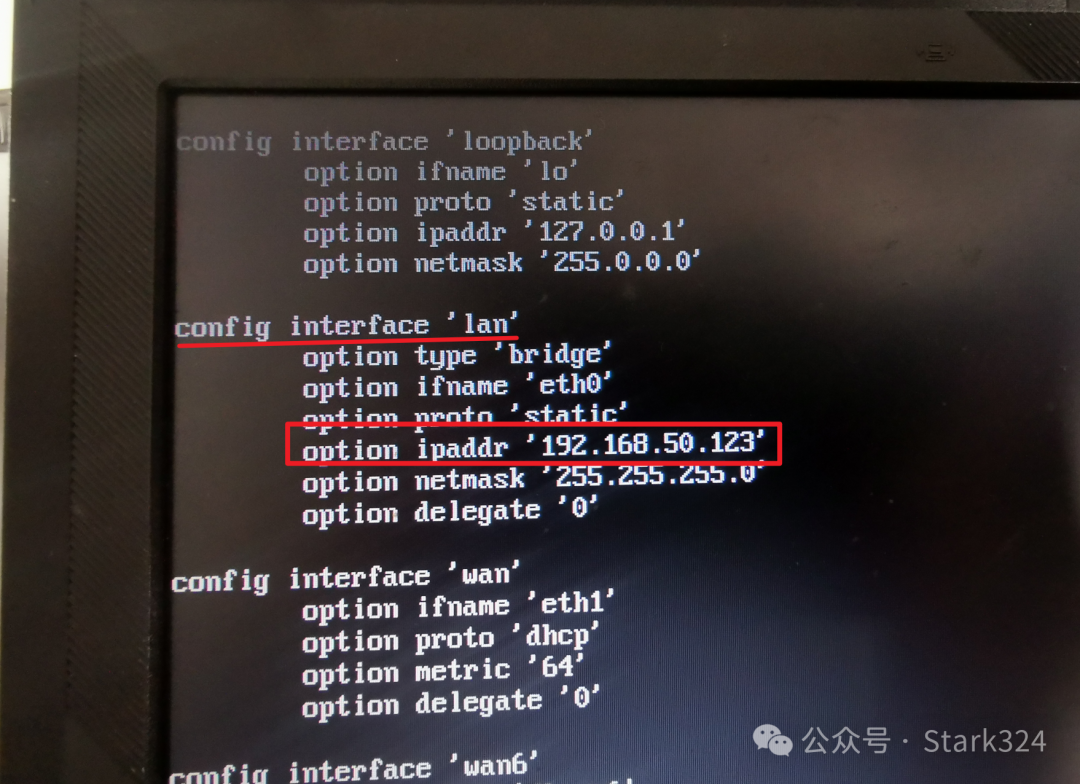
🔺 You will then arrive at the OpenWRT network configuration page.
Press the “i” key on your keyboard to enable editing.
Then, use the arrow keys on your keyboard to move the cursor to the position indicated by the red box in the image above and change the IP address.
Change Method: The first three numbers must match your main router, and the last number can be set arbitrarily, but it should not be the same as other devices under your main router.
Make a note of this IP; it is the IP address we will use to access OpenWRT.
After completing this, press the “ESC” key to return.
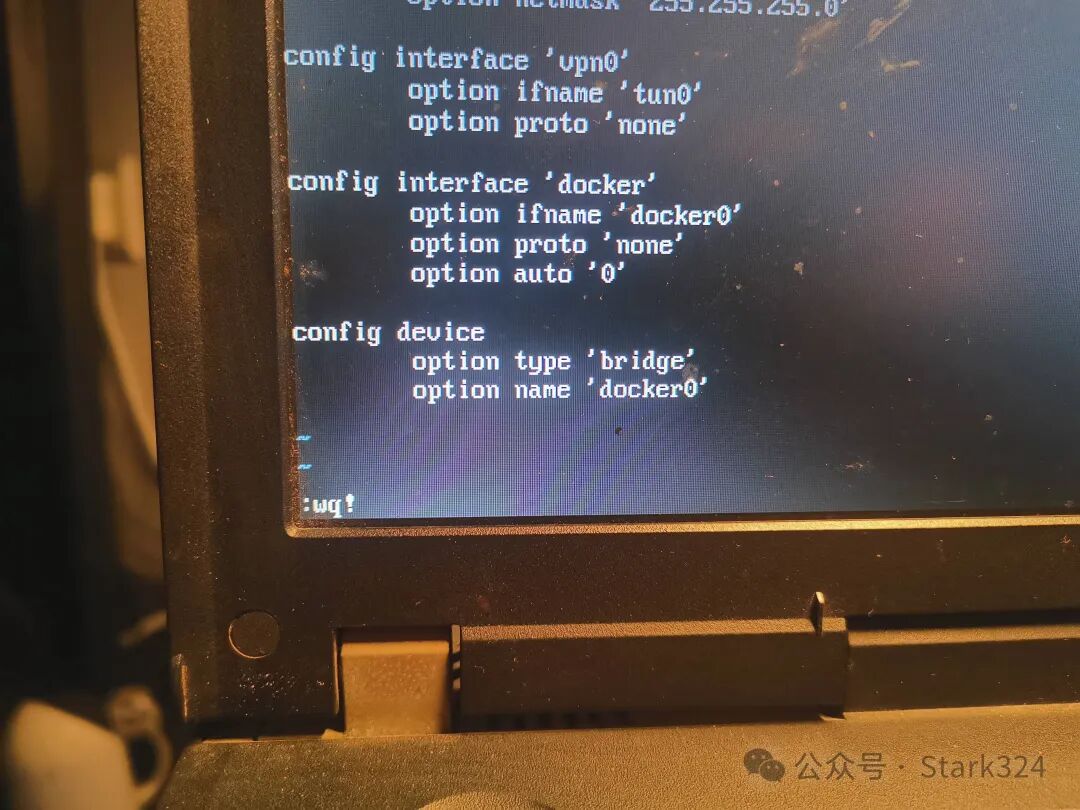
🔺 Then enter the code:
:wq!
Then press Enter to complete the save operation.
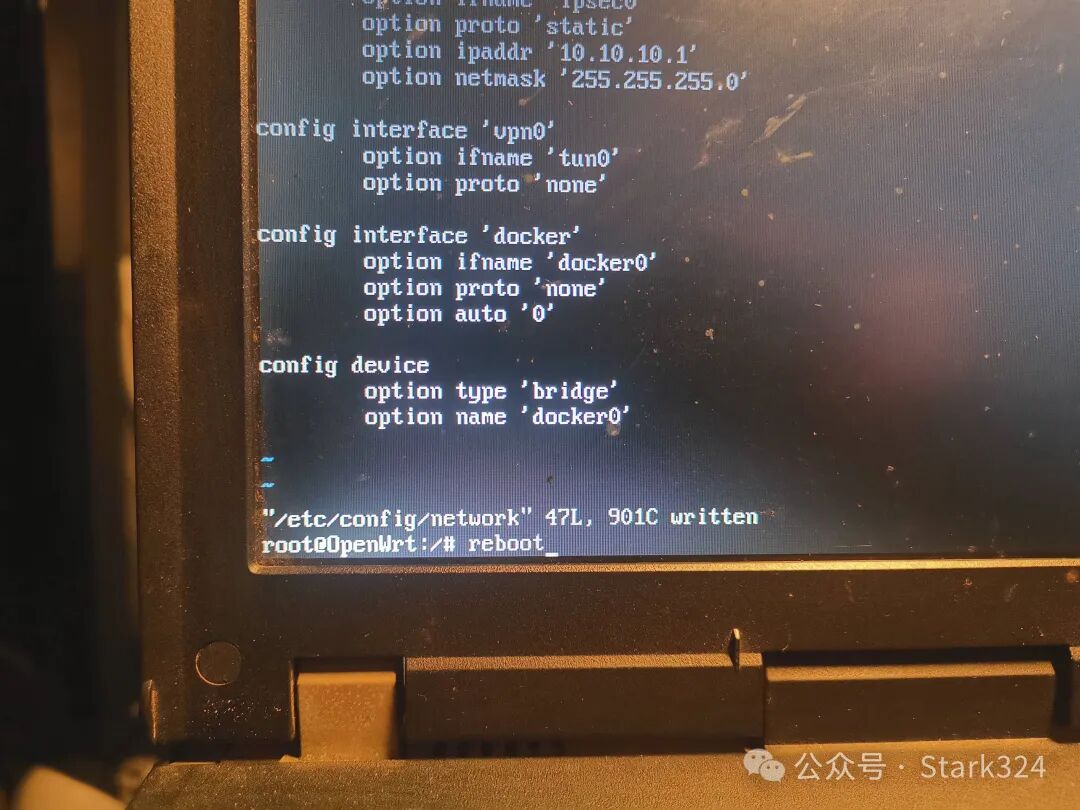
🔺 Finally, enter the reboot command:
reboot
Then press Enter, and it will automatically restart.
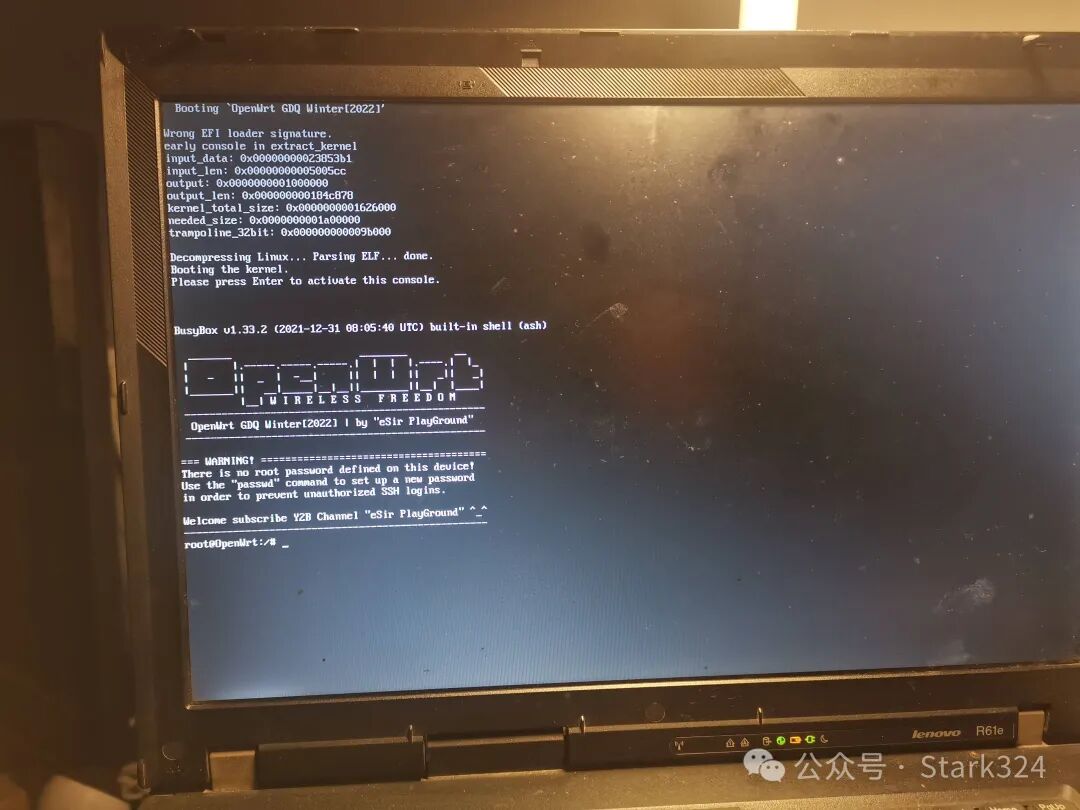
🔺 When restarting, while prompted to press the Enter key, press it once, and when the computer shows this screen again, it indicates that the OpenWRT soft router has started.
At this point, we can connect our computer to the LAN port of the router using an Ethernet cable.
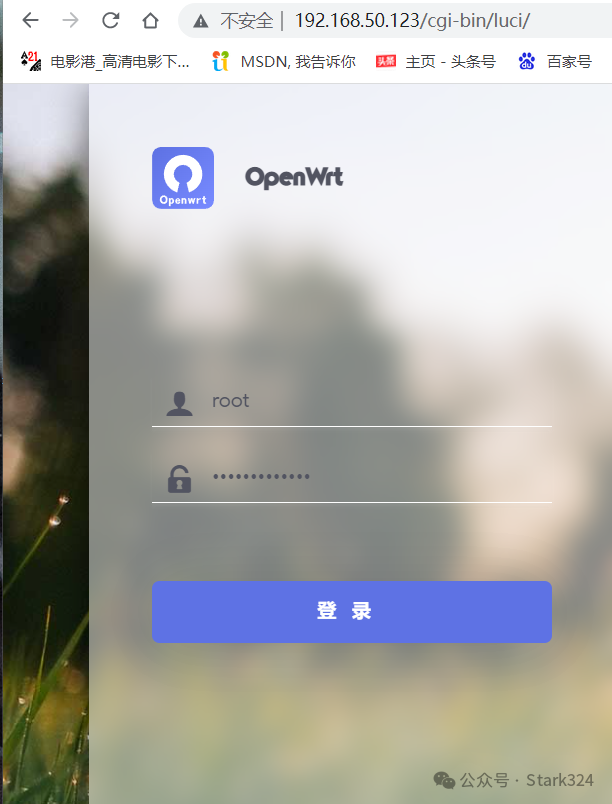
🔺 Now, return to another computer under our main router, open the browser, and enter the IP address we set for OpenWRT to access the OpenWRT soft router’s backend login interface. Then, simply enter the default password.
Default Password: netflixcn.com
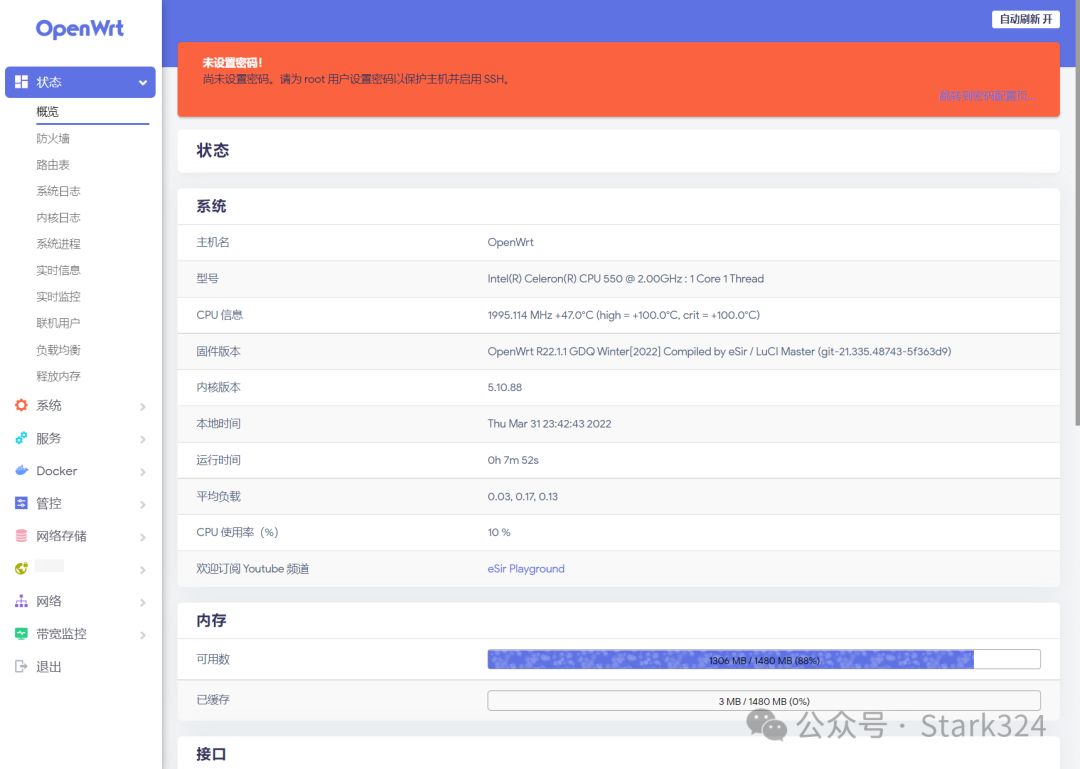
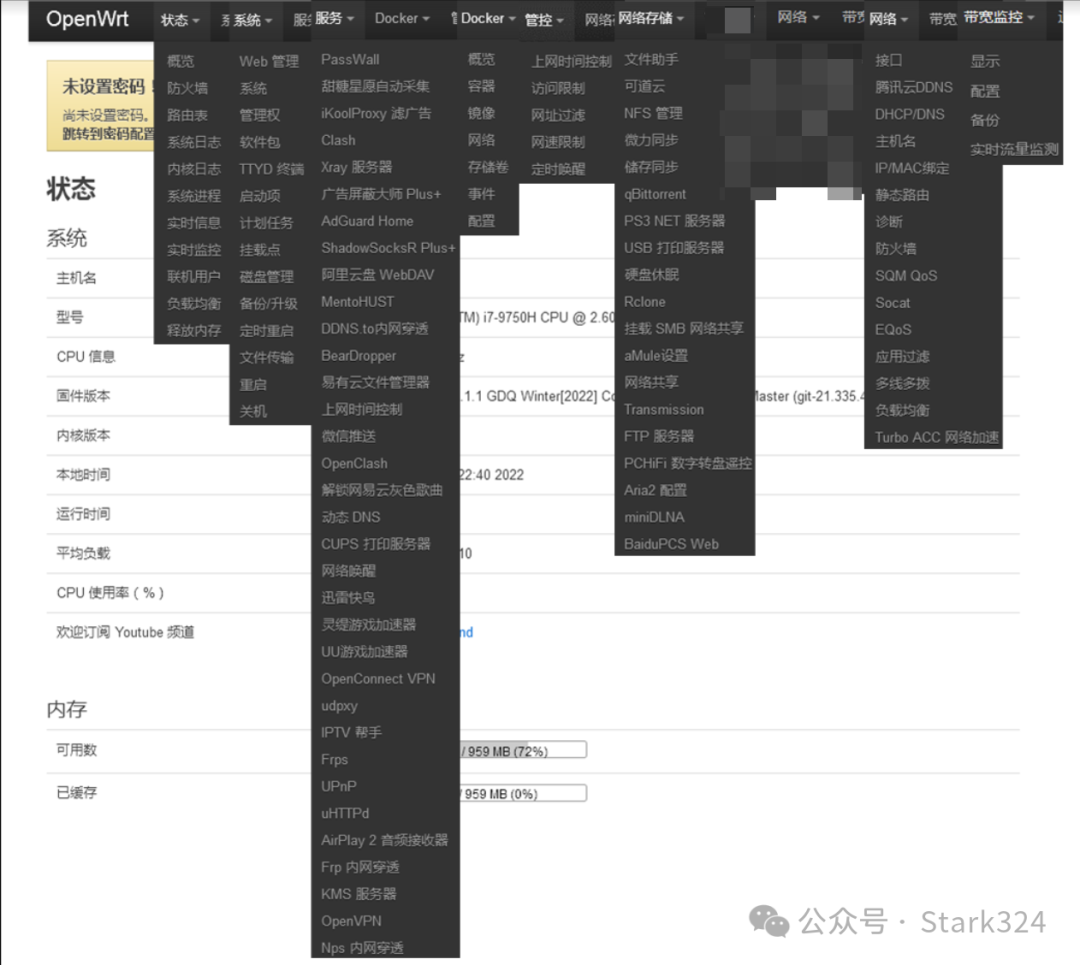
🔺 Now we can see the main interface of the OpenWRT soft router. However, we still need to make some necessary settings to enable some plugins to function properly.
It should be noted that due to the limitation of our laptop having only one network port, it can only be used as a bypass router (although you can purchase a USB network port to create a dual-port setup, I doubt anyone would actually use a laptop as a soft router).
After completing the above settings, you can do whatever you want and unleash your creativity.
That covers all its functionalities. Finally, I wish everyone a great time!
By the way, unless necessary, try not to jump into the soft routing pit!
Conclusion
Although this process seems complicated, it is not difficult to operate. Even if you are a beginner, you can successfully follow the steps I outlined above.
This endeavor is also a way to make the most of our resources while satisfying our curiosity and thirst for knowledge, which is worthwhile!
Curiosity and thirst for knowledge are important! That’s all for today’s sharing. I am Stark-C, who loves to share. If today’s content was helpful to you, please remember to bookmark it and follow me. I will frequently share various interesting software and free resources! Thank you all~~