Key Points This Lesson:
Review the content learned in the last class and understand the operating steps of the microcontroller
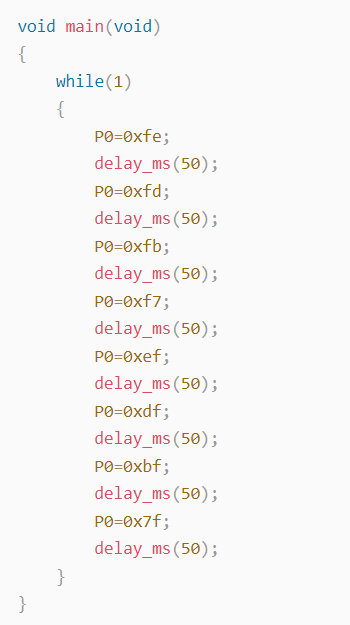
Learn to write code to achieve the LED flow light effect
Learning Tools:
Computer, Keil uVision4 software, Proteus software
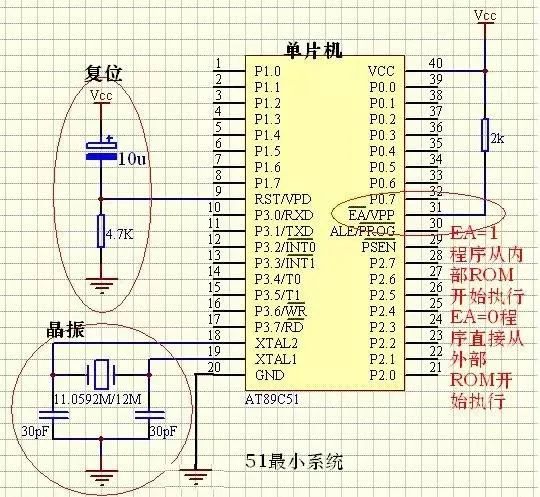
Microcontroller, also known as a microcontroller unit, is essentially a chip.
For the chip, we know that on one hand we need to input code, and on the other hand, we need to see the presentation of that code, so we need to create a tool diagram to specifically view and implement the final effect.
Today, I will explain to you the Keil software and Proteus software we learned about in the last class, their specific functions and usage.
1: Keil Software. You can understand this as a software specifically designed for writing code that microcontrollers can recognize, where we need to write, debug, and generate a specific standardized program.
PS: (If there are errors and debugging is not successful, the corresponding code file will not be generated, so please pay attention to this.)
2: Proteus Software. You can think of it as a software that combines animation with a 2D graphical display. It has many components, and using it is like trying to add plugins to the microcontroller mainboard to achieve the desired structure, thereby visually and specifically, seeing the effects of your code.
PS: (We need to import the code into the microcontroller to view and implement the effects, which I will show you with screenshots below.)
The operating steps of the microcontroller are explained as input-output steps; first, input the code and then run it to view the results.
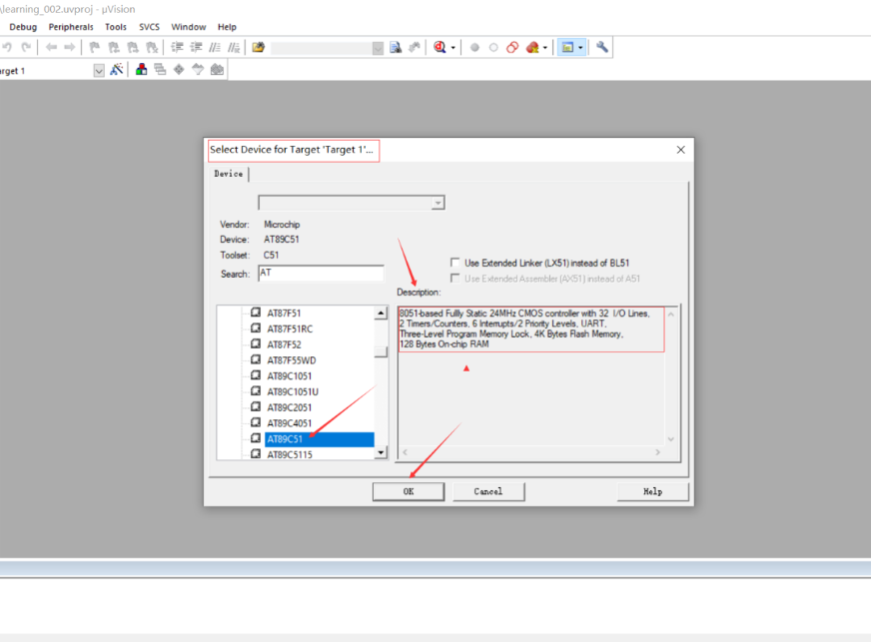
Following the steps from the last class, create your code file, then click on the microcontroller component shown in the image below (remember to double-click).
Then open the selected folder to import the code file into the microcontroller.
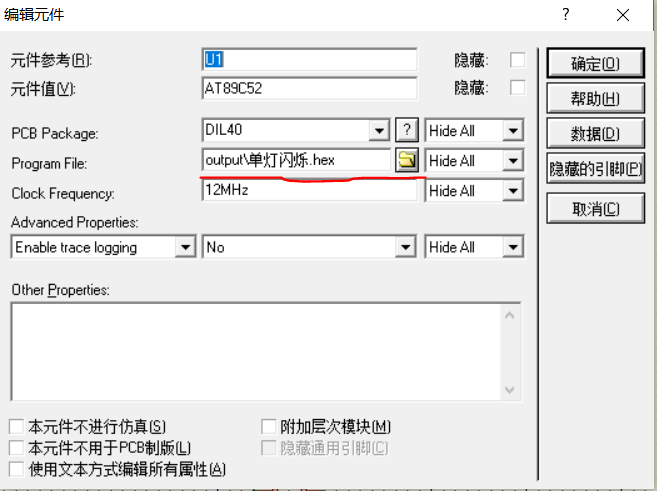
After importing, click the run button below the microcontroller to watch the implementation of the effect.
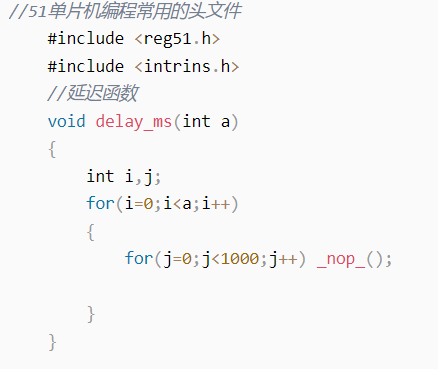
Using Keil Software, we can program in C language, compile, debug, and then generate .hex and .bin files that the microcontroller can recognize.
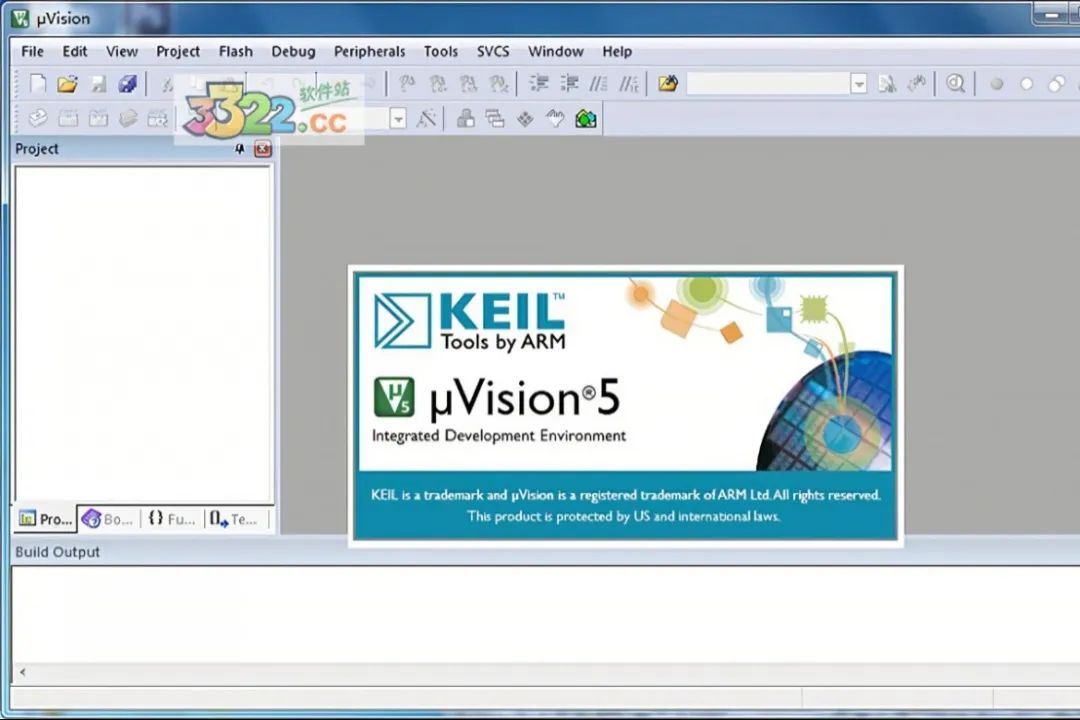
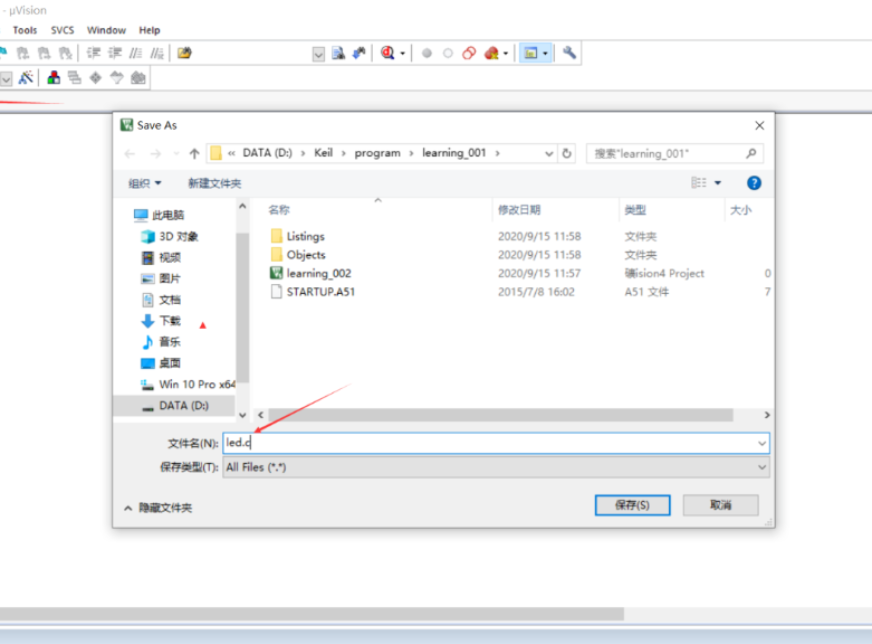
As before, we first open it, then create a new file and save it.

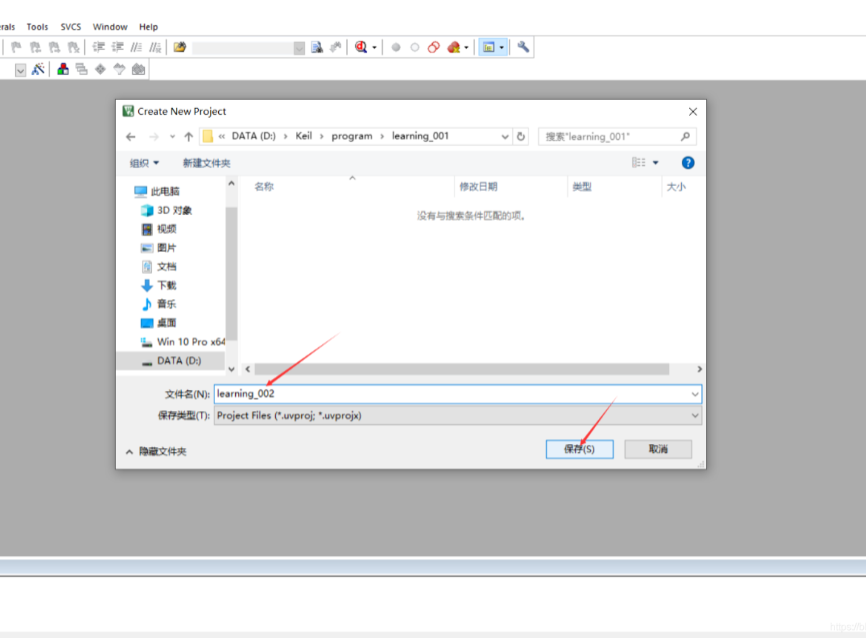
After completing these, we create a new file, name it led.c, and save it, then open this file to write the code.
The code is as follows:
Then click on the