1. Development Environment Configuration
1. Download Arduino IDE

– Official download link: https://www.arduino.cc/en/software
– Version selection:
– Recommended version 1.8.x stable (best compatibility)
– Or version 2.0.x (requires testing library compatibility)
2. Installation Steps (This section only explains Windows system)
① Double-click the exe installation package
② Check “Install USB drivers”
③ It is recommended to install to C:\Arduino |
3. Driver Installation (Windows requires special attention)
(1). CH340 driver installation (necessary for domestic Arduino compatible boards)
– Download link: https://www.wch.cn/downloads/CH341SER_ZIP.html
– Installation steps:
① Unzip the downloaded ZIP file
② Right-click `CH341SER.inf` → Select “Install”
③ Verify through Device Manager:
– When not installed, a yellow exclamation mark is displayed
– After successful installation, it shows “USB-SERIAL CH340”
(2). Official Arduino board driver (original device)
– Automatically installed through Arduino IDE:
① Connect the development board to USB
② Open IDE → Tools → Board → Arduino AVR Boards
③ The IDE will automatically install the required drivers
4. Key Library Installation
(1). Libraries that must be installed
① SD (built-in library)
② TMRpcm (needs to be installed manually)
③ SPI (built-in library)
(2). Steps to manually install TMRpcm library
① Download link: https://github.com/TMRh20/TMRpcm
② Operate in Arduino IDE:
– Menu bar → Project → Load Library → Add .ZIP Library
– Select the downloaded TMRpcm-master.zip
③ Verify installation:
– File → Examples → Scroll to the bottom to find “TMRpcm” example
5. Development Board Configuration
(1). Select the correct board type
– Menu bar → Tools → Board:
– Arduino Uno
– Or Arduino Nano (requires additional processor selection)
(2). Key parameter settings
① Processor: ATmega328P
② Port: COMx
③ Programmer: AVRISP mkI
6. Environment Verification Test
(1). Basic Test (Blink Example)
① File → Examples → 01.Basics → Blink
② Upload code → Observe whether the onboard LED blinks every second
(2). Audio Library Test
#include <tmrpcm.h>
TMRpcm audio;

void setup(){
  audio.speakerPin = 9;
  audio.play("test.wav"); // Place test audio in the root directory of the SD card in advance
}

void loop(){}</tmrpcm.h>
7. Audio File Conversion Toolchain
(1). Audacity Installation
– Official download: https://www.audacityteam.org/
– Conversion steps:
① Import MP3 file
② Menu → Track → Resample to 16000Hz
③ File → Export → Export as WAV
④ Set parameters:
– Format: WAV (Microsoft)
– Encoding: 16-bit PCM
– Channels: Mono
(2). Batch Conversion Tool (Optional)
Use FFmpeg command for quick conversion:
ffmpeg -i input.mp3 -ar 16000 -ac 1 output.wav2. Hardware Preparation
1. Required Materials

– Arduino Development Board: 1 piece (core control unit), either UNO or Nano model.
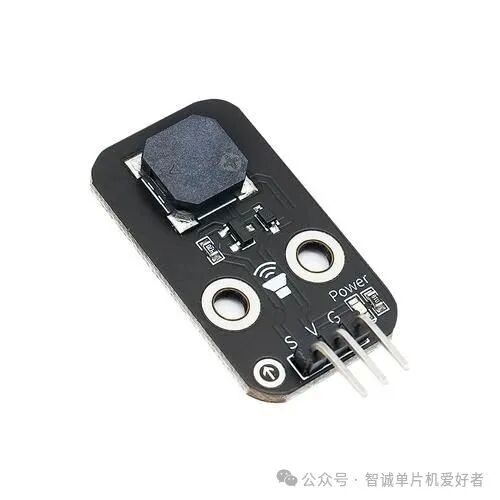
– Passive Buzzer: 1 piece (or choose speaker + amplifier module to enhance volume);
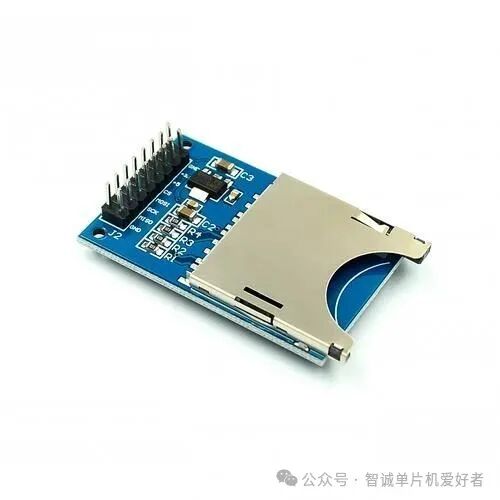
– SD Card Module: 1 piece (SPI interface, used to store audio files, must be paired with ≤32GB FAT32 formatted SD card);
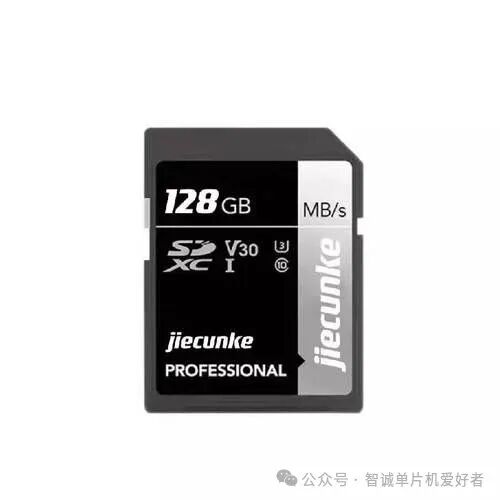
– SD Card: 1 piece (≤32GB, FAT32 format, pre-loaded with audio files).
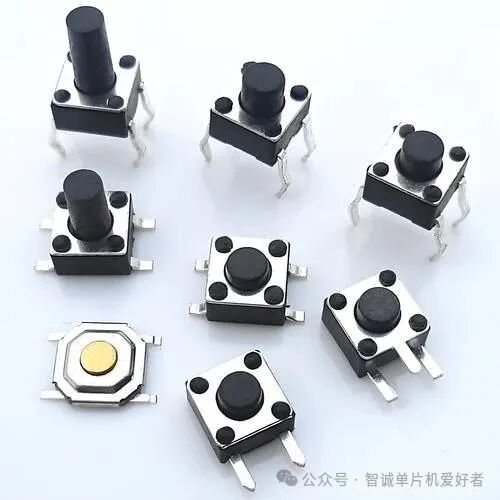
– Buttons: 3 pieces (6×6mm tactile switches, used for function control such as play, pause, and track switching);
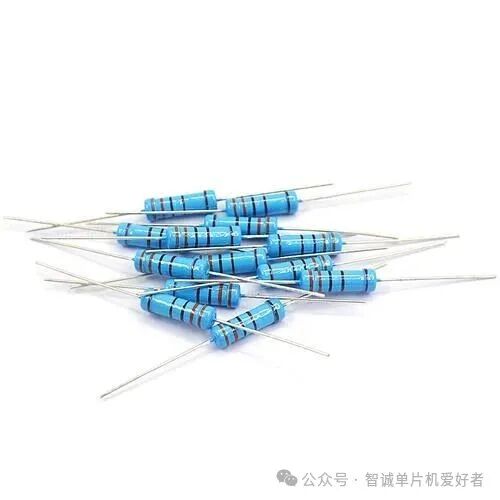
– Resistors: 220Ω (several, for buzzer or LED current limiting), 10kΩ (several, pull-up resistors for buttons);
– LED: 1 piece (any color, status indicator, such as lighting up during playback).
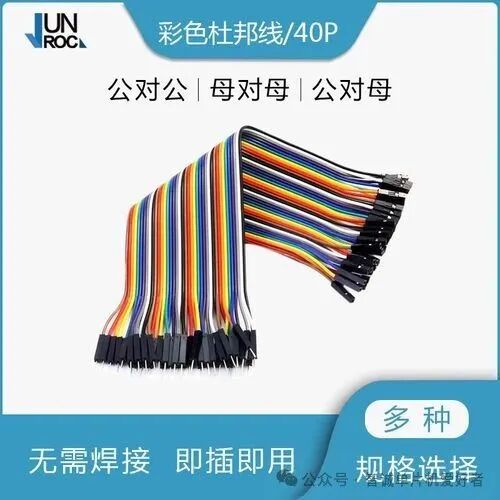
– Dupont Wires: Several (for connecting various modules, it is recommended to prepare male-to-male and male-to-female).
2. Precautions
– The SD card must be formatted to FAT32 to ensure Arduino can recognize it;
– When connecting the buzzer, connect a 220Ω resistor in series, and the buttons must be used with a 10kΩ pull-up resistor.
3. Wiring Diagram
Arduino Pin → Peripheral
D8 → Buzzer positive
D9 → Button 1 (Play/Pause)
D10 → Button 2 (Previous Track)
D11 → Button 3 (Next Track)
D12 → SD Card Module MISO
D13 → SD Card Module SCK
D4 → SD Card Module CS
GND → Common Ground
5V → SD Card Module VCC
3. Software Implementation
1. Development Environment
– Arduino IDE (requires libraries: `SD`, `TMRpcm`)
2. Core Code
#include <sd.h>
#include <tmrpcm.h>

TMRpcm audio;
const int chipSelect = 4; // SD card module CS pin

// Button definitions
#define PLAY_PAUSE 9
#define PREV_TRACK 10
#define NEXT_TRACK 11

void setup() {
  pinMode(PLAY_PAUSE, INPUT_PULLUP);
  pinMode(PREV_TRACK, INPUT_PULLUP);
  pinMode(NEXT_TRACK, INPUT_PULLUP);

  if (!SD.begin(chipSelect)) {
    return; // SD card initialization failed
  }
  audio.speakerPin = 8; // Specify audio output pin
}

void loop() {
  if (digitalRead(PLAY_PAUSE) == LOW) {
    audio.play("track1.wav"); // Play WAV file from SD card
    delay(200); // Debounce
  }

  if (digitalRead(NEXT_TRACK) == LOW) {
    audio.stopPlayback();
    audio.play("track2.wav");
    delay(200);
  }
}</tmrpcm.h></sd.h>
3. Music File Processing
① Format requirements:
– Only supports `.wav` format
– Recommended parameters: 16-bit, 22kHz, Mono
② Conversion Tool:
– Use Audacity to convert MP3 to WAV
– Set export parameters: `File > Export > WAV → 16-bit PCM`
4. Advanced Optimization
1. Adding Features
– LCD Display: Connect I2C LCD1602 to display the current track
– Volume Control: Add a potentiometer to control volume through analog input
– Playback Modes: Implement single track loop/random playback
2. No SD Card Solution (Directly Drive Buzzer)
// Use tone() function to play preset melody
int melody[] = {262, 294, 330, 349, 392, 440, 494}; // Scale frequencies

void playNote(int note, int duration) {
  tone(8, note, duration);
  delay(duration*1.3);
}

void setup() {
  playNote(melody[0], 500); // Play Do note
  playNote(melody[2], 500); // Play Mi note
}
5. Common Issues
1. No Sound:
– Check if using a passive buzzer
– Ensure the WAV file name in the SD card is in 8.3 format (e.g., `song1.wav`)
2. Button Malfunction:
– Add hardware debounce (parallel 104 capacitor)
– Check if internal pull-up is enabled (INPUT_PULLUP)
3. SD Card Read Failure:
– Ensure the file system is FAT32
– Wiring length should not exceed 20cm
6. Project Features
– Low cost (<50 yuan)
– Supports expandable storage (SD card)
– Can be upgraded to wireless control via mobile Bluetooth module
After completion, you will have a portable music player that can play multiple tracks!
All content is sourced from the internet; please contact for removal if there is any infringement.