☞ This is the 10394th article published by Metal Processing (mw1950pub).

Introduction
3D printer operations are generally similar and can be divided into several parts: adjusting the print bed, ensuring model adhesion and preventing warping, importing and replacing printing materials, controlling model accuracy, and troubleshooting during the printing process.
1. Adjusting the Print Bed
Common desktop FDM 3D printers, whether personally assembled or mass-produced, are usually adjusted using the four corners of the print bed (heated bed). Some machines include additional self-leveling devices and modules.
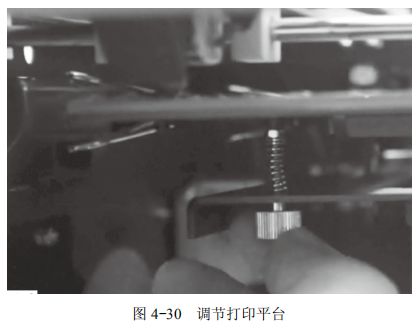
The greater the distance between the print bed and the nozzle, the smoother the filament flow, but it may lead to poor adhesion to the bed. Conversely, smaller distances make extrusion difficult and increase adhesion of the model.By leveling the four corners of the print bed, it ensures that the first layer of the print model adheres well to the bed and minimizes warping.Adjusting the screws at the corners allows the print bed to rise or fall.First, make rough adjustments, then fine-tune using a business card or A4 paper to test the distance between the print bed and nozzle at each corner, aiming for slight resistance that can still be pulled out comfortably.You can try printing a thin layer to check if the first layer is uniform and if the thickness at all four edges is consistent, as shown in Figure 4-30.
2. Model Adhesion and Preventing Warping
2. Preventing Warping
1) Leveling the corners is particularly important for preventing warping.
2) Try to avoid using ABS; PLA works better.
3) In the slicing software settings, choose the appropriate bed adhesion type to increase the contact area between the model and the heated bed, preventing warping.
4) Use various adhesive materials to enhance adhesion.
3. Importing and Replacing 3D Printing Materials
The import of printing materials is also known as “feeding” or “filament loading”. Printing materials come in different diameters, with 1.75mm and 3mm being the most common.When importing or replacing materials, pay attention to the following:
(1) Determine the Material – Ensure that the diameter of the material matches the machine specifications. Before feeding, sharpen the tip of the filament for easier feeding.
(2) Preheat the 3D Printer – For example, with PLA, preheat the print head to 190°C and the print bed to 45°C to 60°C. Only after the print head has reached the material’s temperature can you feed the filament; otherwise, it may cause clogging and damage to the feeding gear.When the LCD screen indicates the preset temperature is reached, click “Load” to feed the filament into the print head as the gear operates. The filament will extrude like popcorn, and after extruding a certain length, you can stop to avoid mixing colors and to test the extrusion smoothness. If extrusion is not smooth, increase the print head temperature.
(3) Material Replacement – Similar to the feeding process, the print head needs to be preheated beforehand. The difference is that many machines have an “Unload” function, or you can manually pull the material out. When manually changing materials, push it forward slightly, then quickly pull it out; otherwise, the material may clog in the feed tube due to temperature drop after passing through the print head.Readers who want to try printing multicolored models can pause the print process to change to another color and experience printing models with different colors using a single nozzle.
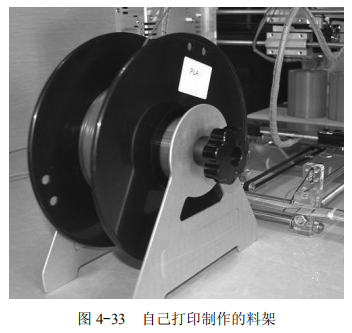
(4) Adjusting the Filament Rack and Tray – You can print your own filament rack to make the movement of the filament tray smoother and prevent jams, as shown in Figure 4-33.
Filament that hasn’t been used for a long time may get tangled, leading to filament jams during printing, resulting in only half of the model being printed after hours of effort. The solution is to untangle the filament and wind it neatly back onto the spool in one direction.
4. Assembling Tolerance for Matching Shapes
If the printed object is a model that requires assembly, such as screws and nuts or gear matching, due to thermal expansion and contraction of the plastic during printing and the bulging edges of the bottom layer, it is necessary to increase the tolerance slightly. Generally, the tolerance is set to 0.4mm (similar to the nozzle diameter), with specifics based on the actual shape.

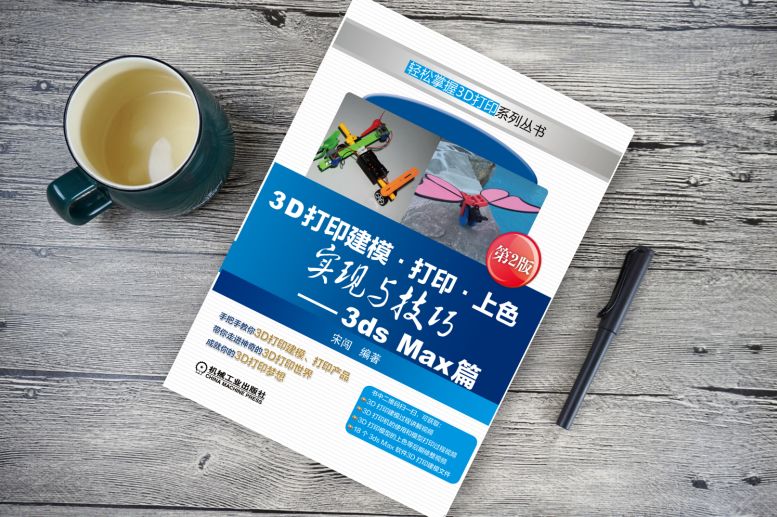
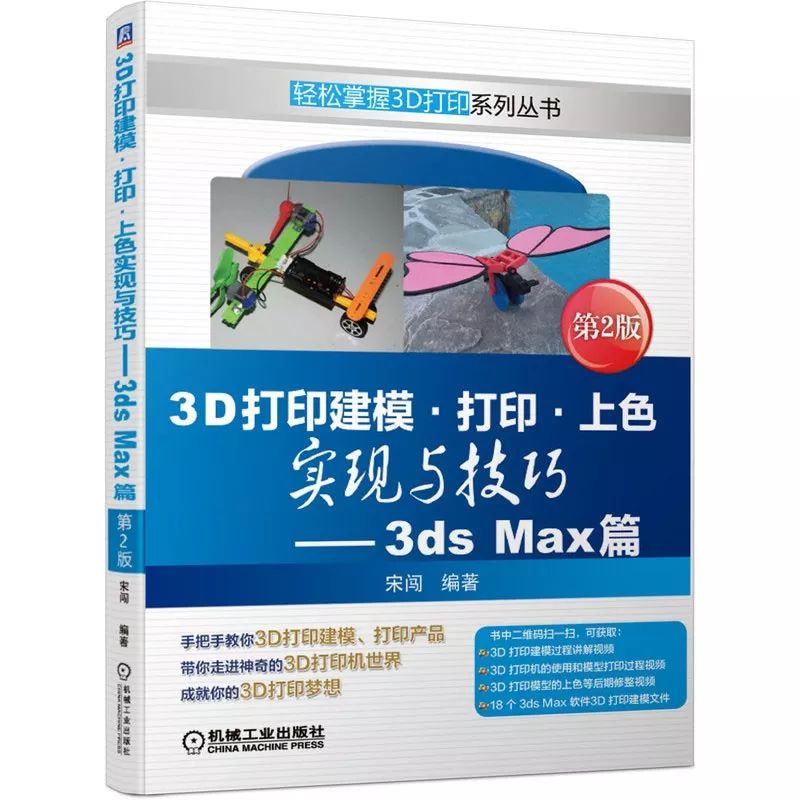
The above content is extracted from the book “3DPrinting Modeling•Printing•Coloring Techniques and Skills —3ds Max Edition“.
Chapter 1 covers the basic knowledge of 3D printing, including definitions, characteristics, and some industry application cases, providing readers with a preliminary understanding of 3D printing applications across various sectors.
Chapter 2 introduces 3D printing modeling methods, helping readers understand the sources and forms of 3D printing models, and recommends simple methods to obtain three-dimensional models for learners of different industries and levels.
Chapter 3 offers a detailed explanation of the modeling process using the professional 3D printing software 3ds Max, initially explaining the different functions of the software through 11 model examples, followed by modeling explanations of five comprehensive examples including daily necessities, industrial design, creative toys, and maker models, helping readers understand the detailed process and thinking of 3D printing software modeling to build a foundation for flexible modeling.
Chapter 4 combines the author’s experiences, explaining common materials, software interfaces and functions of FDM 3D printers, detailing the sequence of 3D model printing and 3D printer operations. Following the book’s instructions, beginners can systematically master the relevant processes.
Chapter 5 explains the operation of DLP light-curing 3D printers and the post-processing techniques for light-curing 3D printing models, suitable for operators of light-curing 3D printers and professionals in jewelry, dental, and other industries.
Chapter 6 introduces simple and practical methods for splicing, sanding, and coloring 3D printed models, as well as other post-processing techniques, suitable for readers interested in post-processing knowledge related to 3D printing, particularly for model enthusiasts and craftspeople looking to expand their knowledge quickly.
Appendix: Appendix A collects some download links for 3D printing models from both domestic and international sources, allowing readers to download models directly for printing; Appendix B collects domestic websites and relevant forums in the 3D printing industry for readers to learn about 3D printing knowledge; Appendix C lists domestic 3D printing equipment manufacturers for readers to choose suitable printers for study and research; Appendix D enumerates knowledge for troubleshooting and maintenance during the printing process.
This book includes QR code links to videos and modeling files, including:
-
3ds Max software 3D printing modeling video (including 17 models and software interface explanation, about 3 hours);
-
3ds Max software 3D printing modeling materials (18 model project files);
-
FDM 3D printer operation and coloring post-processing video (16 minutes);
-
FDM 3D printer slicing software introduction video (23 minutes);
-
DLP 3D printer operation and slicing software video (23 minutes).
This content helps readers intuitively learn the modeling process of 3D printing, how to use two mainstream technologies to print models, and the entire coloring process.
Click the image above to purchase