 STM32CubeMX Download and Installation
Basic Introduction: STM32CubeMX is a graphical tool for 32-bit ARM Cortex STM32 microcontrollers. It allows for very simple configuration of STM32 microcontrollers and microprocessors, generating initialization C code, and can also generate parts of the Linux device tree for Arm Cortex-M or Arm Cortex-A cores through step-by-step operations. It is part of the STMCube ecosystem and can be used as a standalone application or integrated as an Eclipse plugin in the development environment (STM32CubeIDE).
(The above content is excerpted from Baidu Encyclopedia)
Main Features:
(1) Intuitive selection of STM32 microcontrollers and microprocessors; rich and user-friendly graphical interface, configurable: pin assignments, Arm Cortex-M Core peripherals and middleware functionality modes, related parameter constraints, clock trees, and power calculations, etc.;
(2) Generate initialization C code project files that can run in IAR, Arm Cortex-M core’s Keil, and STM32CubeIDE (GCC compiler) environments;
(3) Develop enhanced STM32Cube extension packages with STM32PackCreator;
(4) Integrate STM32Cube extension software packages into project files;
(5) Support for multiple operating systems: Windows, Linux, etc.
35.1. STM32CubeMX Download and Installation
Steps:
(1) Before installing STM32CubeMX software, install the JAVA environment. Java download link:Download Java for Windows
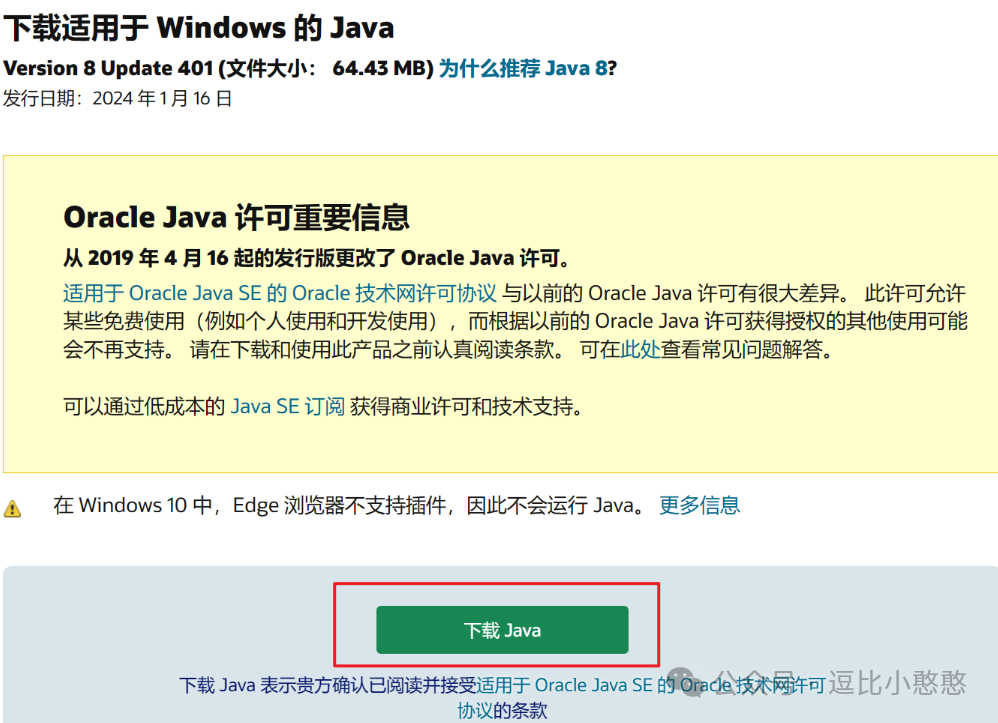
(2) Click “Download Java”:
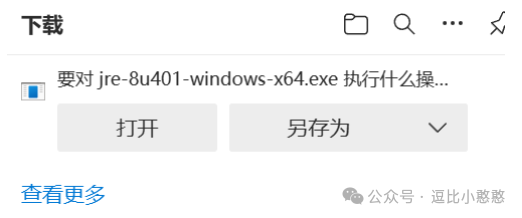
(3) Double-click the .exe file to start the installation:
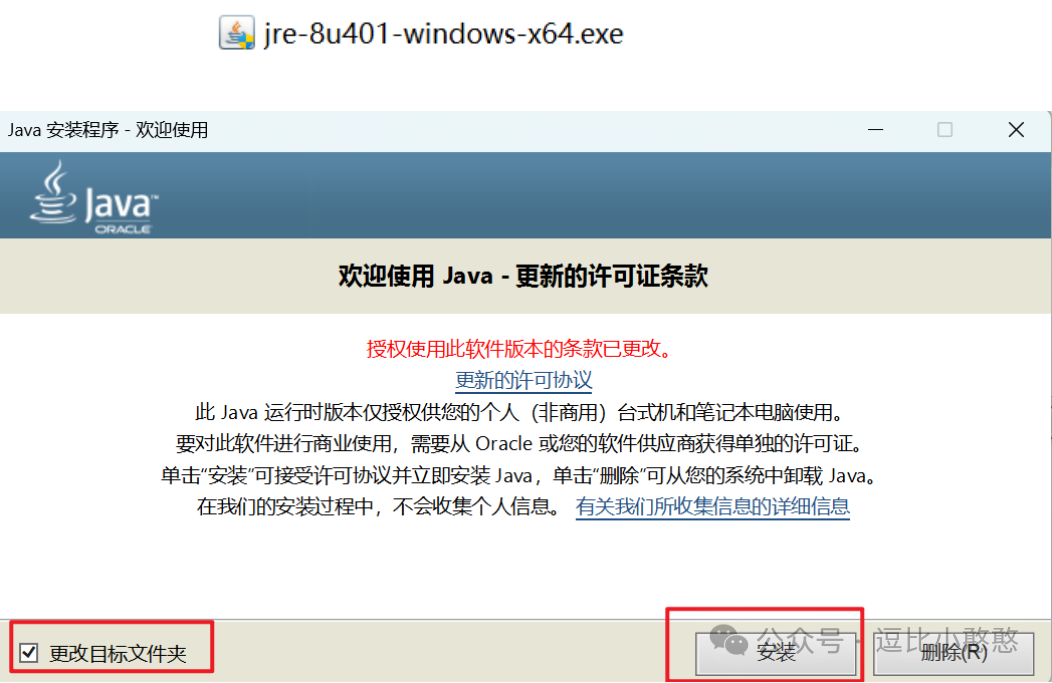
(4) Click install, choose the installation path, preferably avoid Chinese characters in the path:
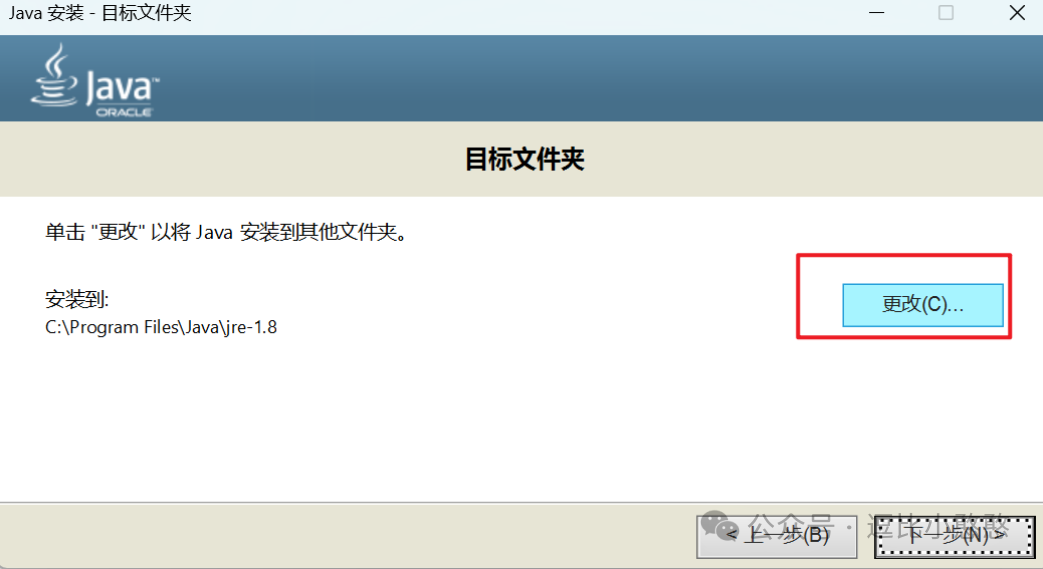
(5) After selecting the installation path, click next and wait for the installation to complete:
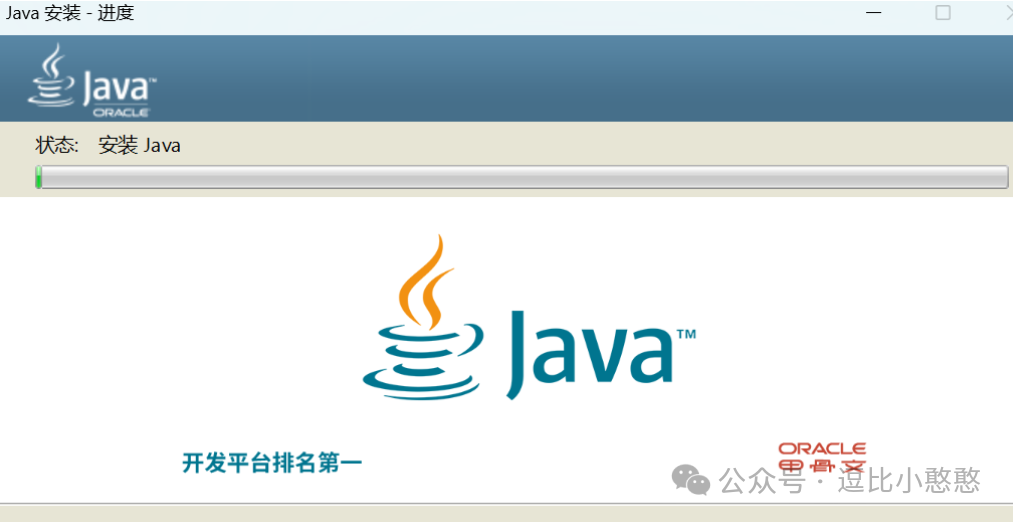
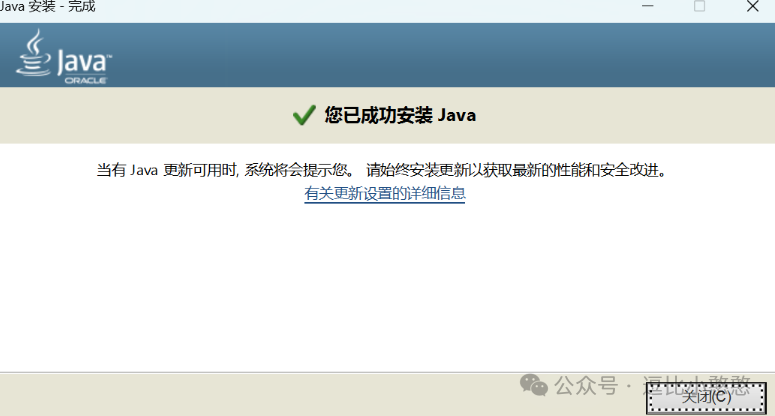
(6) Download STM32CubeMX:STM32CubeMX: Download Link
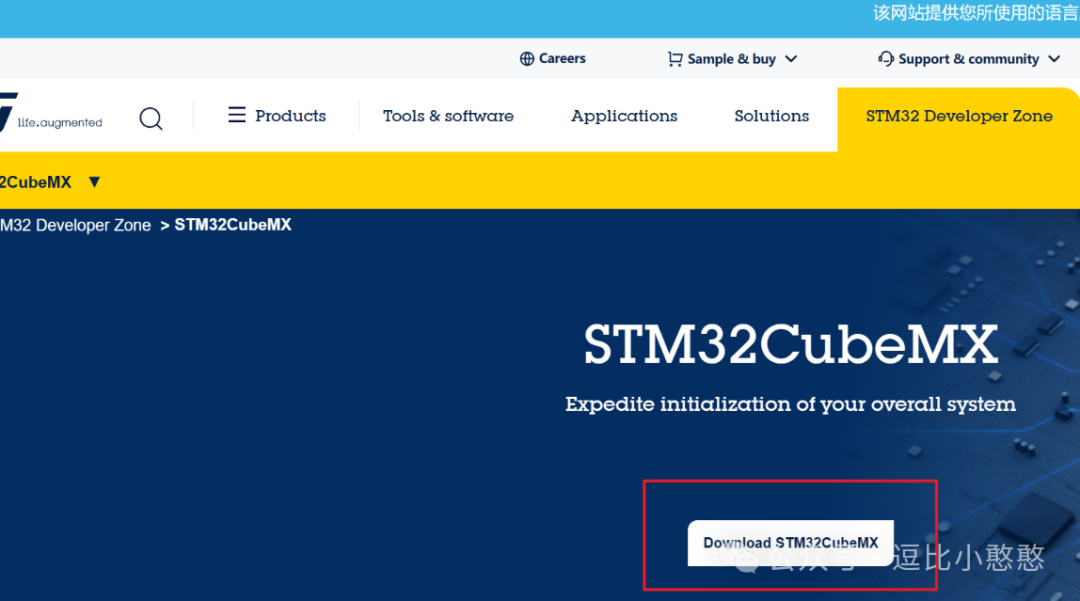
(7) Click to download:
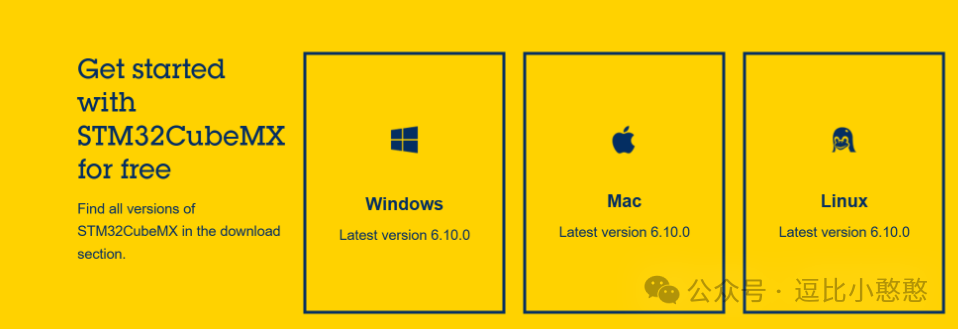
(8) Select the corresponding platform for STM32CubeMX software, here choose the Windows version, click Accept to start the download:
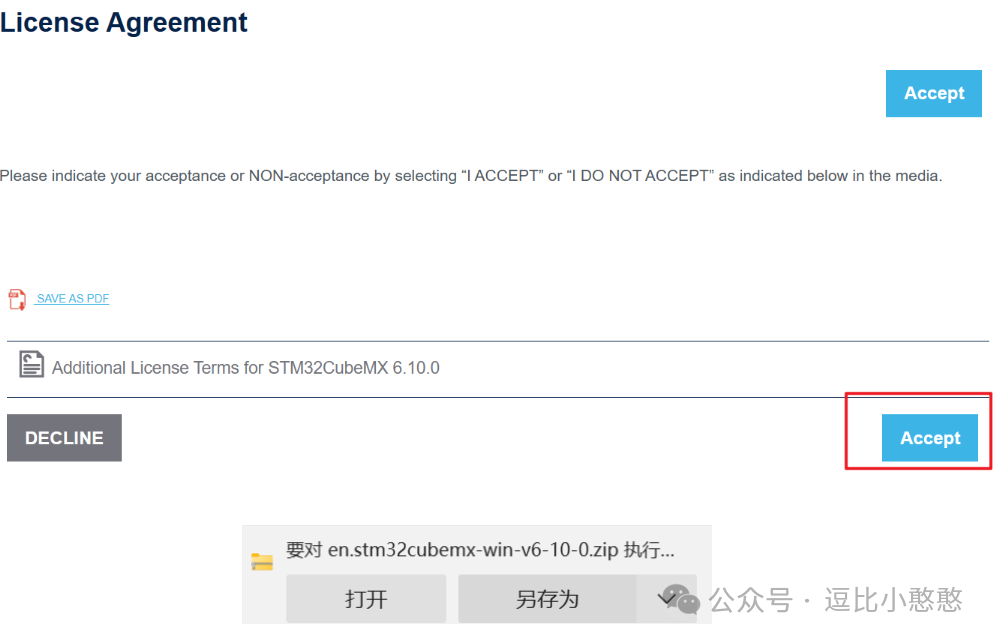
(9) Unzip the compressed package to obtain the following files:

(10) Double-click to start the installation:
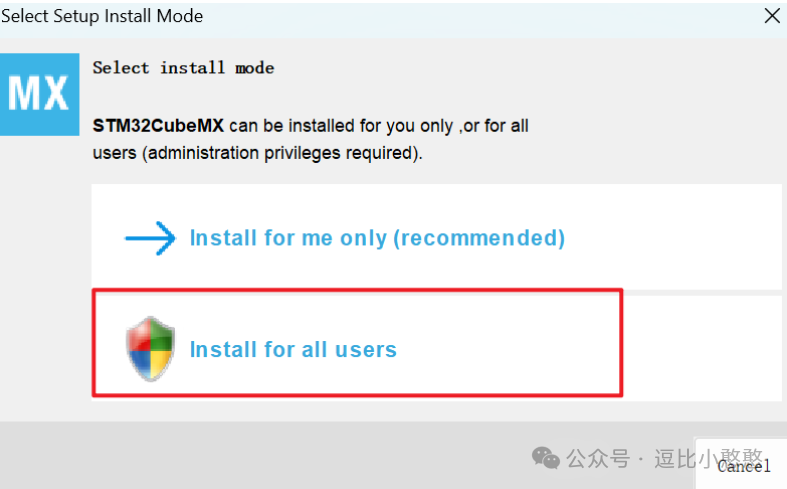
(11) Click to install for all users (you can choose Install for me only, as per your preference), proceed to the next step:
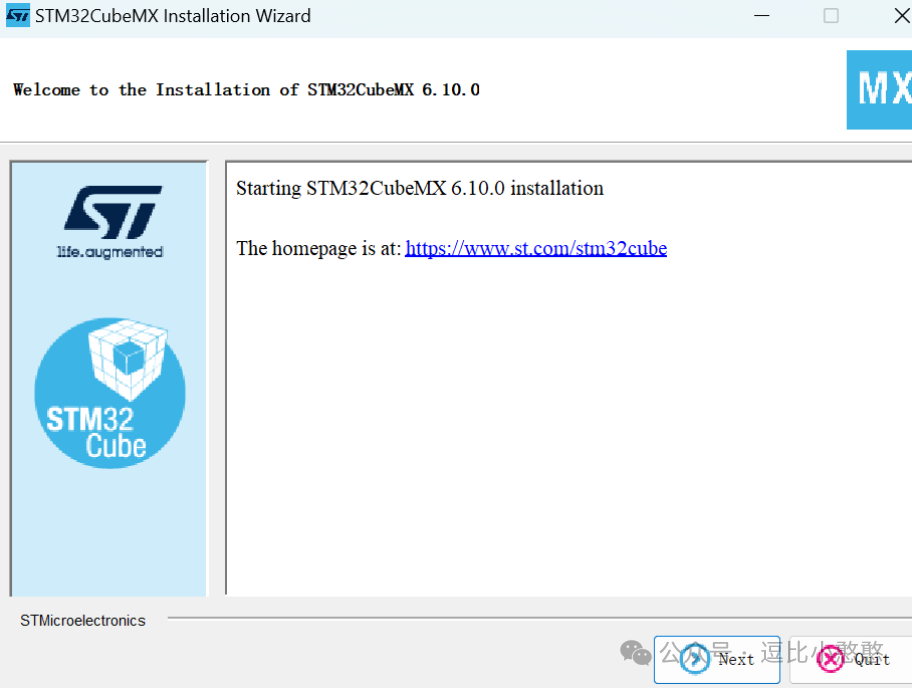
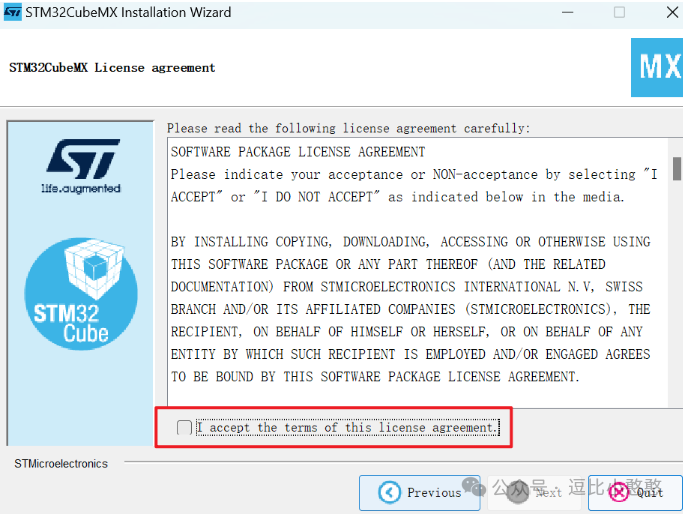
(12) Click Next, accept the license:
(13) Click Next:
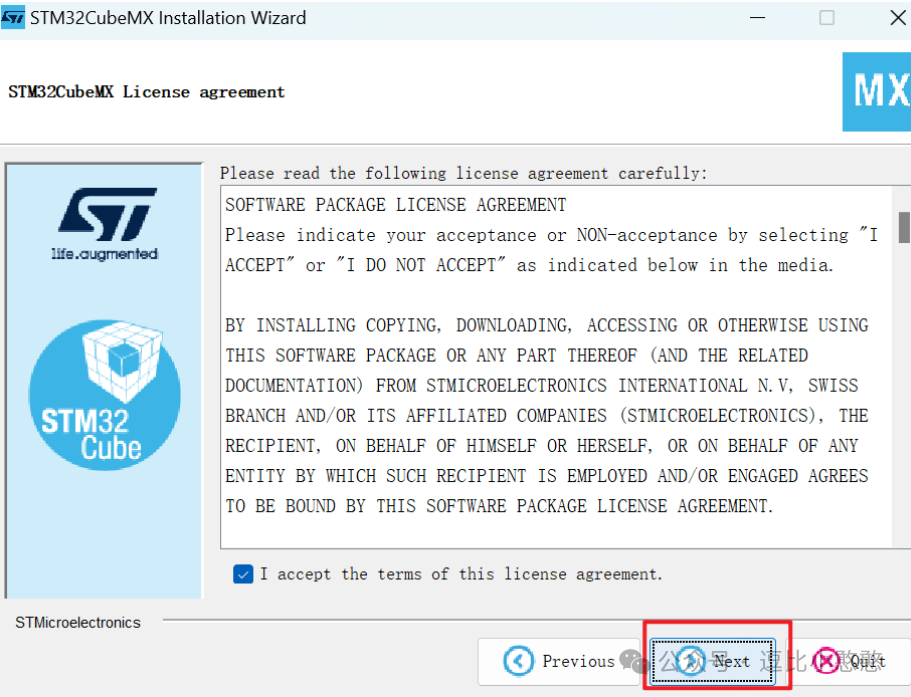
(14) Check to agree and click Next:
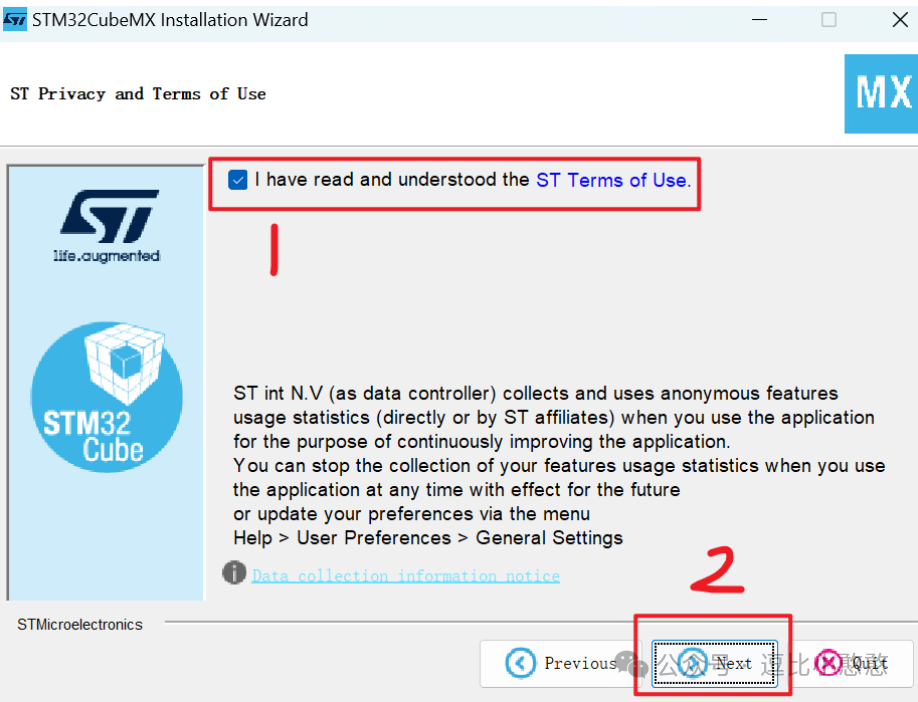
(15) Choose the installation path, preferably avoid Chinese characters, then click Next:
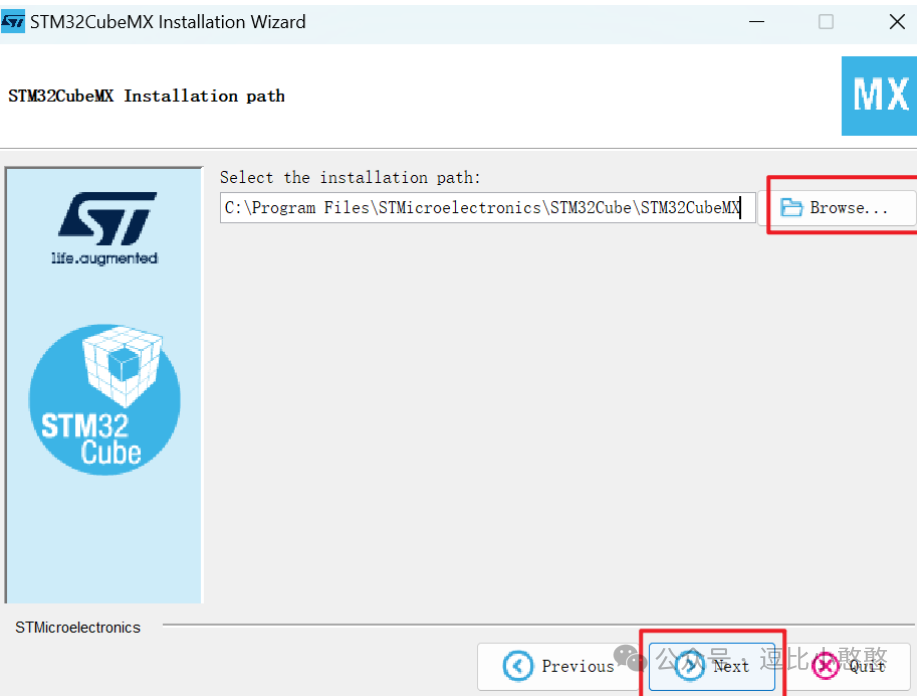
(16) Click Next:
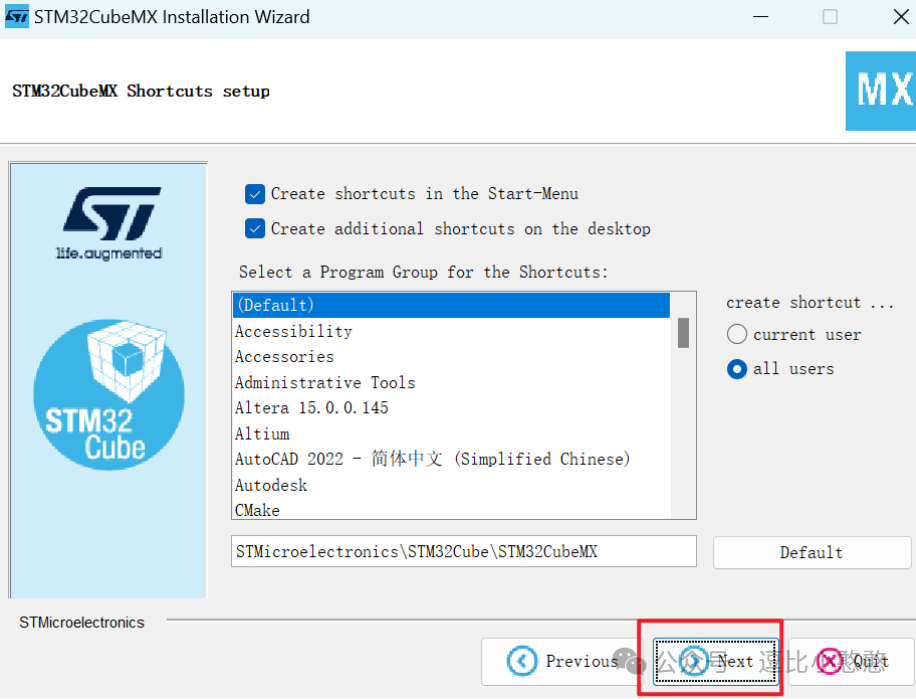
(17) Wait for the installation to complete:
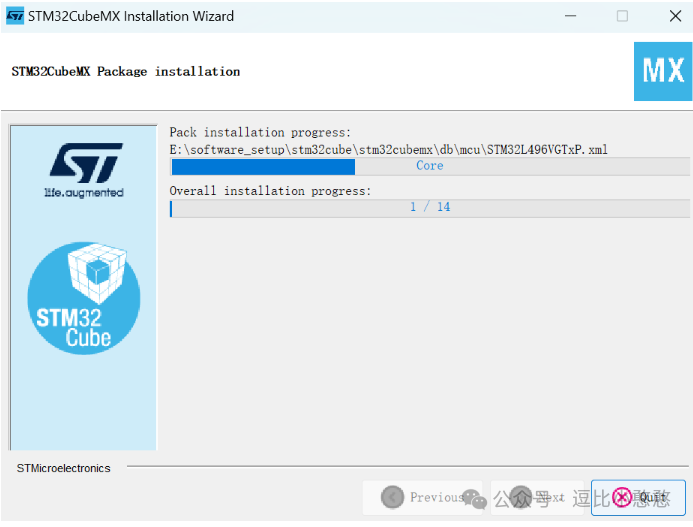
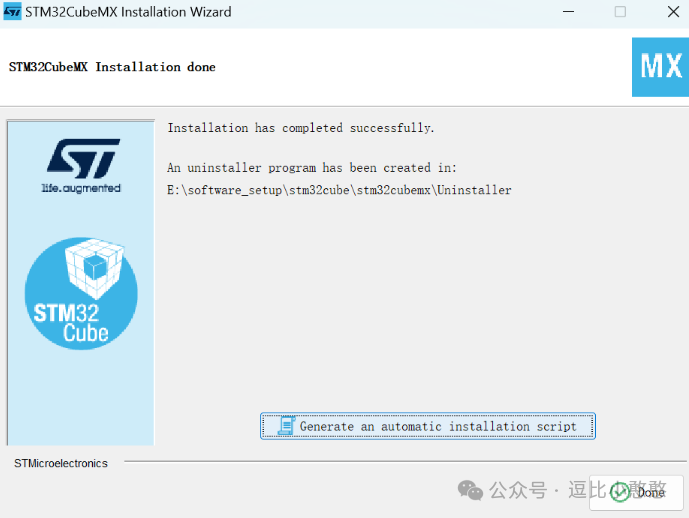
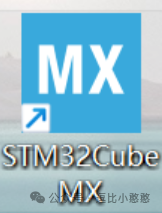
(18) Click Done, you can see the shortcut on the desktop:
(19) Double-click the shortcut to open the software:
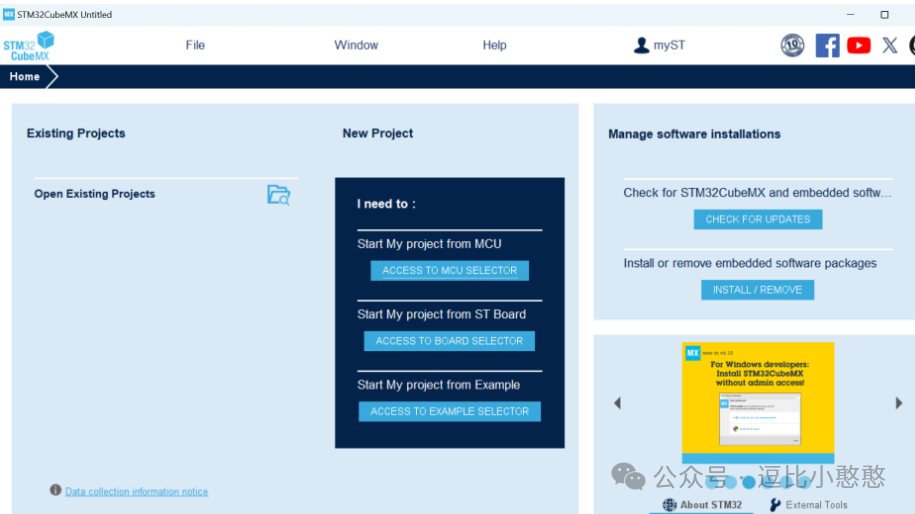
At this point, the installation of the STM32CubeMX software is complete.
Follow “Doubi Xiaohanhai” for more exciting content updates…