Star + Top to master cutting-edge embedded AIoT technology newsLike + Follow, let’s become even better together!
Description of Software and Hardware Devices in the Development Environment
PC Host: Windows 11 (32GB RAM, 1TB SSD)
Virtual Machine: Ubuntu 22.04 (allocated 16GB RAM, 512GB disk)
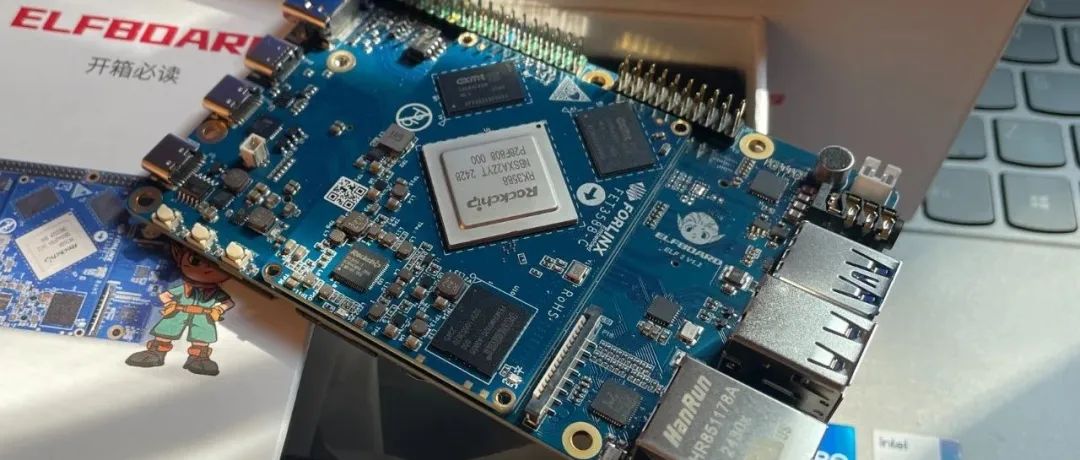
Development Board: ELF2 (RK3588 4G+32G), running Ubuntu 22.04 Desktop system
After DeepSeek became popular among friends, engineers have recognized that DeepSeek has the advantage of low deployment barriers. Many tech enthusiasts have attempted to deploy DeepSeek on local devices and use it offline.
The ELF2 development board is equipped with the high-performance Rockchip RK3588 processor, which includes four ARM Cortex-A76 cores and four ARM Cortex-A55 cores, 4GB of RAM, and 32GB of eMMC storage,
and it also features a neural network processor with 6 TOPS of computing power, which is sufficient to run the DeepSeek-R1-1.5B model.
Below is the detailed process of deploying DeepSeek-R1-1.5B on the ELF2 development board.
Creating an Anaconda Virtual Environment
1. Following the previous chapter on setting up the development environment, first set up Anaconda on the virtual machine Ubuntu 22.04, and create a conda virtual environment named “py3.10-rkllm-1.1.4” specifically for deploying the DeepSeek large language model.
Execute the following command to create a conda virtual environment for Python 3.10:
conda create -n py3.10-rkllm-1.1.4 python=3.10
2. On the virtual machine Ubuntu 22.04, install the rkllm_toolkit tool. The rknn-llm-release-v1.1.4 toolkit can be downloaded directly from the following link. After downloading, upload it to the virtual machine and extract it.
Download link: https://github.com/airockchip/rknn-llm/tree/release-v1.1.4Installing the rkllm_toolkit Tool
3. Enter the conda virtual environment on the virtual machine Ubuntu 22.04 and execute the following command to install the related Python dependencies for rkllm_toolkit-1.1.4, completing the setup of the conda virtual environment.
conda activate py3.10-rkllmcd rknn-llm-release-v1.1.4/rkllm-toolkit/packages/pip3 install rkllm_toolkit-1.1.4-cp310-cp310-linux_x86_64.whl4. You can execute the following command to enter Python 3 and import the rkllm API interface. If there are no errors, it indicates that the rkllm_toolkit environment on the virtual machine Ubuntu 22.04 has been set up successfully.

Downloading the DeepSeek-R1-1.5B Model
5. First, install the huggingface-cli tool, which is a client tool for downloading large models from Hugging Face. Execute the following command in the conda virtual environment:
pip3 install huggingface-cli -i https://mirrors.huaweicloud.com/repository/pypi/simple6. Create a huggingface folder under the rknn-llm-release-v1.1.4/rkllm-toolkit/examples/ directory, and then download the DeepSeek-R1-1.5B model to this directory by executing the following command.
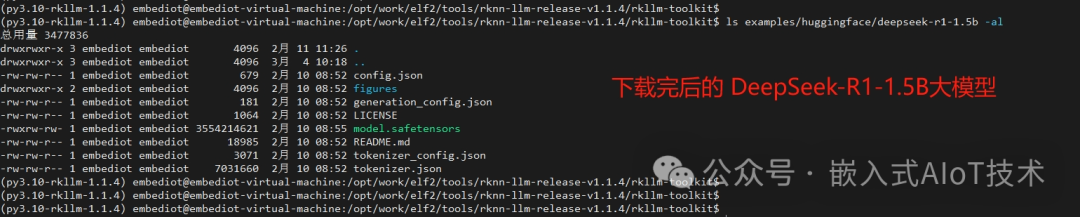
mkdir rknn-llm-release-v1.1.4/rkllm-toolkit/examples/huggingface -pcd rknn-llm-release-v1.1.4/rkllm-toolkit/examples/huggingfaceexport HF_ENDPOINT=https://hf-mirror.comhuggingface-cli download deepseek-ai/DeepSeek-R1-Distill-Qwen-1.5B --local-dir . --local-dir-use-symlinks False7. The HF_ENDPOINT environment variable configured in the previous step will use domestic acceleration nodes for downloading, but sometimes it may fail. In such cases, clicking the download link directly on the official website may be faster, or you can search online for cloud storage options where the model is available. After the model is downloaded, it will look like the image below.
Converting the DeepSeek-R1-1.5B Model
8. Create a Python script named “export_deepseek_1.5b_rkllm.py” and place it in the rkllm-toolkit/examples/ directory. The content of the script is as follows.
from rkllm.api import RKLLMimport os#os.environ['CUDA_VISIBLE_DEVICES']='0'modelpath = './huggingface/deepseek-r1-1.5b'llm = RKLLM()# Load model# Use 'export CUDA_VISIBLE_DEVICES=0' to specify GPU device# options ['cpu', 'cuda']ret = llm.load_huggingface(model=modelpath, model_lora = None, device='cpu')if ret != 0: print('Load model failed!') exit(ret)# Build modeldataset = "./data_quant.json"qparams = Noneret = llm.build(do_quantization=True, optimization_level=1, quantized_dtype='w8a8', quantized_algorithm='normal', target_platform='rk3588', num_npu_core=3, extra_qparams=qparams,dataset=dataset)if ret != 0: print('Build model failed!') exit(ret)# Export rkllm modelret = llm.export_rkllm(f"./deepseek-1.5b-w8a8-rk3588.rkllm")if ret != 0: print('Export model failed!') exit(ret)9. In the rkllm-toolkit/examples/ directory, you will also need a data_quant.json file, which can be found online. For the export_deepseek_1.5b_rkllm.py file and data_quant.json file, you can also contact me to obtain them.
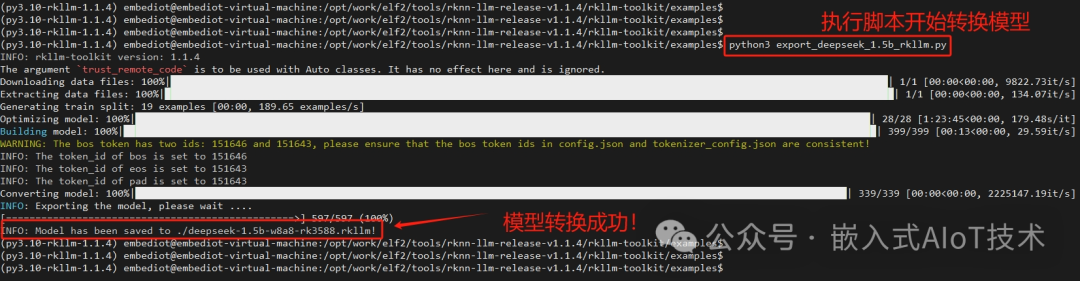
10. In the conda virtual environment, execute the following command to start converting the DeepSeek-R1-1.5B model to rkllm format.
python3 export_deepseek_1.5b_rkllm.pyAfter the model conversion is successful, it will look like the image below.
11. It is important to note that when converting the huggingface model on the virtual machine Ubuntu 22.04, you need to create a swap partition on your computer, using some hard disk space as virtual memory to prevent the conversion process from crashing. For methods on creating a swap partition on the virtual machine Ubuntu 22.04, please refer to online resources.
Compiling and Deploying the DeepSeek Application
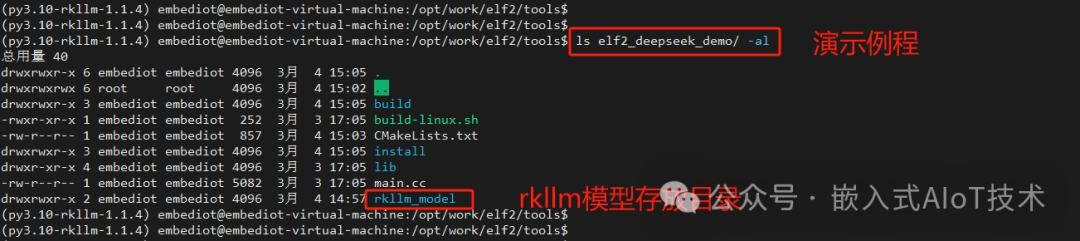
12. Create a demo routine named elf2_deepseek_demo, which will run on the development board’s Ubuntu 22.04. Copy the successfully converted .rkllm model from the previous step into the demo’s rkllm_model folder, and then execute the ./build-linux.sh script to compile.
Note: Ensure that the ELF2 cross-compilation environment is set up before compiling.
(For the application source code, please contact the author for access.)
13. After successful compilation, the executable file will be stored in the install/elf2_deepseek_rkllm_demo directory. Upload the elf2_deepseek_rkllm_demo folder to the ELF2 development board. Additionally, you will need to upload some dynamic libraries to the /usr/lib directory on the development board.
adb push elf2_deepseek_demo/lib/libgomp/libgomp.so /usr/lib/libgomp.so.1adb push elf2_deepseek_demo/lib/librkllm_api/librkllmrt.so /usr/libRunning Tests
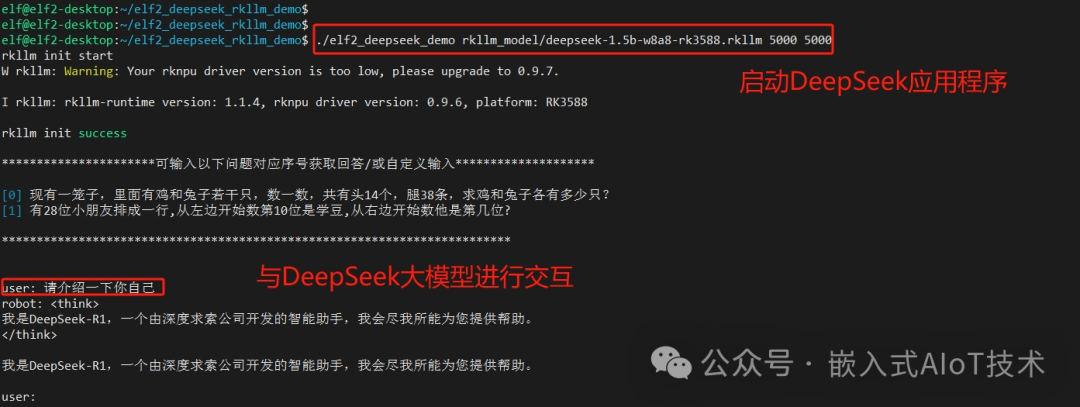
14. In the elf2_deepseek_rkllm_demo directory on the development board, execute the following command to start the DeepSeek application. After loading is complete, you can interact through the terminal input interface, and it runs completely offline, as shown in the image below.
Thank you for reading!
-END-
Previous Recommendations: Click the image to read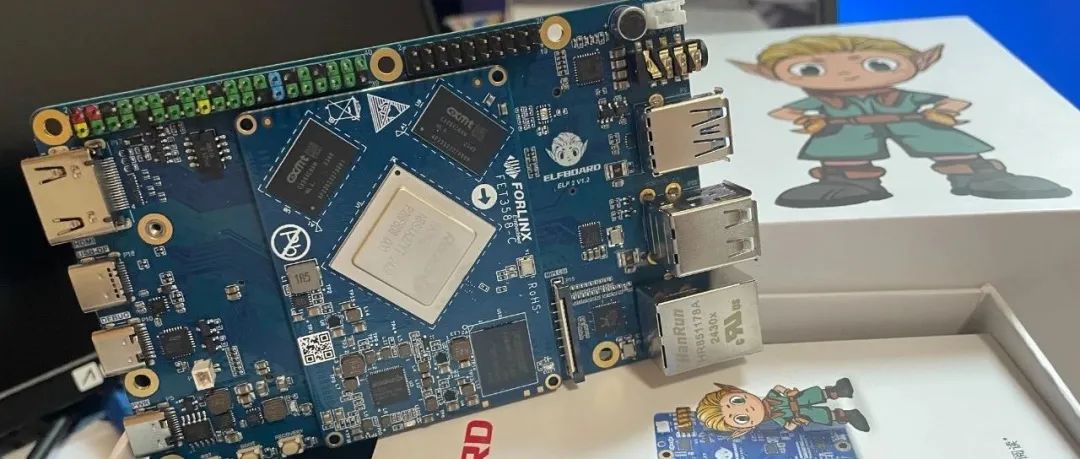
Step Two of Embedded AI: Model Conversion and Deployment!
Step One of Embedded AI: Setting Up the Development Environment!
Fun Embedded AI, Machine Vision, and Audio-Video Processing
Star + Top, to master cutting-edge embedded AIoT technology newsLike + Follow, let’s become even better together!