Win a Backpack
How Difficult Is It?
Give It a Try!
→_→

Recently, while debugging a project, I found that JLINK was not working. It was basically determined that the firmware was lost. At first, I followed a popular method online to reflash it, but it was unsuccessful, so I decided to document it for future reference.
1. Problem Description
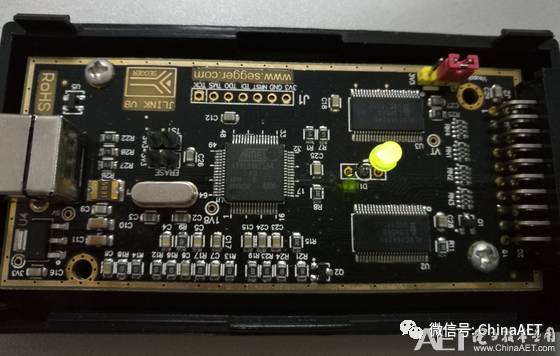
As shown in Figure 1, there is no response after JLINK is connected to the computer, and the indicator light does not light up. It is suspected that the JLINK firmware is lost.
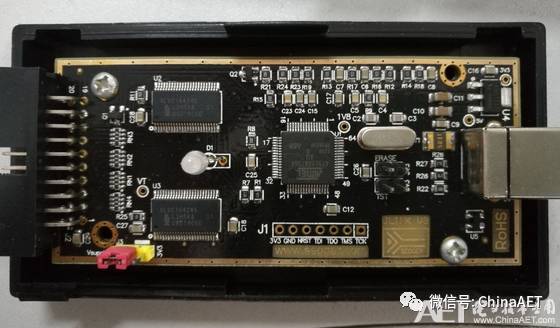
Figure 1
2. Solution
The solution is simple: just reflash the firmware.
2.1 Erase the Original Firmware
There are two shorting holes on the JLINK: ERASE (erase) and TST. My board is a black PCB with header pins soldered on, making it convenient to operate.
The firmware erasure operation consists of two steps:
Step 1:
– Connect the board to the computer via USB and power it on.
– Short ERASE for more than 10 seconds.
– Disconnect ERASE.
– Disconnect USB and power off.
Step 2:
– Short the two small holes at TST.
– Connect USB and power on.
– Wait for more than 20 seconds (keep TST reliably shorted).
– Disconnect USB and power off.
– Disconnect TST.
2.2 Install Flashing Tools
The first time I followed a fairly common guide online and installed AT91-ISP v1.13, but after installation, I still couldn’t find the JLINK chip driver. So I installed sam-ba_2.12 instead.
2.3 Reconnect JLINK and Install Chip Driver
If the device driver does not install automatically, it needs to be installed manually. In the Device Manager, find the new device, and during driver update, specify the path to the drv folder under the SAM-BA V2.12 installation path, as shown in the following image. 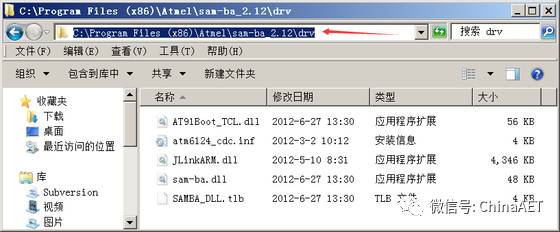
The interface after installation is shown in the following image. 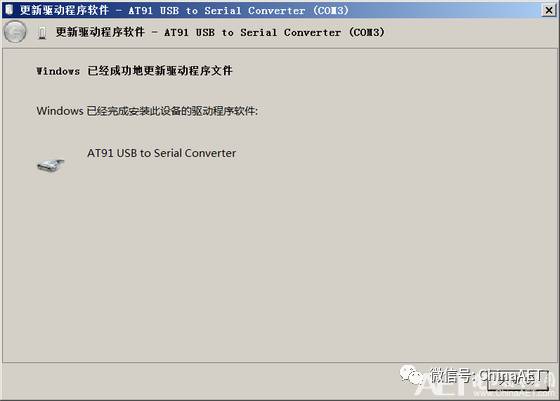
2.4 Flash the Program
Use the SAM-BA v2.12 software installed in section 2.2 to perform the flashing.
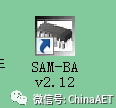
After opening the software, select the correct chip model, as shown in the following image.
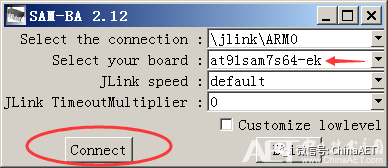
Click the Connect button in the red circle in the image above, and a dialog box will pop up as shown below. 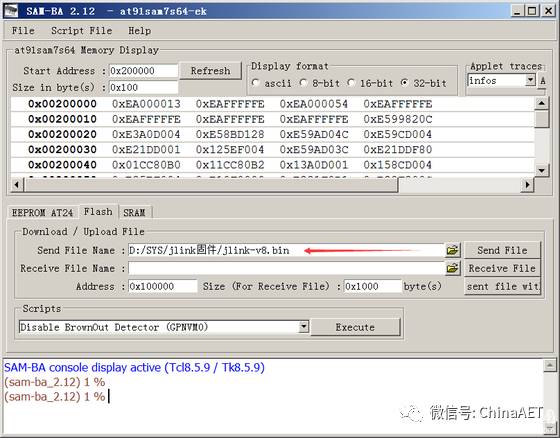
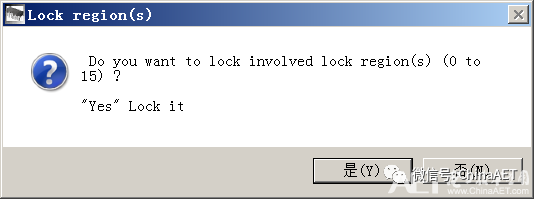
Follow the instructions in the image above to select the firmware and click Send File to start flashing the firmware. During the process, a dialog box will first pop up as shown below; choose “Yes”.
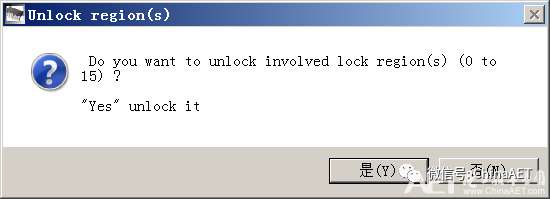
After a while, another dialog box will pop up as shown below. I chose “No”, but I think choosing “Yes” should also work.
3. Successful Repair of JLINK
After testing, I found that JLINK can now download programs normally.