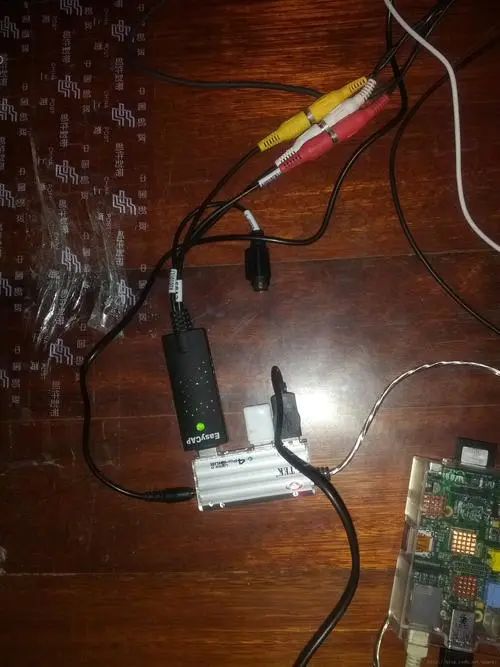
My requirements: Raspberry Pi 3B+, operating system Raspbian-stretch, OpenCV installed on python3.5.3, connected to CSI camera.
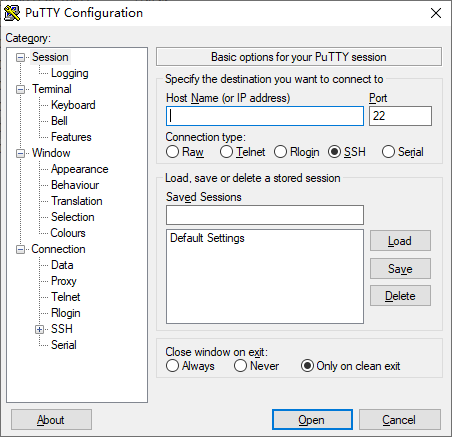
1. Use SSH to connect to Raspberry Pi remotely
2. Create a directory to store the code
mkdir /home/pi/my_code_directory
3. Enter the directory to store the code
cd /home/pi/my_code_directory
4. Create a new py file
5. Input the code
import cv2
# Open the camera
cap = cv2.VideoCapture(0)
while True:    # Read video frame
    ret, frame = cap.read()
    # Display video frame
    cv2.imshow('Video', frame)
    # Press 'q' to exit the loop
    if cv2.waitKey(1) & 0xFF == ord('q'):
        break
# Release the camera and close the window
cap.release()
cv2.destroyAllWindows()
First press ctrl+o, then press Enter to save, then press ctrl+x to exit the nano editor back to the command line.
6. Execute the code
Since it is an SSH connection, the following error occurred:
Unable to init server: Connection refused
(Video:25768): Gtk-WARNING **: cannot open display:
From the error message, it seems that this may be because an attempt is being made to run a GUI program on a server without a graphical environment. OpenCV (cv2) usually requires a display to show images, and it cannot function properly without a graphical environment.
If running the code on a remote server or a system without a graphical interface, consider the following solutions:
Ensure that the code does not require a graphical interface.If you only use OpenCV for image processing, calculations, or saving images, and do not need to display images in real time, you can solve this problem by disabling GUI-related functions in the code.
If you really need to display images in real time, start a graphical session on the local machine and display the images locally via SSH.You can achieve this using X11 tunneling.When making the SSH connection, ensure to use the -X or -Y option to enable X11 forwarding.
Solution: Use VNC to connect to Raspberry Pi remotely, re-enter the directory and execute the code, the image interface pops up, and the program runs normally.
Note: Under the SSH connection of Raspberry Pi, the usual Ctrl + C and Ctrl + V shortcuts may not work for copy-paste operations. Select the text to copy, then right-click to copy it to the clipboard, and Ctrl + Shift + V to paste commands in the terminal.