MAKER: tomouwerkerkerk/Translated by: 趣无尽
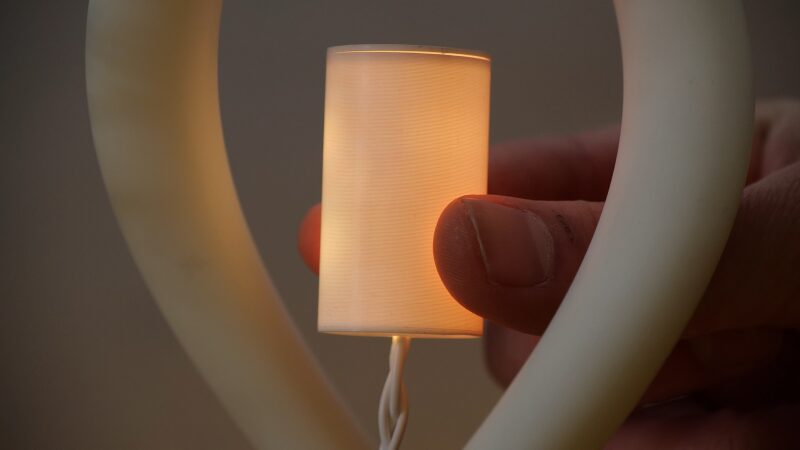
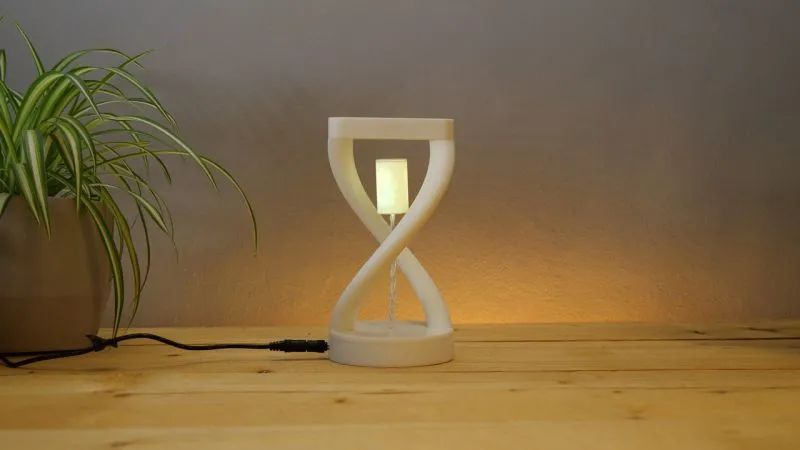
This is a compact and warm magnetic levitating desktop ambient light, with color-changing soft light adding a gentle atmosphere to the room.
It is built based on Arduino and 3D printed components, and it is very simple to assemble. Beginners who are interested can give it a try.

Materials List

Arduino Nano x 1, PLA material x several, LED strip (WS2812 60led/m) x several, 12.7mm x 5mm magnets x 25mm x 3mm magnets x 2, magnetic switch x 1, 15v plug x 1, 15v power adapter x 1, silicone wire x several, soldering iron x 1, glue x 1, 3D printer x 1, screwdriver x 1.
3D Printed Parts

General Part Printing Settings
Fill 20-100%, no support needed.

LED Holder Settings
Fill 100%, 100% fill allows for better light diffusion!
3D printing files can be downloaded from the project file library: https://make.quwj.com/project/427
Making the LED Light

Three wires need to pass from the LED to the base of the lamp. This is the most difficult part of the entire making process.

1. Cut three wires each 130mm long (leave some extra length just in case), and cut an appropriately sized LED strip.
2. Solder all wires to the LED strip. Mark the ends of the wires so they won’t get confused when connecting to the Arduino.

3. Put all the wires through the small hole in the lamp shell.

4. Apply glue to the LED strip, then place it inside the lamp shell. You can braid the wires for a neater appearance.


5. Place a magnet at the top of the body.

Preparing the Power Supply
The power supply can be a battery or a power bank. As shown in the picture, I chose USB plug charging.

1. Stick the power socket connector to the round hole at the bottom of the lamp.

2. Connect the red and black wires to the connector and pull them out; they will be soldered to the Arduino.
Making a Magnetic Switch (Optional)
This step is optional. You can choose to simply unplug the plug and place a magnet on the base.
1. Use pliers to remove the white part from the magnetic switch.

2. Solder three wires to SIG, VCC, and GND.
3. Stick the magnet to the round side of the magnet/switch base and slide the switch into place. Note that we need to test that the switch is not triggered by the small magnet. If it is triggered, the system will not work, and we will test this later in the programming step.

4. Place the magnet/switch base in a suitable position at the bottom of the lamp, so that when the lamp is placed on the base, the light can turn off normally. We can test this by placing the already made LED strip with the magnet on the other side of the lamp base.
Soldering Arduino

1. Connect two wires to VIN and the GND of the power socket.
2. Solder the LED strip wires to GND, V5, and a digital port (D1-D12).

3. Solder the magnetic switch wire to GND, V5, and a digital port.
Programming
This step is very simple. If the components used are the same as those mentioned in the text, the code file can be downloaded from the project file library:
https://make.quwj.com/project/427
1. Download the Arduino IDE.
2. Install the FastLed library (depending on the LED you are using): https://www.arduino.cc/reference/en/libraries/fastled/
3. Magnetic switch code: https://wiki.seeedstudio.com/Grove-Magnetic_Switch/
4. Run the code.
5. Check if the magnetic switch is triggered. Adjust accordingly by sliding it back or forward.

Now, the entire project is complete, and this lovely magnetic levitating lamp is finished!
The code used in the project can be downloaded from the project file library: https://make.quwj.com/project/427
via instructables.com/Magnetic-Levitating-Lamp/
Links in the text can be clicked to read the original text at the end

More exciting content